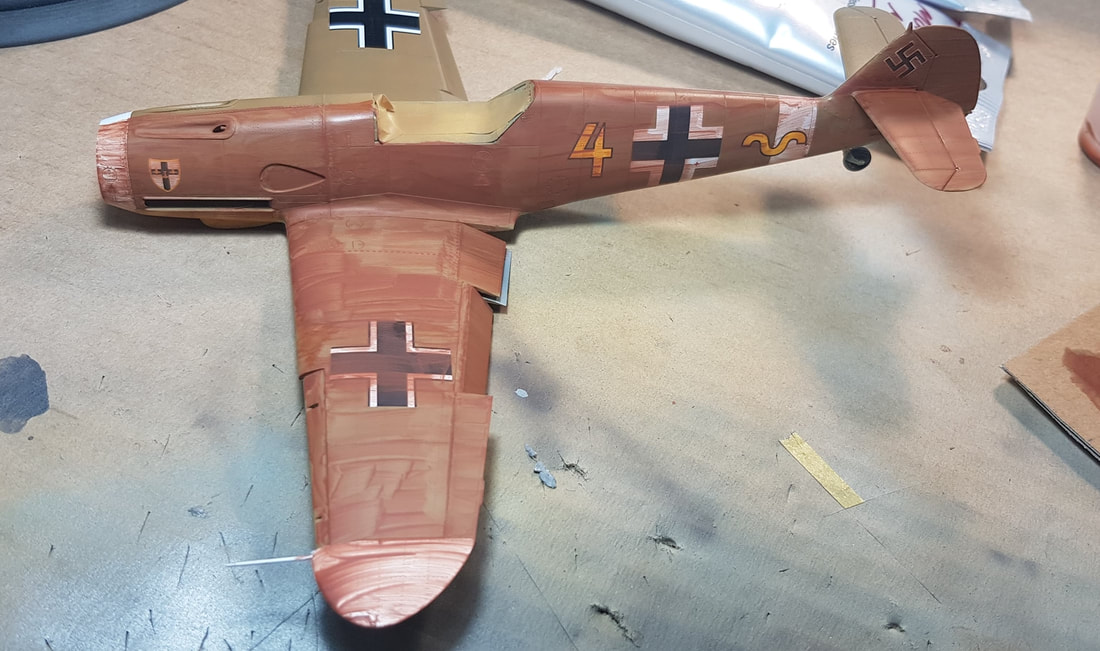
Weathering, the part i was most nervous about but also looking forward too. I was going to try an enamel and an oil paint wash. The enamel was a Humbrol wash, black for the top and a dirt colour for the lower. The oil paint was some cheap stuff i picked up in one those dollar shops. Mineral Turps for thinning the enamel wash and white spirits for the oil. I had tested both by spraying my Warspite ship stand with acrylic, cleared it and then used both products with decent results..so onto doing it with the real thing. The humbrol wash i used at about 50/50 with the turps which in hindsight may have been too much wash. It was as simple as hand brushing it on, waiting 15-20 minutes and then either using a rag/cloth or your brush with a hint of turps and wiping in the direction of airflow to remove the main body of the wash and leave behind only small amounts in the crevices and rivet holes. By the time you finish this stage it can look pretty terrible, but you just have to hang in there until the end..the gloss really doesn't help how it looks at the moment.
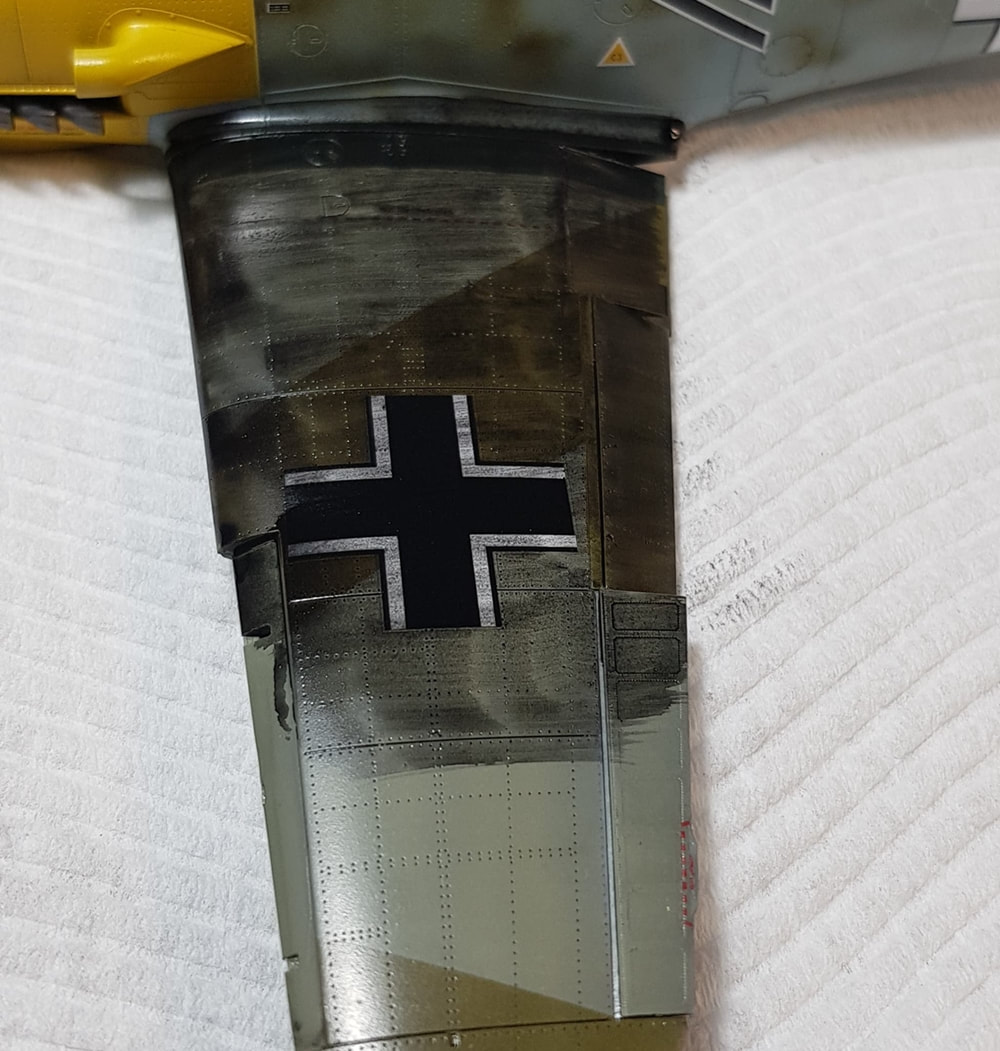
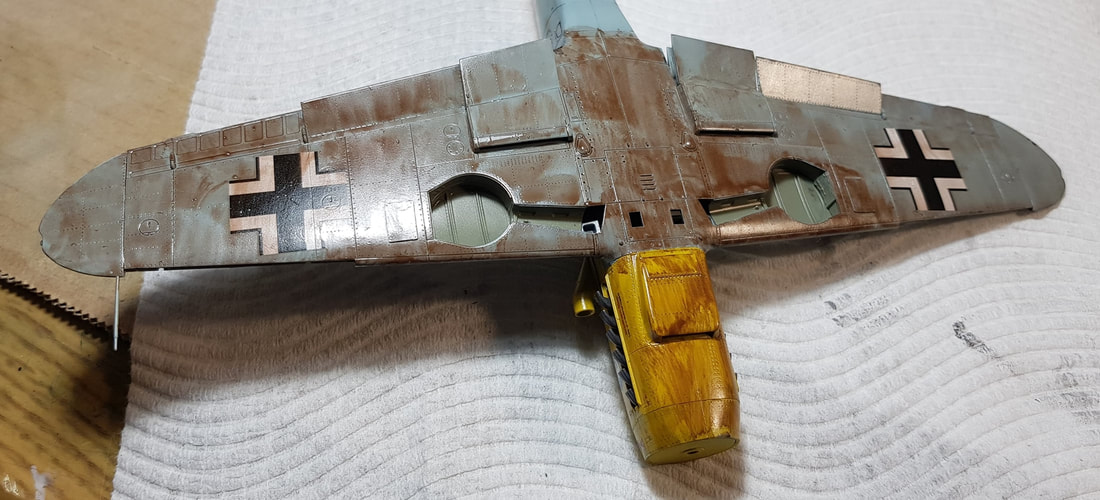
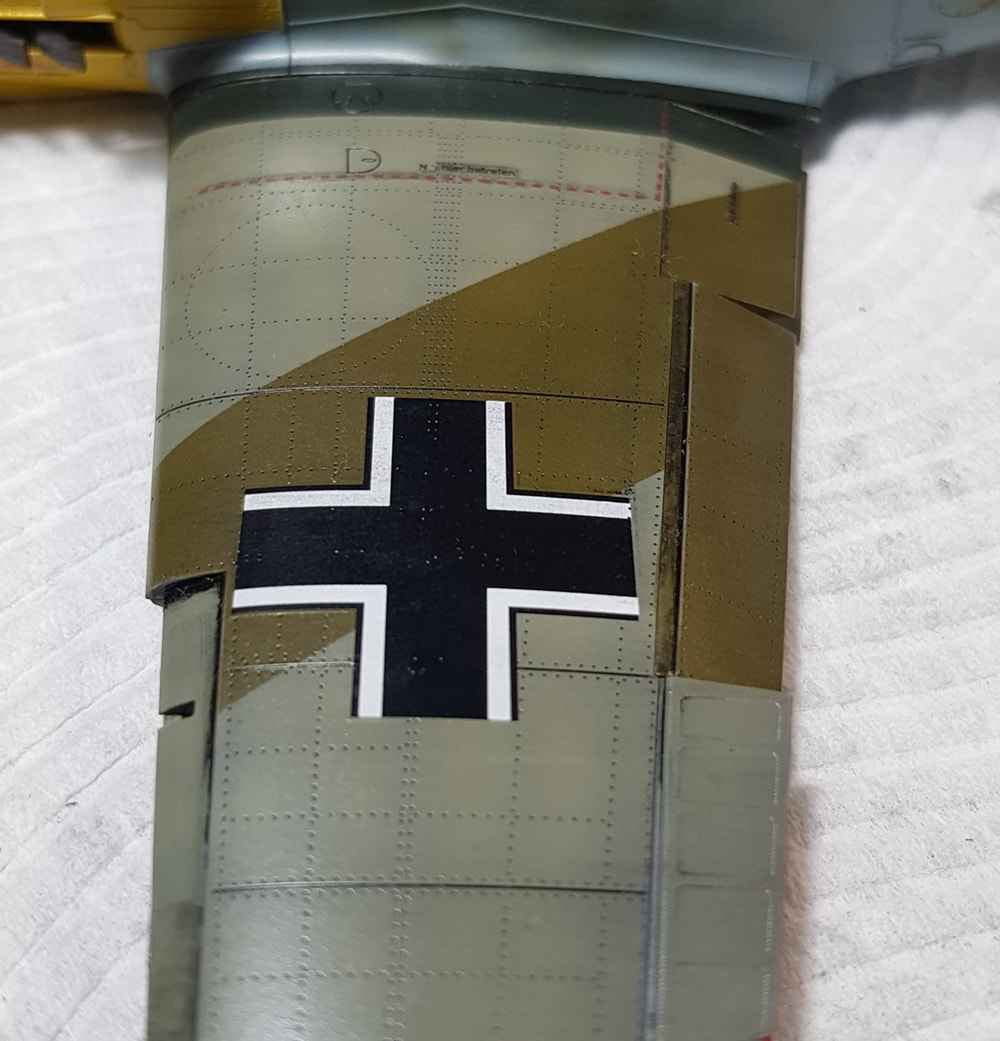
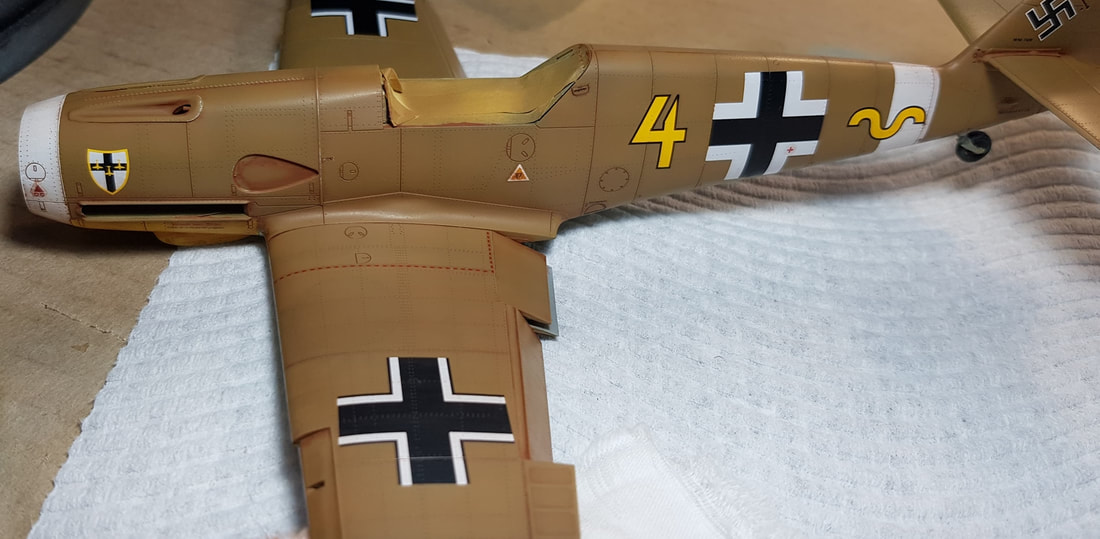
The oil was much more forgiving and nicer to lay down. It was also easier to remove, work with in general and not sticky like the enamel. I used Burnt Sienna all over for the Trop. The oil also dulled down the gloss somewhat and at this stage i was much preferring the look of the Trop over the Western front 109.
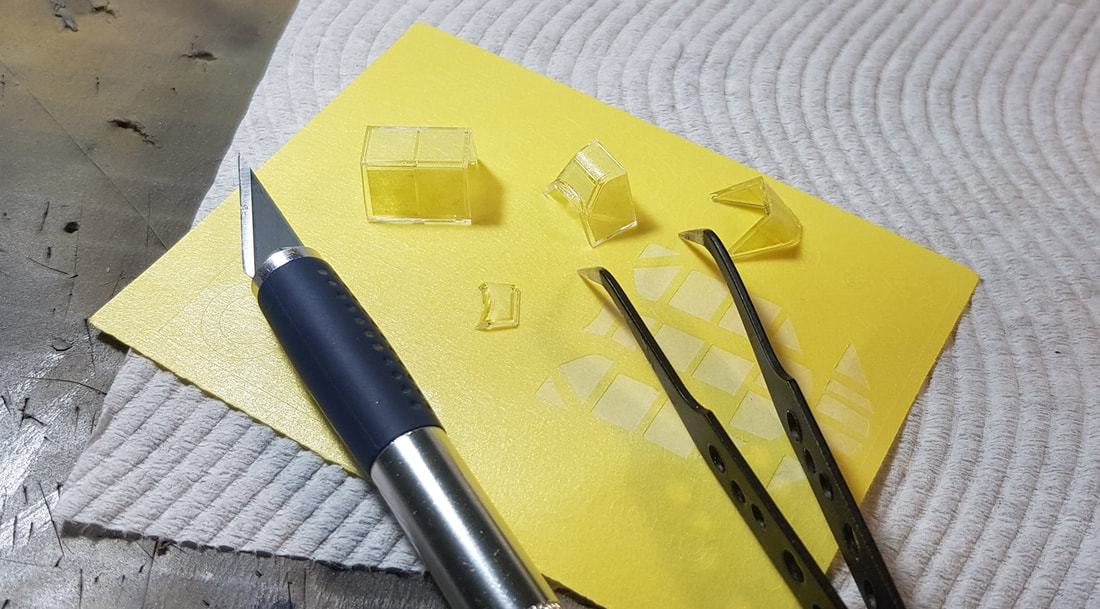
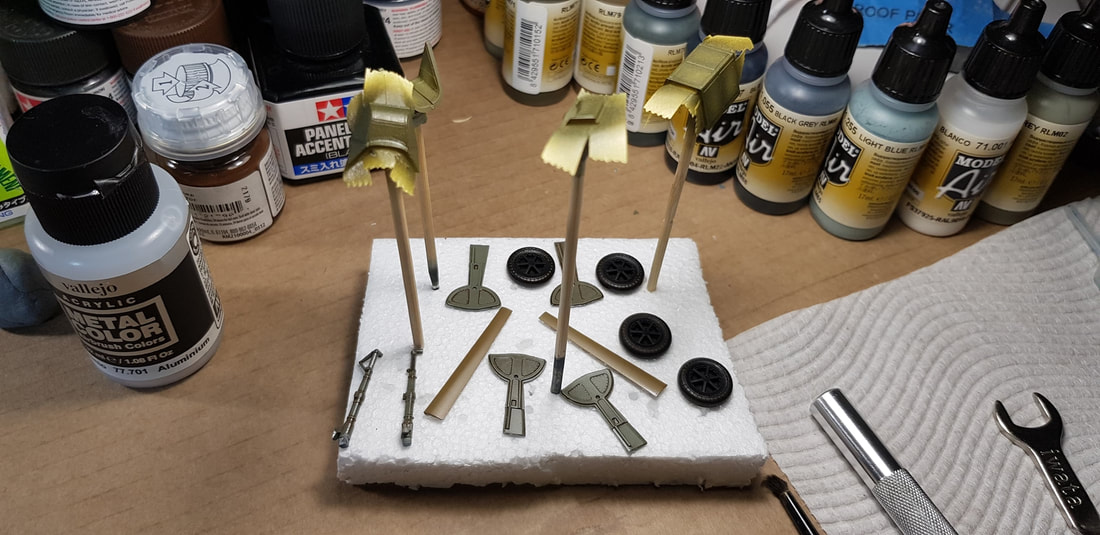
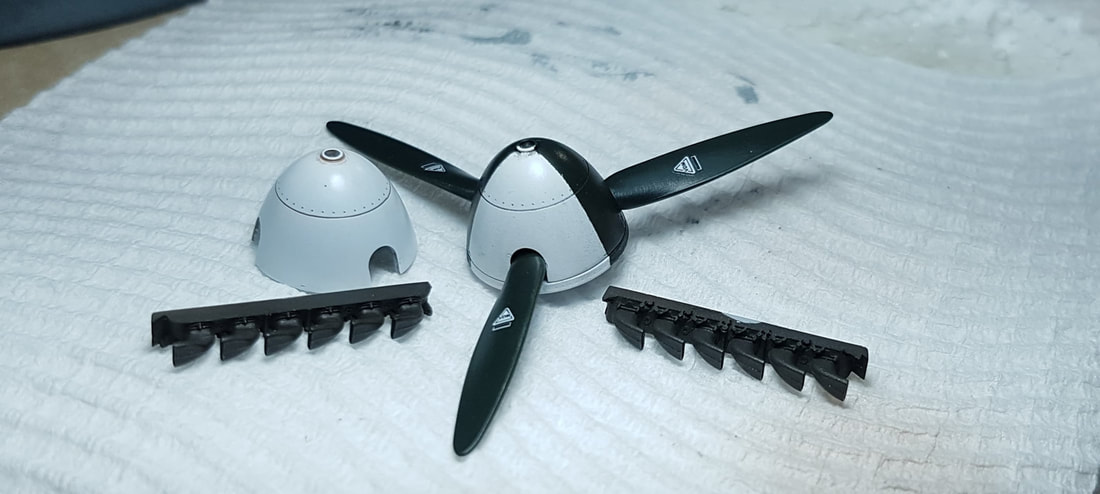
While i now waited for the enamel and oil to settle i started finishing up the rest of the small items and masking and painting the canopies.
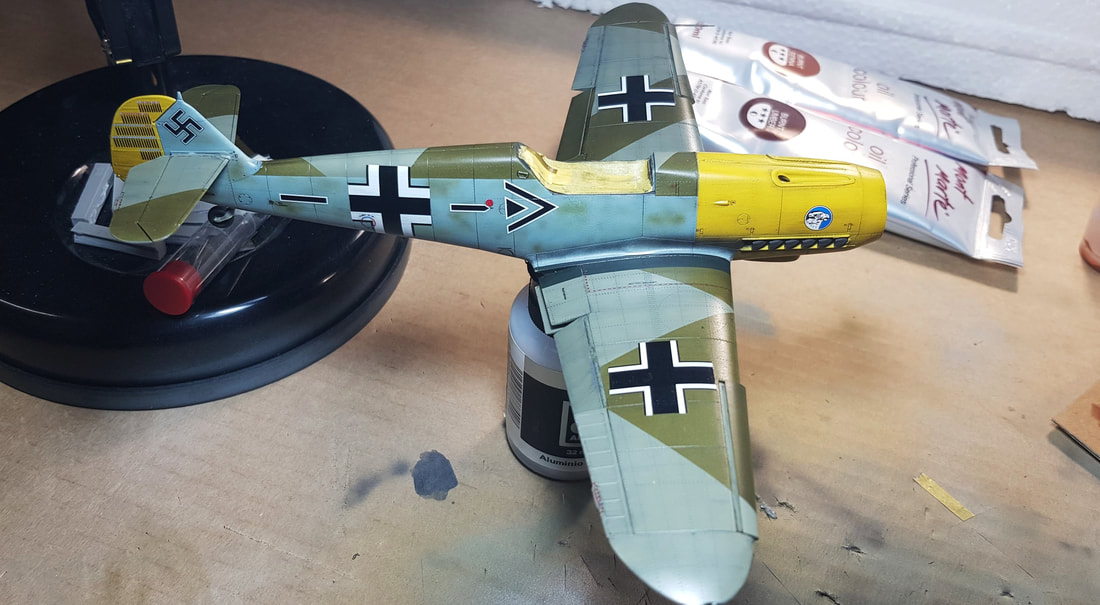
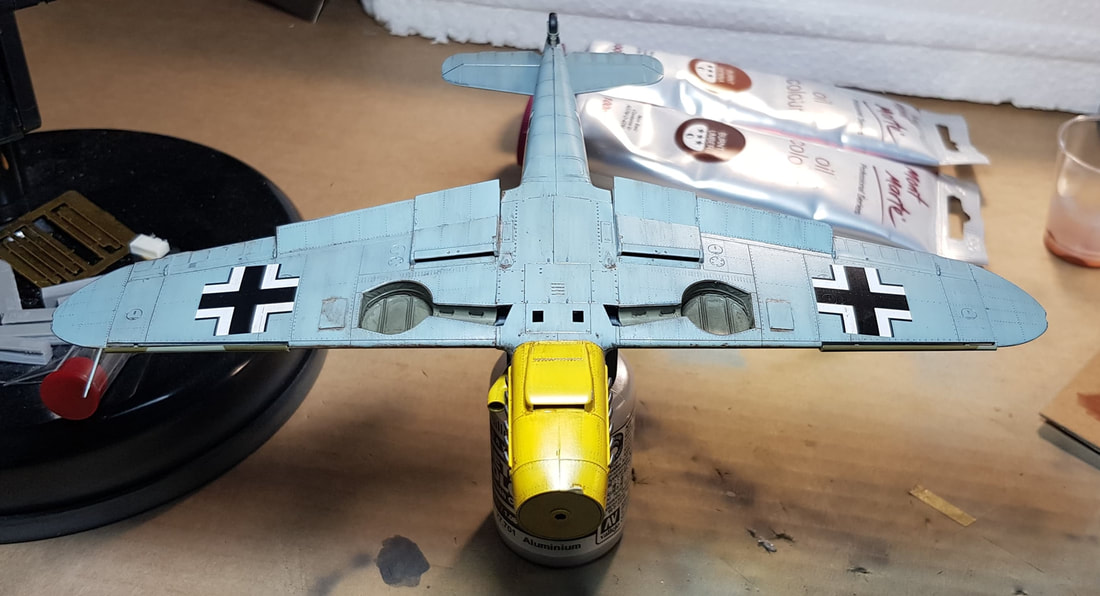
After a couple of days sitting i started on matt coating the Molders 109 using Vallejos acrylic matt and water at about 40/60, she is pretty thick stuff. This is where i would get to see the final result of my work! I started with one wing so i could have a comparison shot. The matt would really bring the whole paint job back to where i wanted it and helped to level it all out.
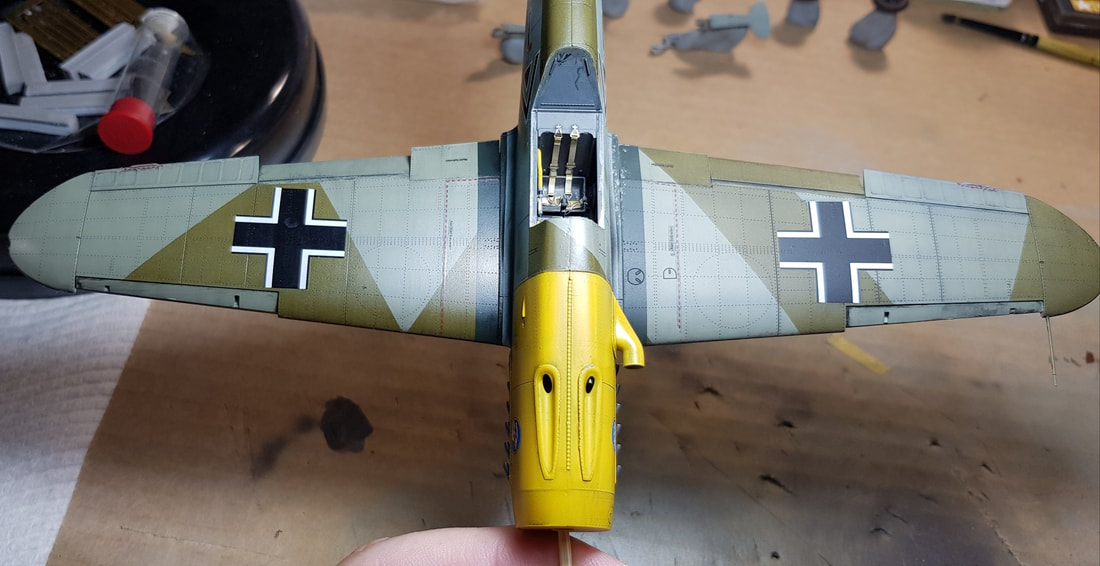
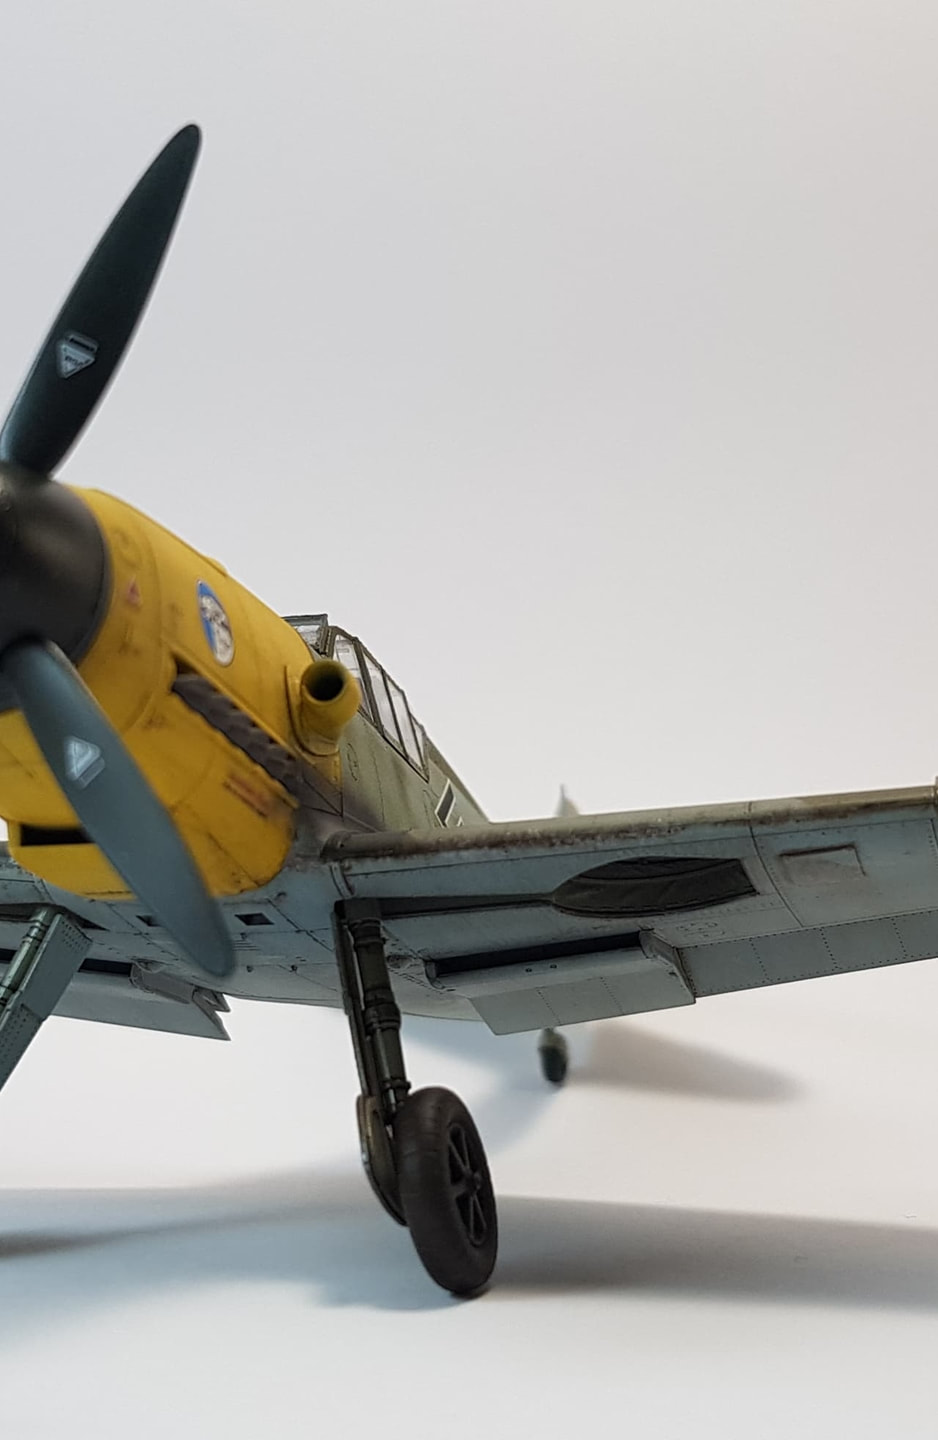
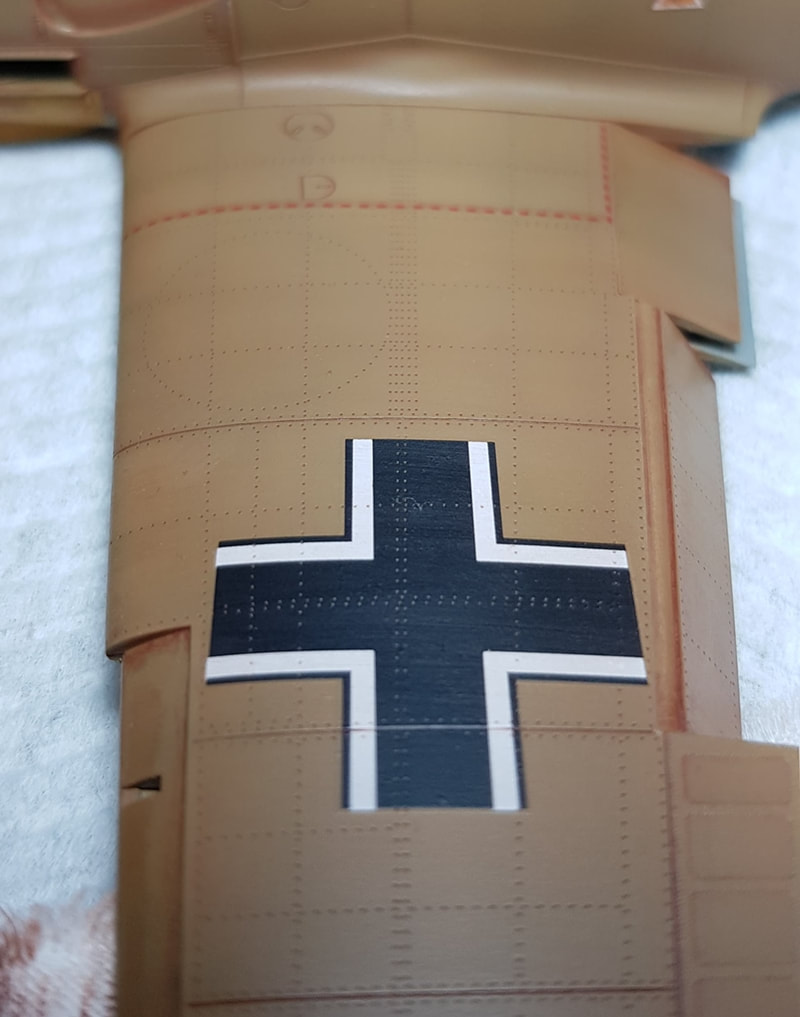
One quick teaser pic before we move on to the finished build!