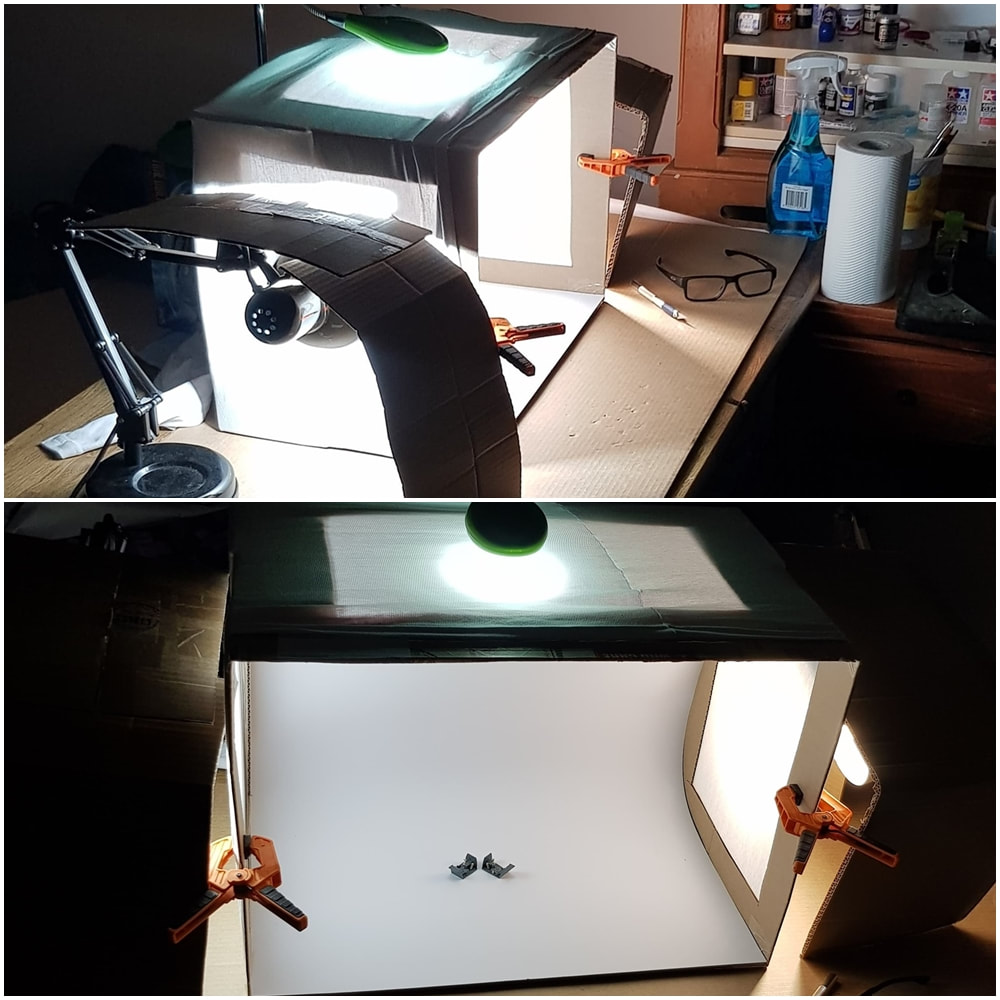
Before i started building i made a very basic light box and invested in another lamp to replace the junky green led shown in the pic below. I just use $12 lamps from Woolies and then buy a decent bulb to suit at the lighting shop. As for the box, remove the top, cut out a square out of three sides of the box and stretch some material over the square holes, place a piece of card as a background inside the box and you're done. The lamps shine in through the squares, the material defuses the light and you end up with nicely lit pictures.
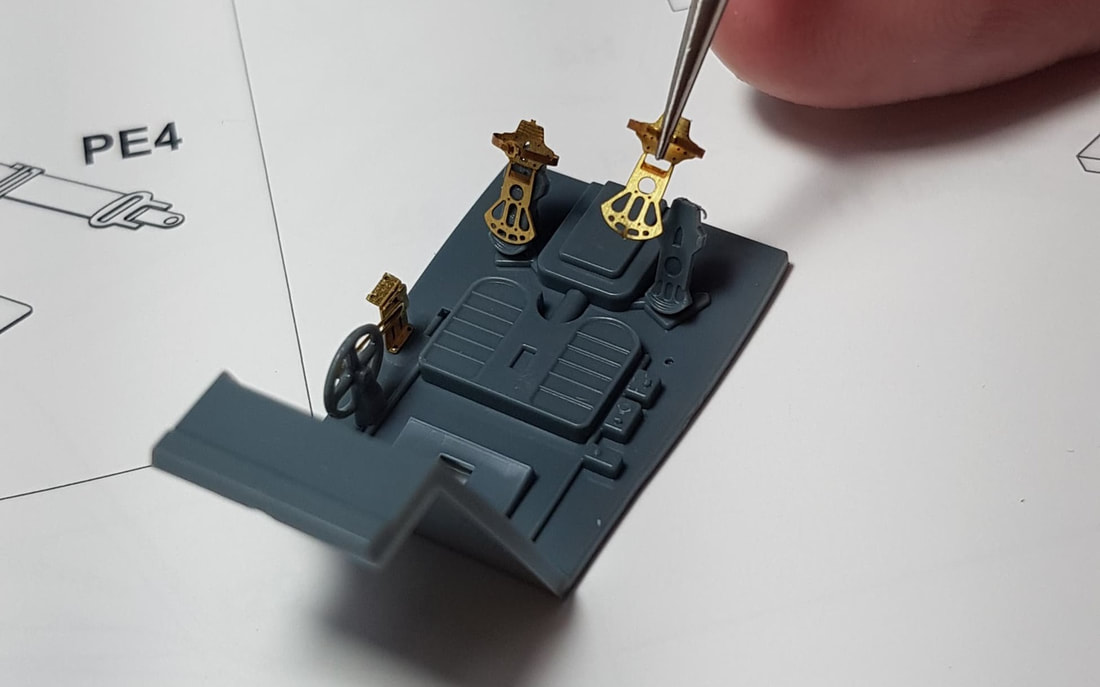
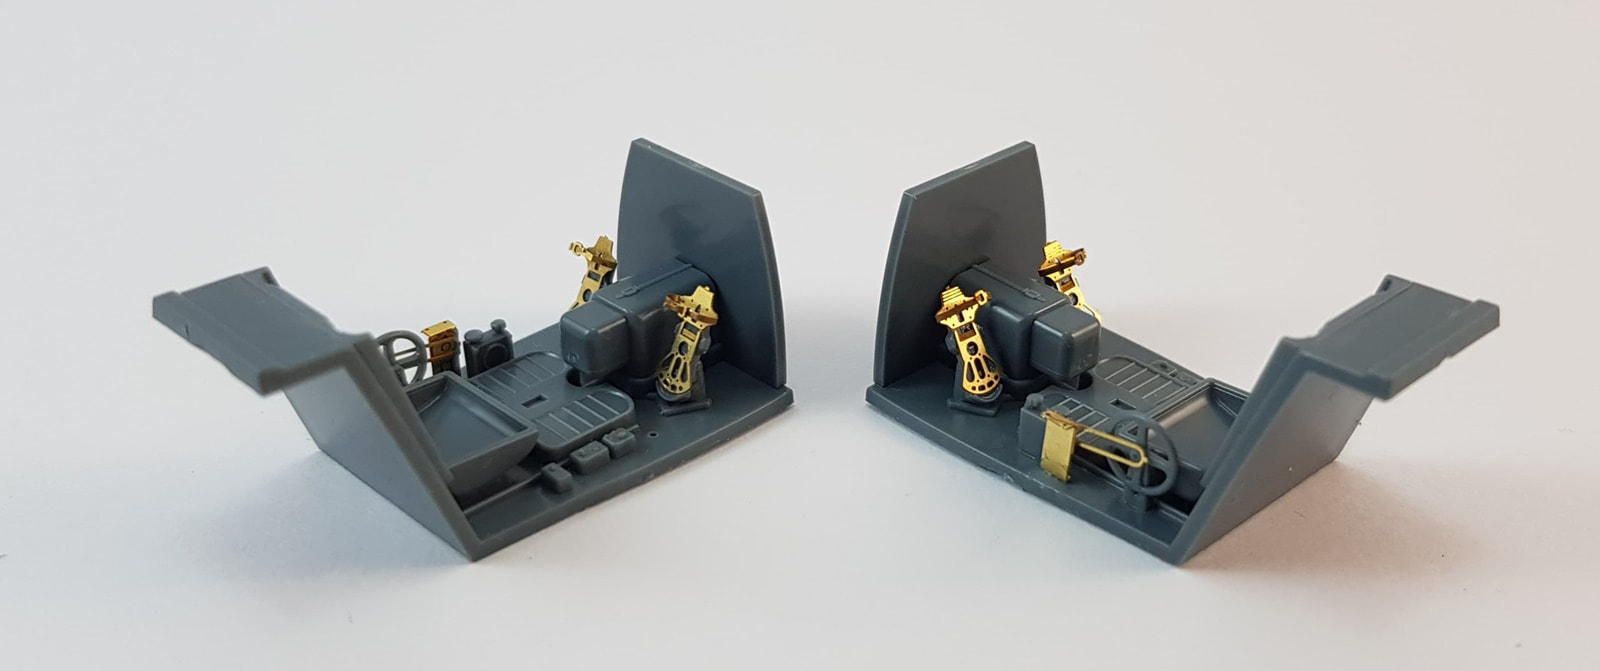
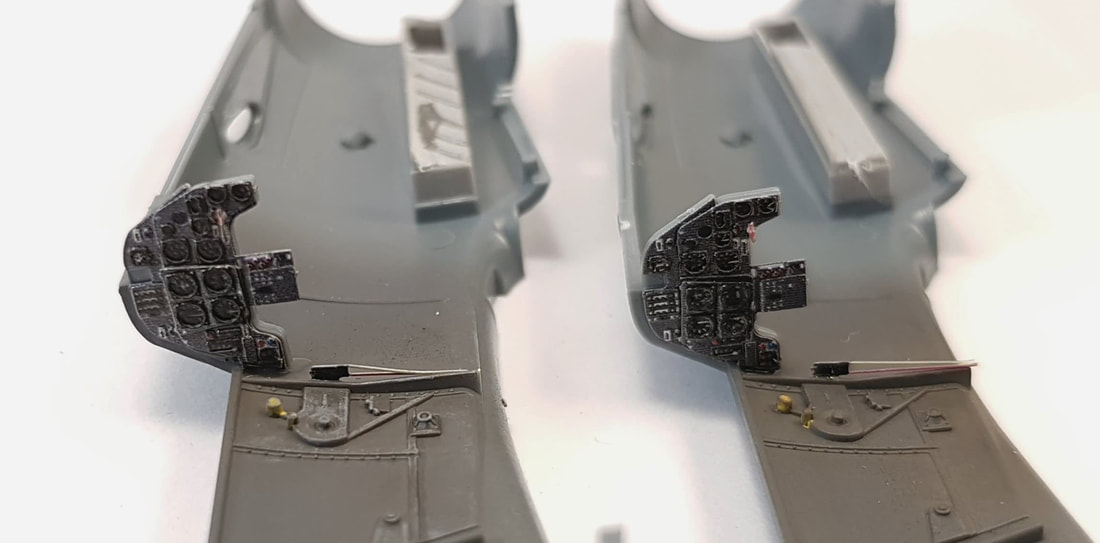
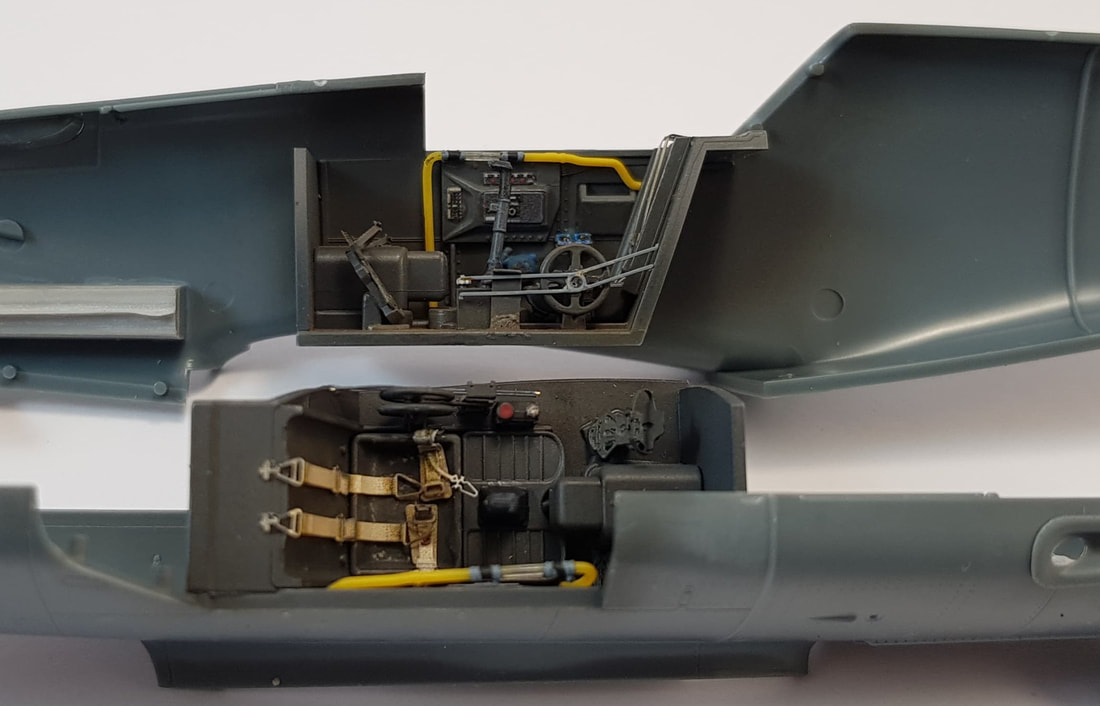
Cockpit, very nicely detailed, enough pe parts to make it stand out without going overboard which includes a four piece instrument panel, rudder pedals and trim wheel setup as well as some fuselage mounted gauges and seatbelts. The only issue i had was the tightness of the instrument panel up against the fuel pipe, required some trimming for a better fit.
The exhaust manifold locators (Eduard Brassin) need to be carved out of their casting block. This stuff is really brittle.
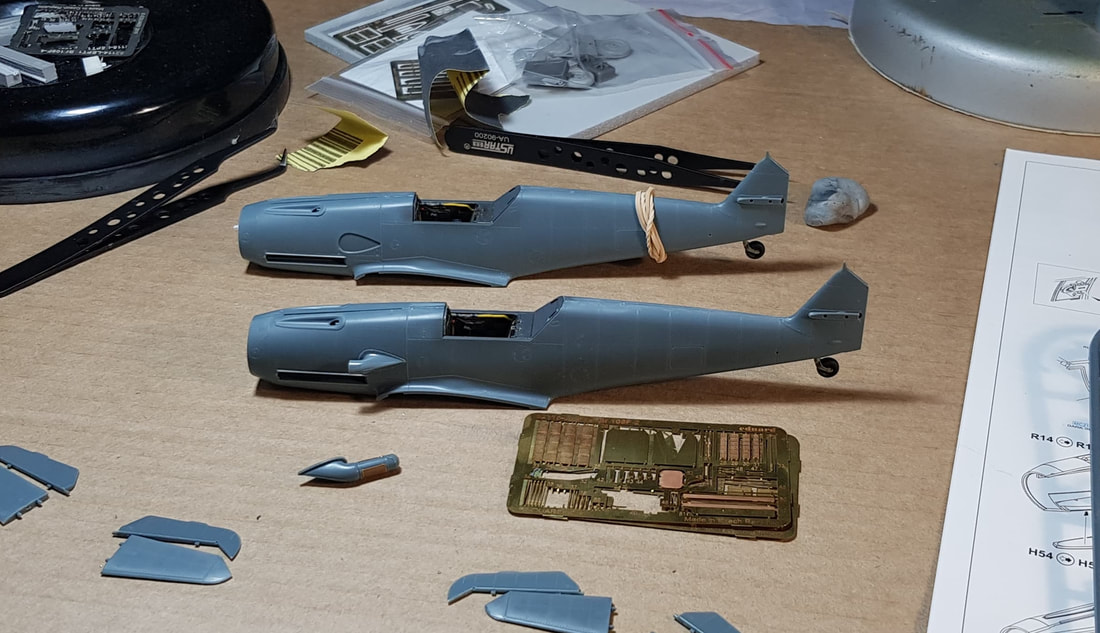
And once in the two fuselage halves can be glued together. Both of these needed some minor sanding on the rear behind the cockpit and just in front of the cockpit as well as some putty in the front cowling seam.
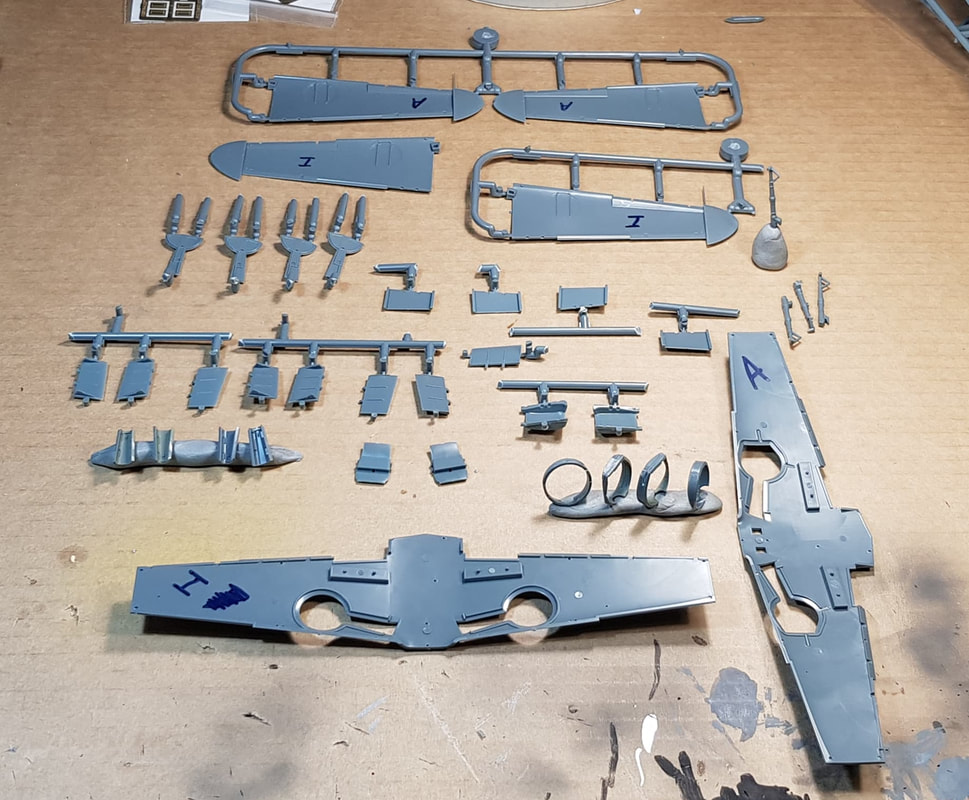
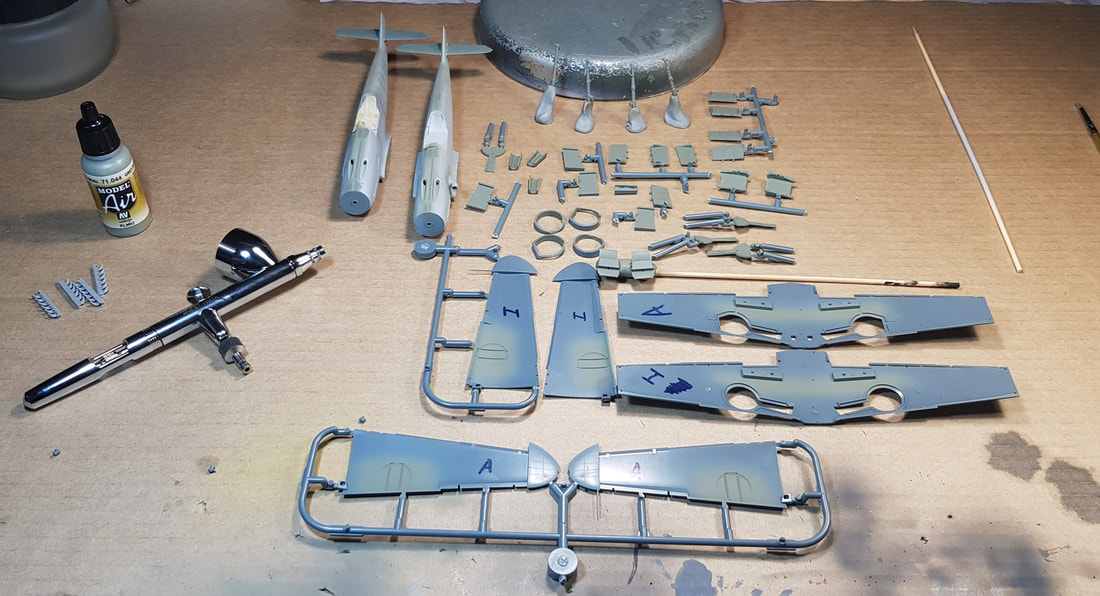
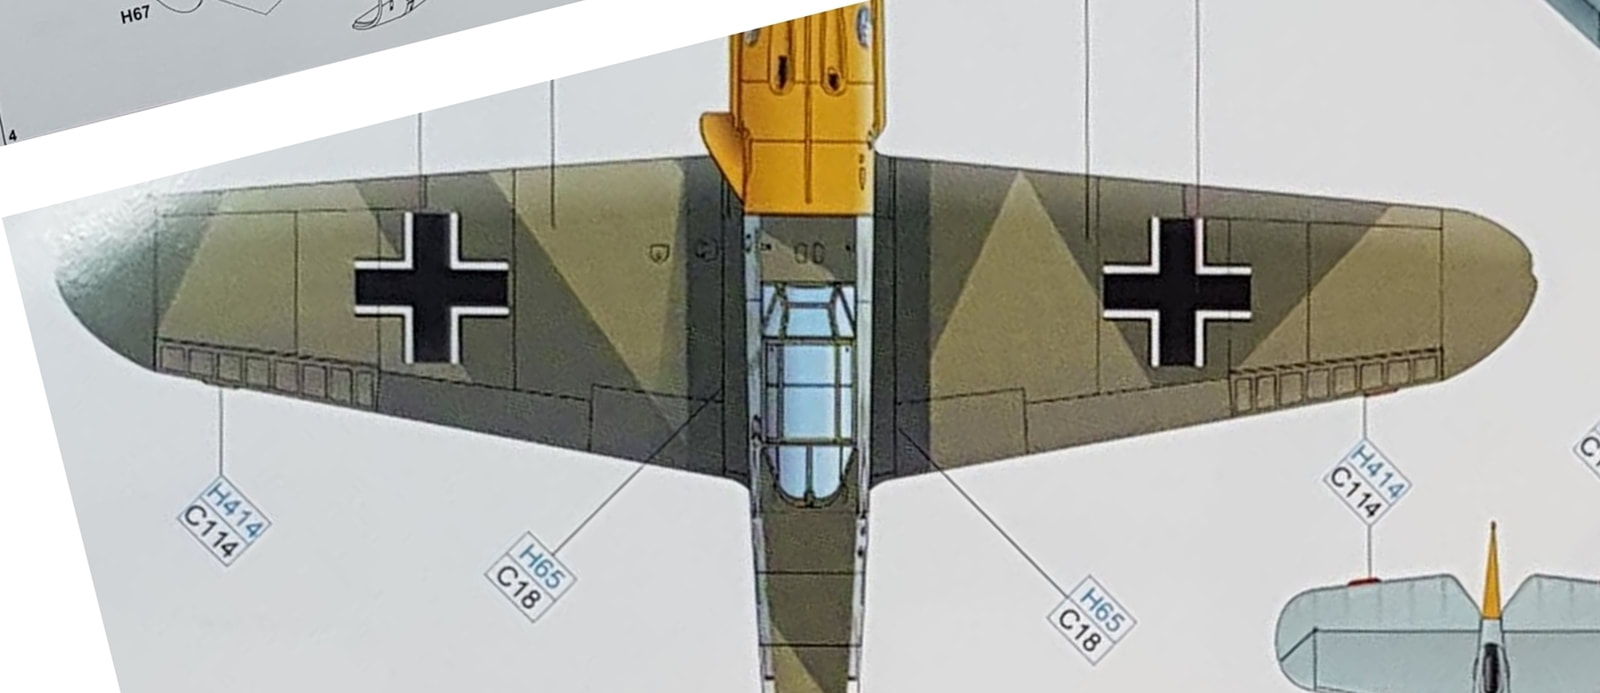
Prepping and spraying the RLM02 parts, the wings for the F1 and F4 have different wheel bays so i marked them out to make sure i didn't stuff it up.
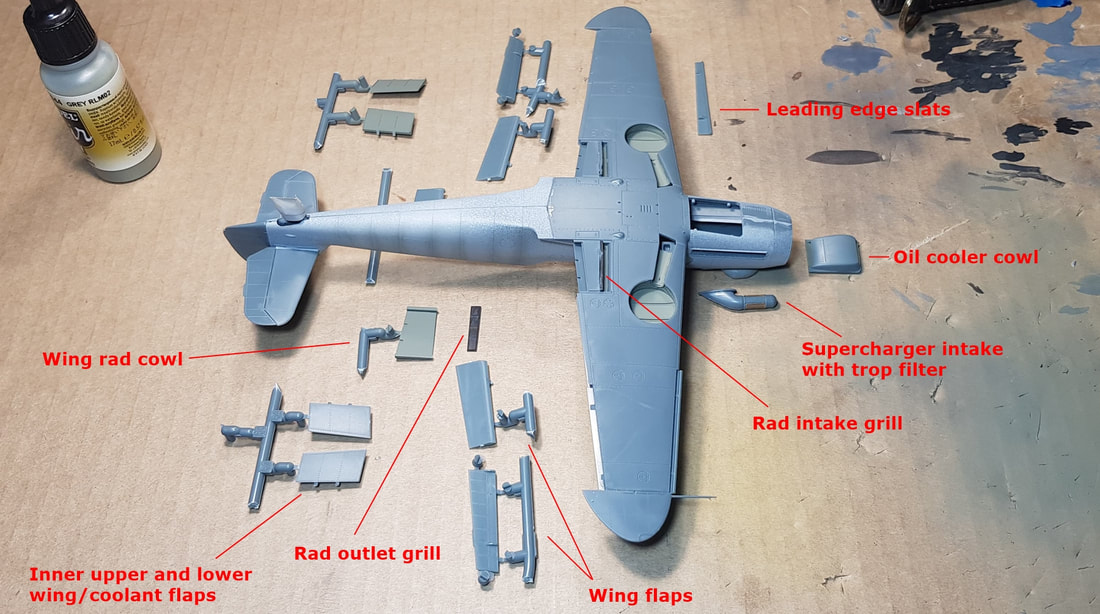
The standard and the deeper Trop oil cooler cover. You have the option here to use PE for the cooler grills inside but unless you're an ant you will never notice the difference, i went with the oob parts.
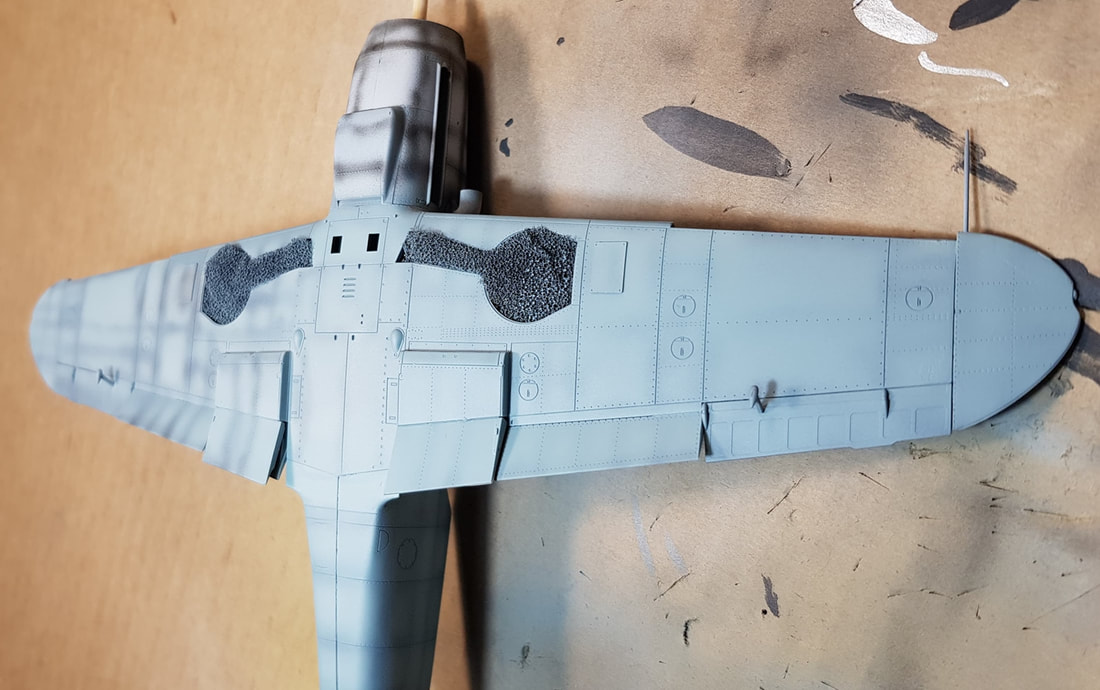
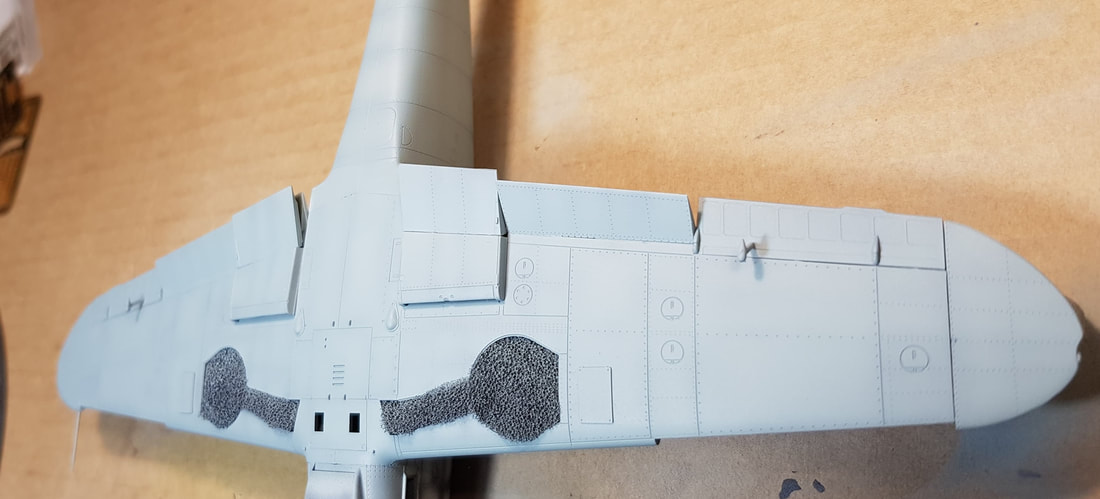
Wings mated to the fuselage and the rest of the sticky on bits.
Pre shading. You don't have to worry about making this too neat as it is your work on top of this that will define how you want it to look. Near enough is good enough.
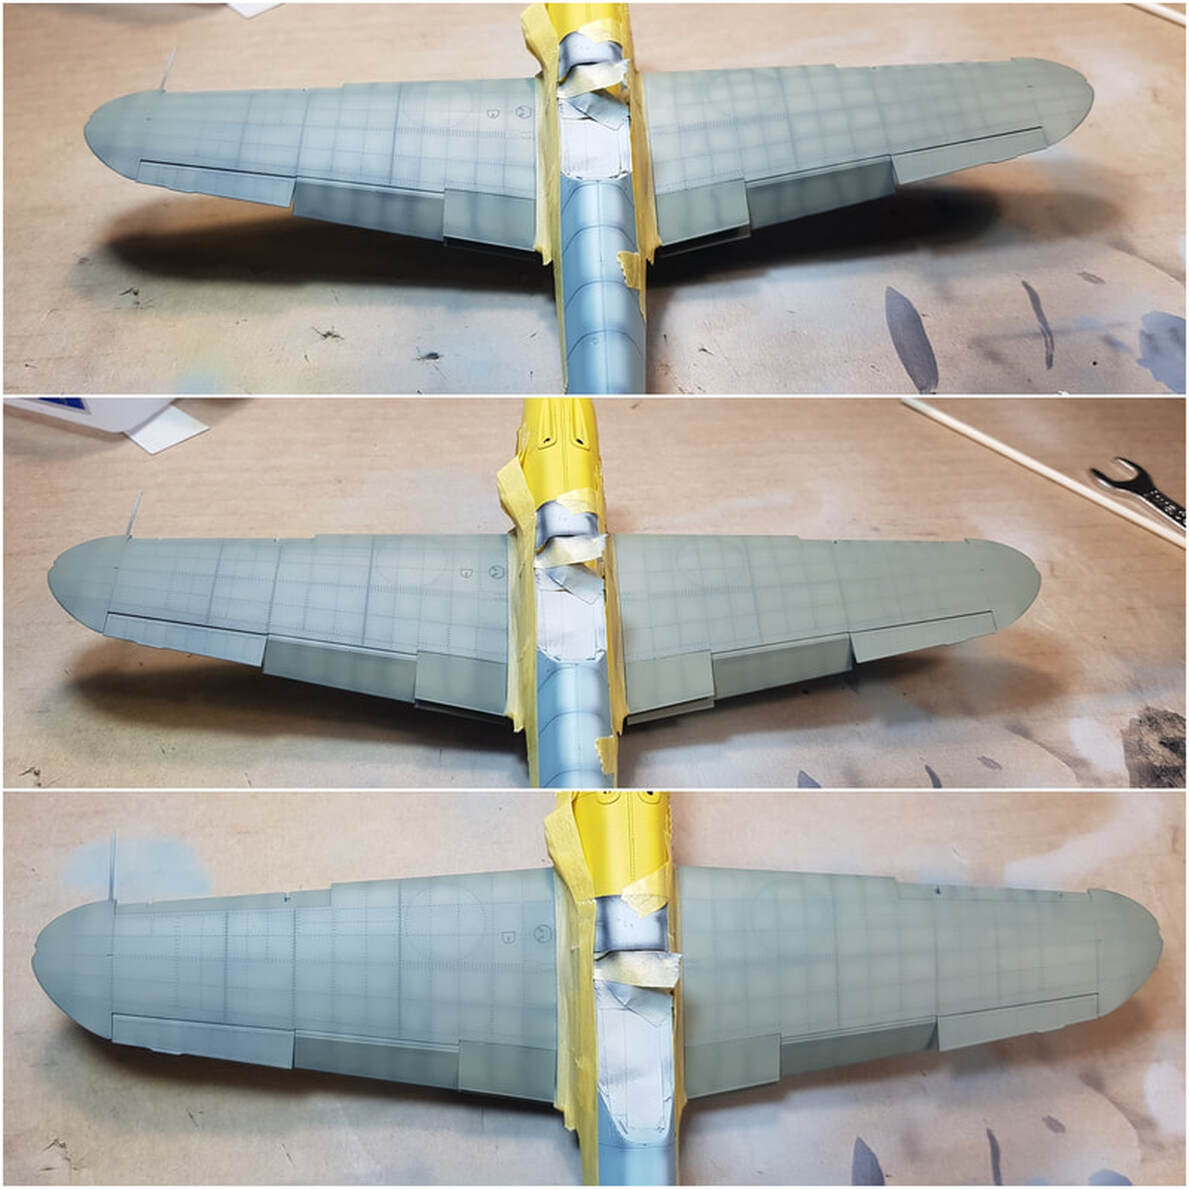
The following pics are as follows - 1.Two coats on one wing v four on the other 2. Four on both 3. Final very light coat over the lot and touching up any areas that stand out too much.

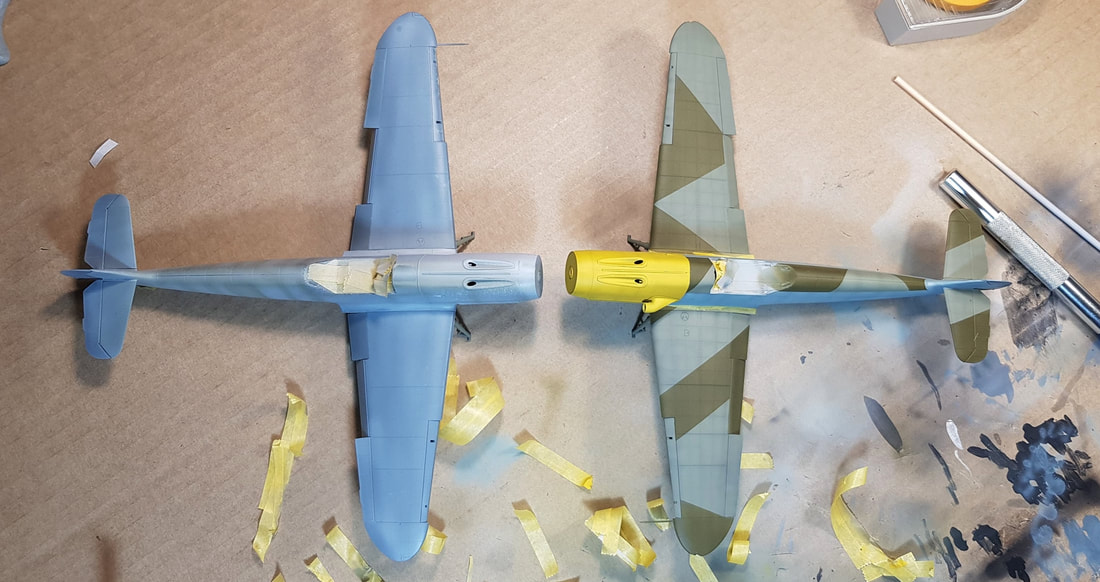
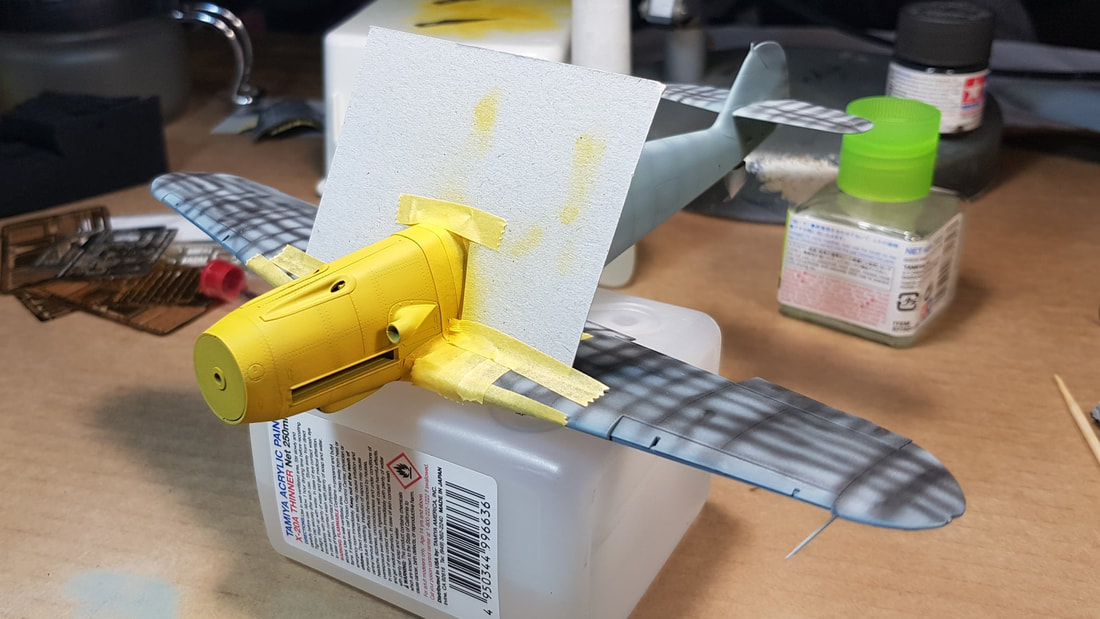
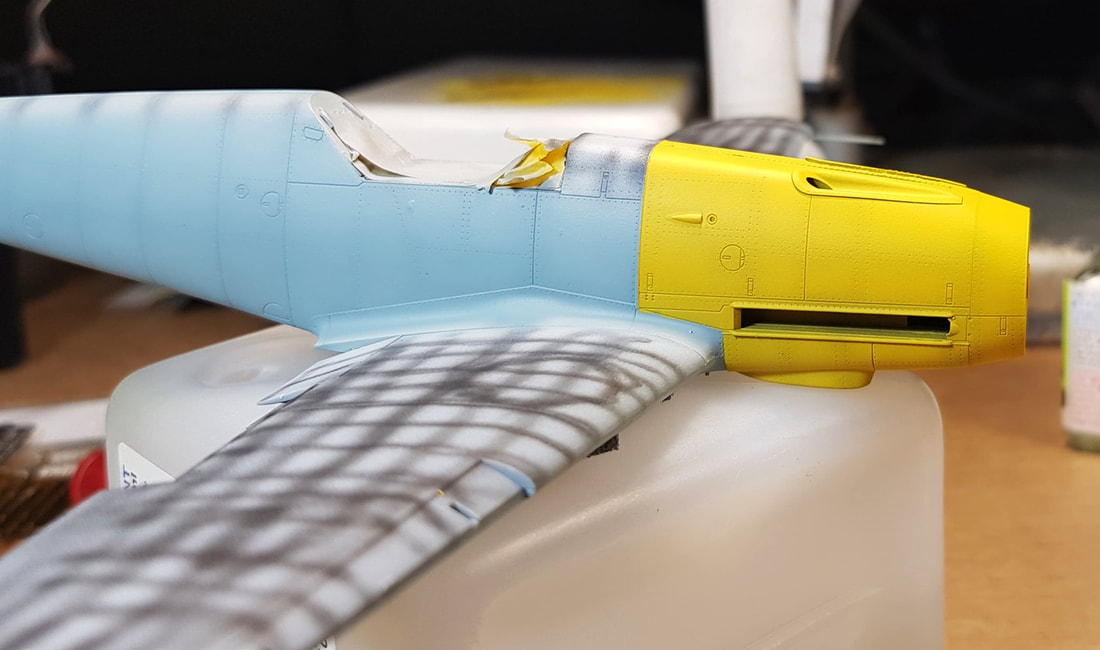
The Vallejo yellow went on very nicely, i should have used a lighter preshade colour as it needed more coats than i would have liked to cover it, another lesson learned. My lights a bit bright to show the effect here but it will show up better in later pics.
The wings i was really happy with how they were turning out. 1. First coat 2. three coats 3. Five coats. 4. Final touch up coat and finished RLM02 all over.
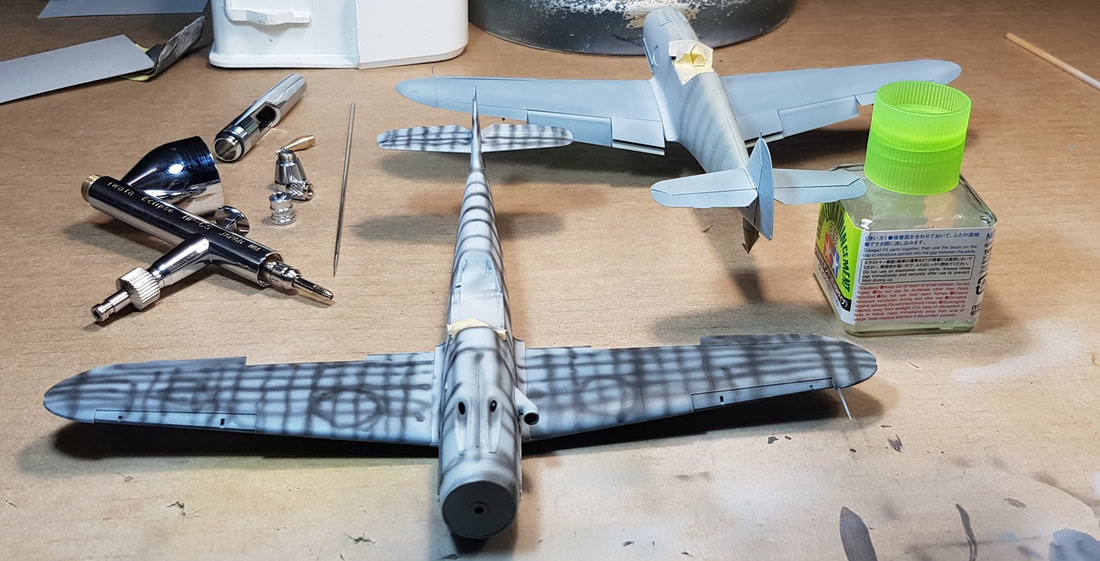
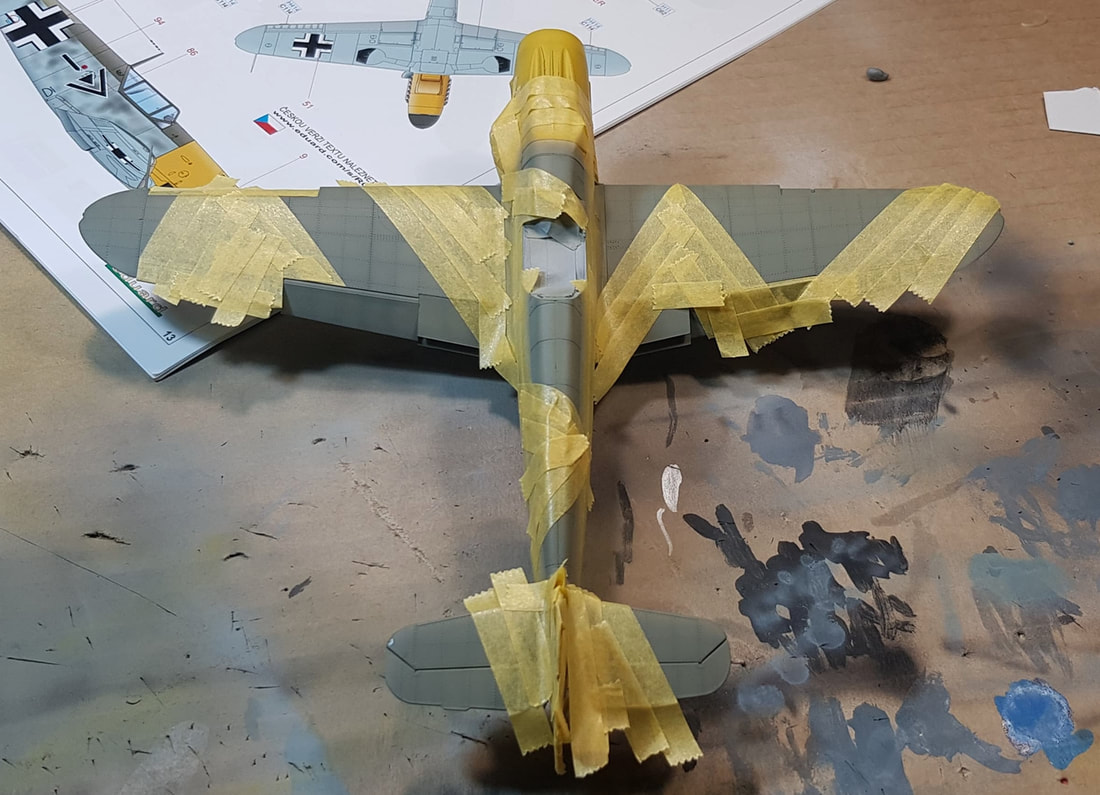
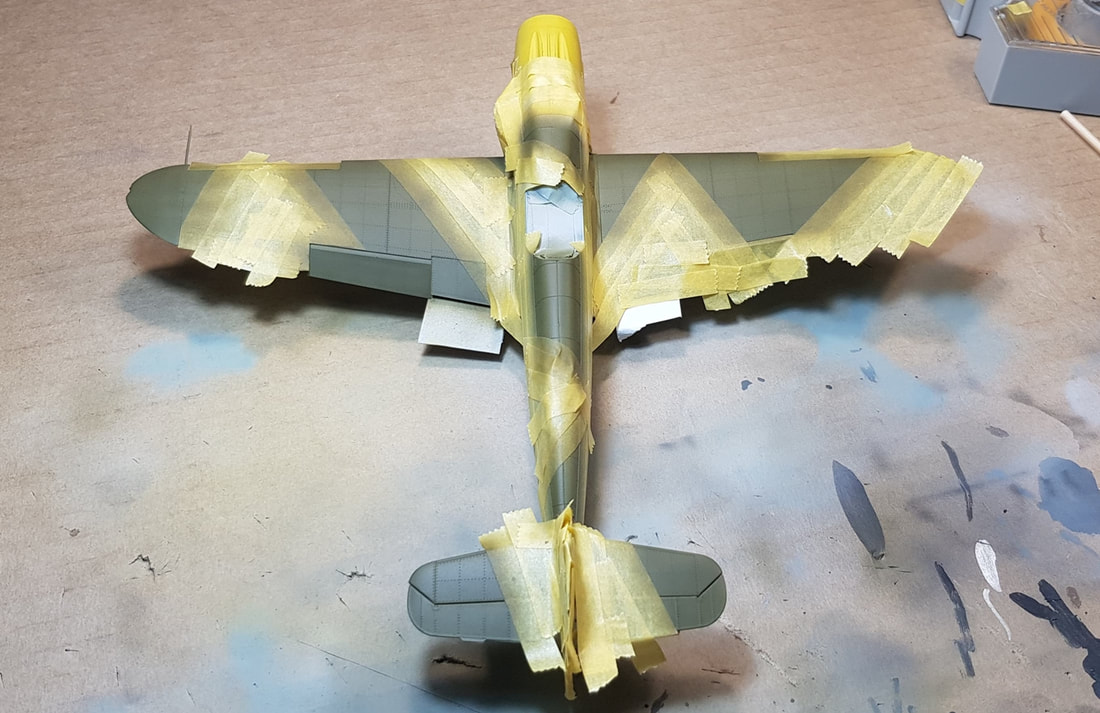
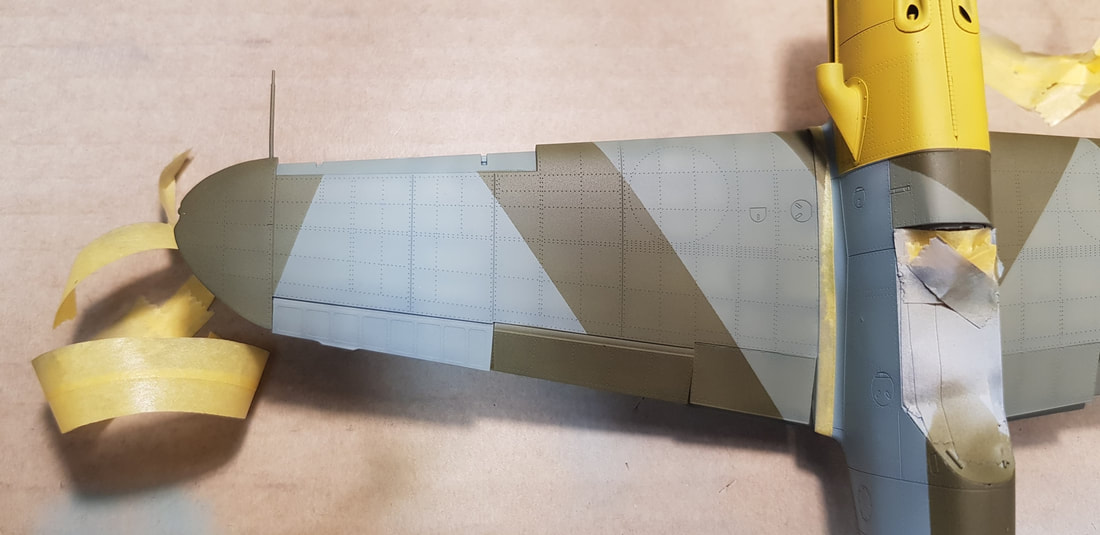
After a few hours under the lamps and sitting overnight it is time for the RLM70 over the lighter RLM02. I like to give it about 12-24 hours for curing even though you can spray earlier than that with acrylics. Not once with this build was there an issue with tape lifting any paint, and i used plenty of it!

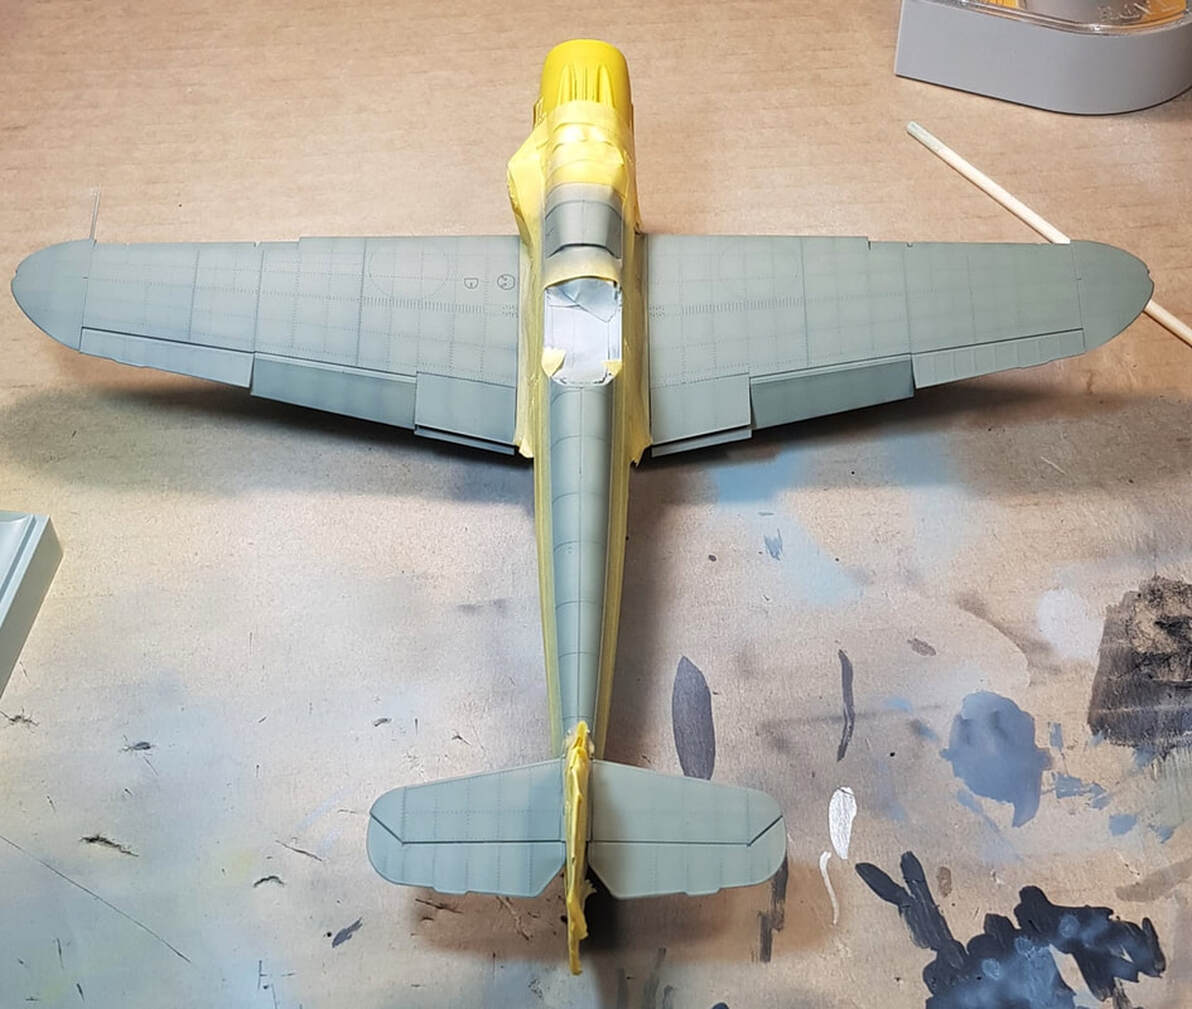
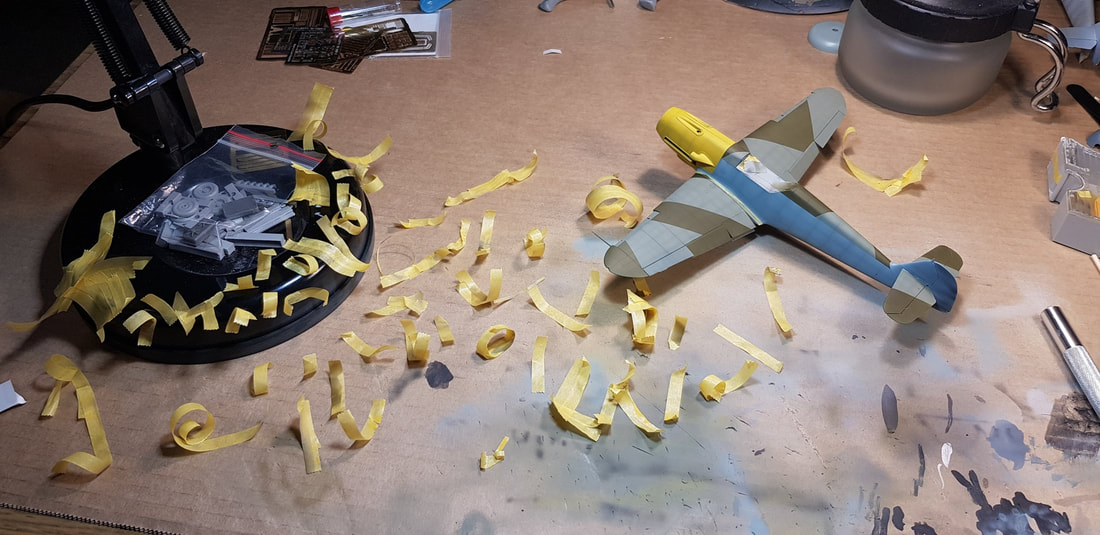
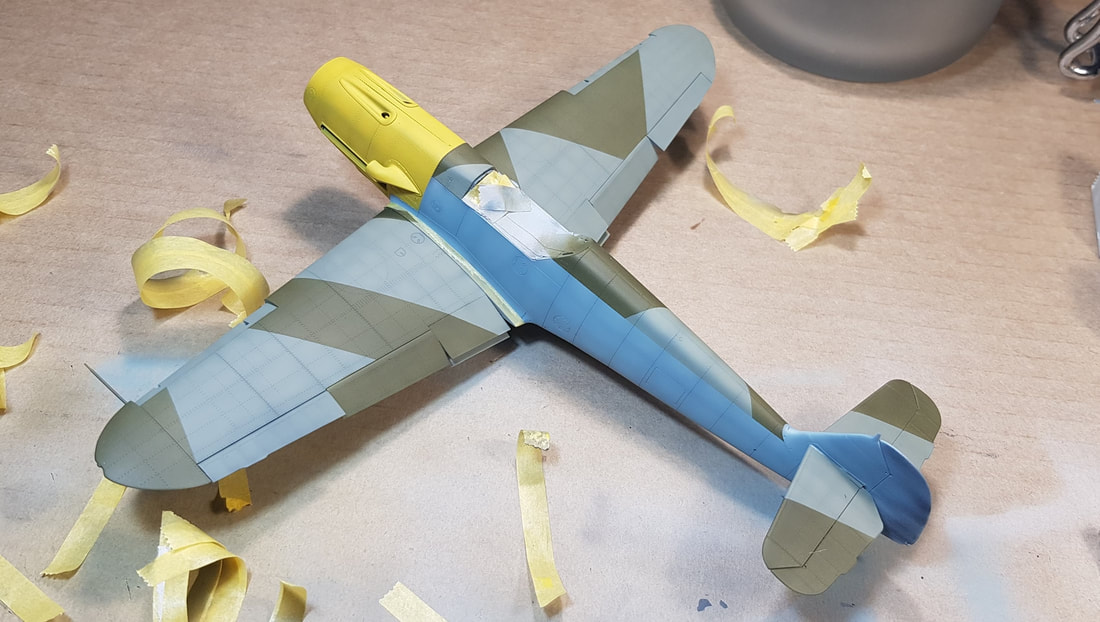
And now we have what is starting to look like an early war generic 109F1!

So i will move on with the Molders 109 to the point of ready for decals and then get the Trop version to the same stage so i can decal in one go.