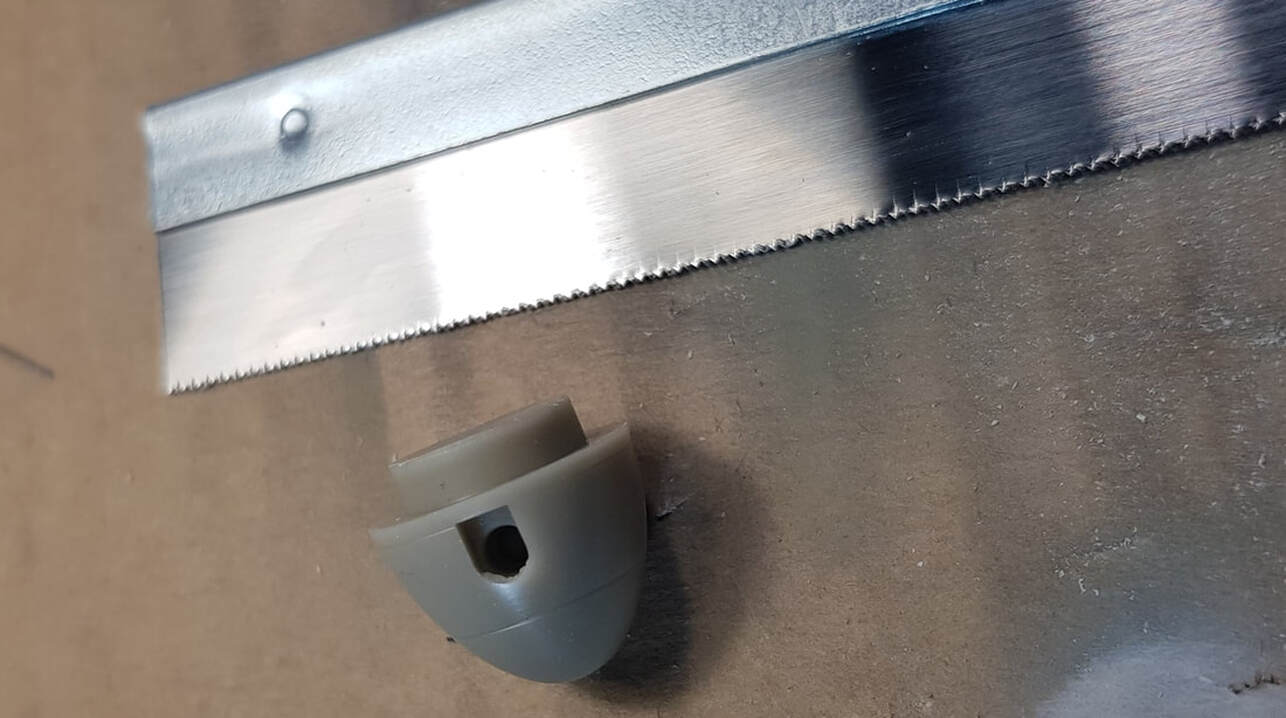
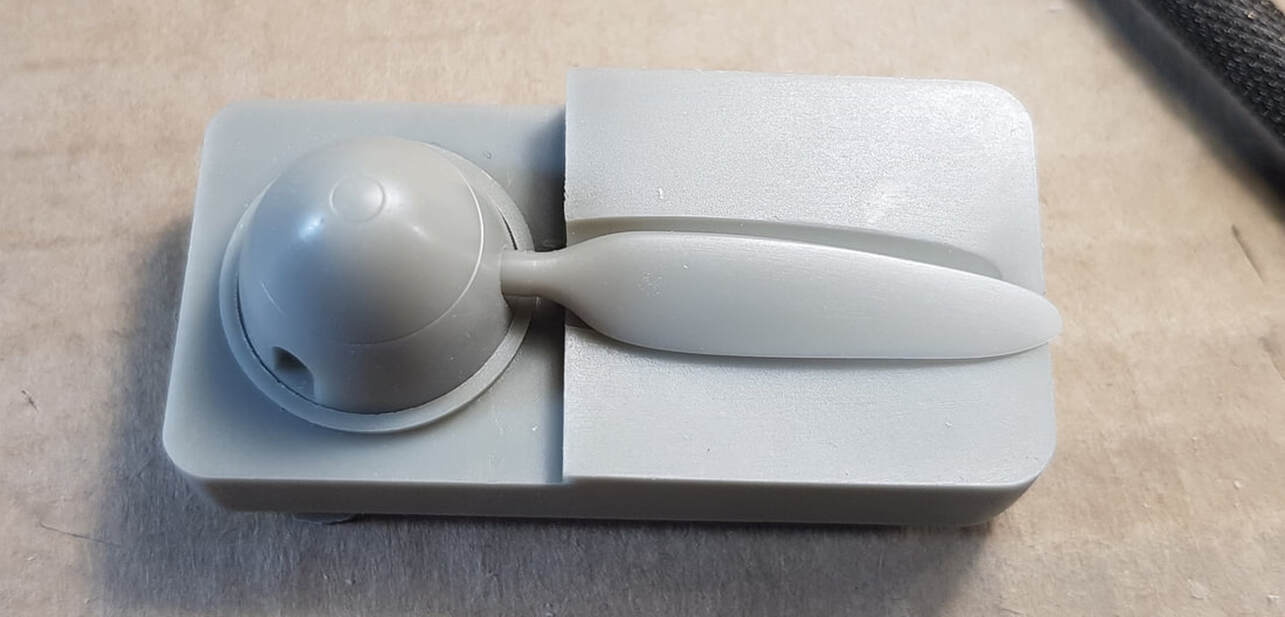
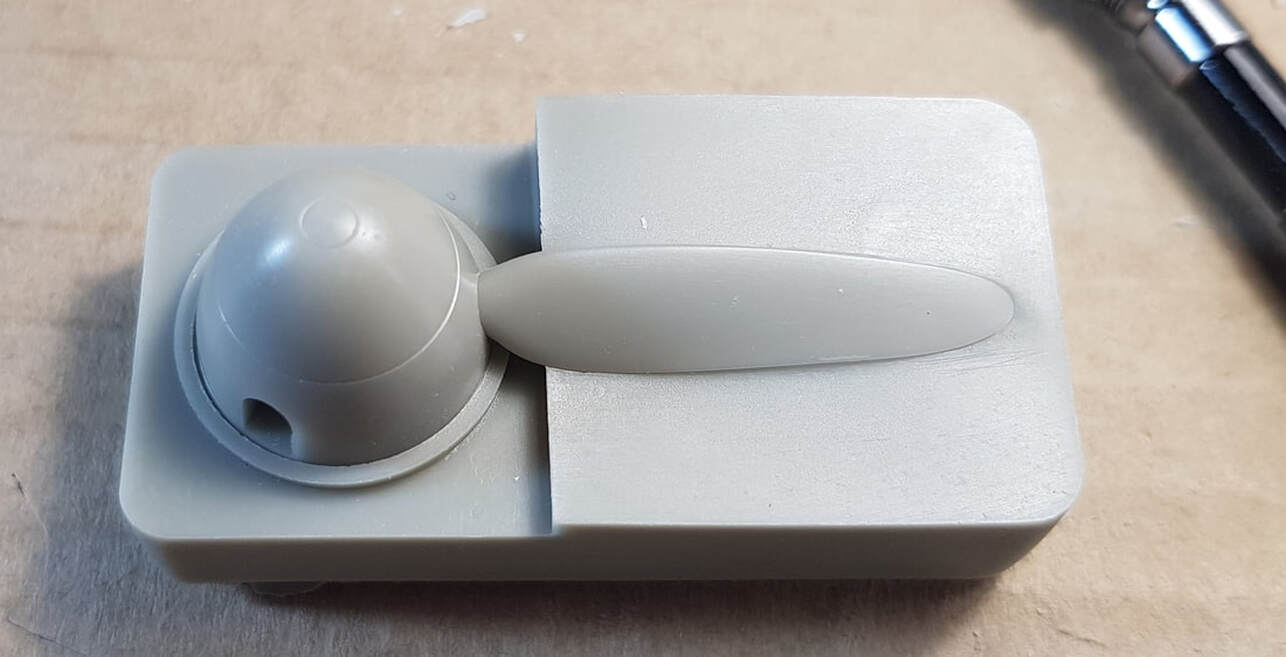
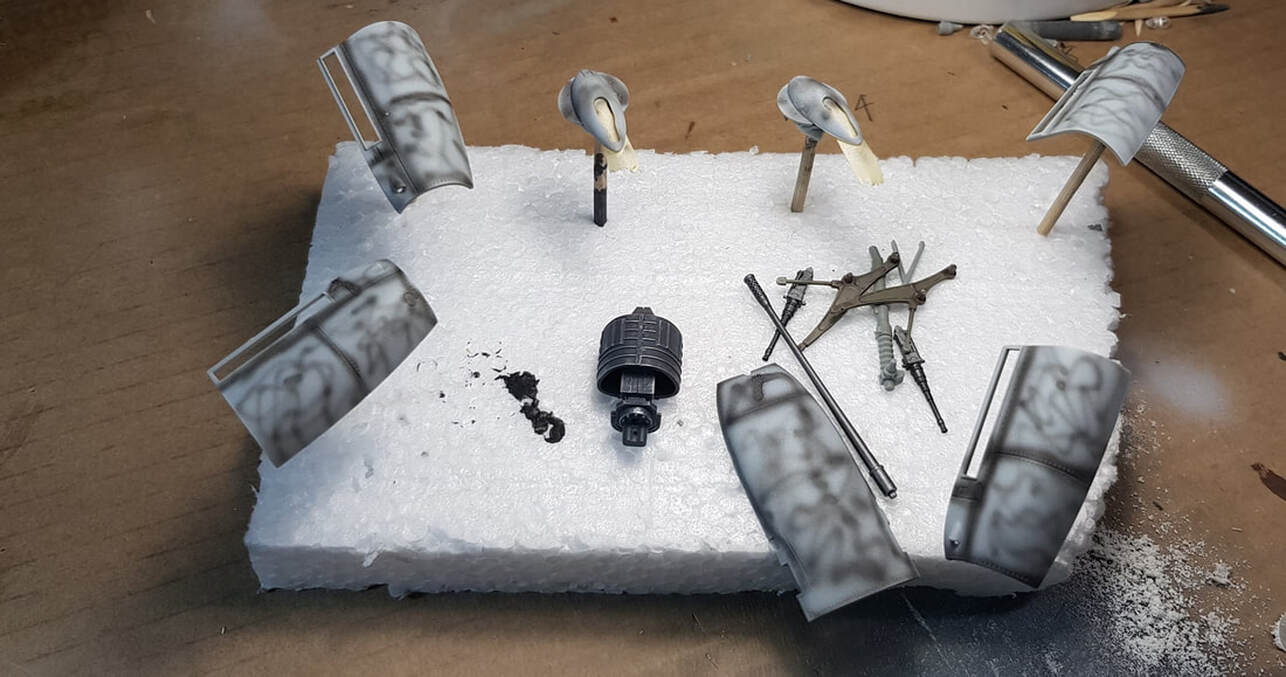
Quickboost props and the aligning tool. I bit the bullet and shelled out as, much pain as that caused, i simply could not use the supplied props or spinner.
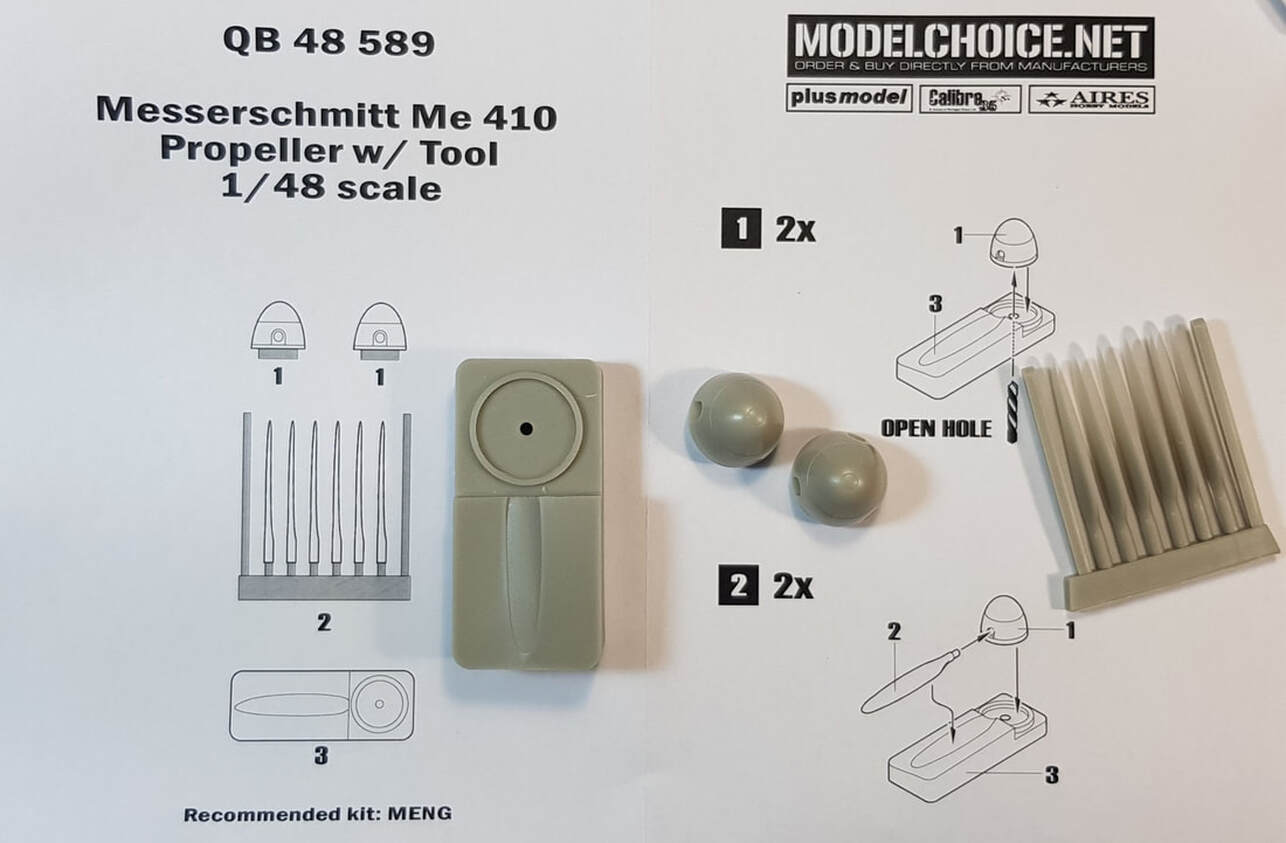
The base nub needs to be cut off so it will fit in the aligning tool. Once the blades are removed from the cast they require trimming which will net you the correct length and angle. The inside of the spinner needs some flash clean up as well.
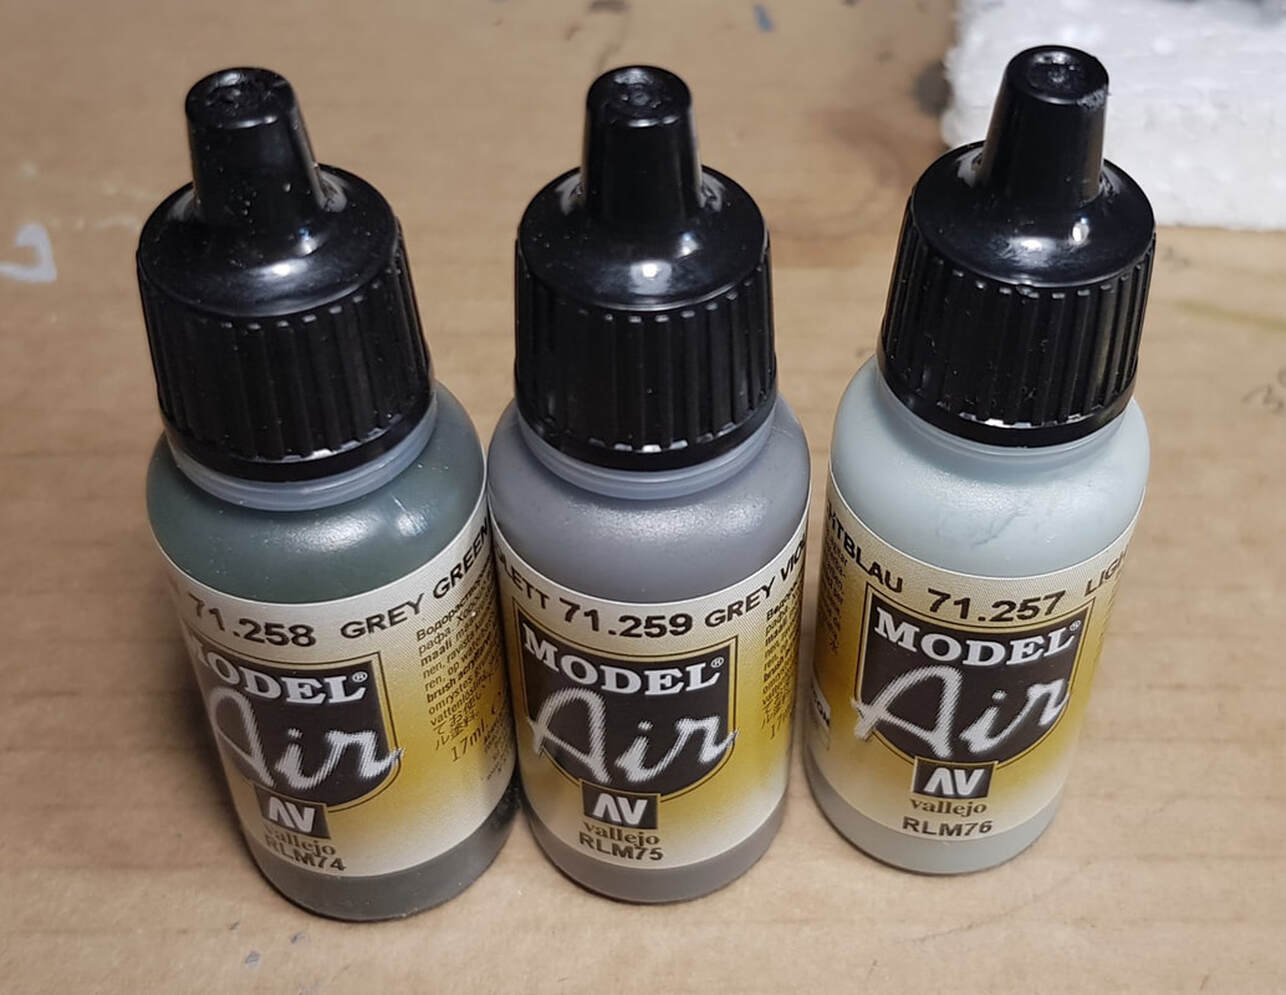
.This mornings 2am painting spree, way too hot to have done any painting during the day. When the day arrived fully i nicked off down to the paint shop to acquire the 74/75/76 Luftwaffe paint shceme.
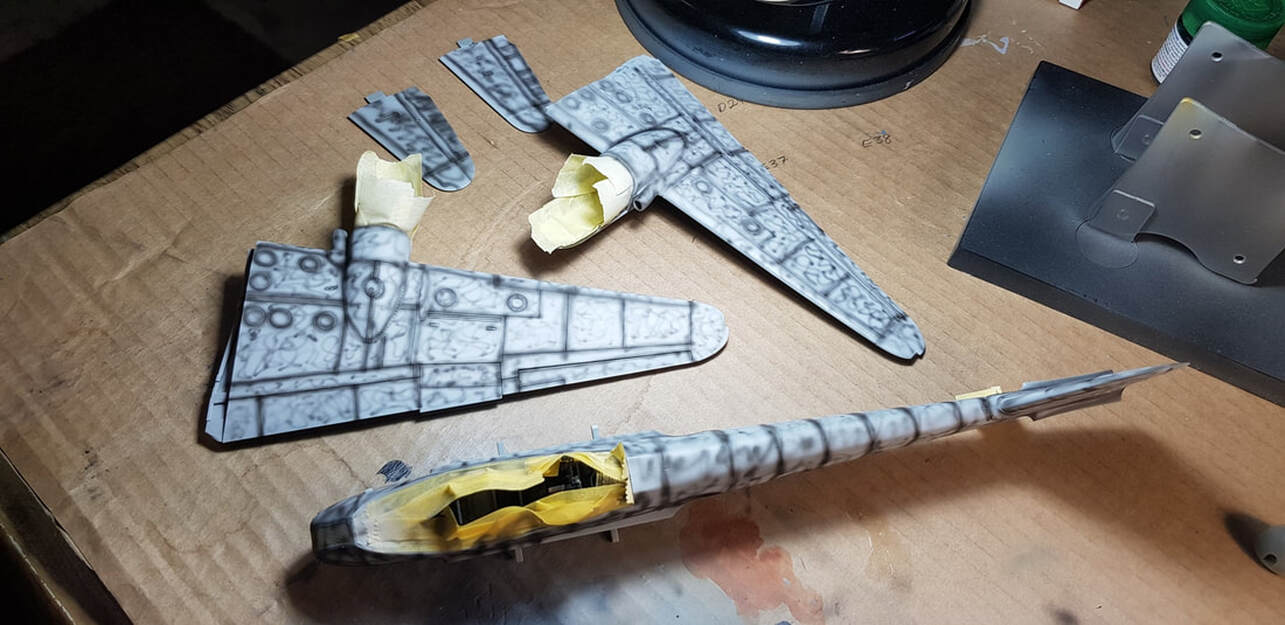
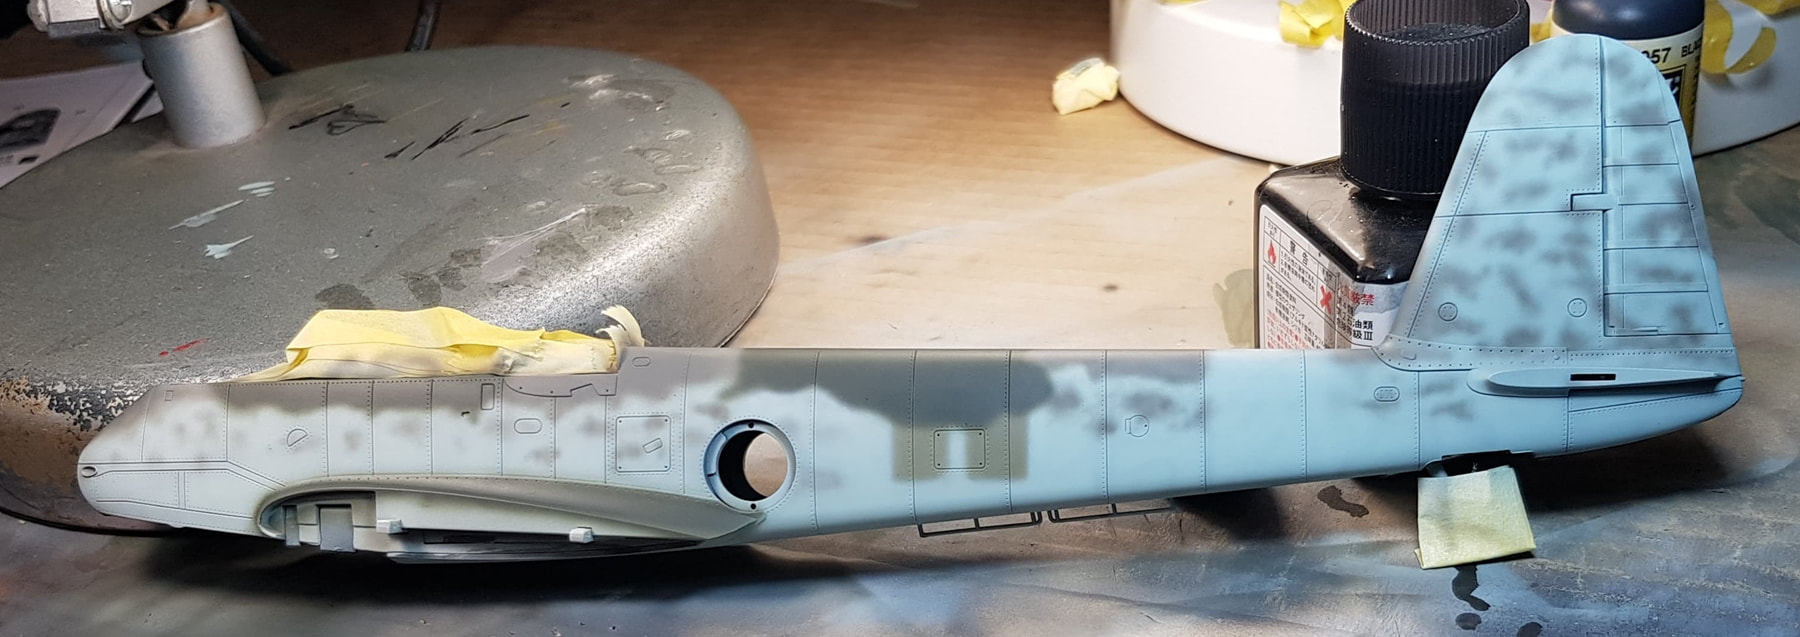
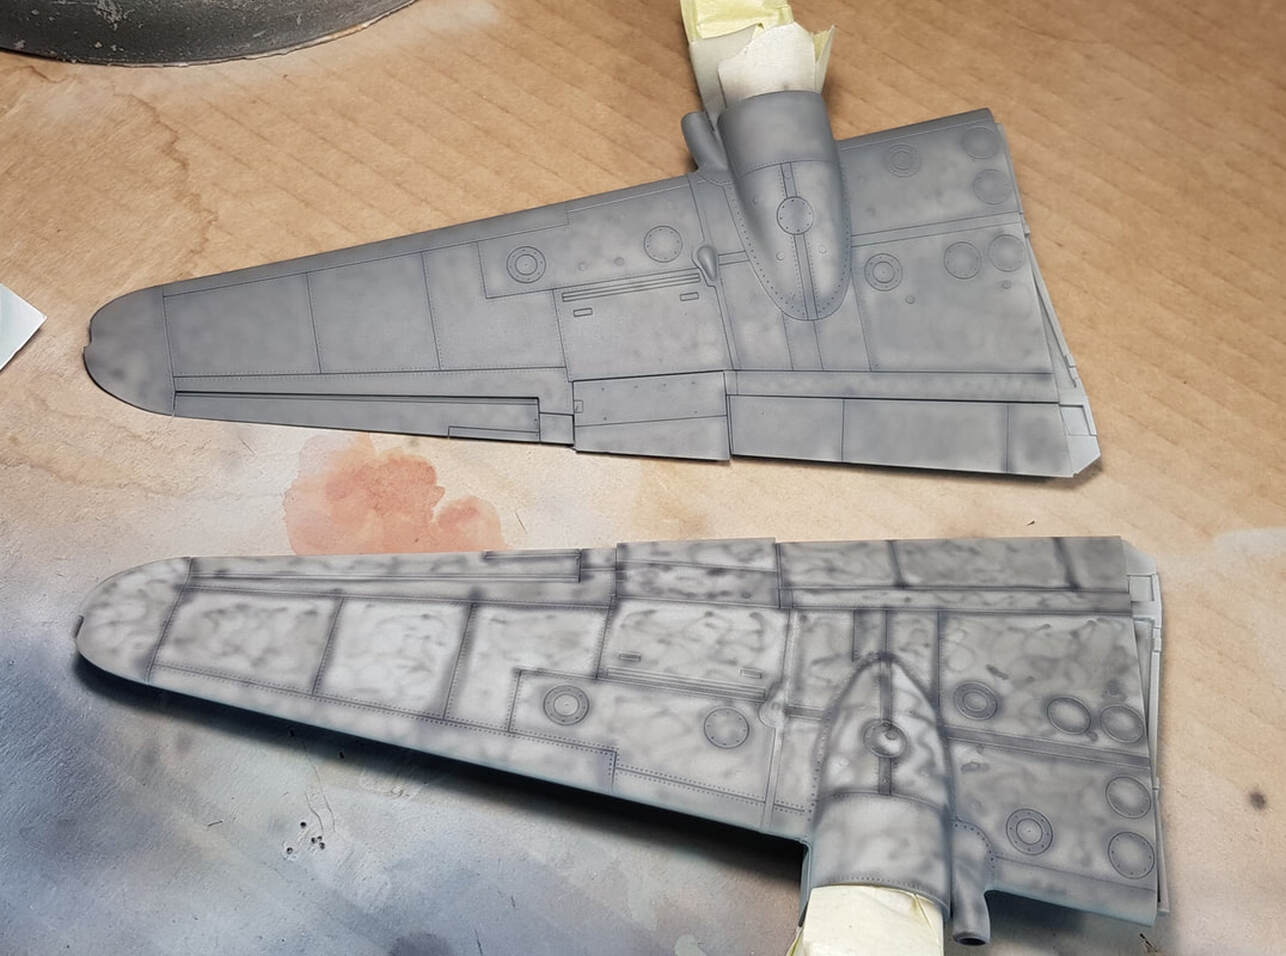
Blue down, lighting is harsh but the preshading streaks and squiggles do come through and give it some character. 50/50 mix paint/vallejo acrylic thinner. I did try their flow improver but found no difference by using the product.
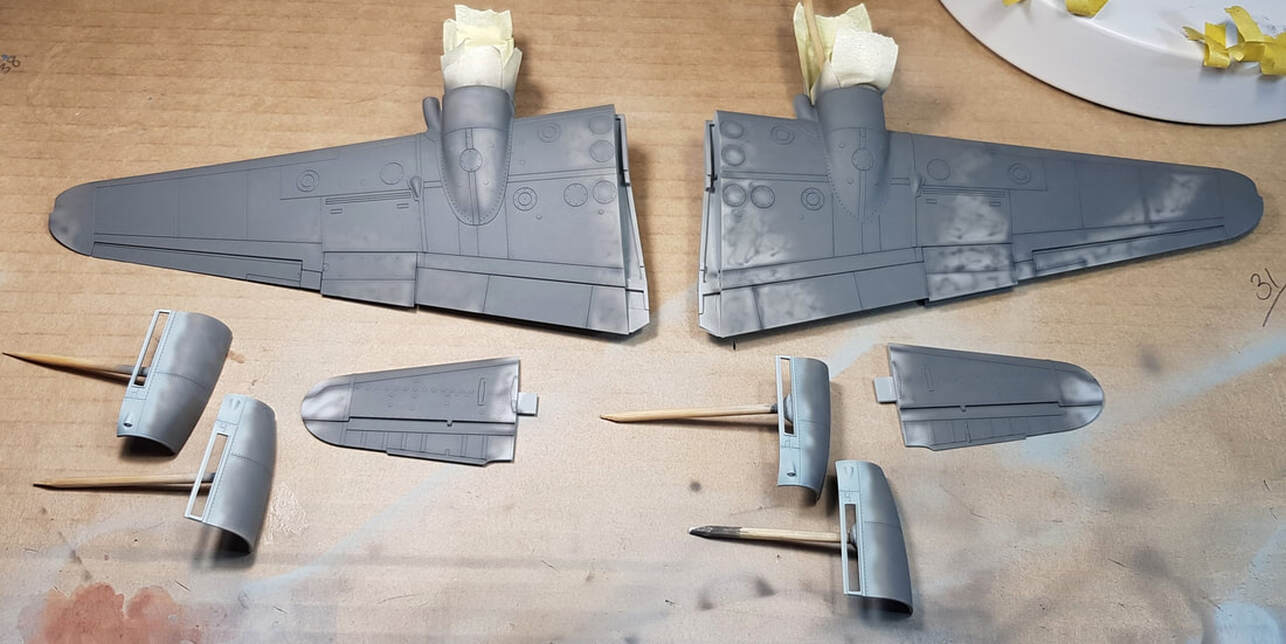
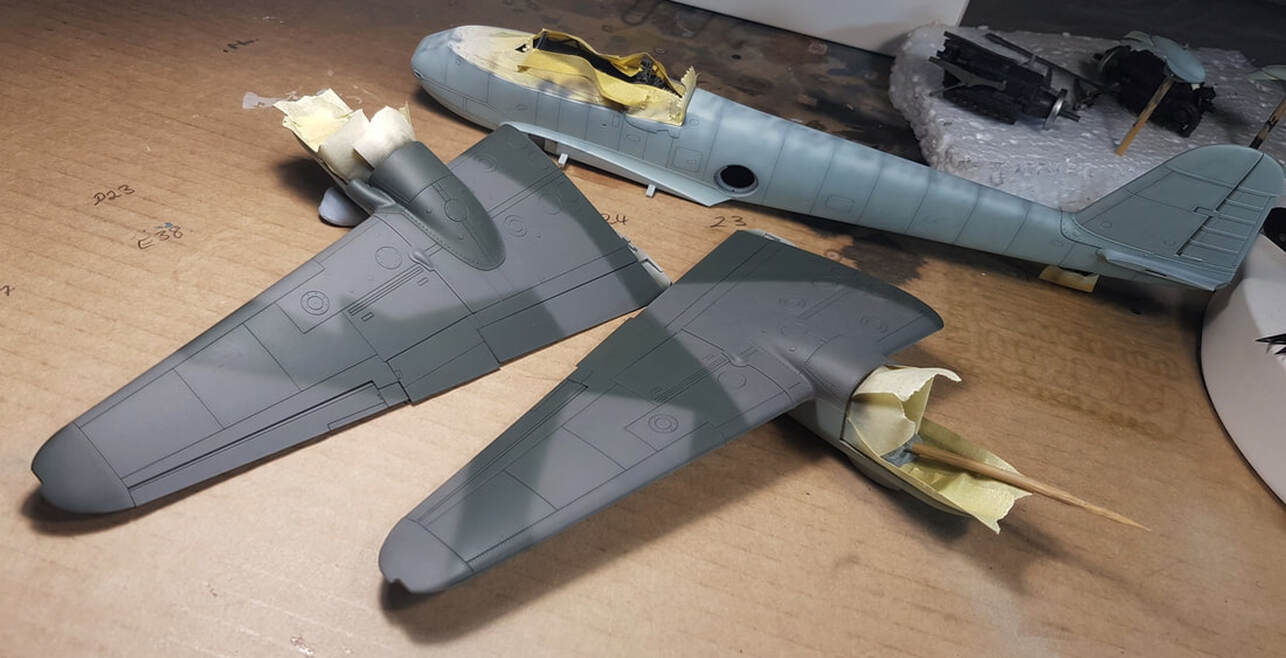
First coats of the grey violet RLM75

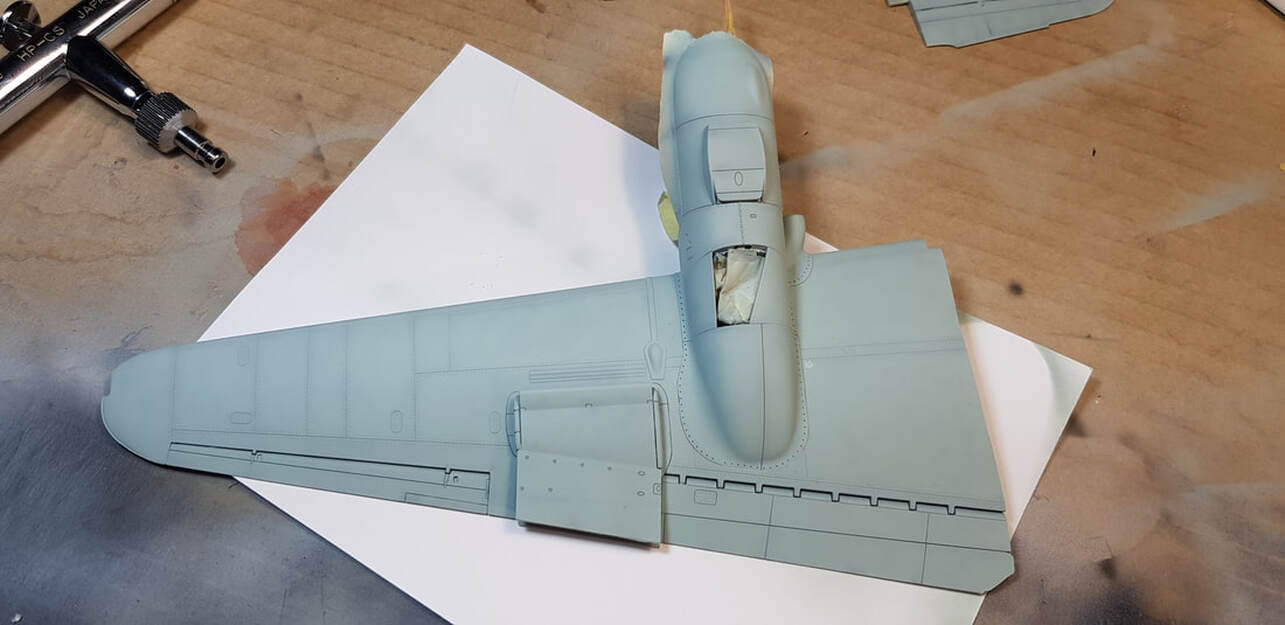
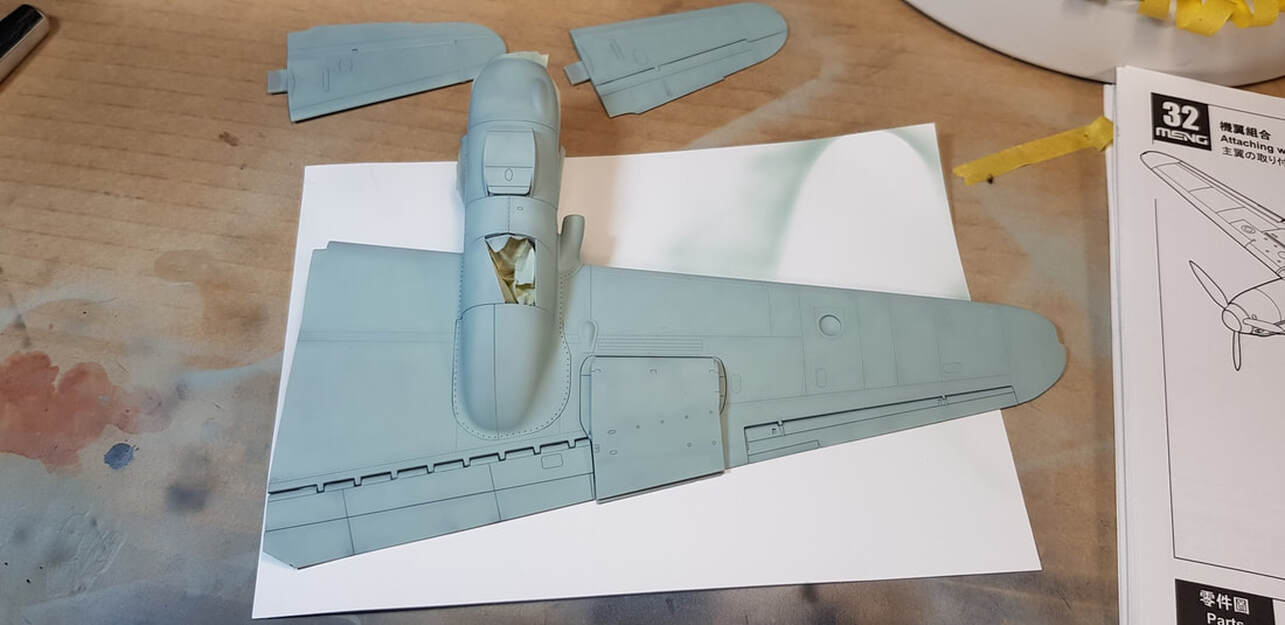
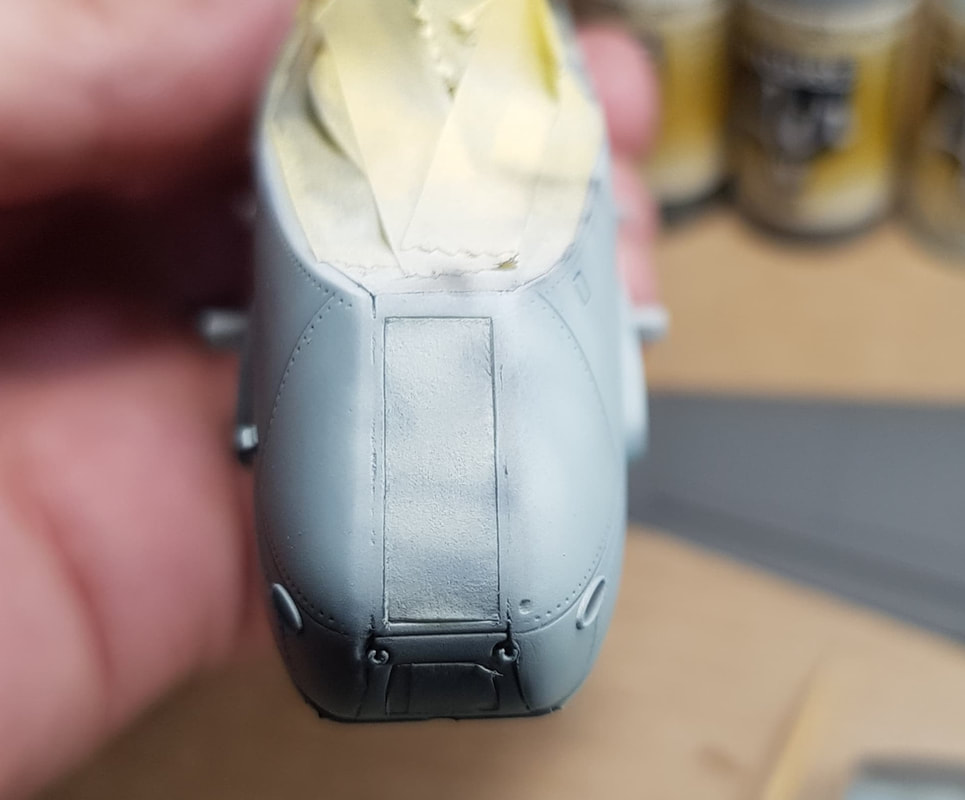
I also picked up some two part Milliput (filler) today as i have decided to finally ditch the Tamiya putty, it simply dries too quickly and you are left with minimum working time. So anyway, i still need a last little fill job on the front end window sides and surrounds to clean it up and upon further inspection had thought my sanding had split the gun barrel ends. I was having mini fits thinking of how i was to repair them and kicking myself for making extra work. Looking back at pics in this thread it appears they were like that to start with, thankfully.
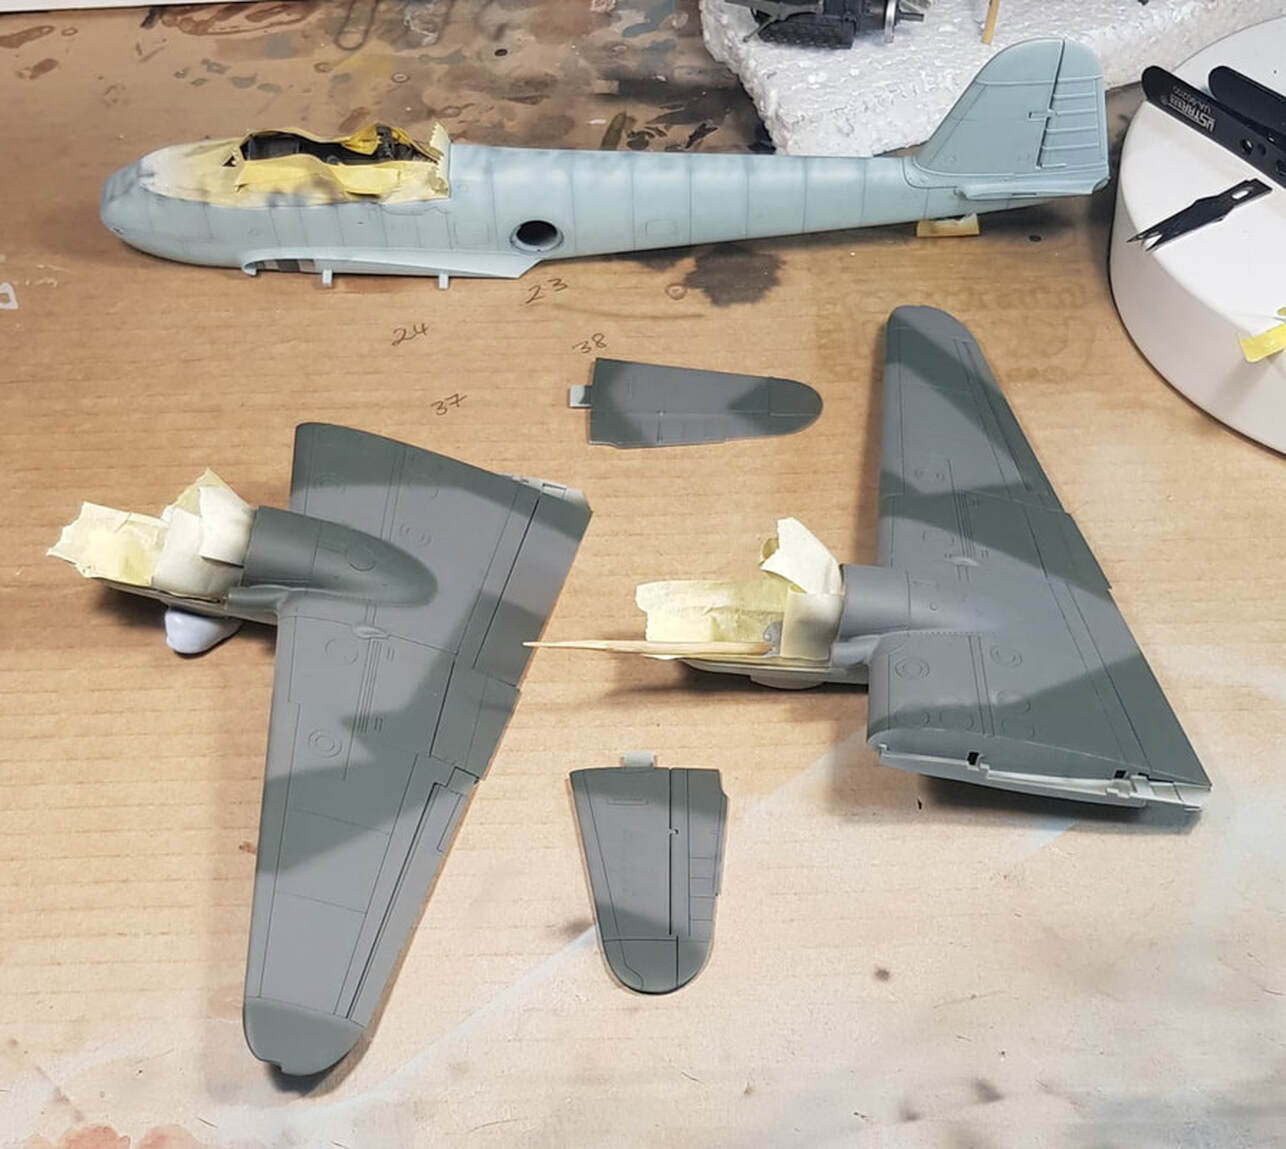
Wings done, fuselage tomorrow.
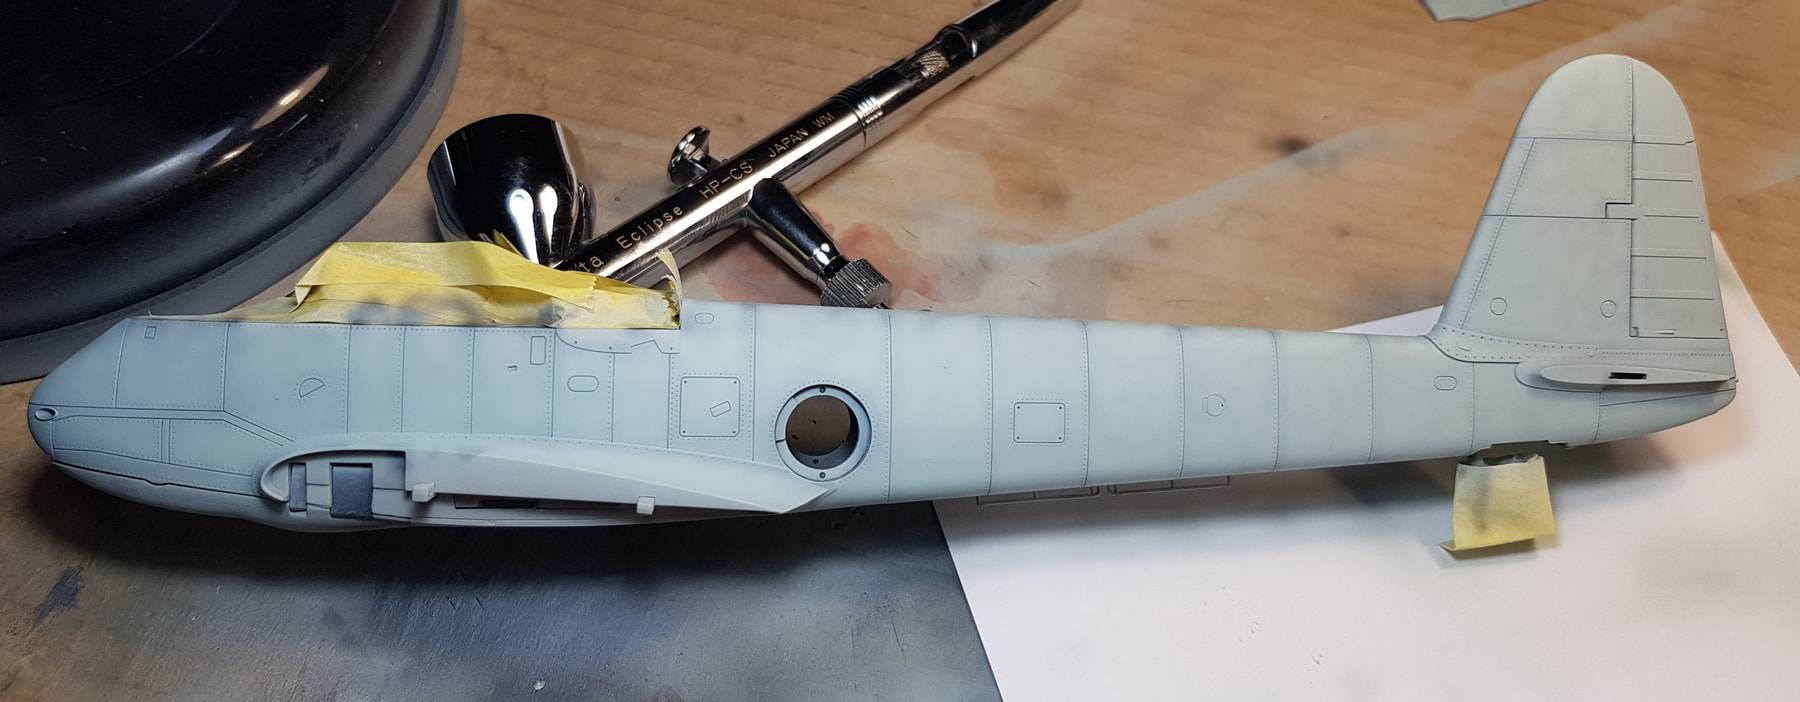
Fuselage.
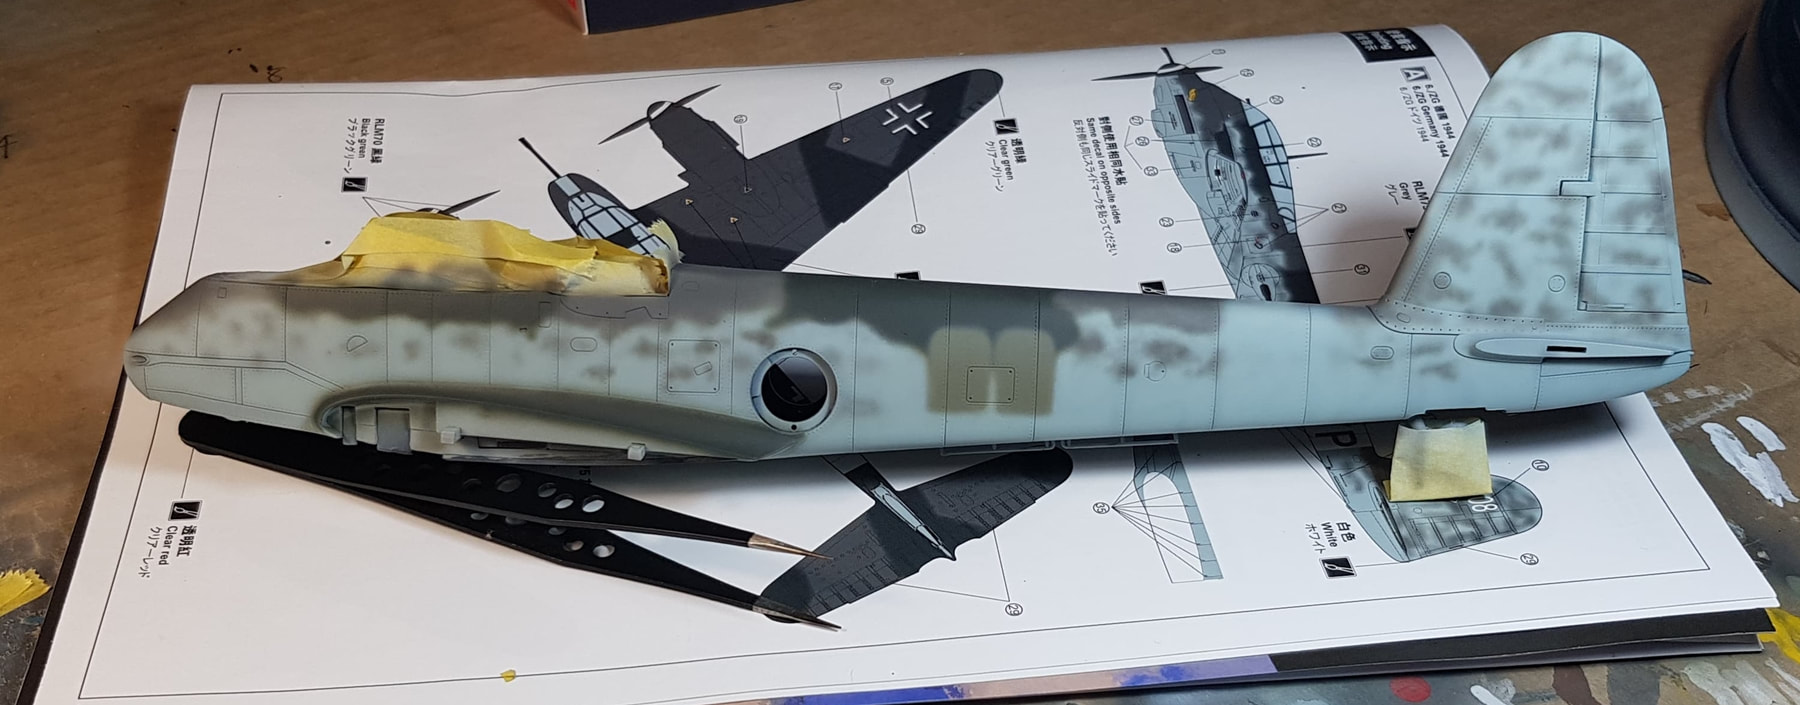
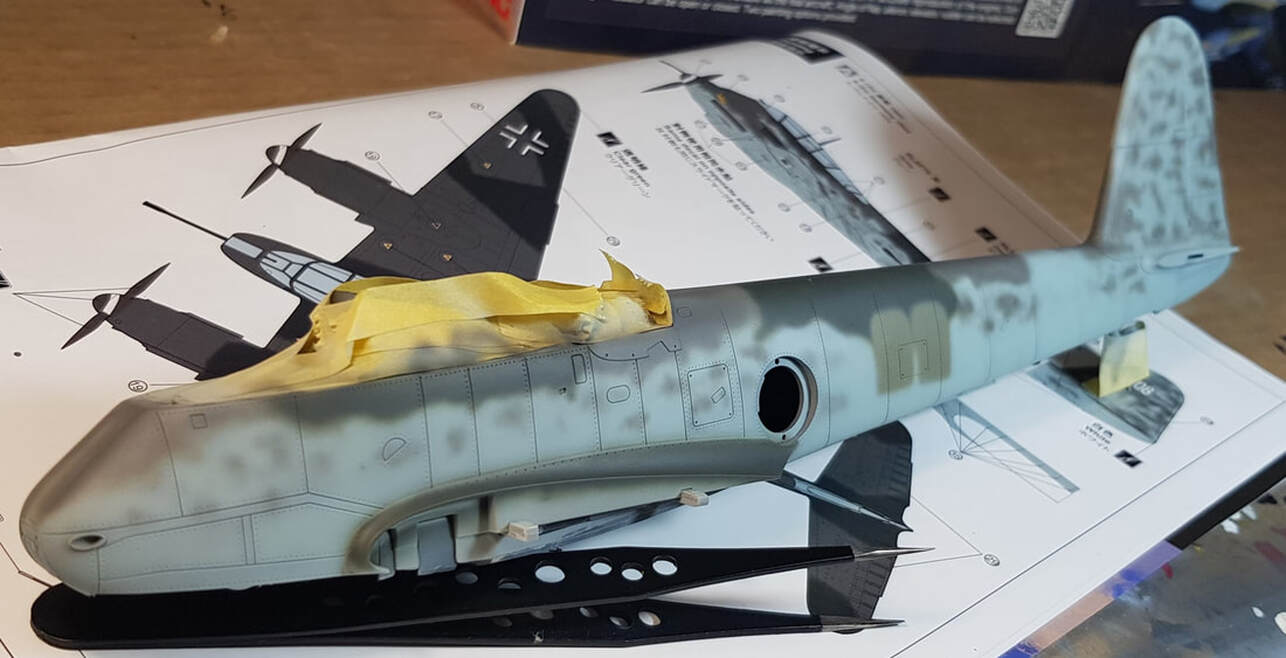
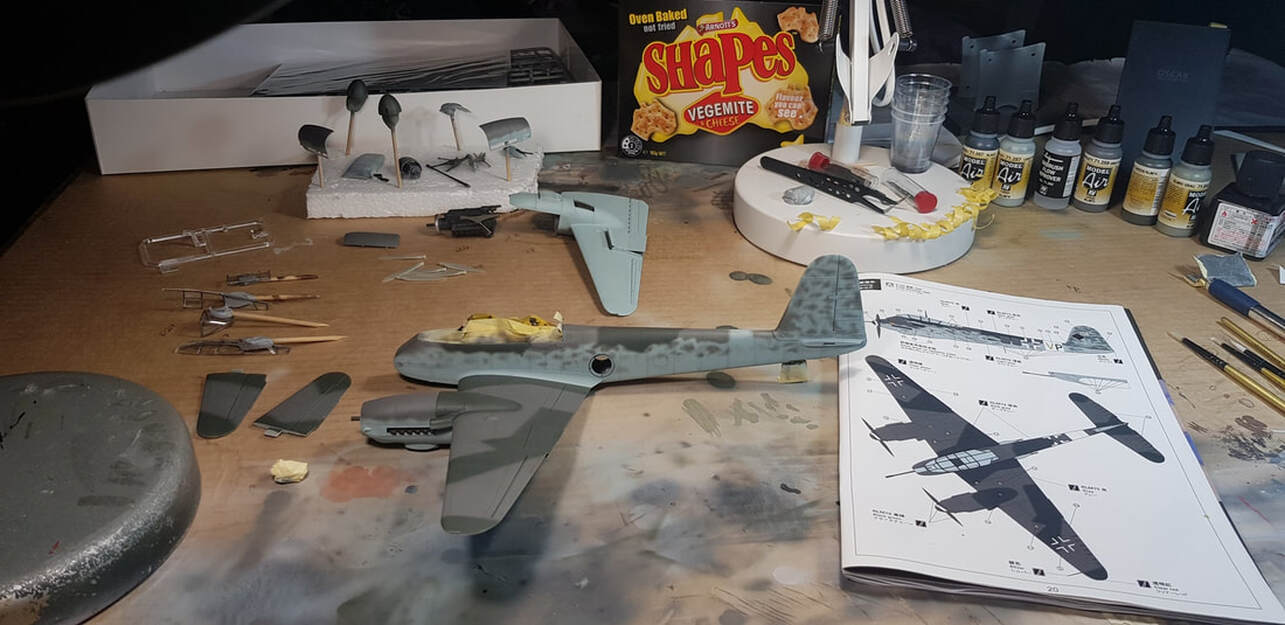
RLM 75 grey violet first followed by the 74 grey green. I made a really thin mix of both colours and attempted to build it up slowly so it looks a bit patchy. Intersting that only the left side has the mottling, i need to spray over the mottling i started doing on the right side.Those sexy looking vegemite shapes are my late night youtube companion.
RLM 75 grey violet first followed by the 74 grey green. I made a really thin mix of both colours and attempted to build it up slowly so it looks a bit patchy. Intersting that only the left side has the mottling, i need to spray over the mottling i started doing on the right side.Those sexy looking vegemite shapes are my late night youtube companion.
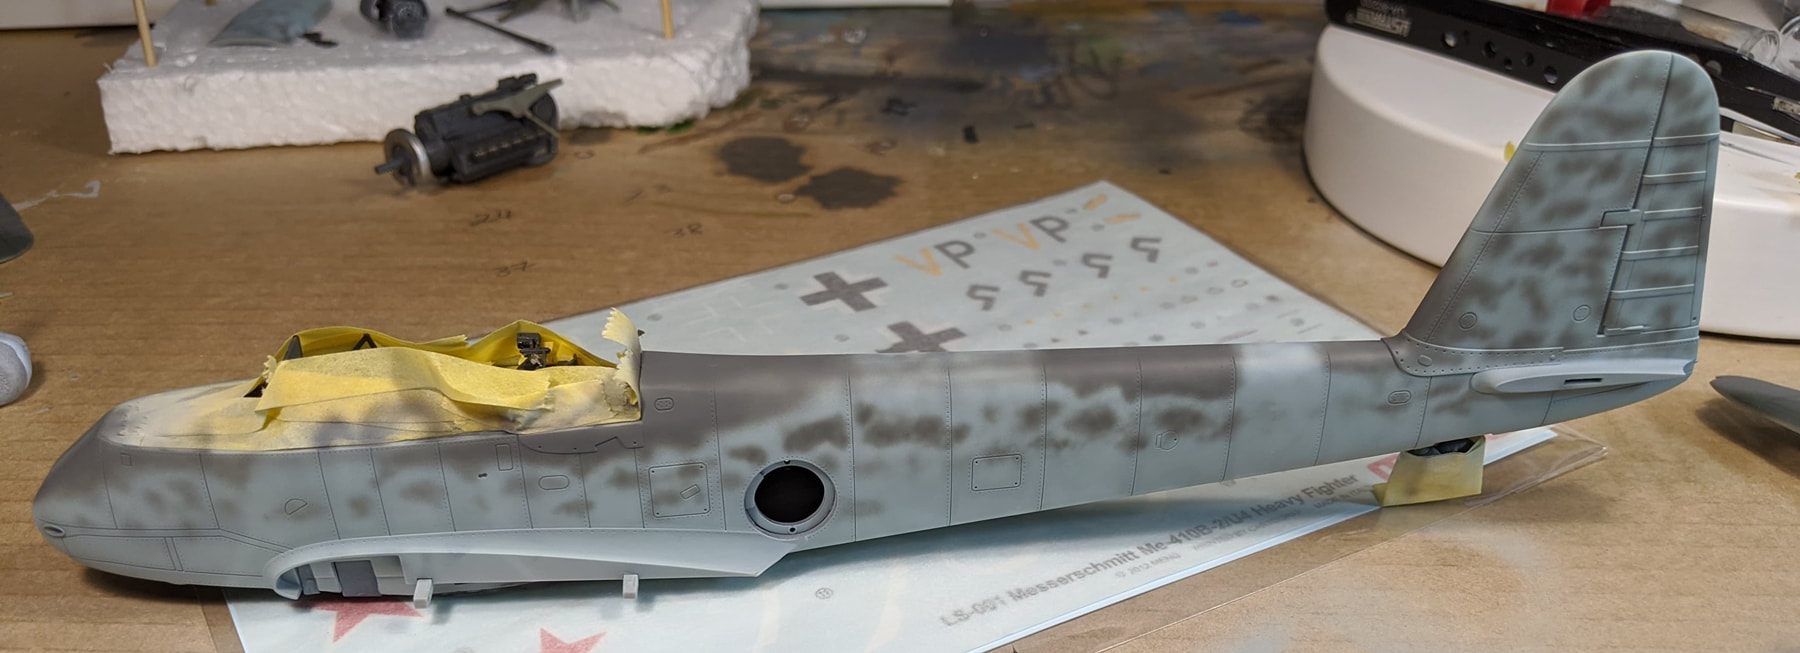
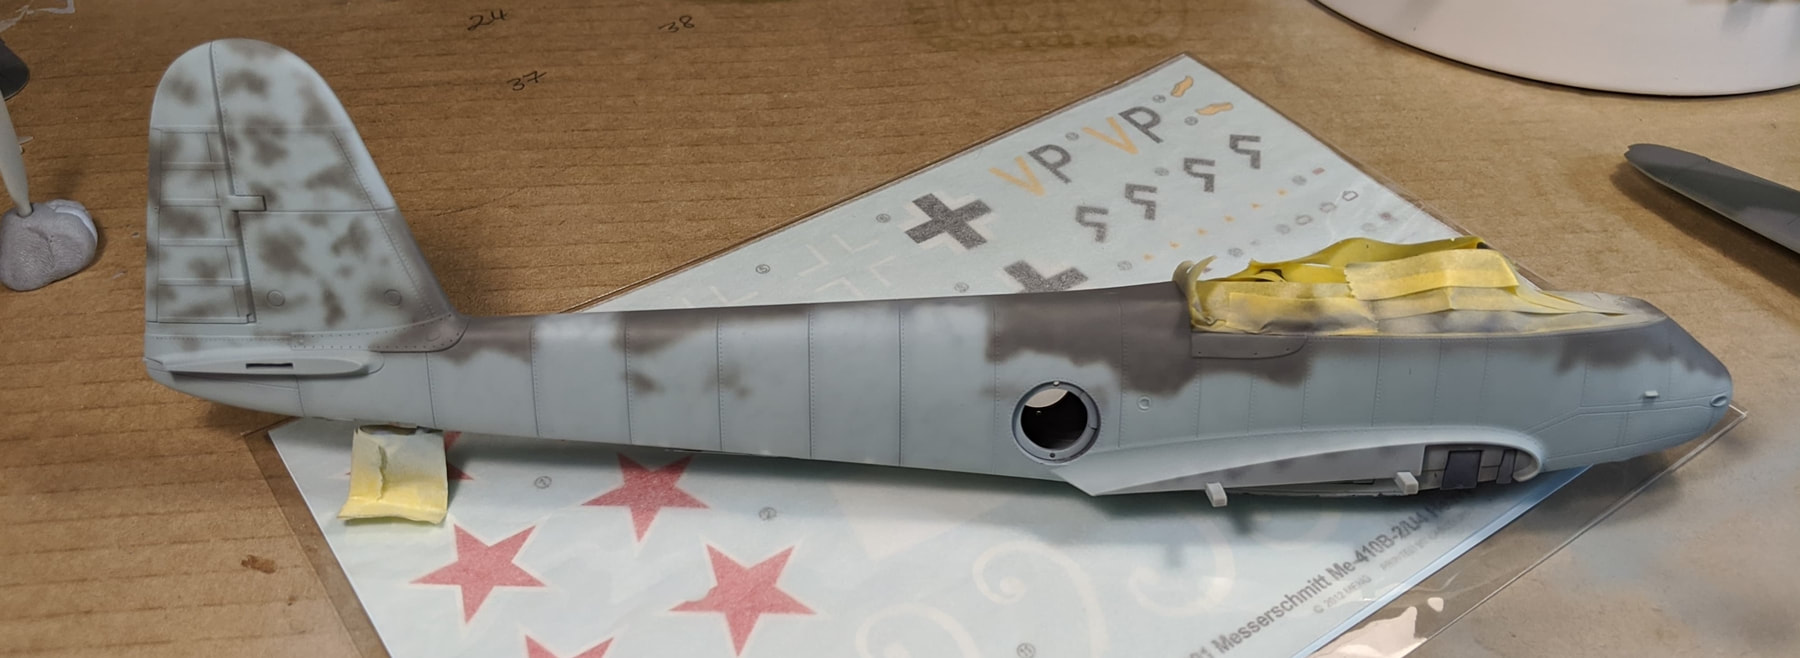
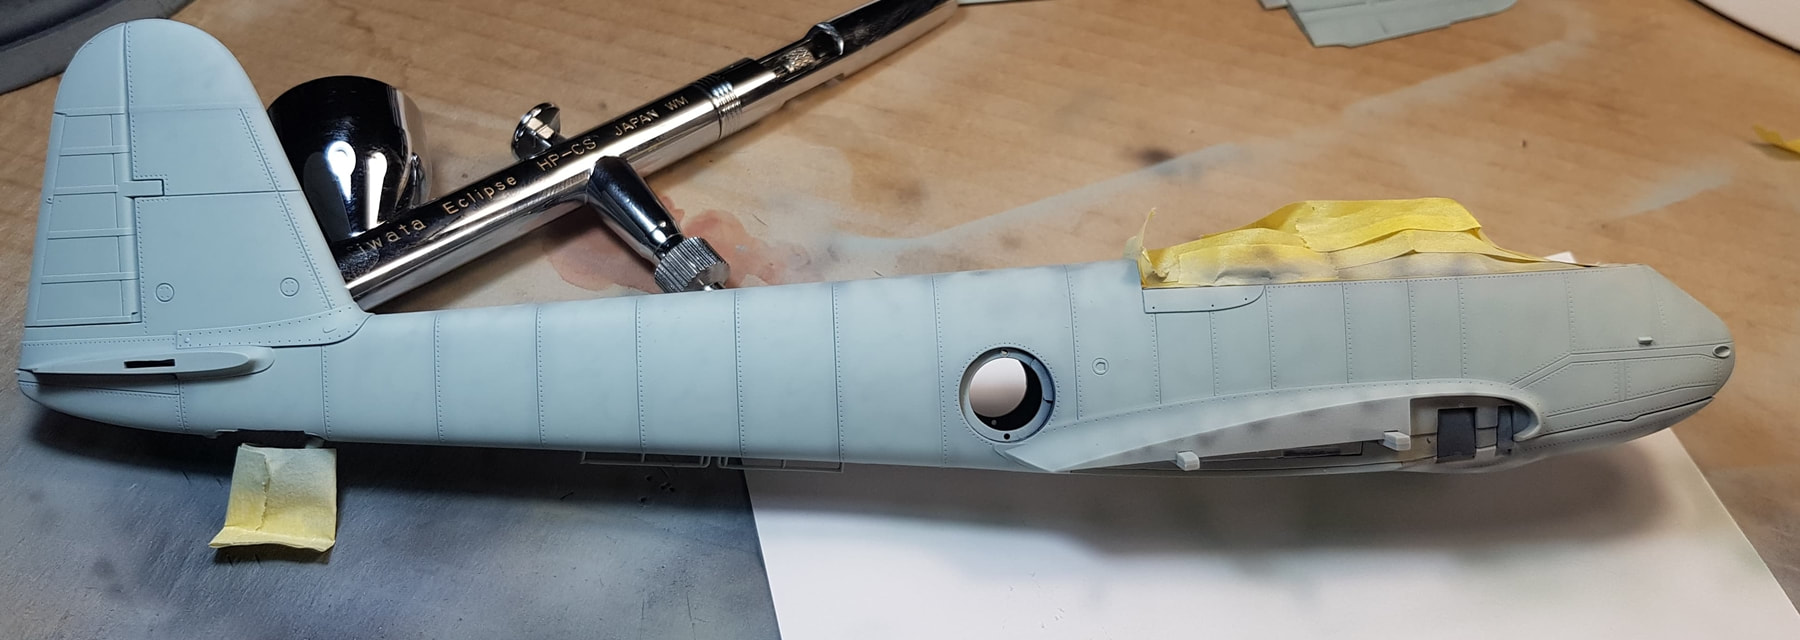
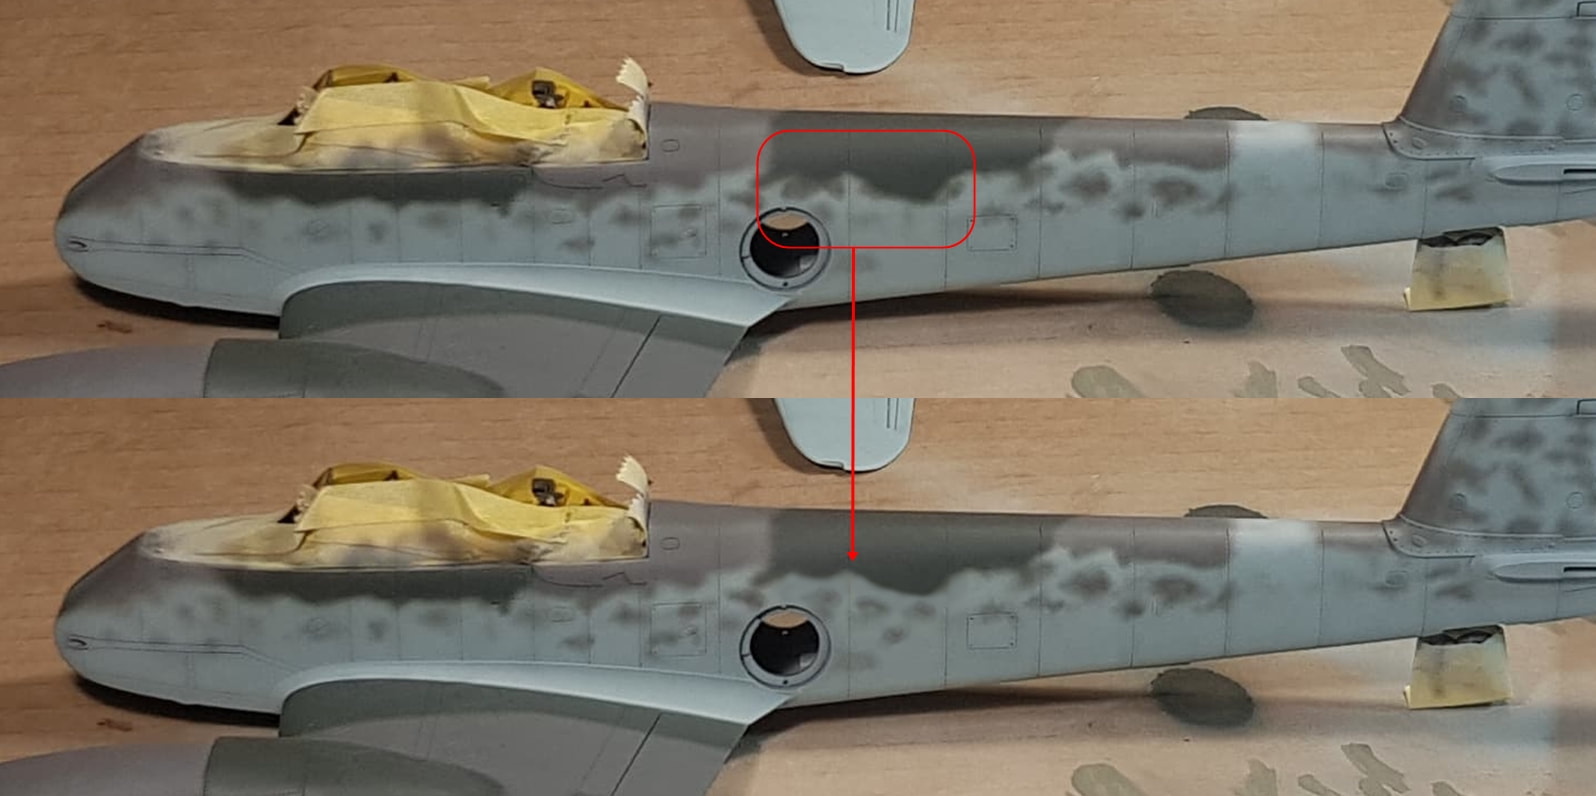
The left side of the fuselage, middle rear, will be getting some rework similar to my dodgy lower photoshopped pic.
I did a bit of research regards the fuselage markings that were over painted but couldn't turn up much besides that it was more than likely 3U+VP. (3U - Zerstörergeschwader 26) The thing i wonder is, would the 3U have remained, or also be painted over on the other side?
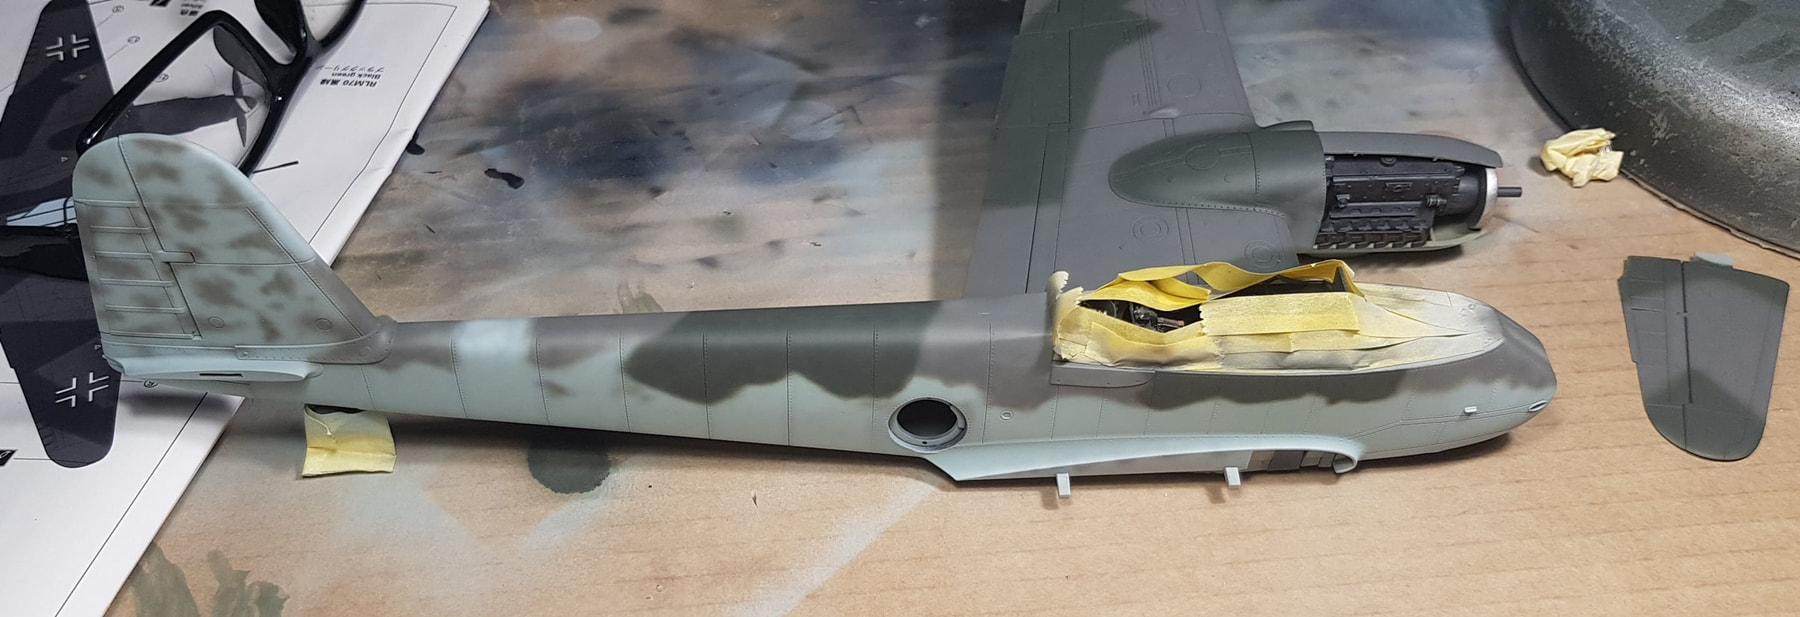
To make the model more interesting i went with RLM02 for the covered markings. I've seen all shades used on other kits but the 02 provided the most contrast and looked the coolest to me. I tidied up the areas marked in the previous post by starting off with some very thin blue then sprayed the grey green area and enlarged it, sprayed the rectangles, resprayed the grey green over the top of them as i went wonky and then finished them off on the second attempt. The wing roots were sprayed in the green along the way.
To make the model more interesting i went with RLM02 for the covered markings. I've seen all shades used on other kits but the 02 provided the most contrast and looked the coolest to me. I tidied up the areas marked in the previous post by starting off with some very thin blue then sprayed the grey green area and enlarged it, sprayed the rectangles, resprayed the grey green over the top of them as i went wonky and then finished them off on the second attempt. The wing roots were sprayed in the green along the way.