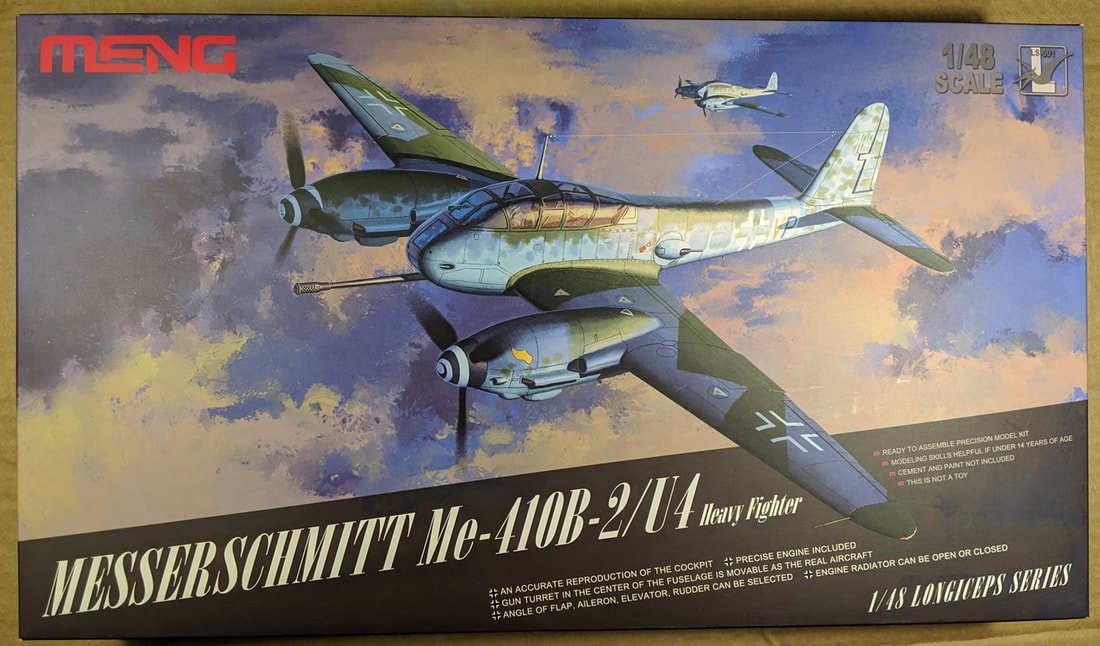
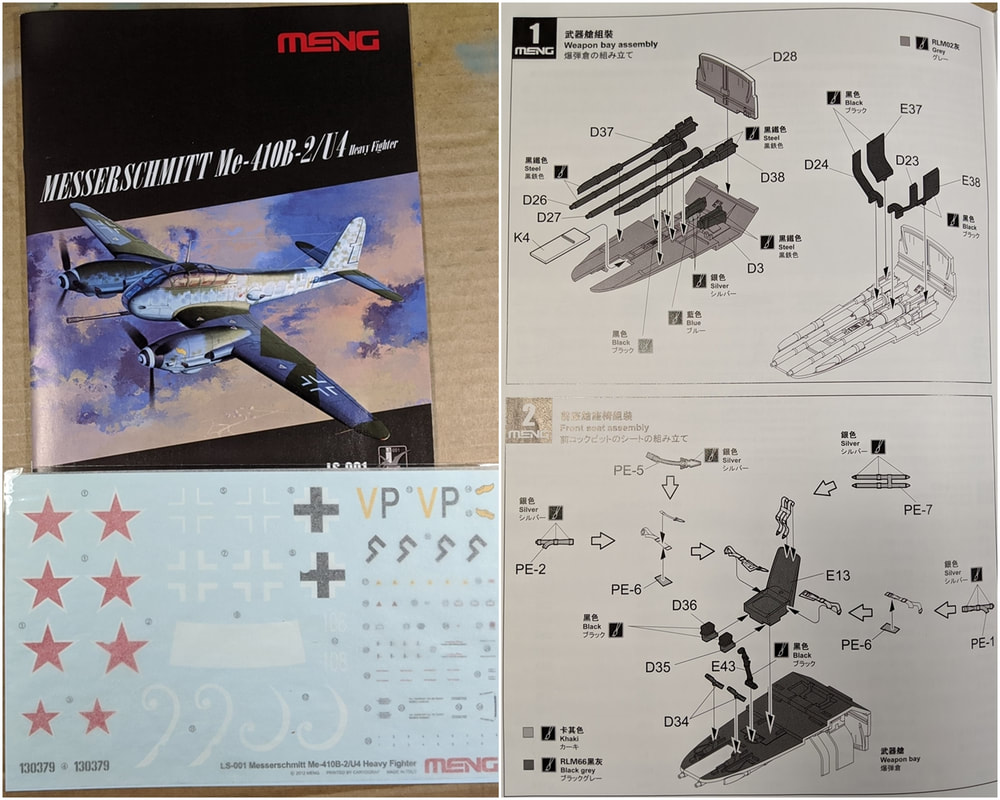
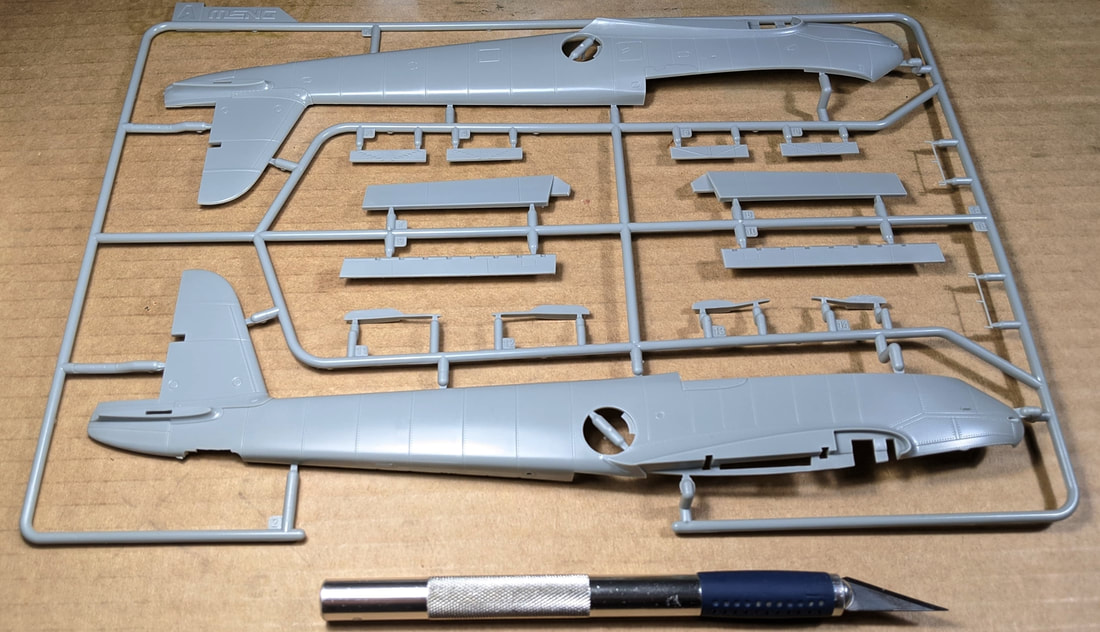
The kit, it really is a well presented package
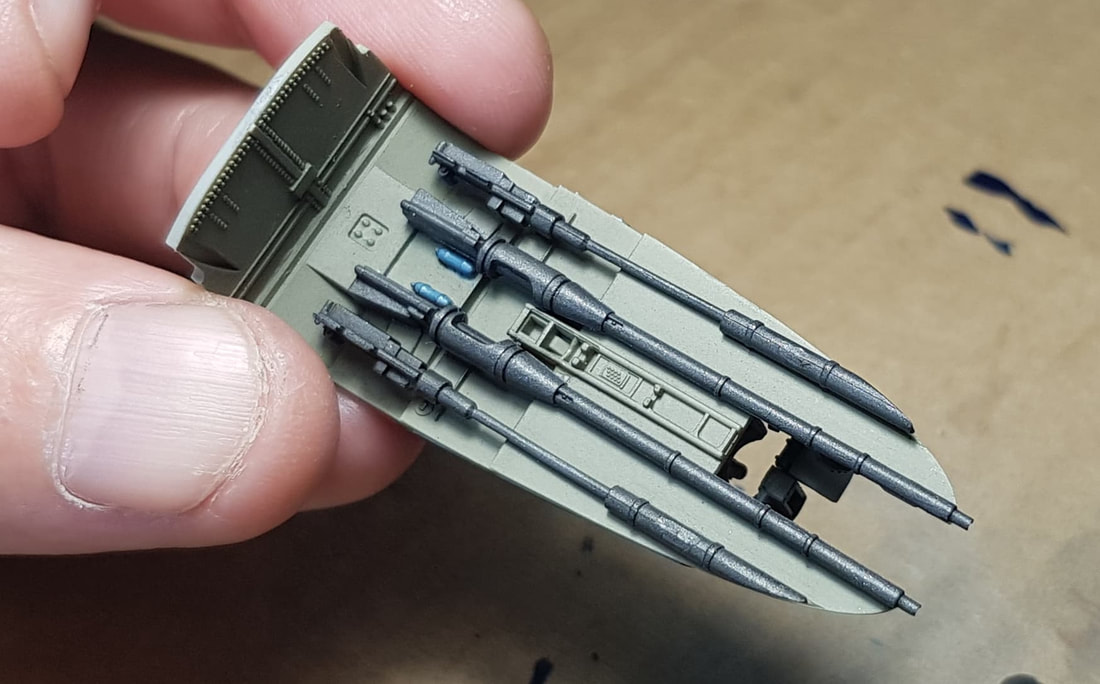
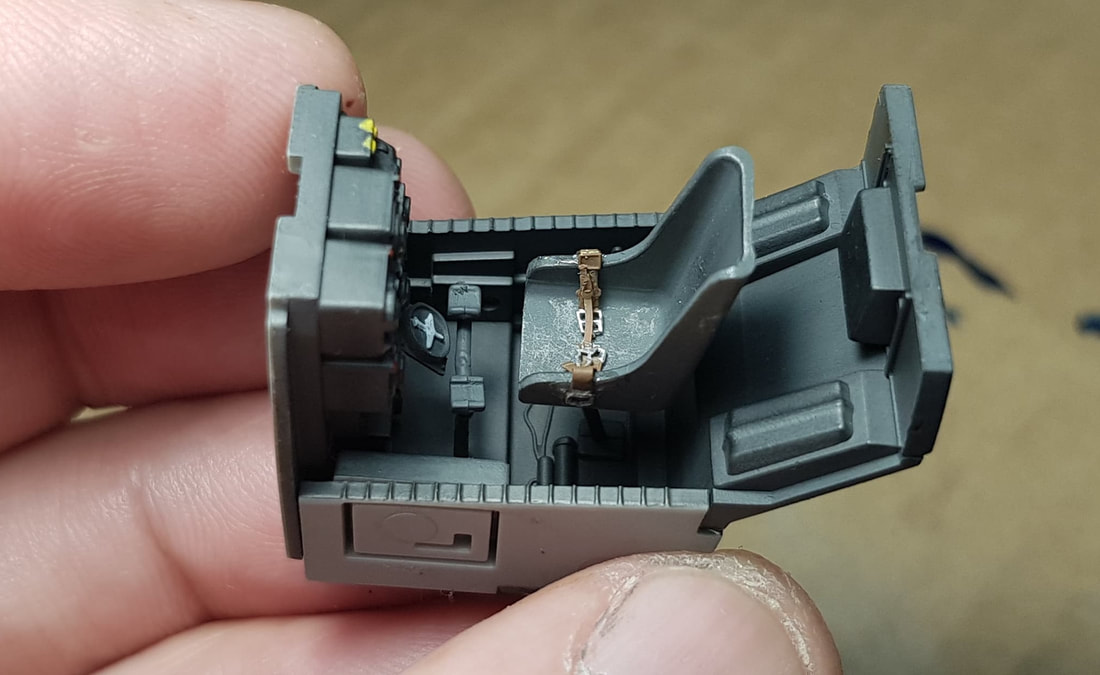
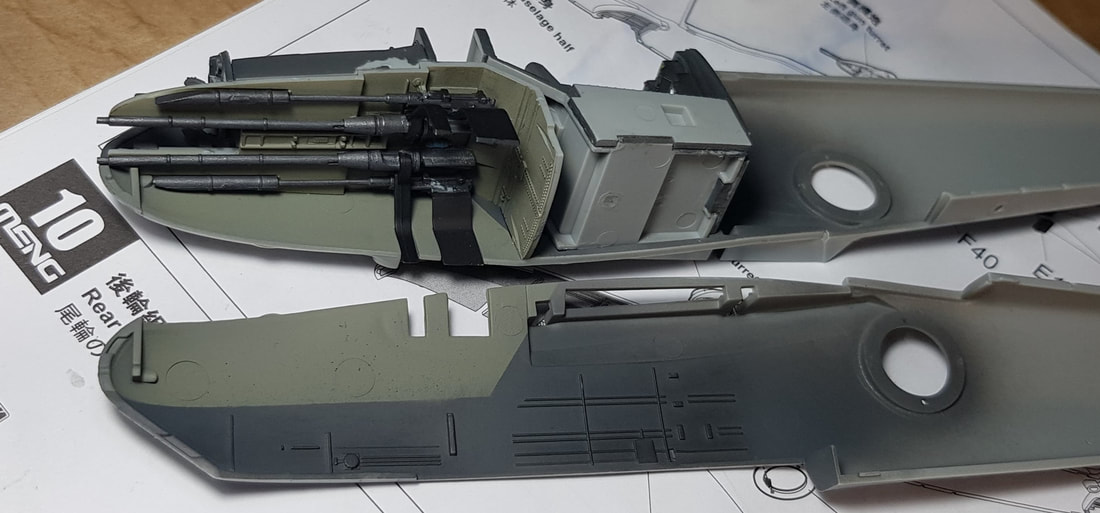
I jumped into this fairly quickly and missed a bunch of shots of the first few pieces i put together, the lower cockpit gun section. All very straightforward and ends up being a nice looking piece. As with a lot of detail on many airplane models, you won't see any of this once you close that section up. You can choose to not glue the lower front fuselage on but then you still have to pick it up every time you want to show it off or use a mirror type base. I decided early on in the build i will simply be closing it up to keep the planes lines. This section doubles as the front cockpit with the upper half. The rear radio operator/fuselage gunner section is a seperate piece.
Rear fuselage mounted gun controls
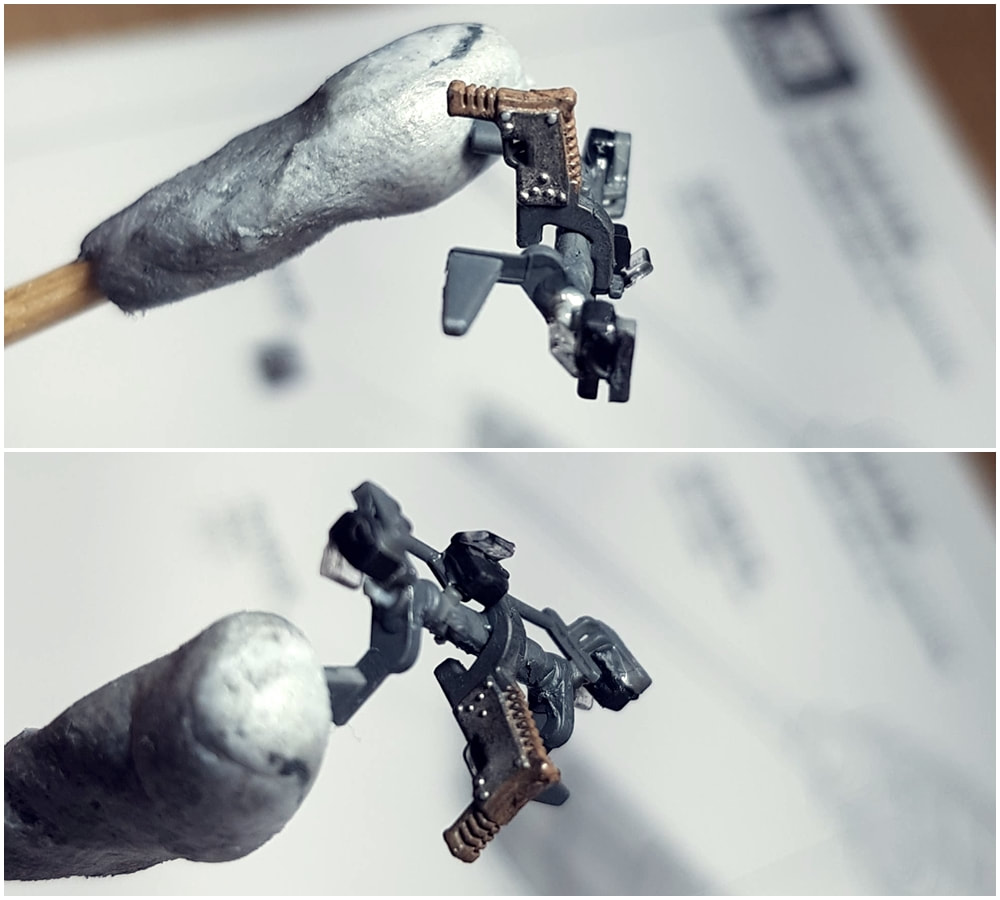
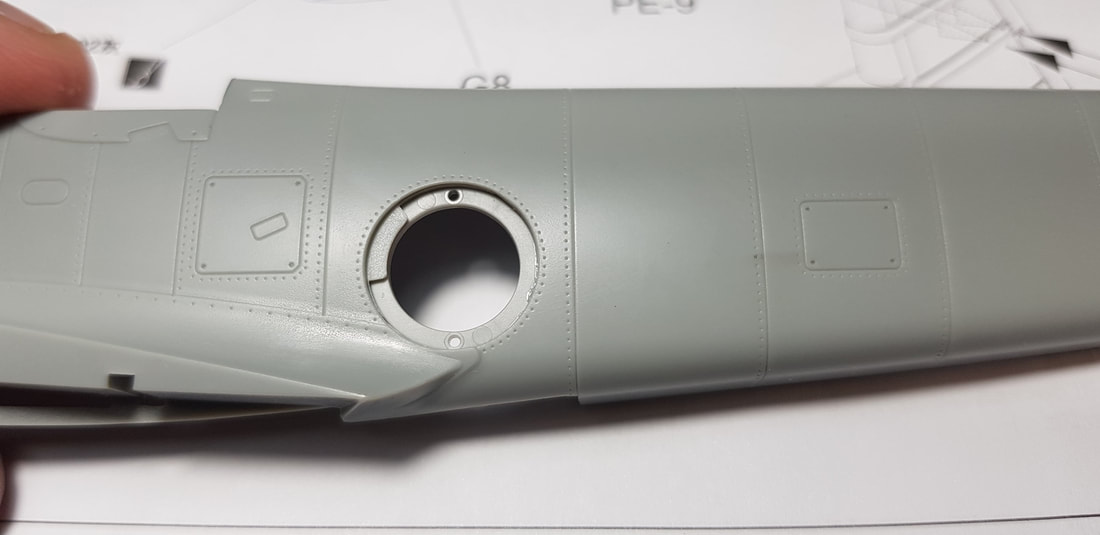
The kit allows you to make the guns movable but i declined the option as doing so requires me to have the guns and blisters mounted to the fuselage when i join the two halves. I decided to fully glue the inner mount rings before joining the fuselage, mainly i was worried i may knock or break the guns if i add them so early in the build.
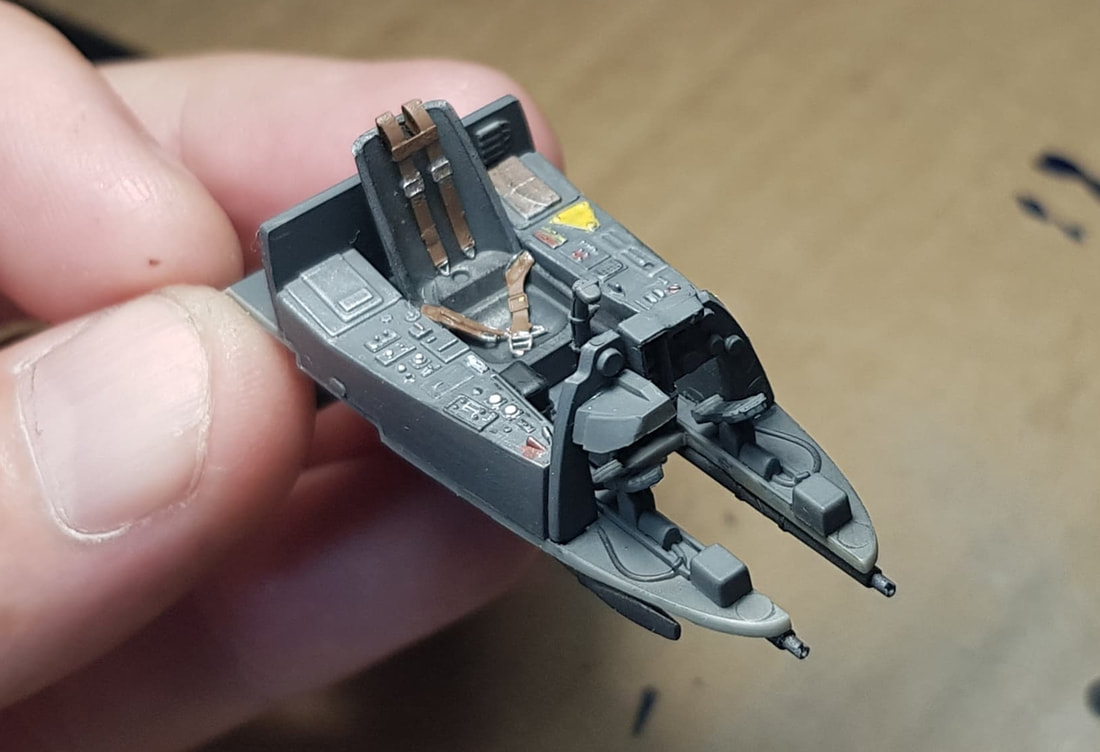
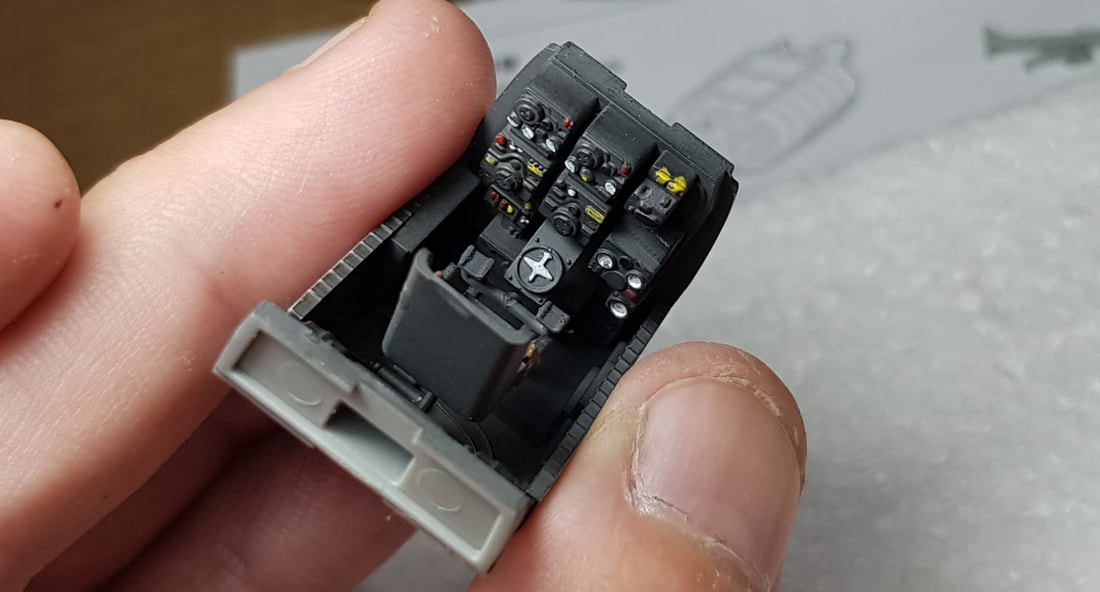
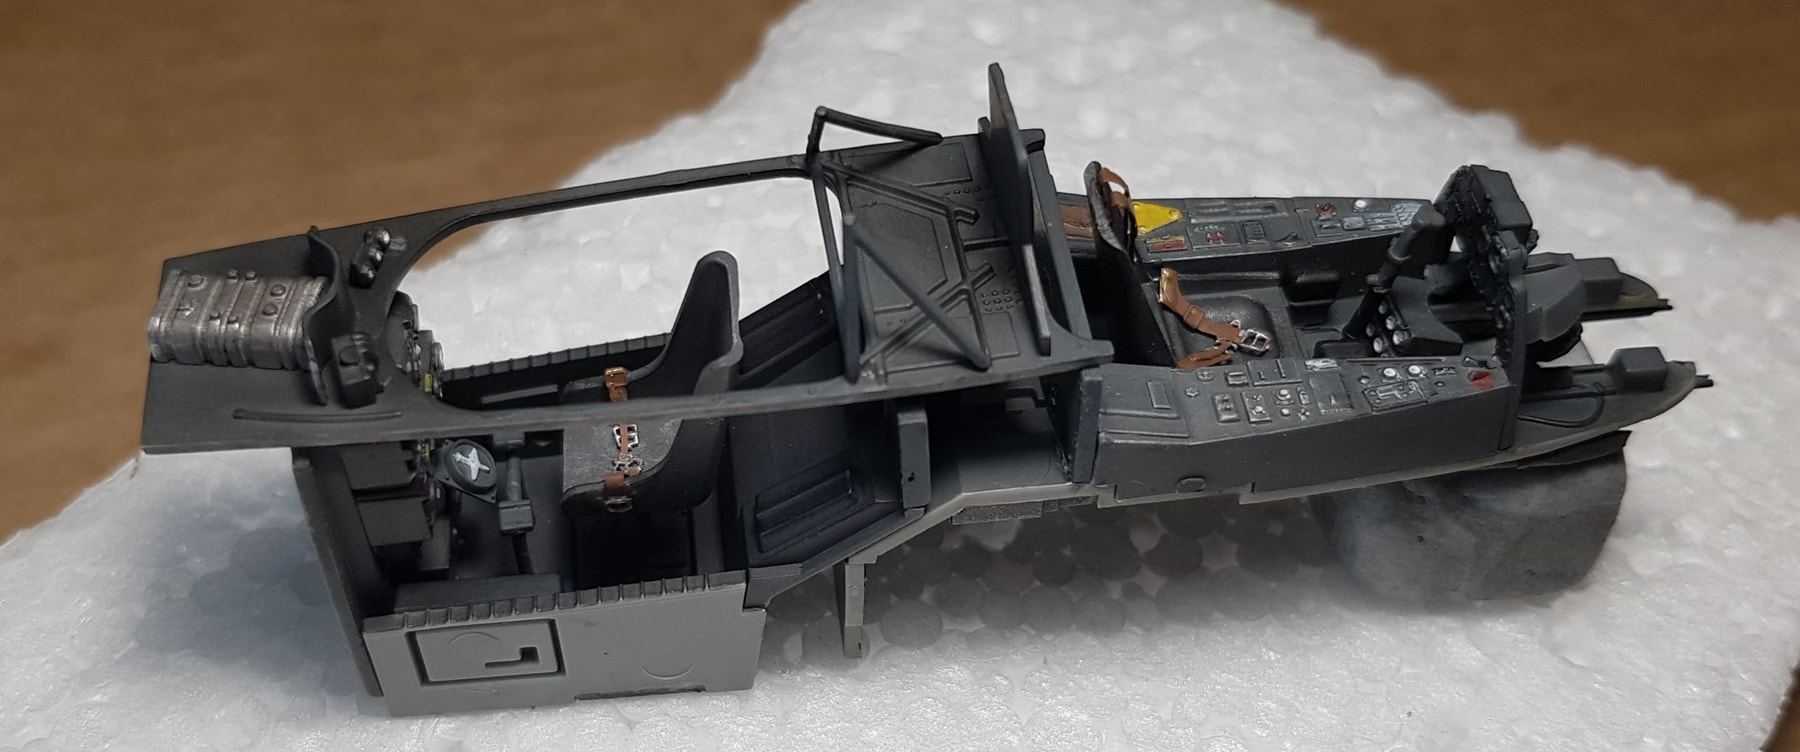
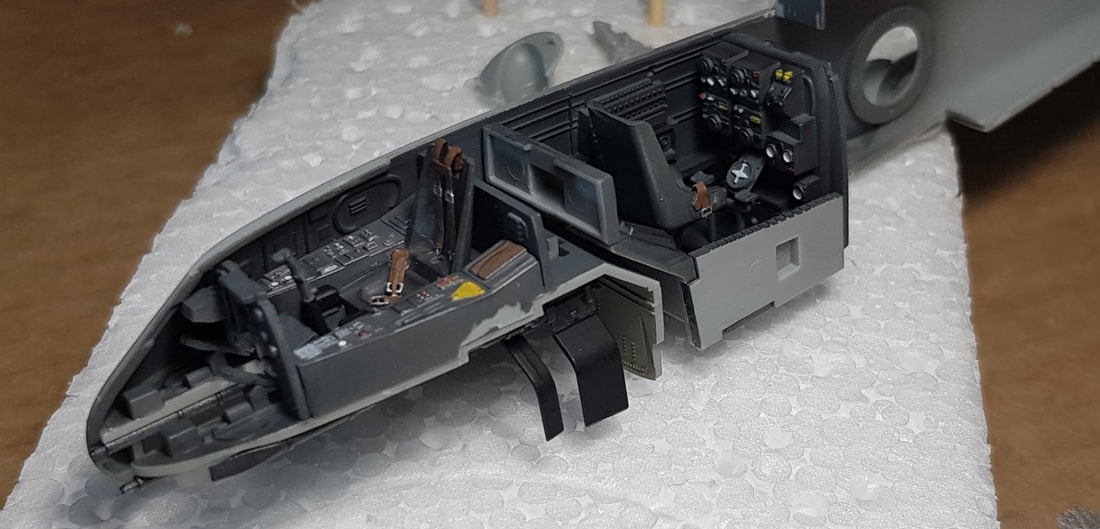
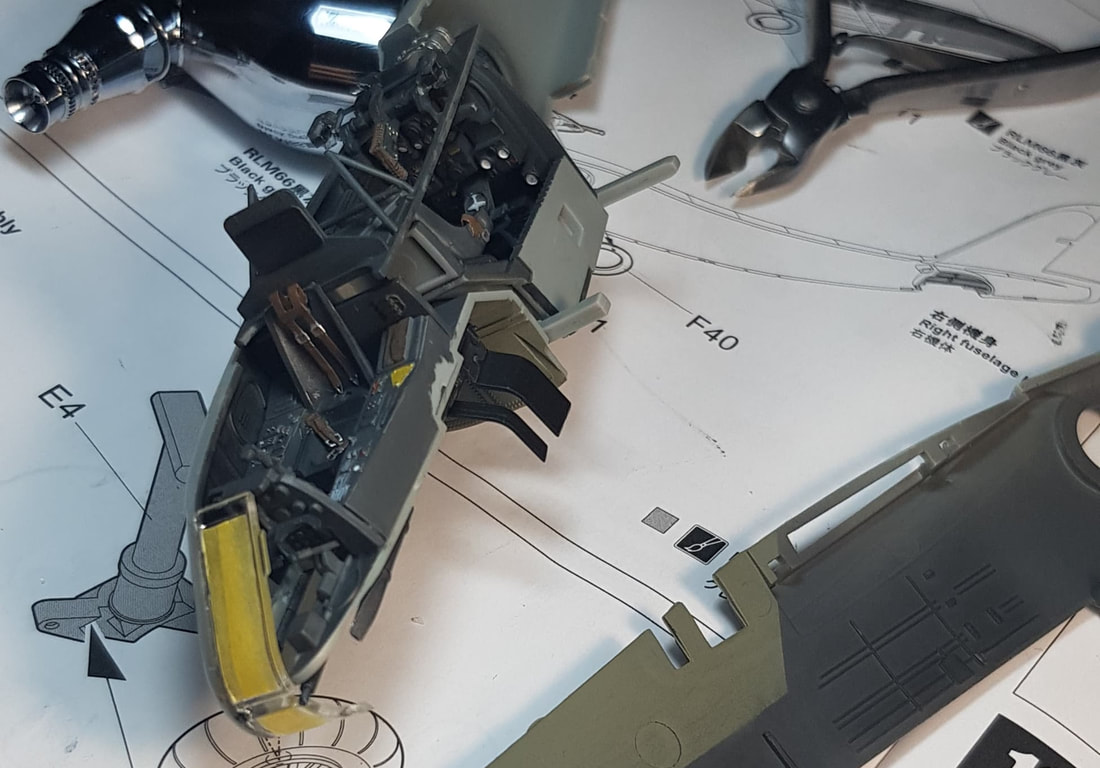
Complete cockpit assembly and how it should fit up. Some parts to be touched up before final fitment.

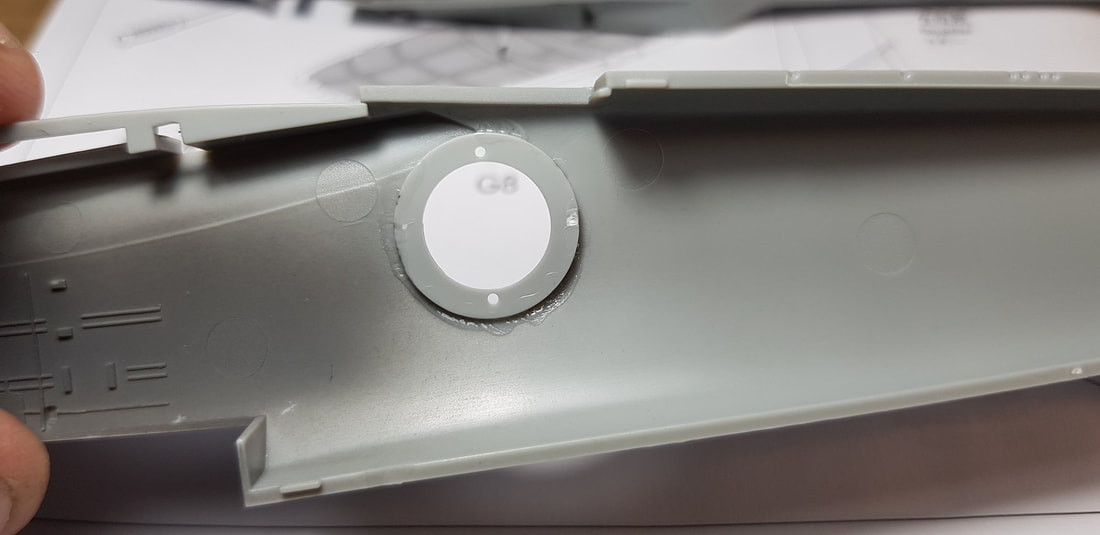
Ejectors added to the guns and after several trial fits this side is glued and i let it sit overnight once i added the front glass section. Also added are the wing spars. The top cockpit section i've glued at the rear but will wait for the fuselage to be mated before aligning the front.
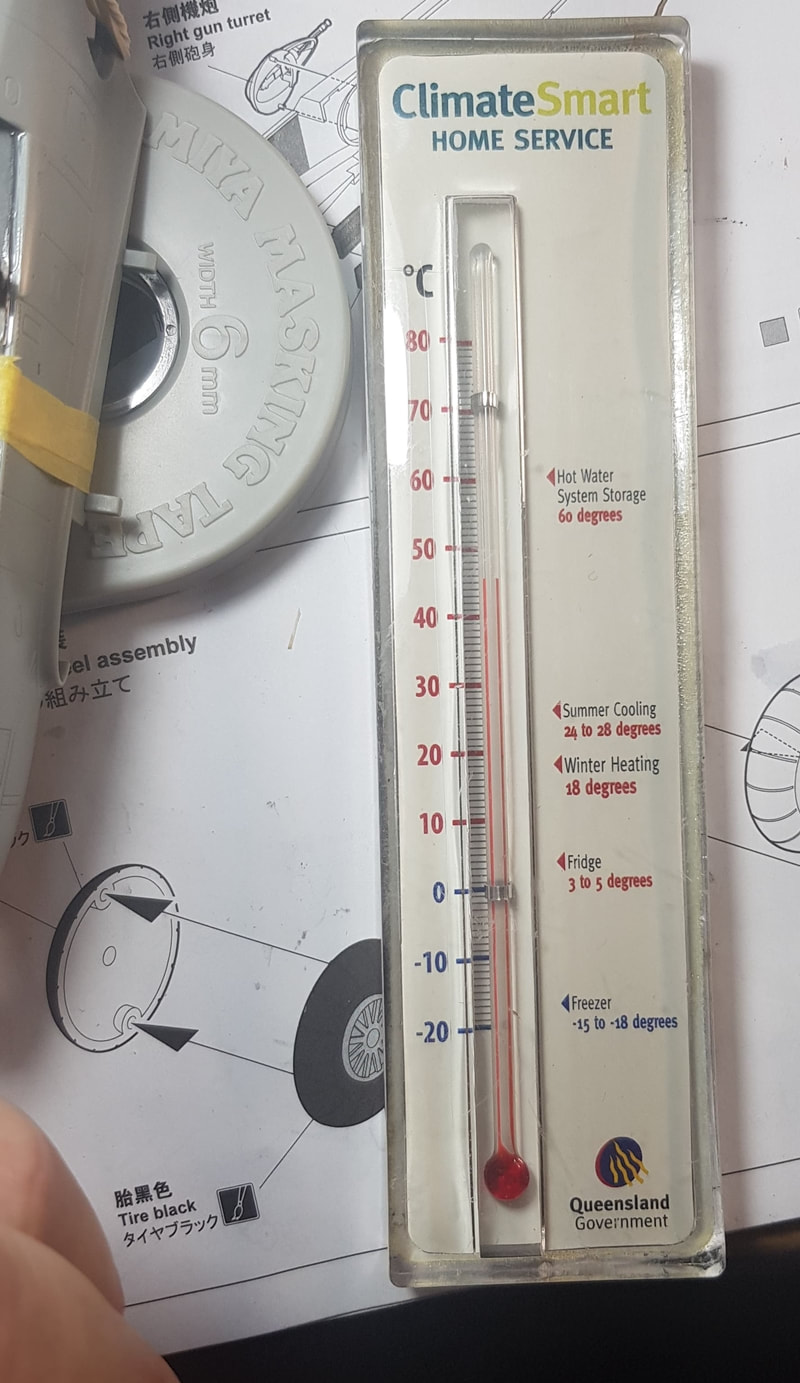
This build was during the worst fire season we have had here (so far) in Australia, the shed was no place to be painting or modelling several times in December as the temp gauge shows..