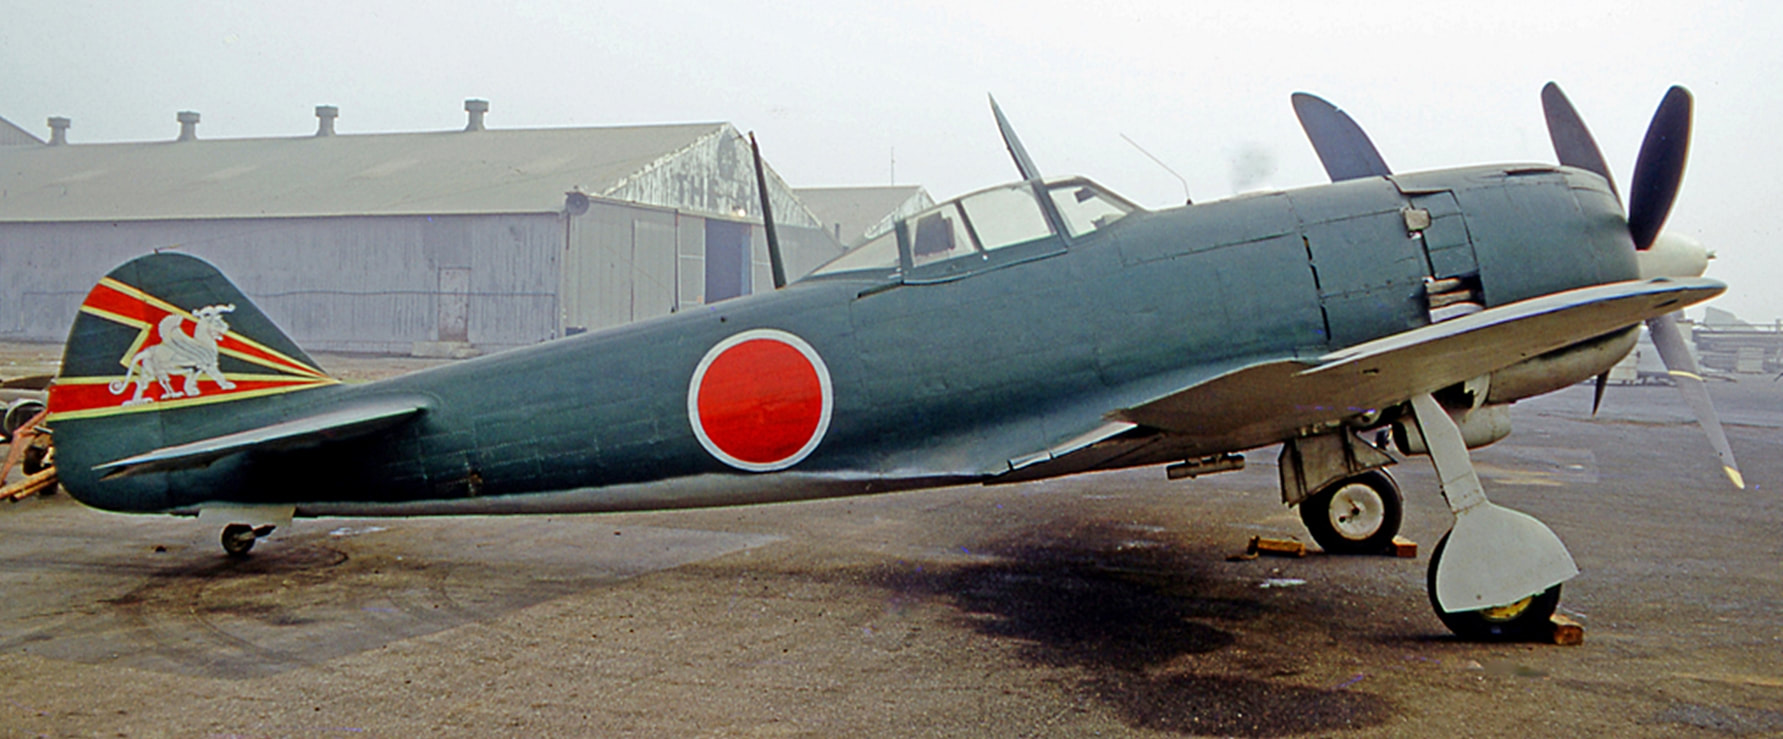
I ditched the idea of a diorama for the Ki84 as i wanted to focus some more on the hairspray technique and also try my hand at one that gives the appearance of a stressed metal look to the plastic. First up, what is that? Stressed metal is the deformation of the metal skin due to the load placed on an aircraft. Rato (an excellent modeller) covers it quite well in depth HERE I stumbled across his tutorial page whilst looking at weathering and decided i needed to give it a shot! Here was what i wanted to roughly end up with, except i planned to weather it a whole lot more.
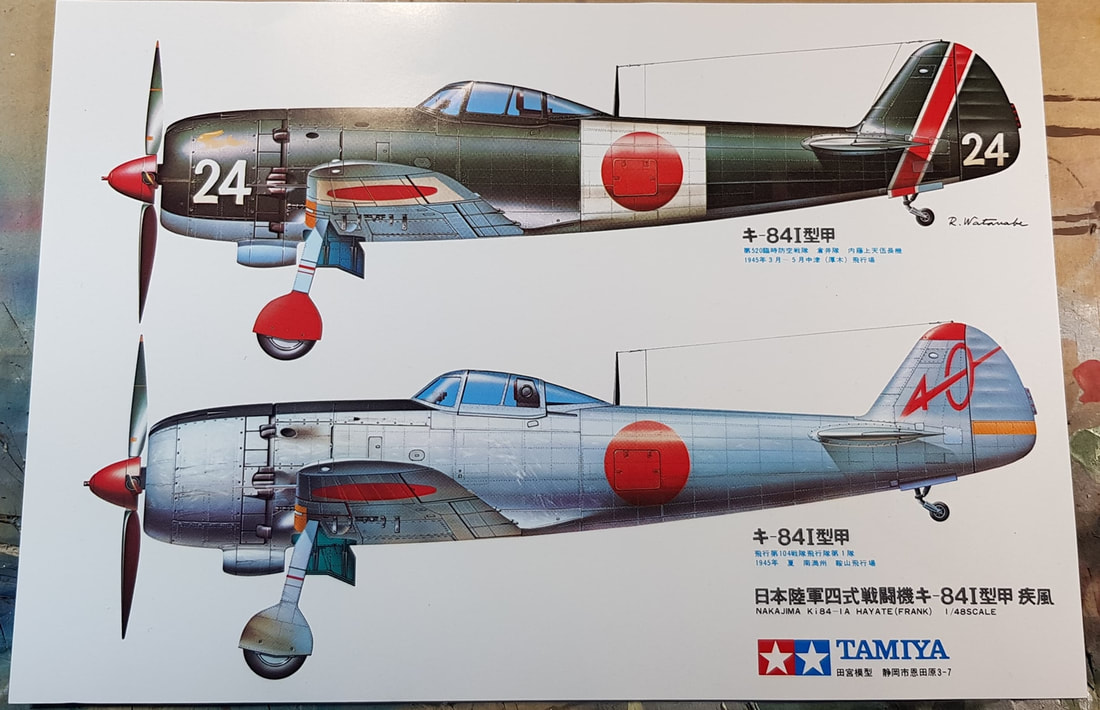
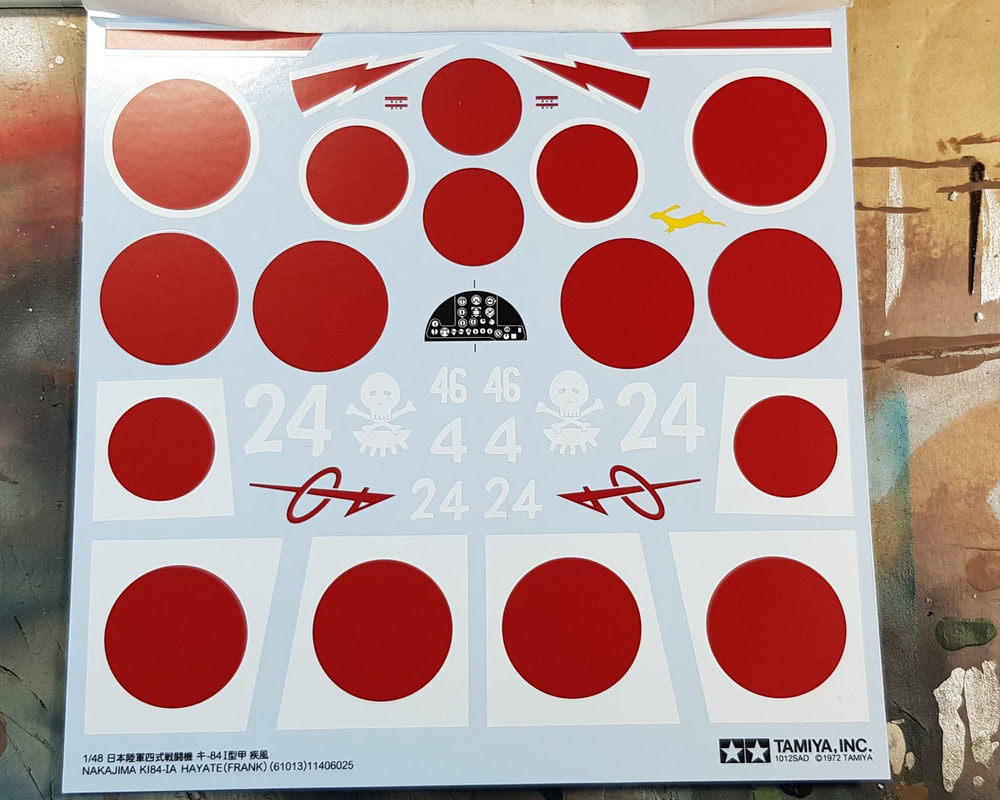
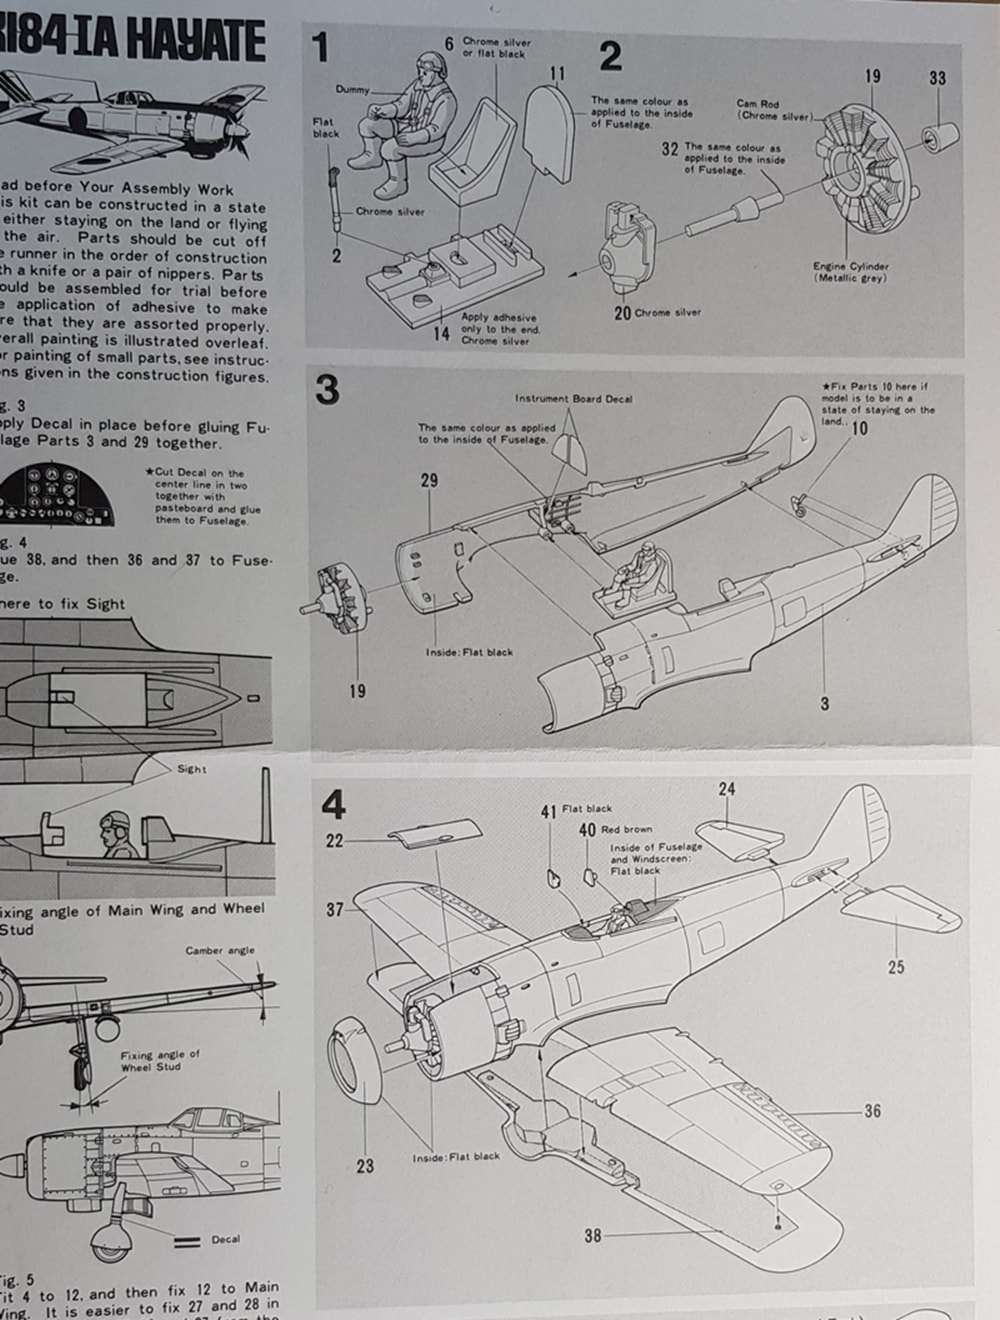
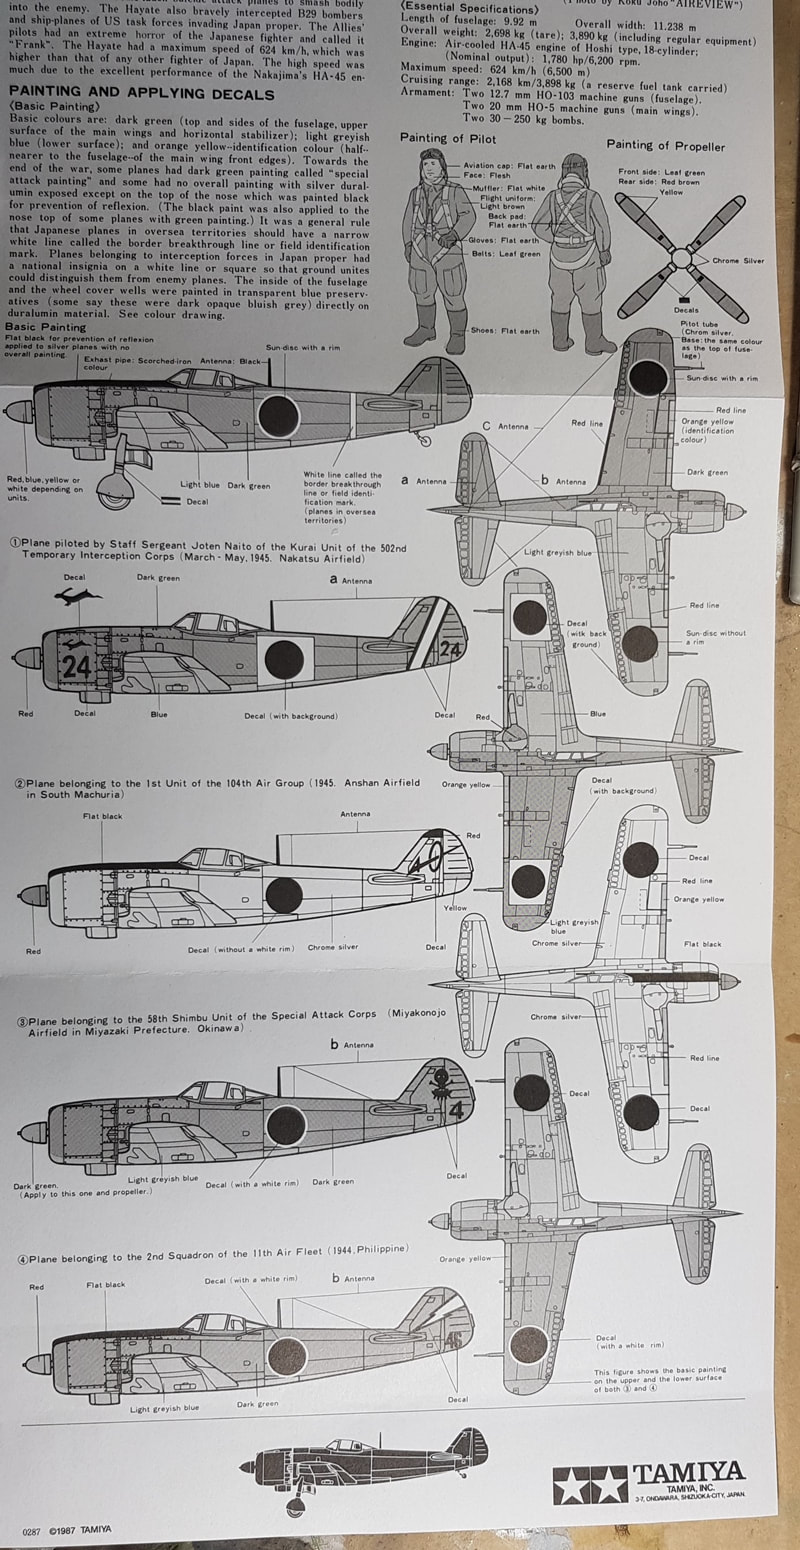
So, let's begin at the beginning. The Ki84 is another basic two sprue 1972 vintage kit, something you would knock off in one sitting as kid. Nice artwork supplied, decent decals and cool vintage instructions and paint/decal sheet.
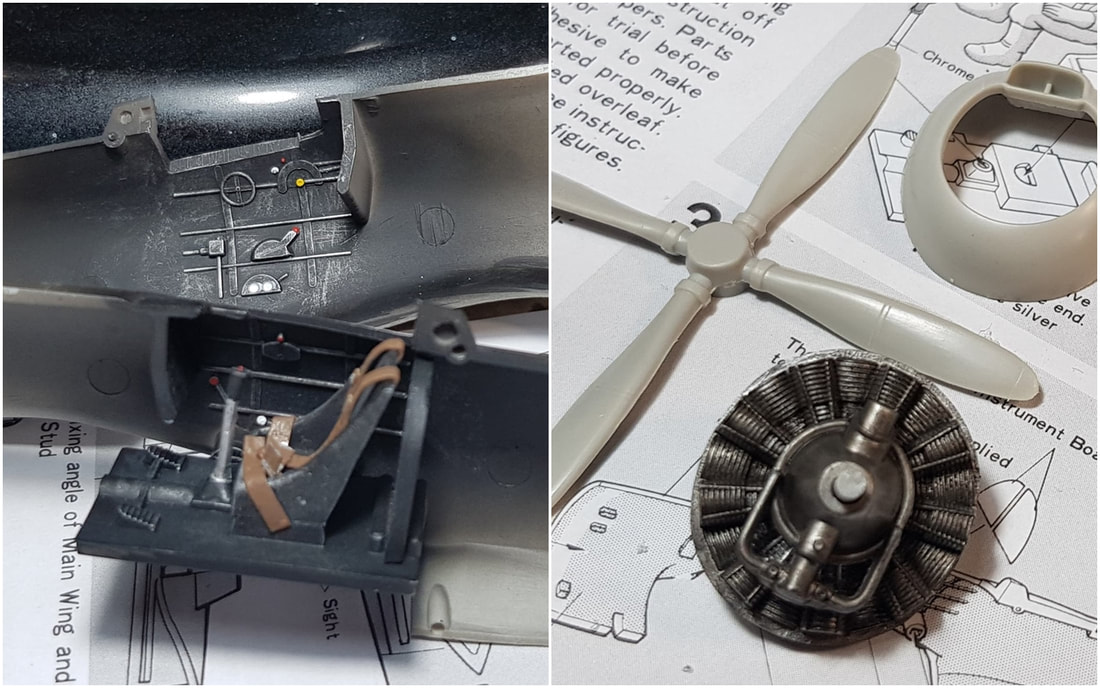
The cockpit and engine are as basic as you get and both stashed away in the fuselage enough that you struggle to see anything. I drybrushed the pit, added some Tamiya tape seat belts and called it done. The engine was a mix of aluminium, engine grey and a light dry brush.
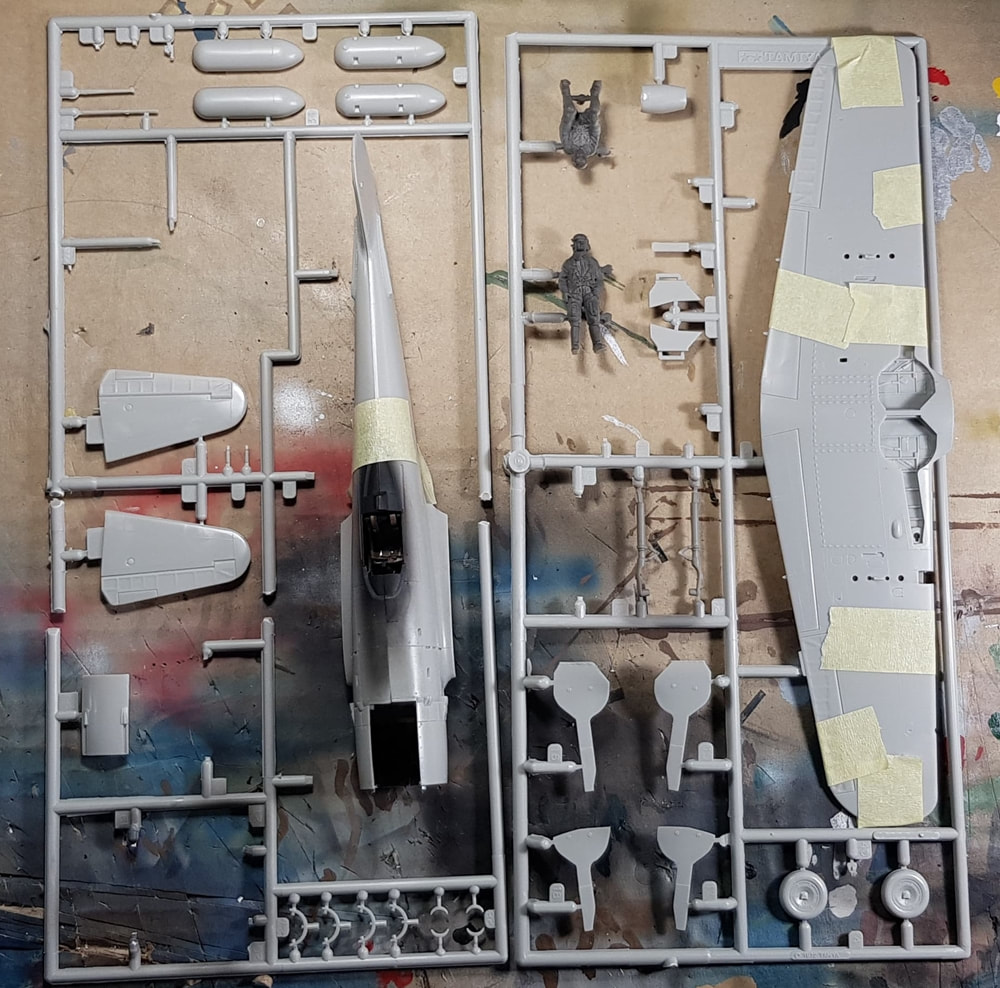
This is the complete kit minus canopy. Very basic and little did i realise that three weeks later i would still be working on it!
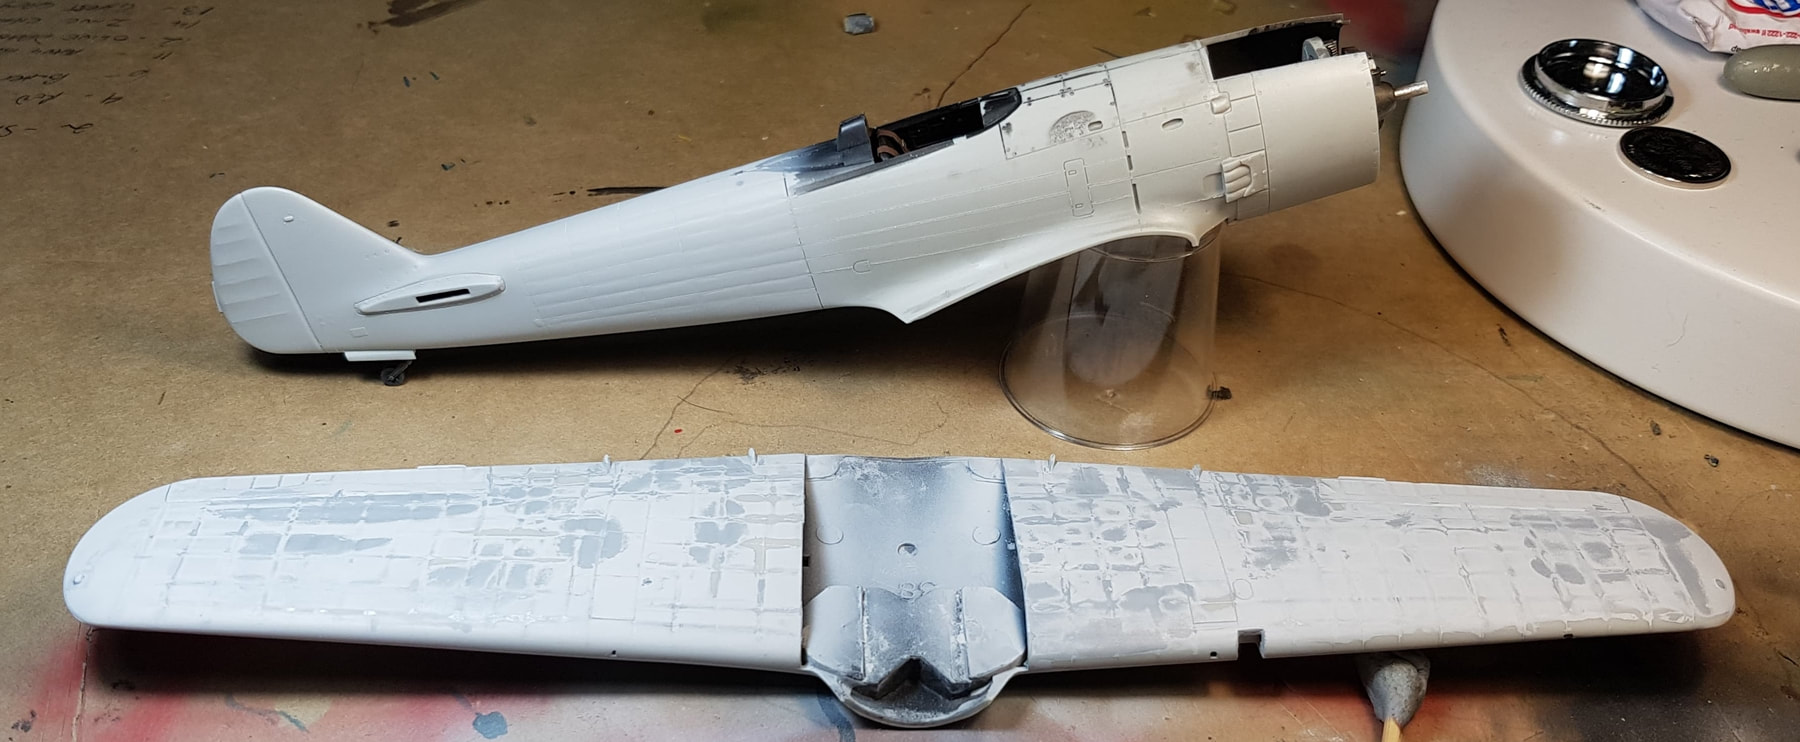
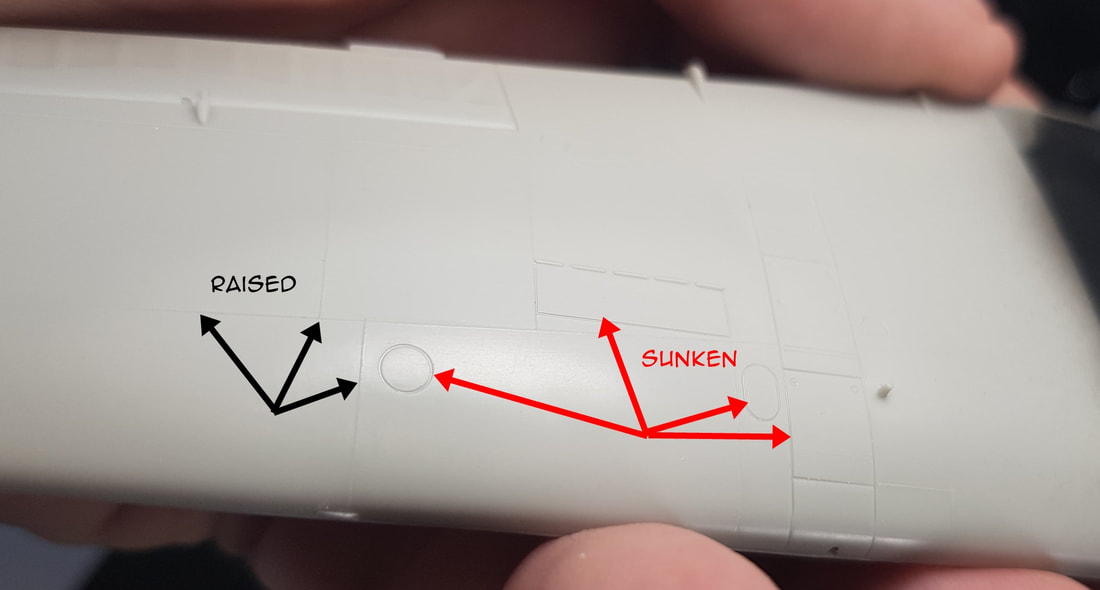
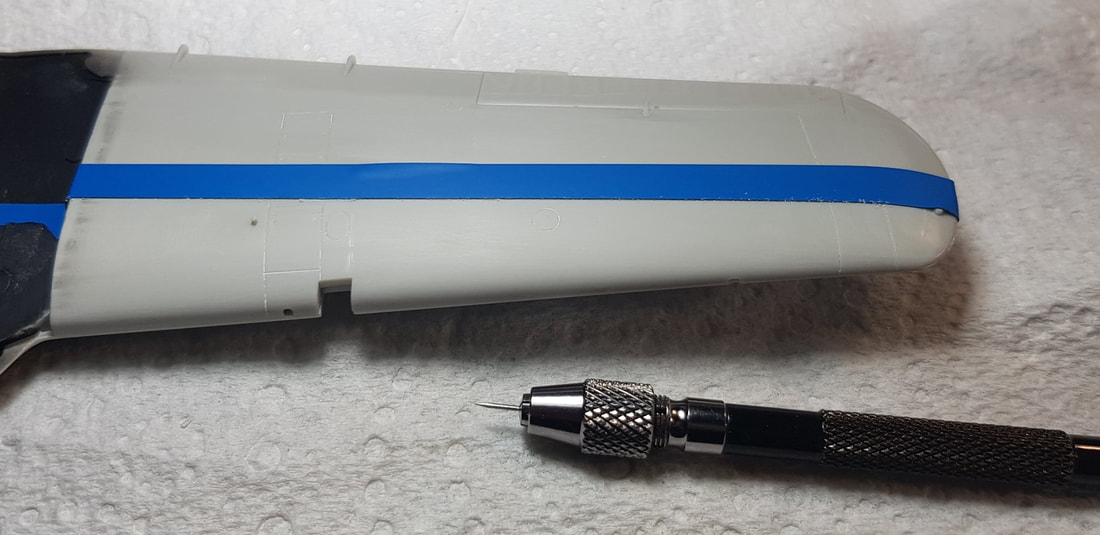
The first job needed doing was to remove all of the raised panel lines. 600-1000 grit sorted that side of it out. Then it was onto rescribing the wings and fuselage. I used my pin vice and substituted the drill bit for a dressing pin with the plastic ball head cut off and via some Ki84 illustrations found online rescribed the entire plane.
Because this was my first ever rescribing effort, many mistakes were made. Wiggly lines, lines to deep and not parallel. This required putty and re rescibing :)
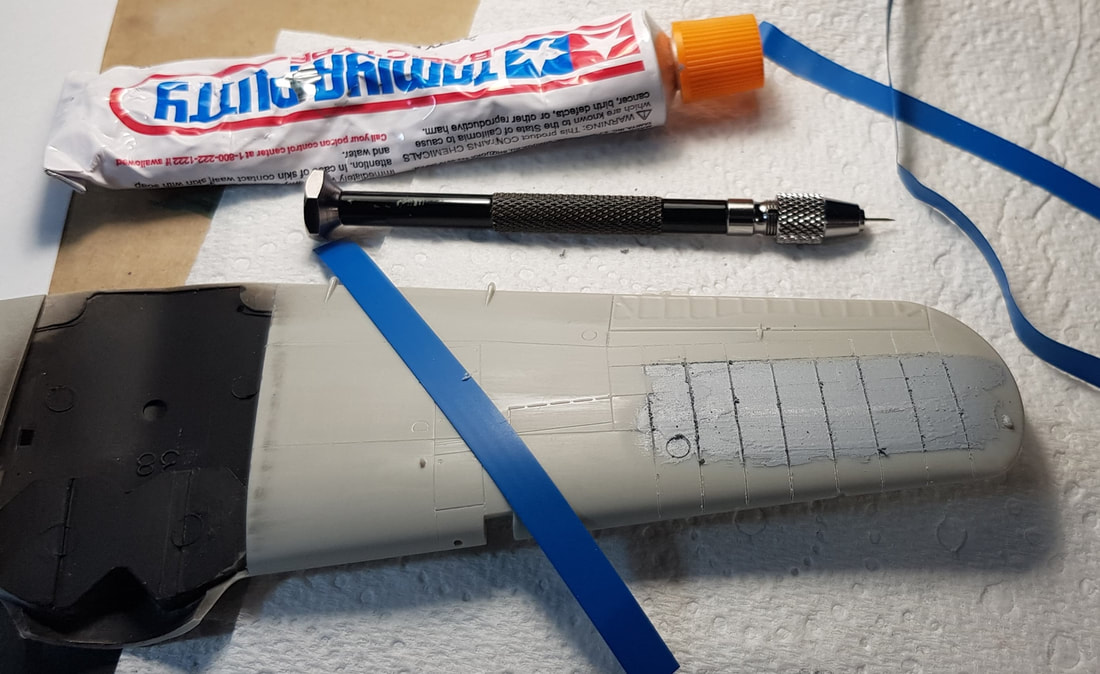
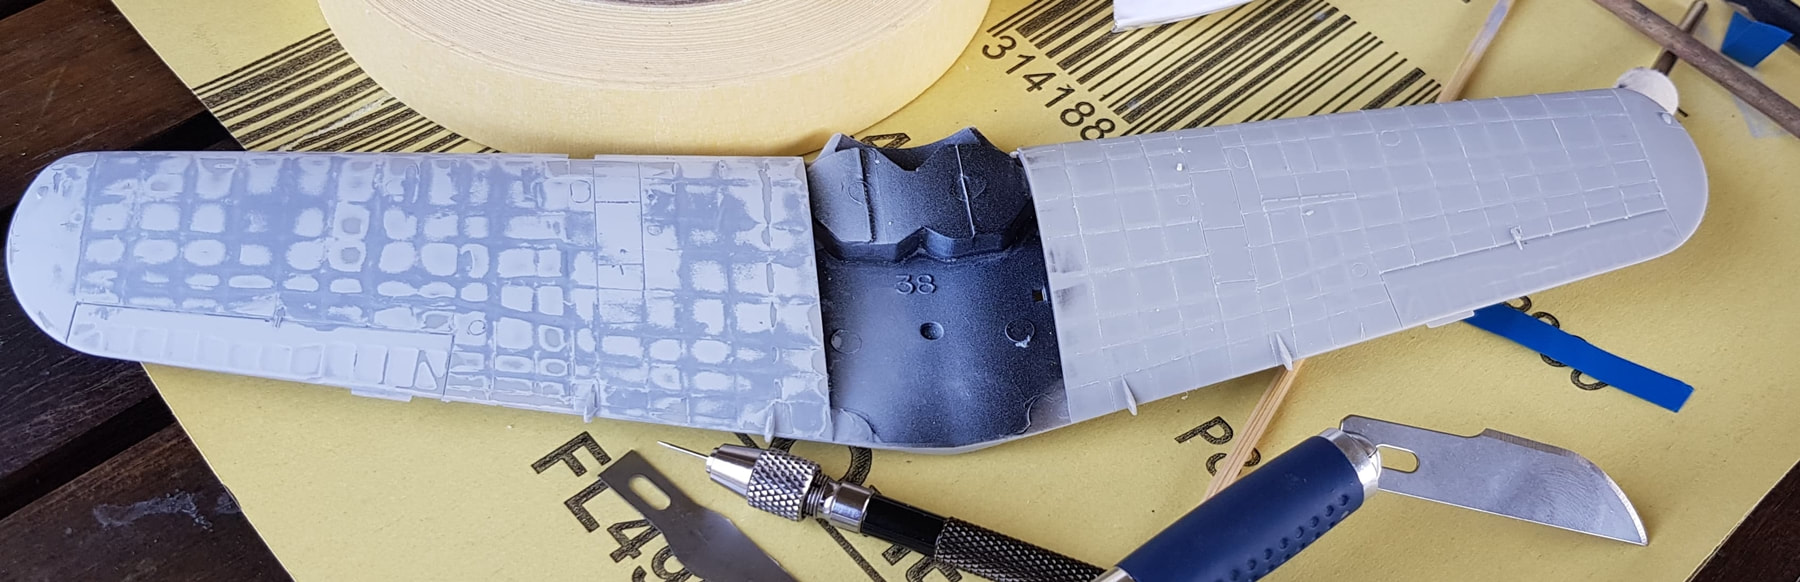
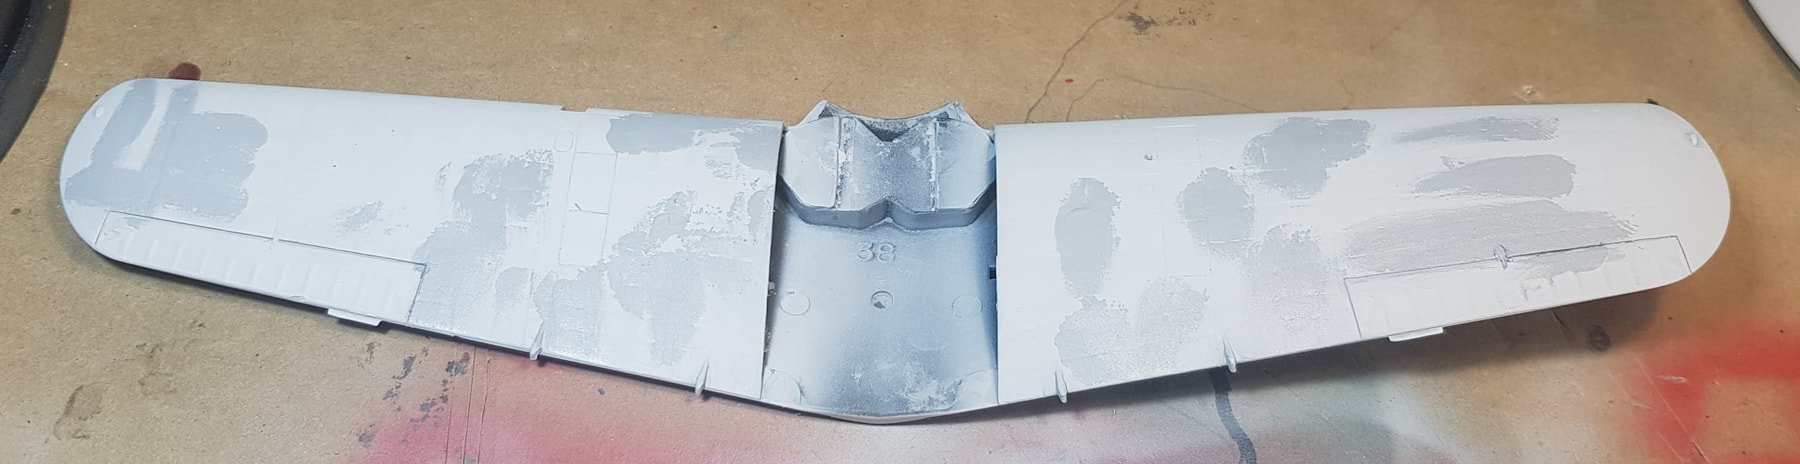
Once the scribing is done comes the real fun. To mimic the stressed skin look i need to create a U shaped groove along the center of the panel lines, sand the grooves smooth with some rolled fine sandpaper and then get in there and polish the groove..and then redo the panel lines (lightly) and the rivets. I'm using a curved blade for the groove making (but stupidly enough bought the wrong size blades for my knife so i need to remedy that tomorrow) and just scraping away the plastic. By the time it is sanded and then polished it should be nice and random and not just a bunch of weird looking grooves. That's the plan anyway.
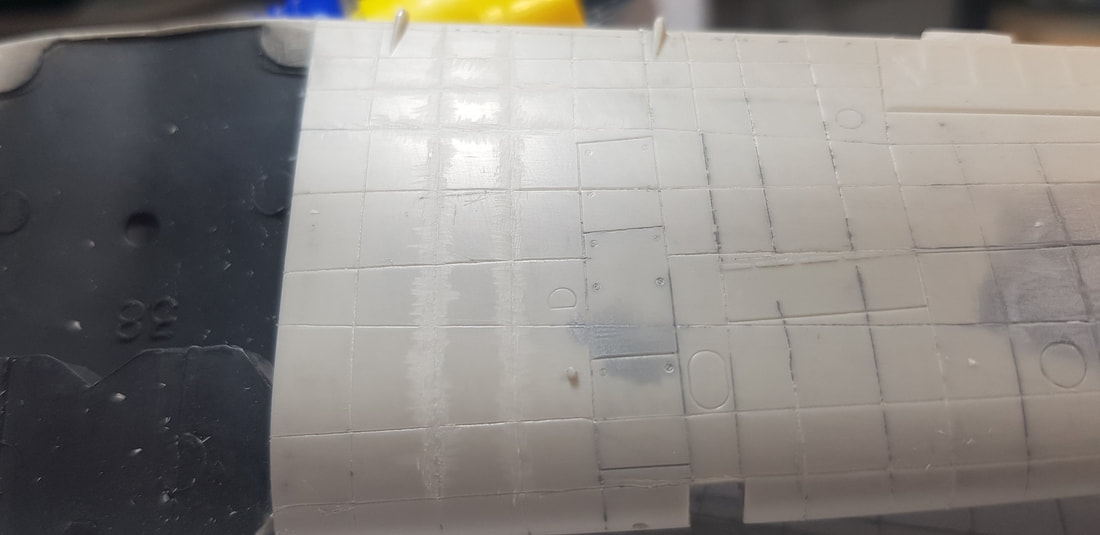
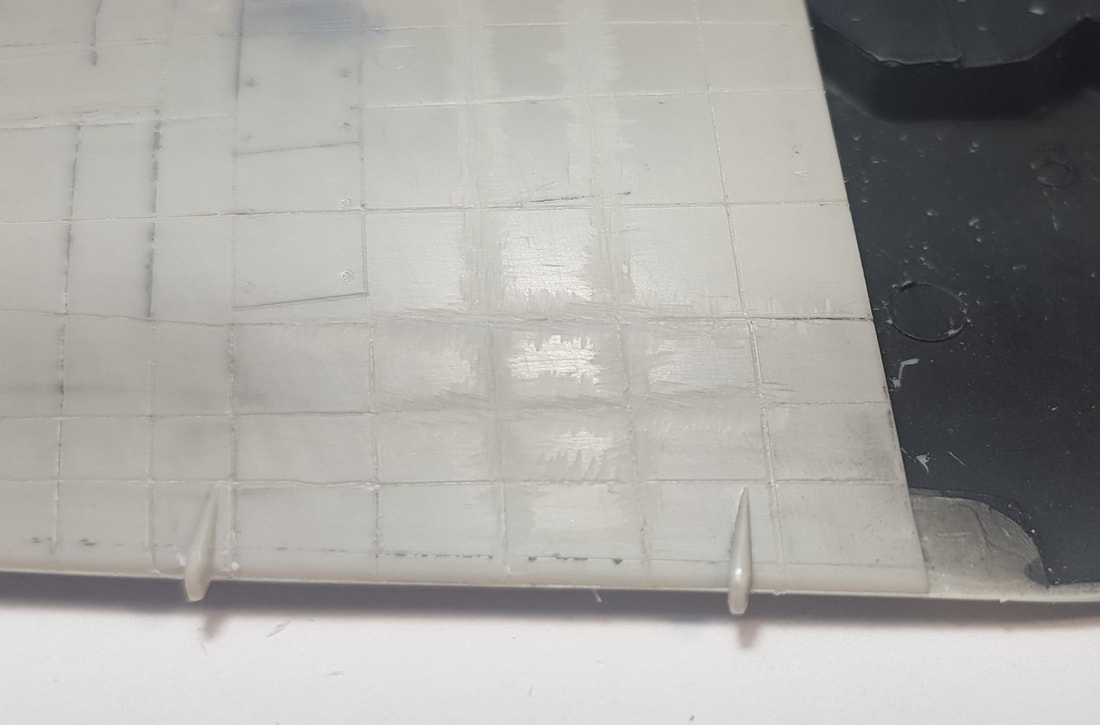
Because i was learning on the fly i made plenty of mistakes. Grooves to wide, too deep etc. Lot's of patch up work and putty would be required along the way. After my first prime to see how i was getting along i thought, well..this is a disaster, but persisted.
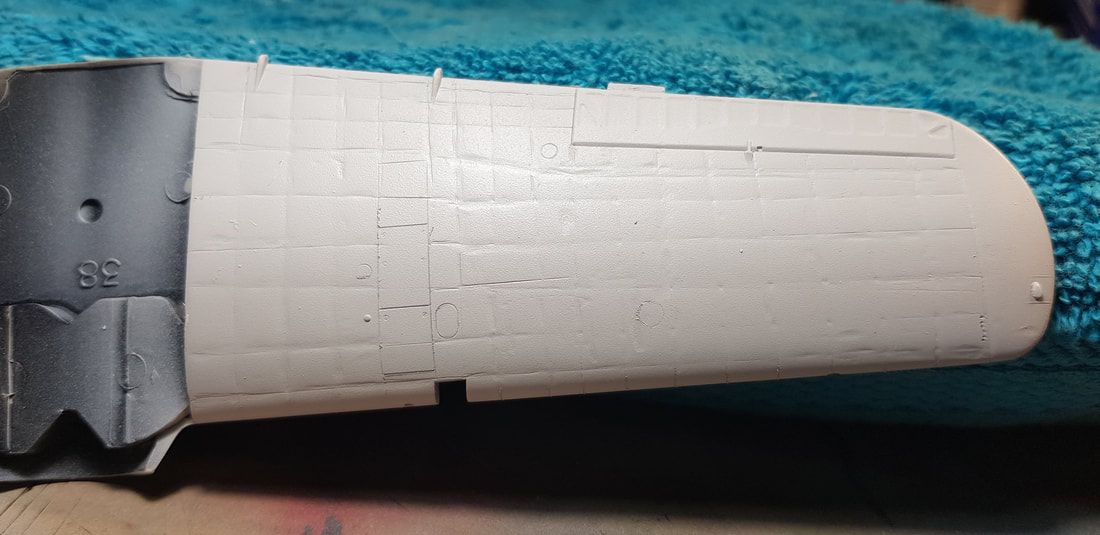
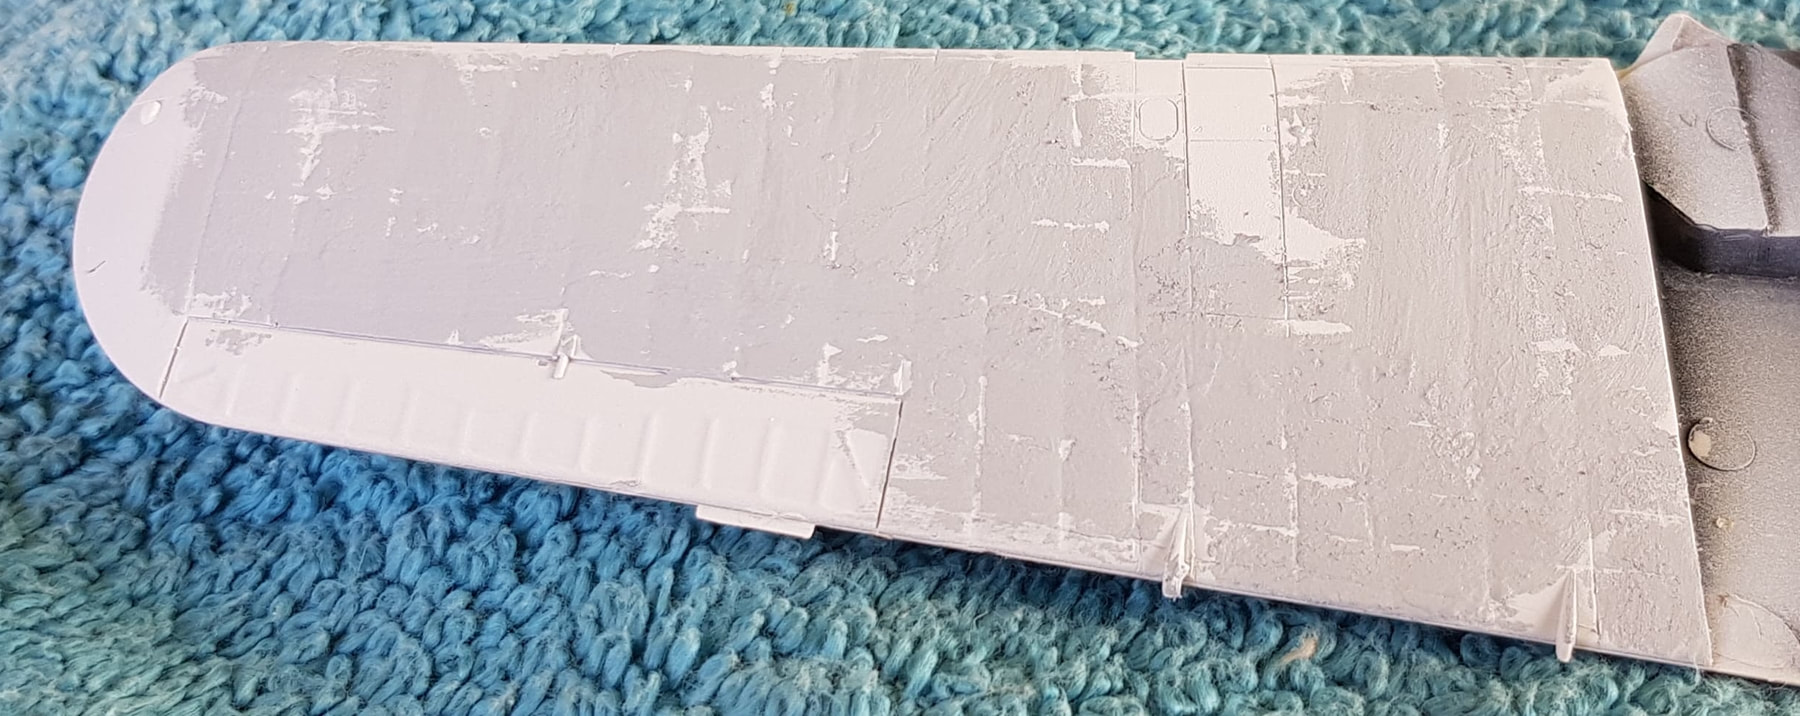

By this stage i felt like i was starting to find my groove. It was a fine line between over doing the effect or then puttying and sanding too much and losing it totally.
A final (hopefully) light putty over the glaring areas of the wing and the first week of the build was over.
Onto the fuselage. Here i moved a lot quicker and managed to not be as hardcore or require as much putty as i had used on the wing assembly.