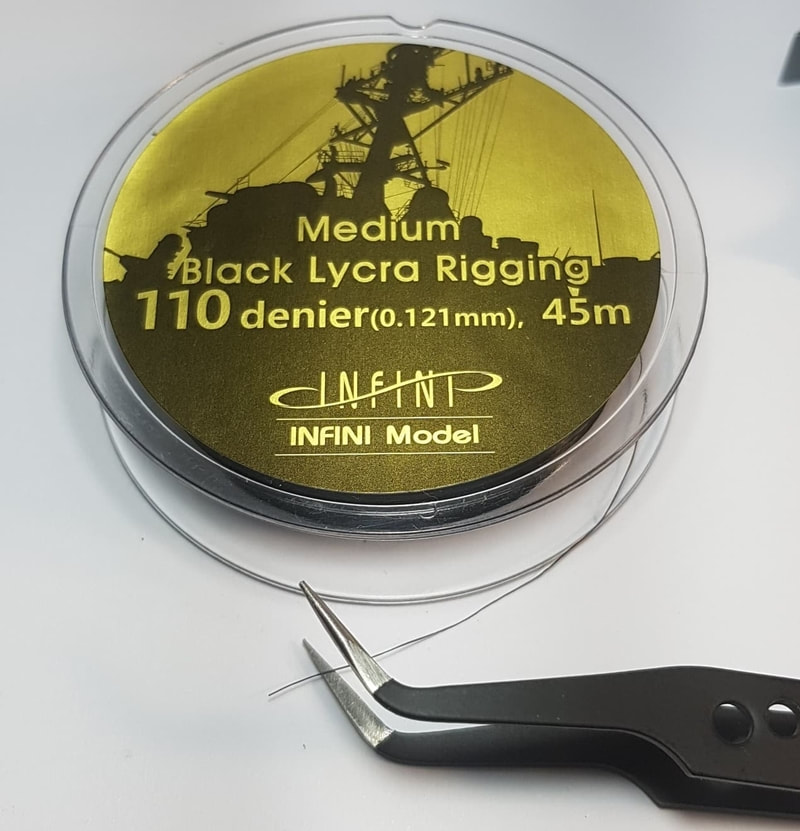
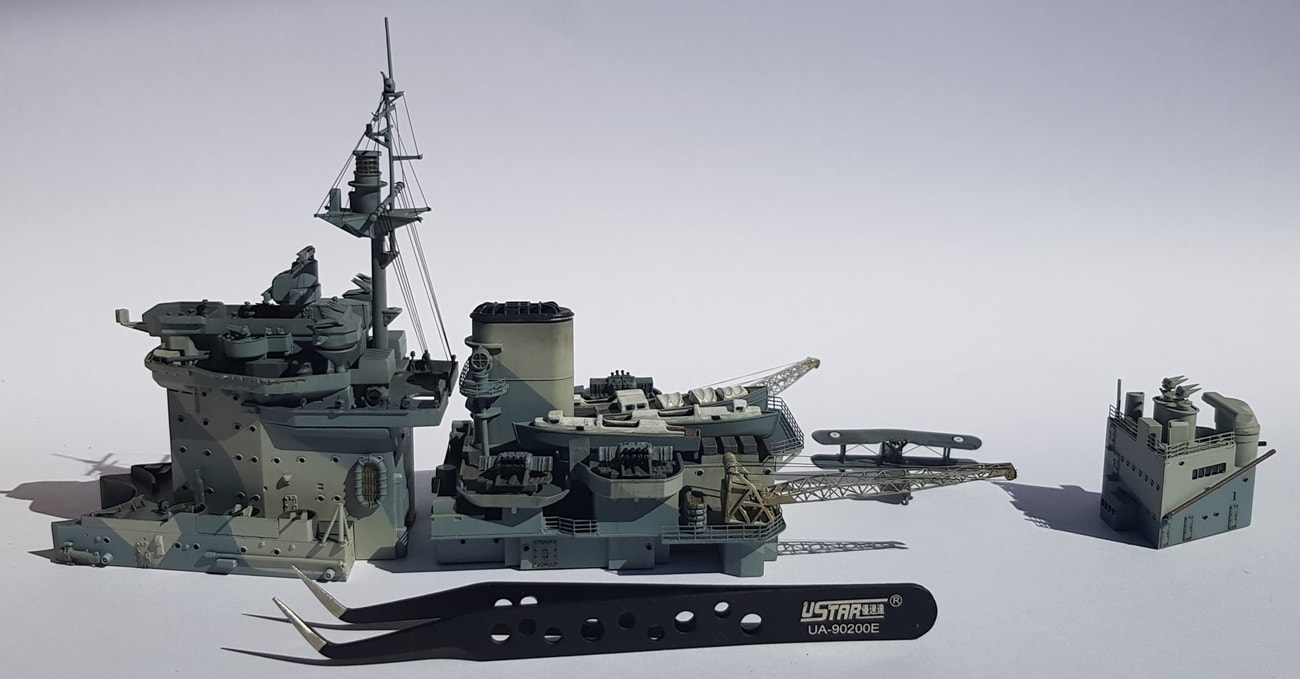
Rigging and rails. I got hold of some Infini lycra line for the rigging which is awesome. So easy to use and stretches seven times its length while still maintaining its tautness and shape once stretched and then let go. Great stuff. I also grabbed some nice modelling tweezers and some zap a gap CA glue.
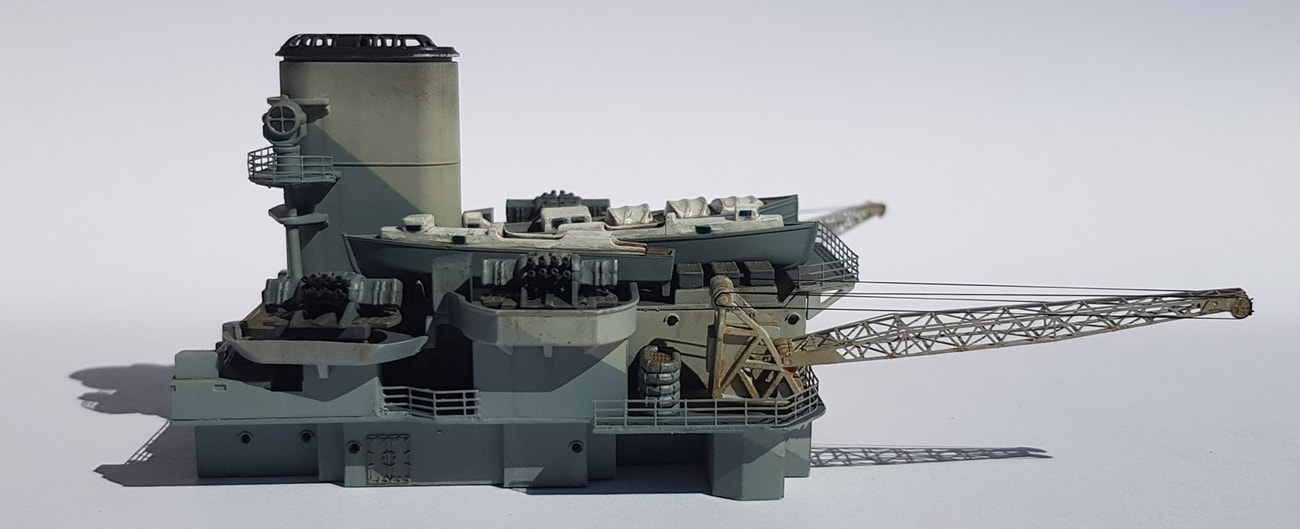
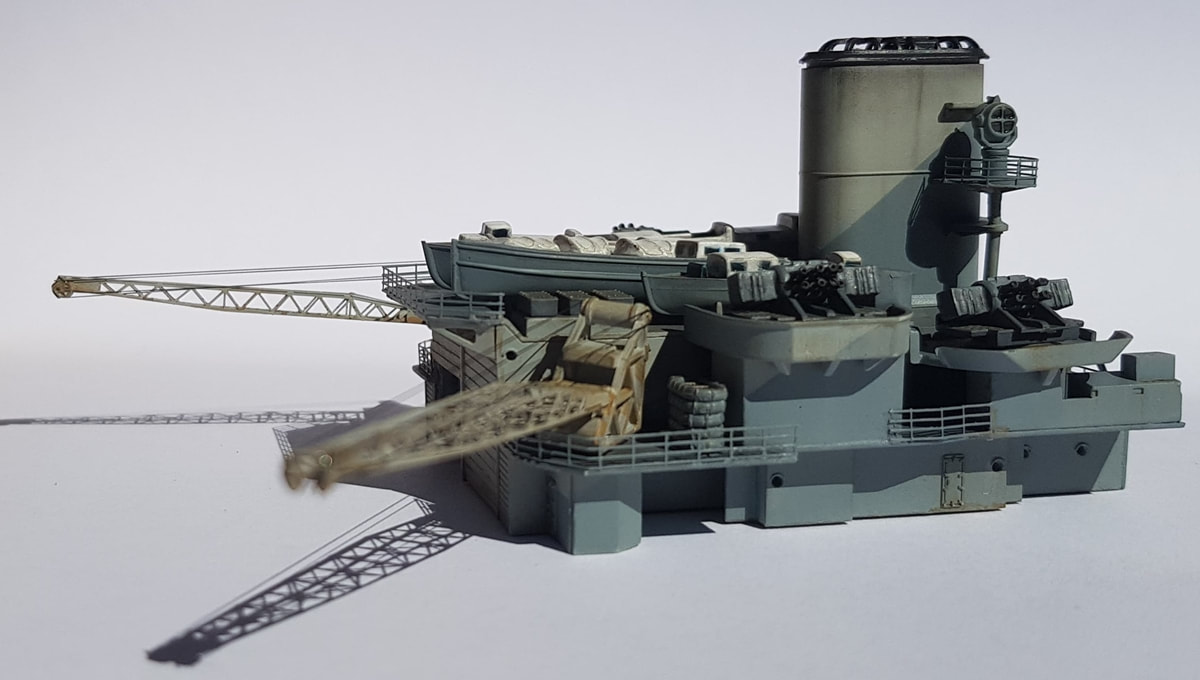
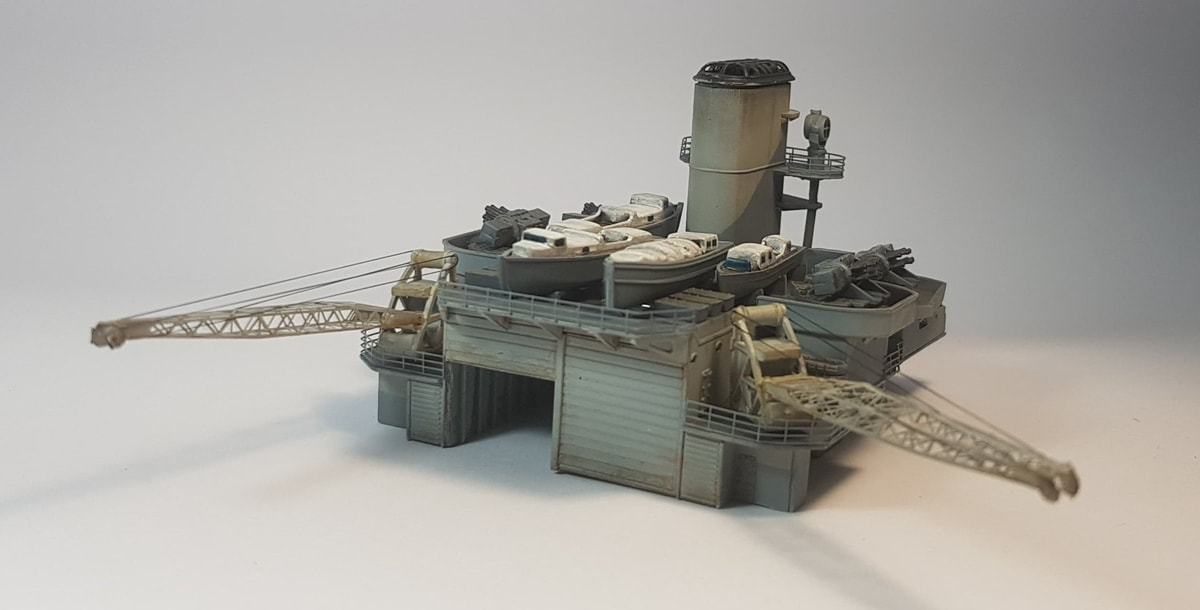
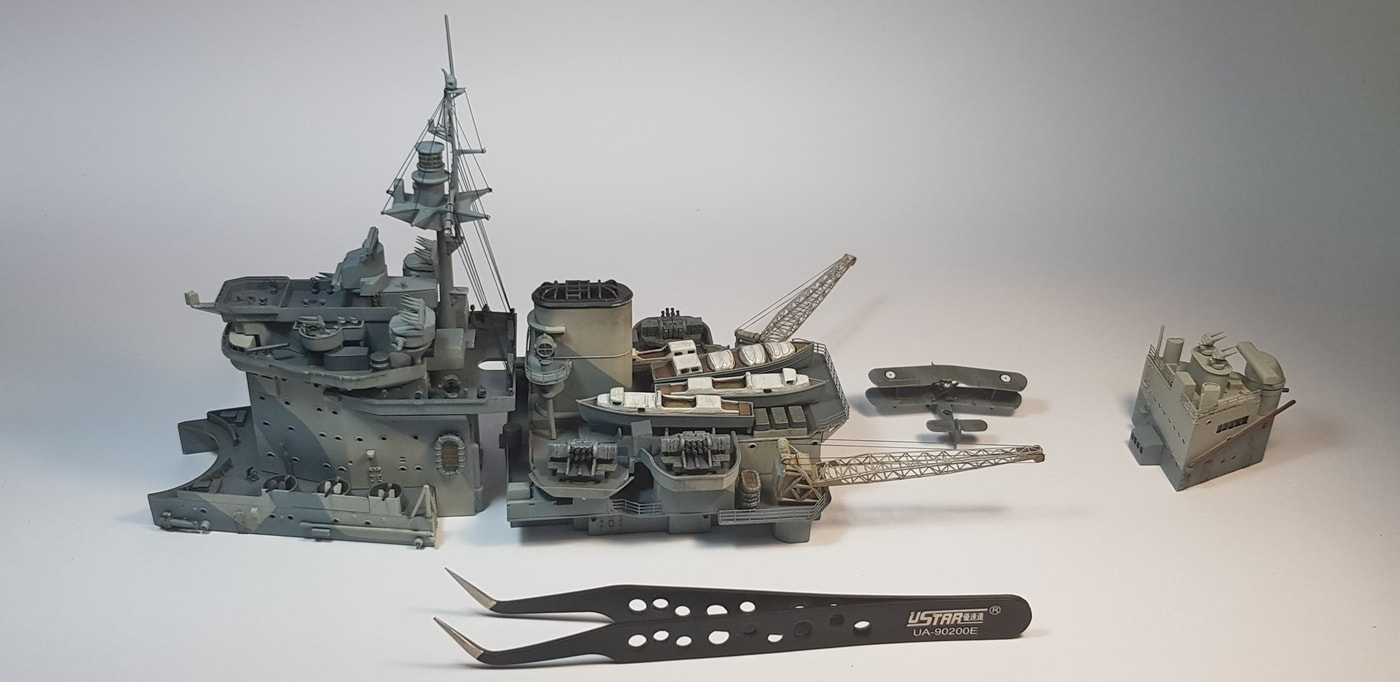
Since the railing kit i had bought was generic it doesn't have enough railings to do the whole ship so i need another kit, rip. I had enough of one type to do the hangar section, the funnel and 3/4s of the rear gun director. Bending was as simple as using tweezers and then the ca glue applied to the bottoms of the rail with a toothpick. I sanded the rails with 800 grit, painted them and then touched up any areas after glueing them to the ship. The rigging was far easier than i thought it was going to be. Cut the line to about double the length needed, i would rather too much than too less, dab a tiny spot of glue on the area of the mast and cranes and then use the tweezers to put into position. The line holds fast after a couple of seconds and the Bridge was completely rigged in about an hour. Still some trimming to be done and a couple of paint touch ups but it is all coming along nicely. Weathering was Tamiya dust, some light paint streaking and rust wash. The cranes have still not been glued into their final positions yet and are just sitting there.
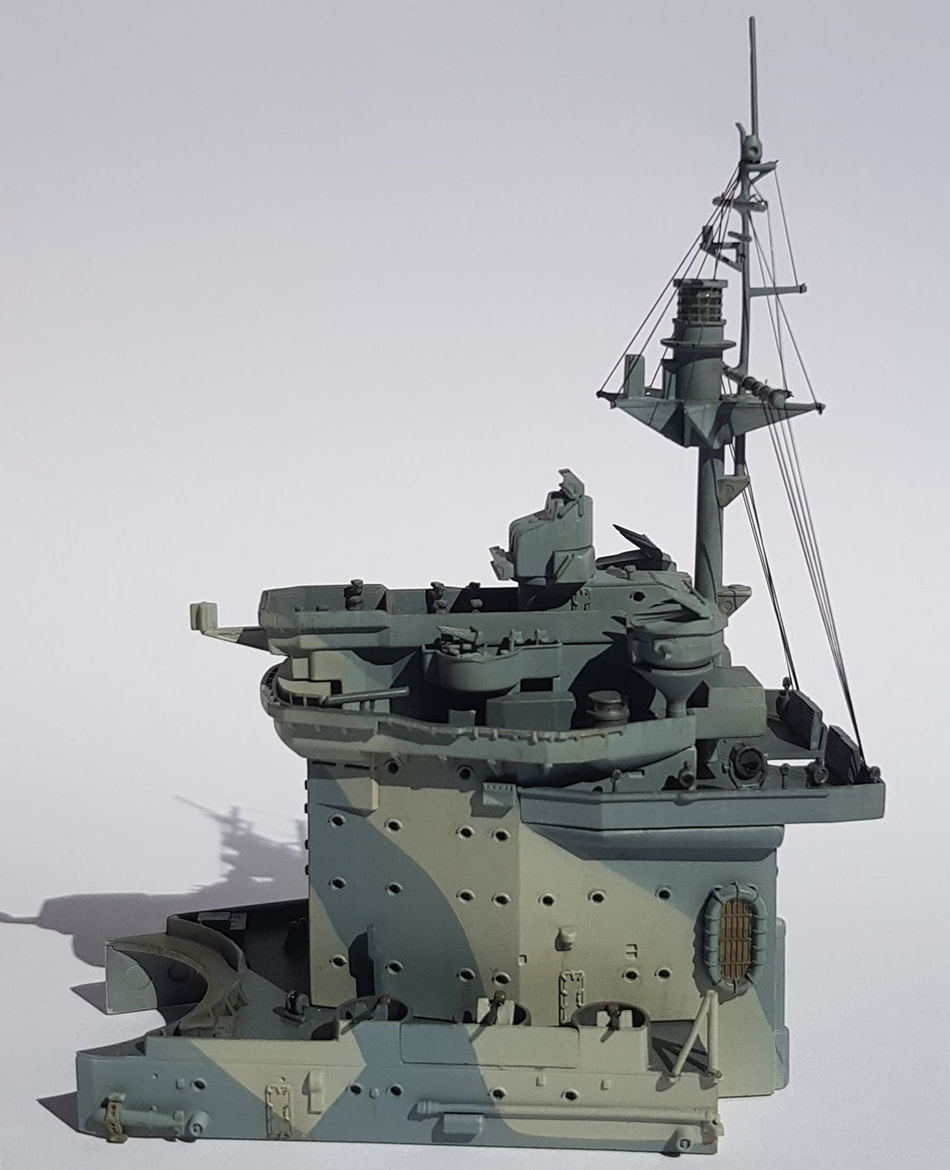
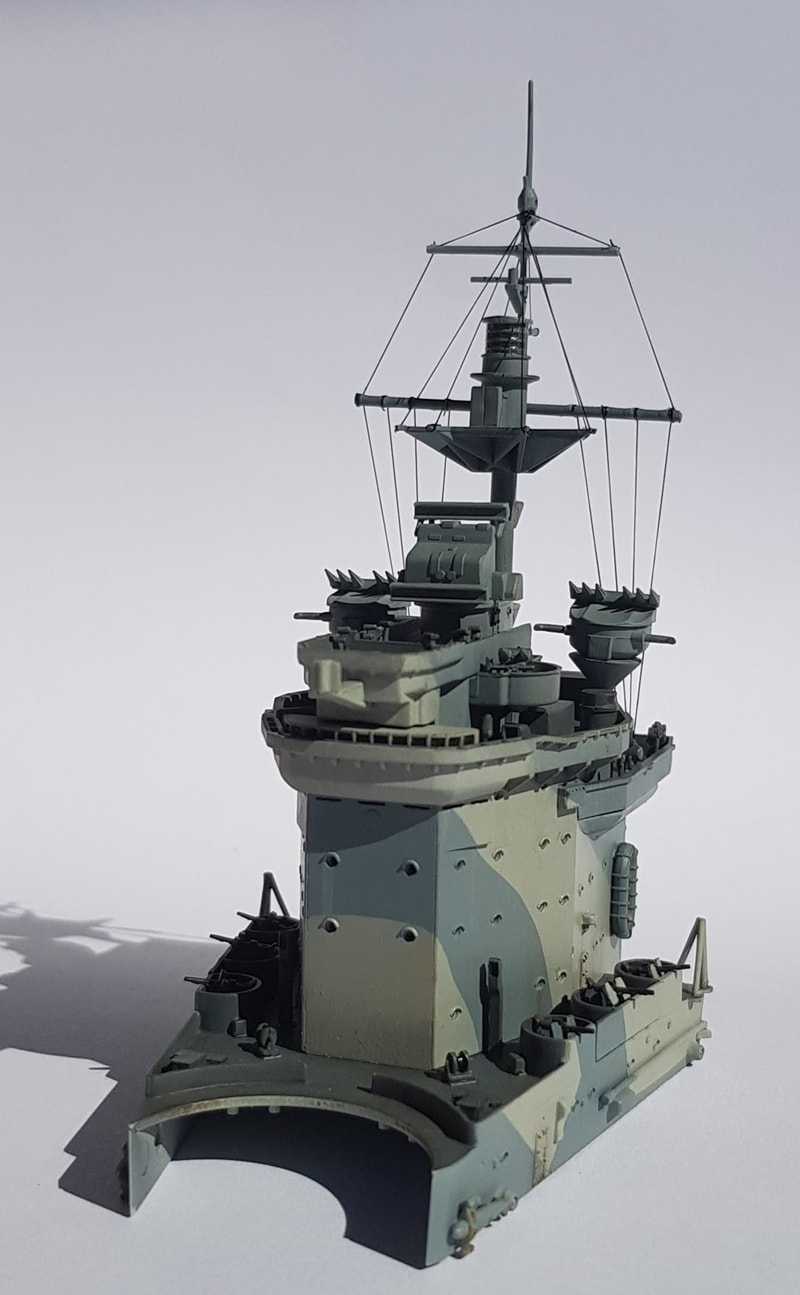
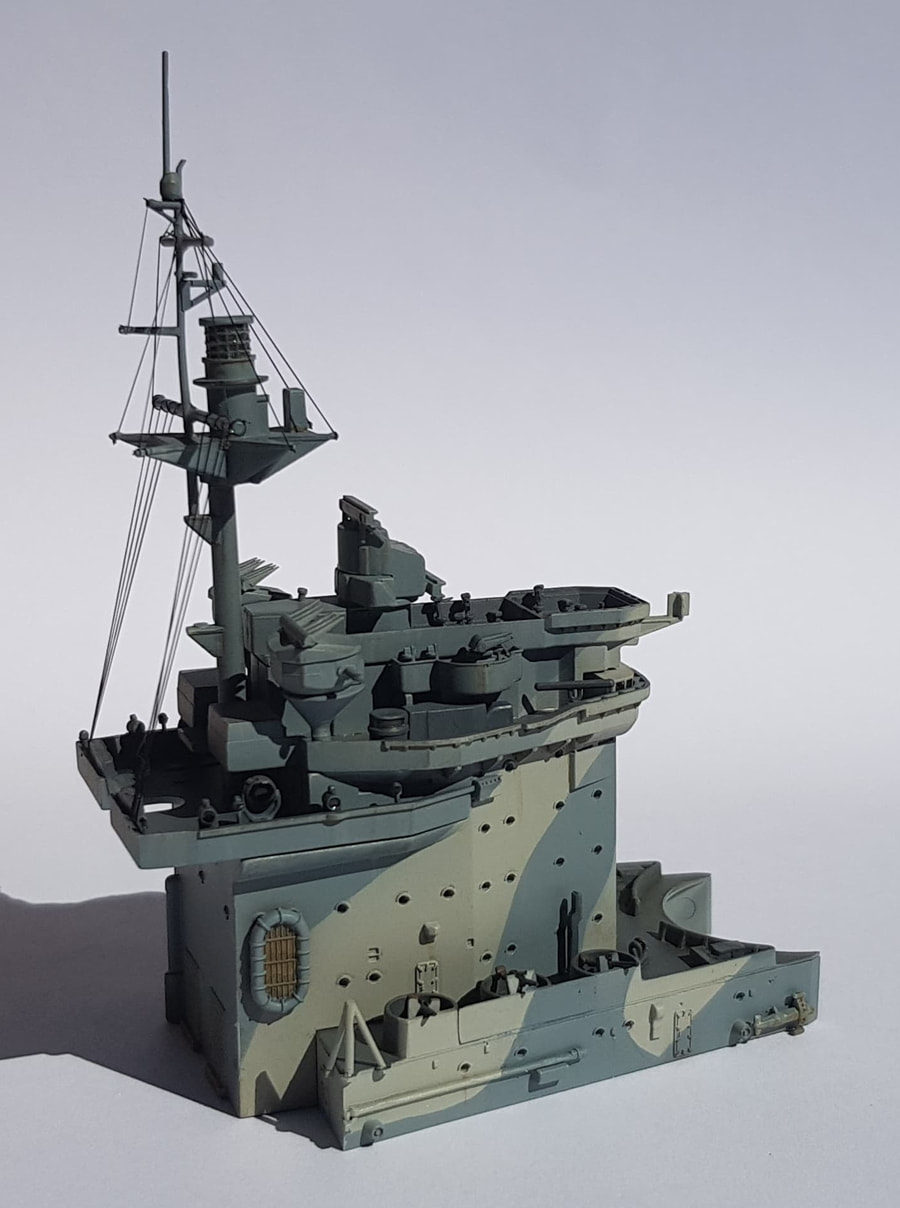
As it will all sit on the deck, and the difference between pictures taken in the sun vs pictures taken under lamps. Top pic is outside, lower is in the paint room under lamps.
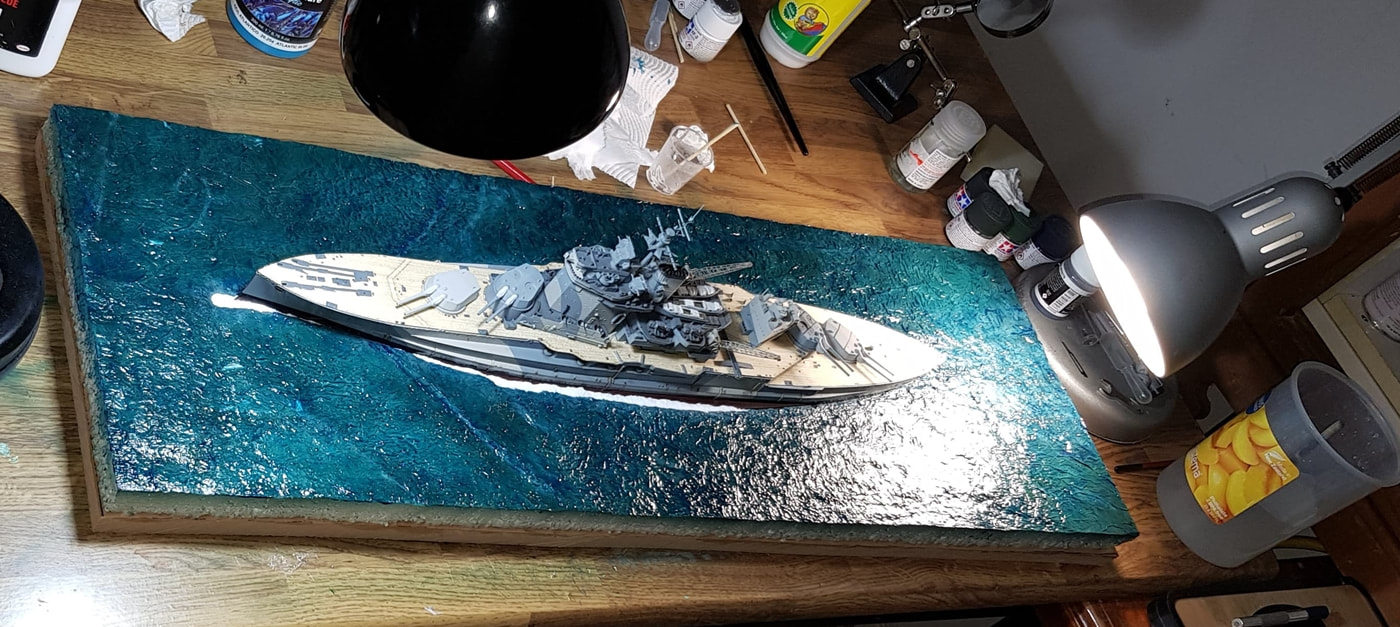
Since i had decided on an ocean base i pulled up on any more ship building and started researching on how it could be done and collecting the pieces and products i needed to get started on that side of the project. For a breakdown of my method with the water effects see HERE,
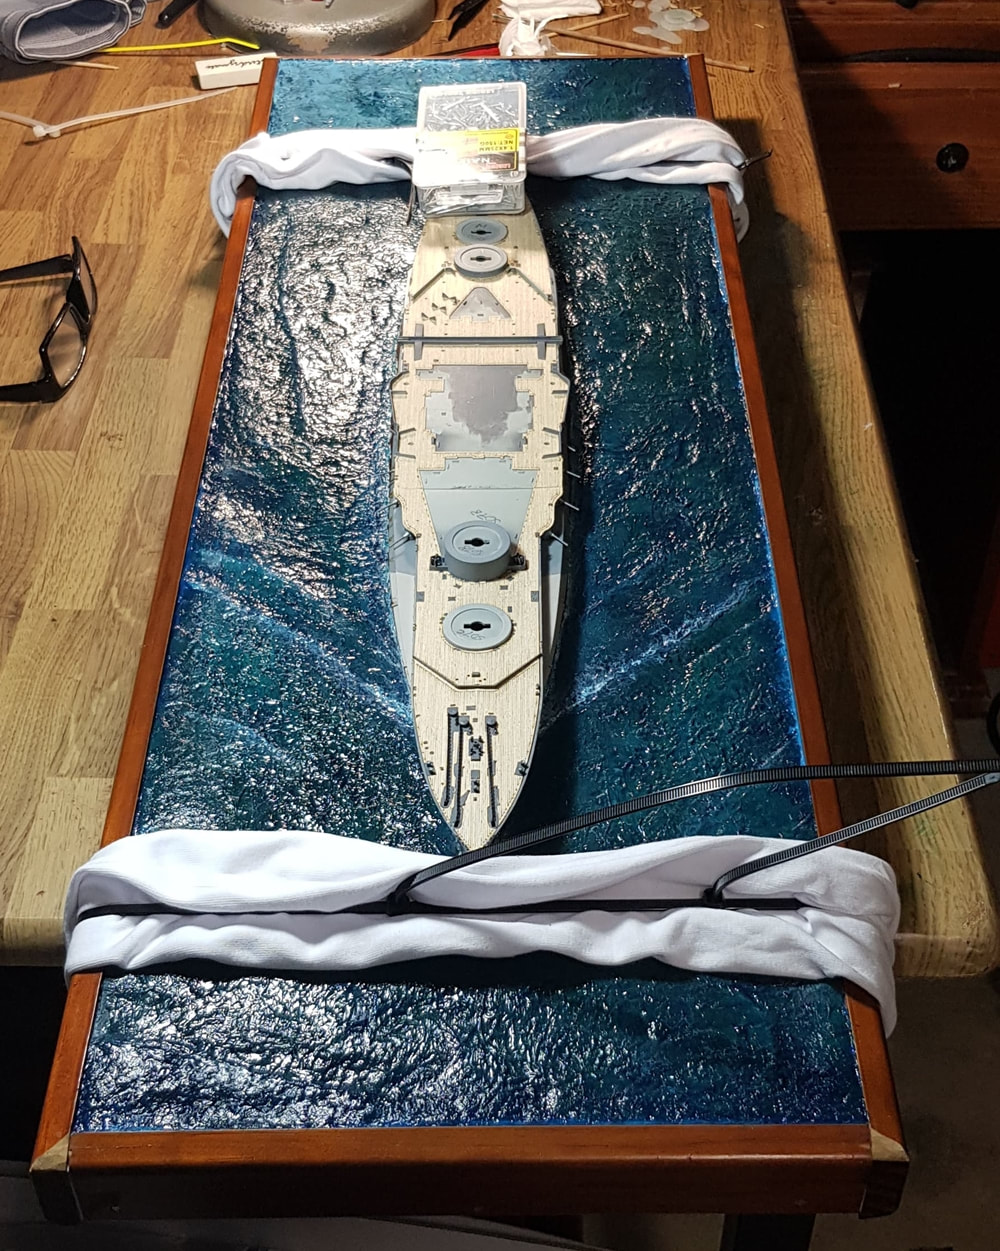
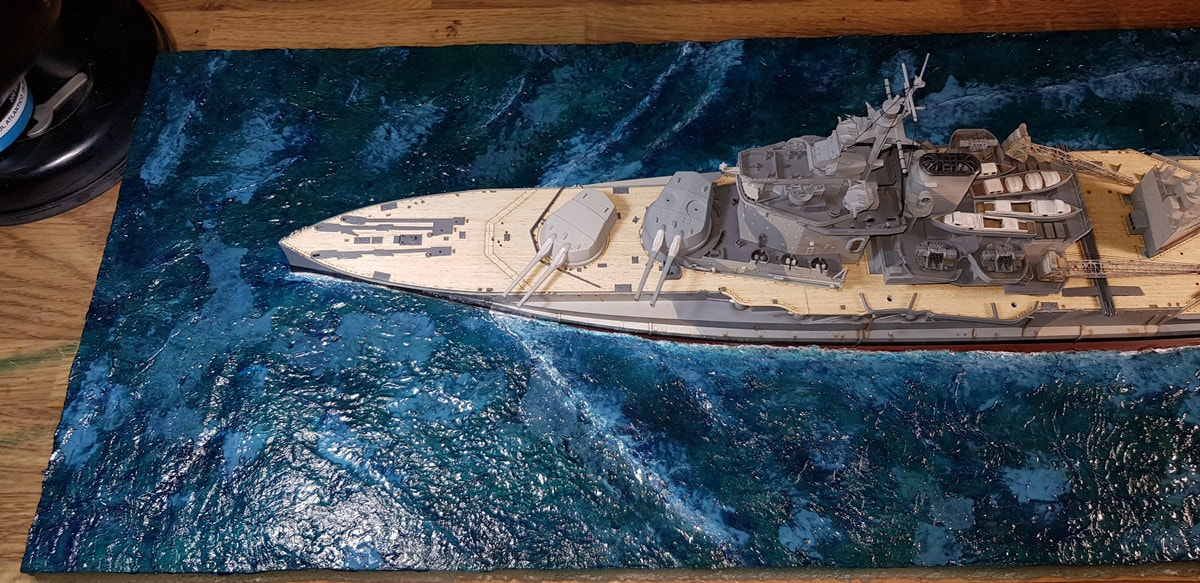
Preview of the water about halfway through being finished with the ship sitting on it's base. The parts finished so far and sitting on the deck of the ship are still unglued at this stage.
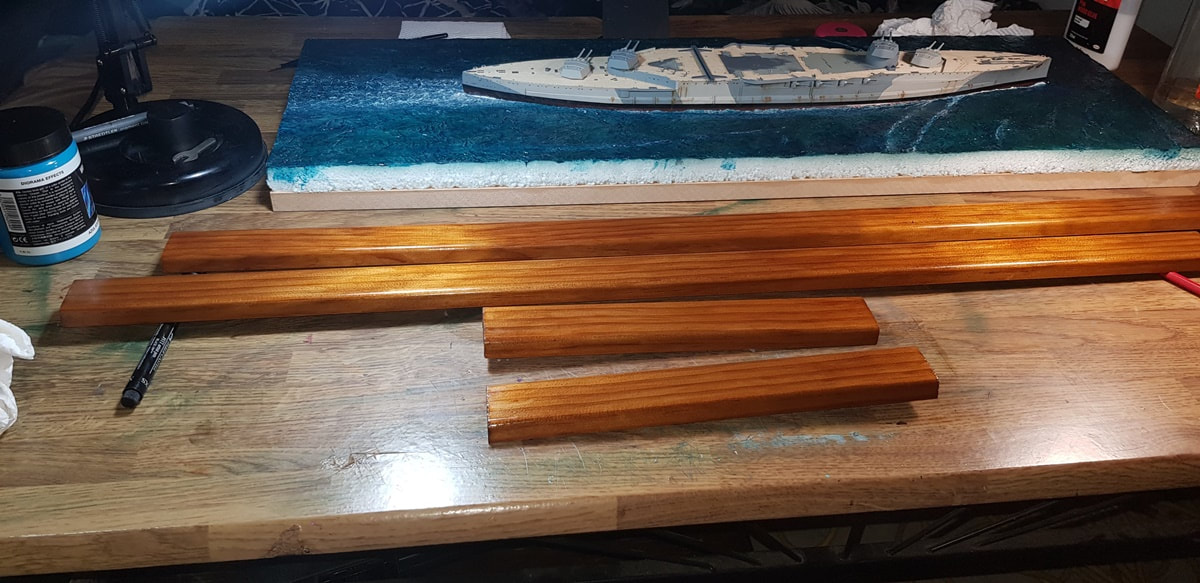
Time to get started with frame for the base. I ended up with a teak stain but was nearly set on a charcoal, the teak seemed to fit the time period more. A single piece of wood that cost six dollars at the hardware store and a small sample tin of stain, measured and sawed into four pieces. All up i gave it five coats.
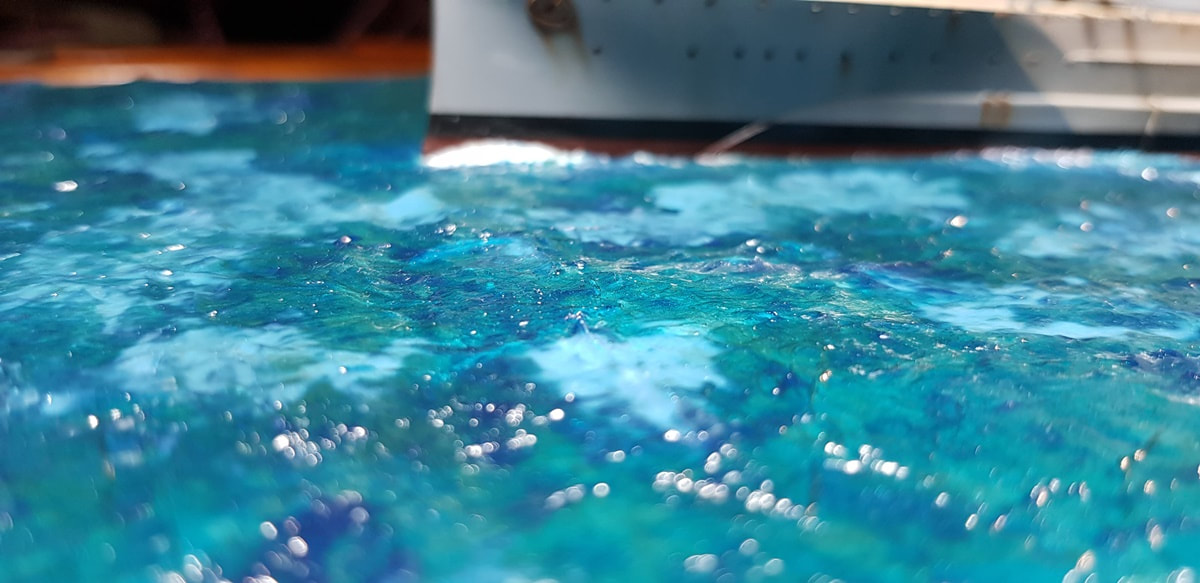
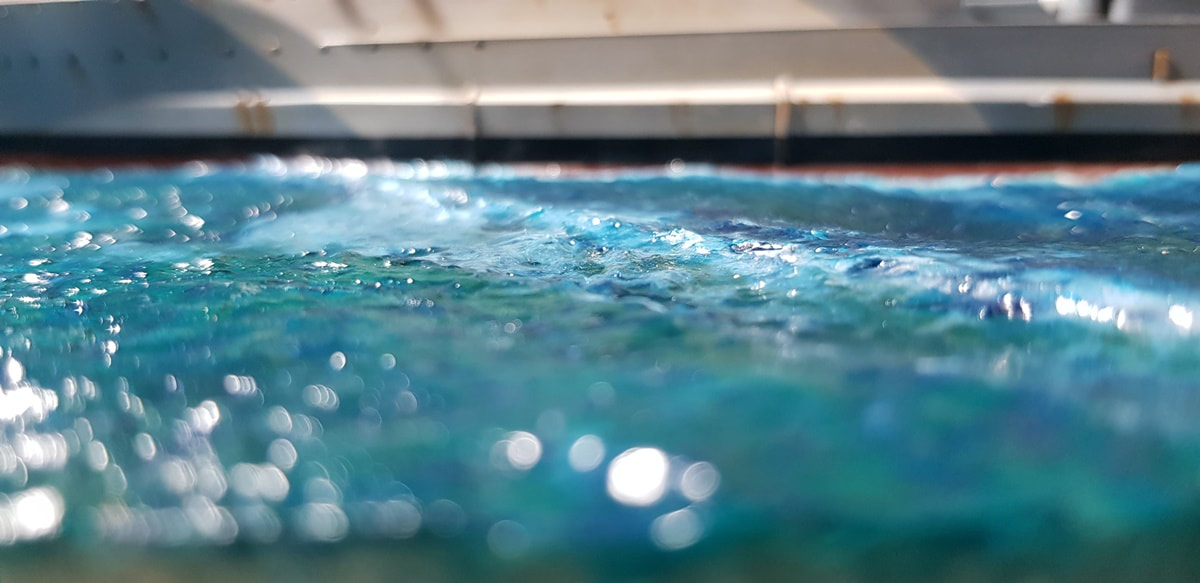
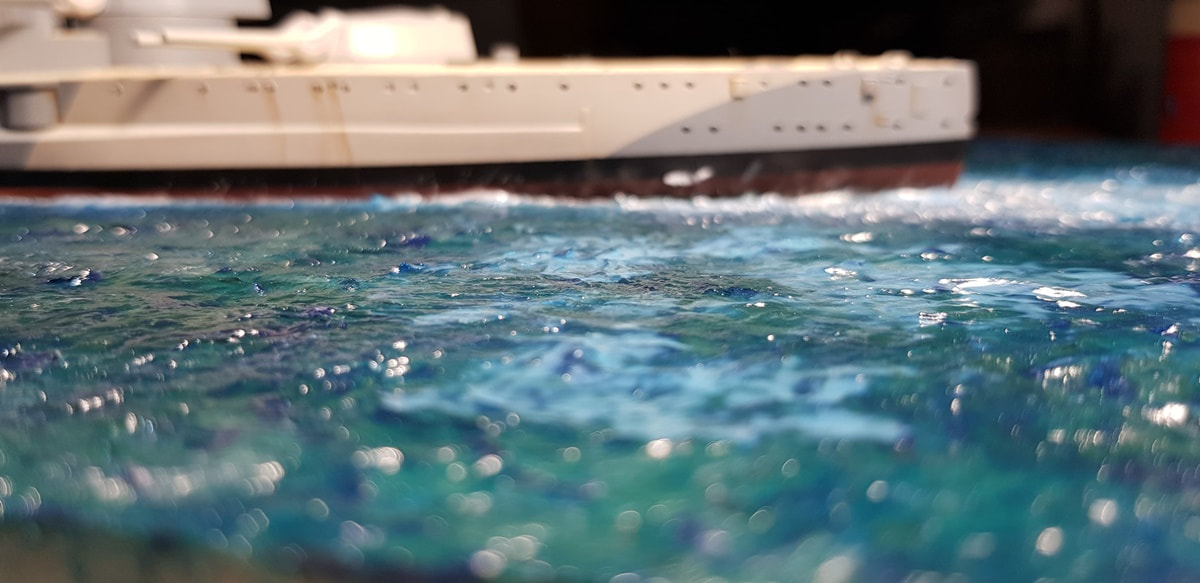
The waves white caps were a mix of paint and the water effect lightly painted on with some dry brushing on top. The splotchy sections are the clear Stillwater product after application and in the process of drying.
After all of the different layers of paint and product it still ended up only being between a mil or two of total product on top of the foam which was surprising. The waves are deeper but most of that is built up paper. It was starting to look like you could really dive in and get wet now!

The frame i simply nailed on and then glued with PVA. Zip ties with rags (so as to not mark the wood) held it all together whilst it sat for a week to make sure the glue set. I also kept on dribbling more glue down between the wood and the foam to act as a gap filler. Once the glue was dry i used the water effect to top off the edges where the water meets the wood. The frame corners were trimmed at this stage as well.