The Warspite. From the great naval engagement of Jutland in 1916 to 28 years later, 1944, being the first ship to open fire on D Day, a massive legend of a ship. More honours awarded than any other ship in the mighty Royal Navy. Hit by naval fire, grounded, being rammed and being the rammer, hit by bombs and a FritX guided glide bomb and running into mines, the Warspite saw it all across all oceans. Fittingly, on her way to being scrapped and under tow she was struck by a storm, the lines parted and she was washed onto rocks where she refused to be budged. As Admiral Cunningham said of her in 1943 "Operation well carried out. There is no question when the old lady lifts her skirts she can run."
A ship dripping in history and a project i hope i can do justice to. I was all geared up to do a 1/32 Sea Fury but in my search for the best kit available i stumbled on the Academy Warspite kit. I had a ship planned further on down the line, maybe an old Dreadnought BB or similar, then i saw the Warspite and had WoW flashbacks, i was sold. At about 55cm long this should be an impressive model, all i have to do is actually go out and purchase it!
to be updated asap.
Ok, got a few weeks behind. Model is moving along at a slow pace, these things have a gazillion bits and pieces! I also updated my airbrush as the cheap Badger had too many issues, faulty valve, constantly cleaning it instead of spending time actually spraying, an annoying air leak..it was just all becoming no fun so i went out and invested in a better brush. More on that later. Here's the Warspite.
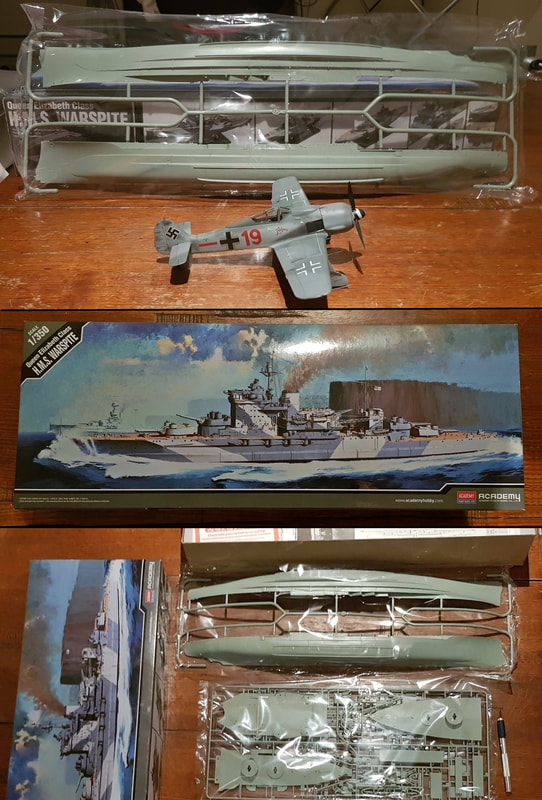
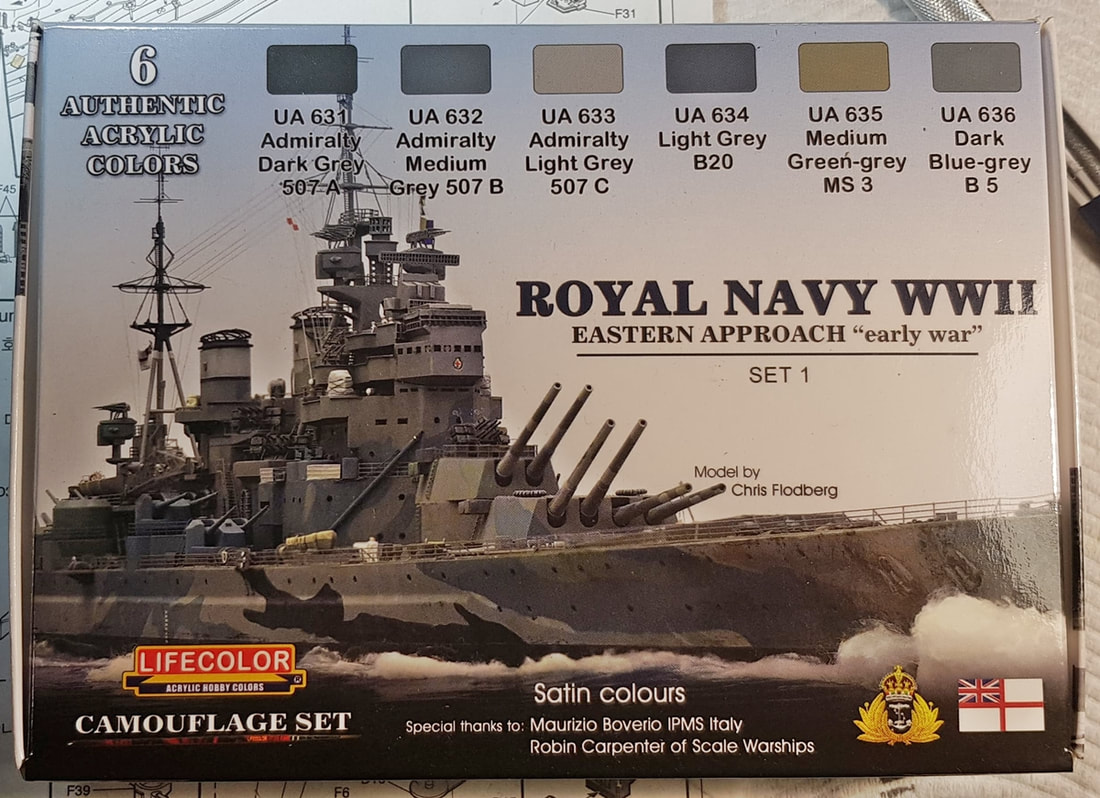
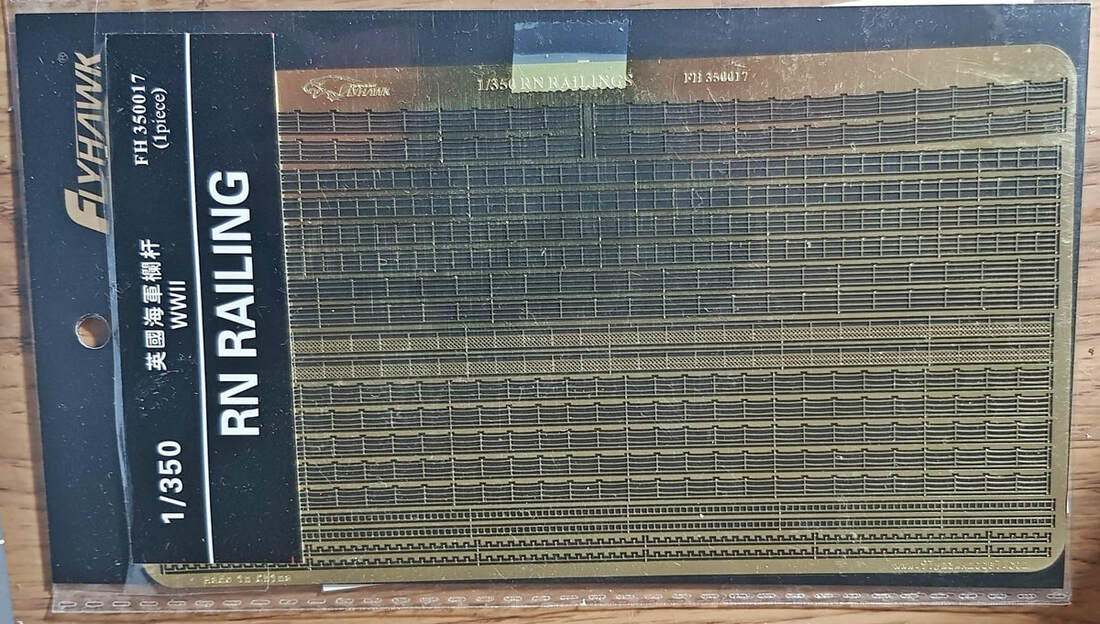
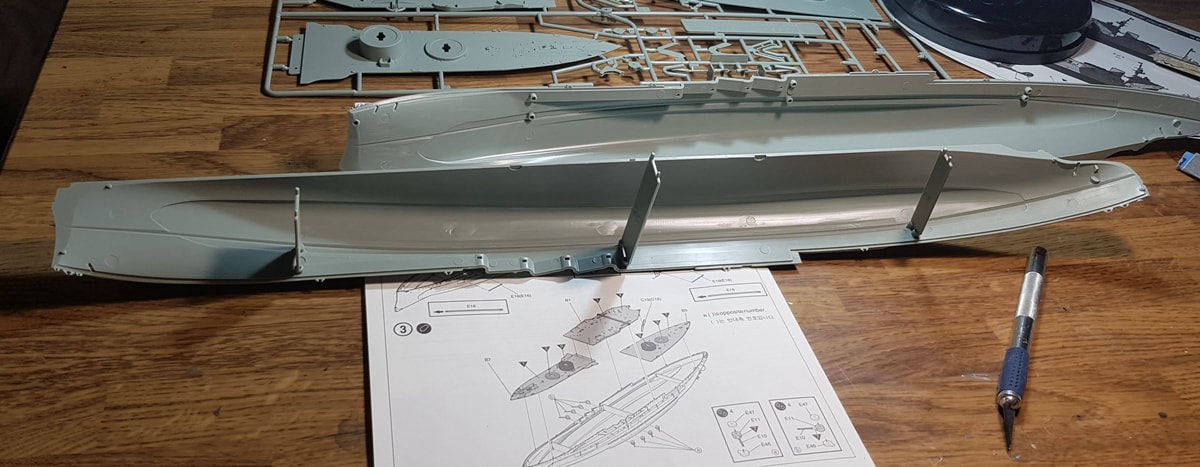
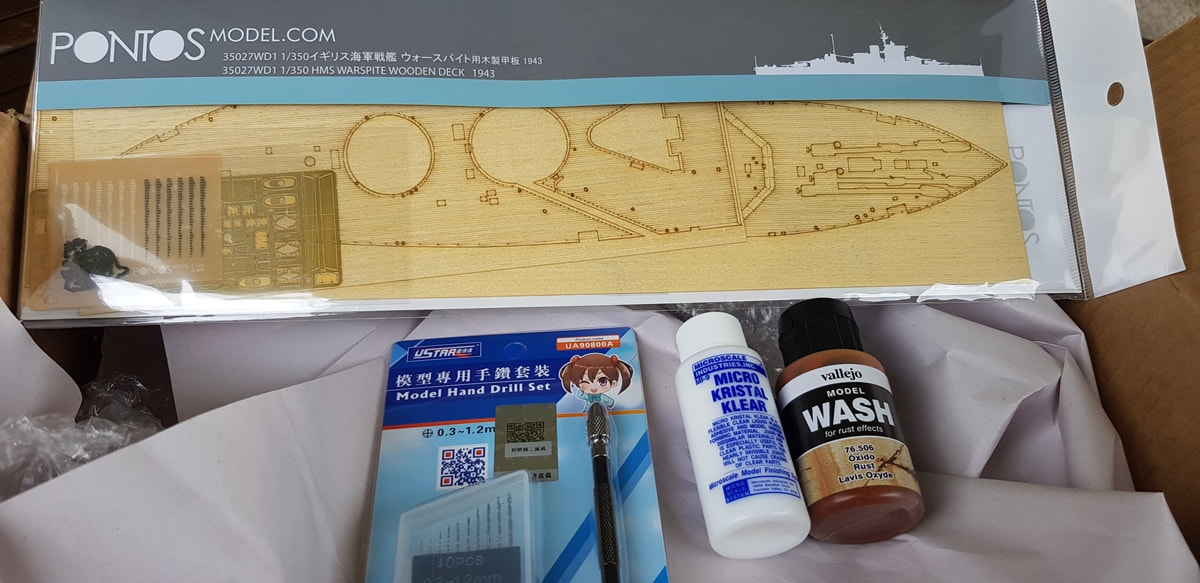
It's a decent kit, 6 sprues, one photoetch piece for the crane arms and a base. I decided the kit needs a few more things to add some detail, a Pontos wooden deck, some photoetch railings and Lifecolors RN paint set. There are no railings of any type included in the kit so the railings at least were a must, the wooden deck because it was going to look better than anything i could do and the colours saves me having to make a mix. I also added a pin vise (drill) some rust Vallejo model wash and Micro Kristal Klear to the collection.

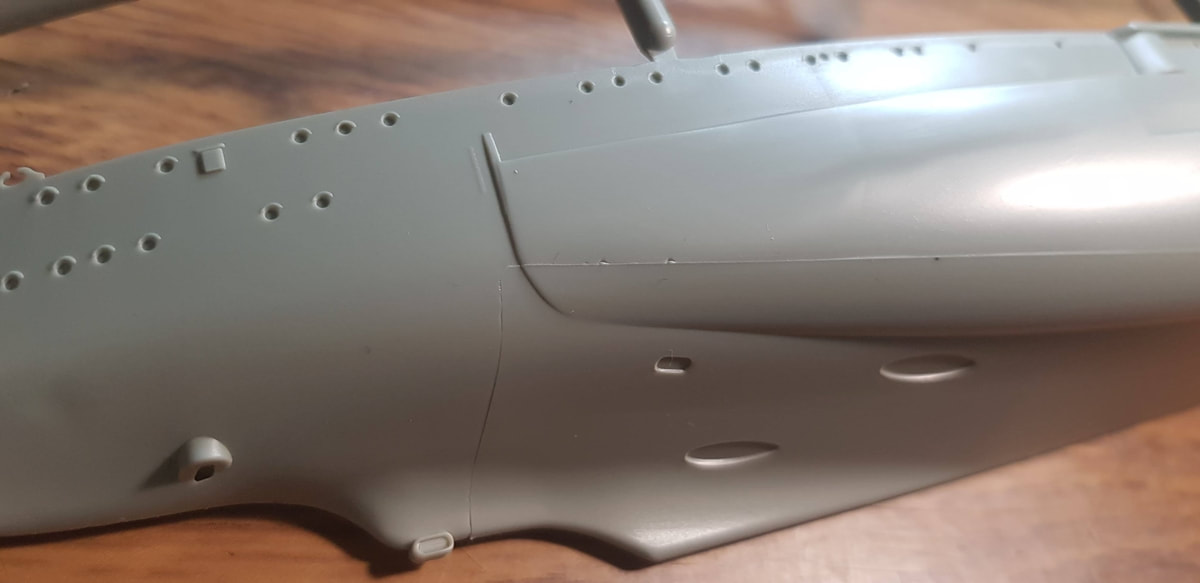
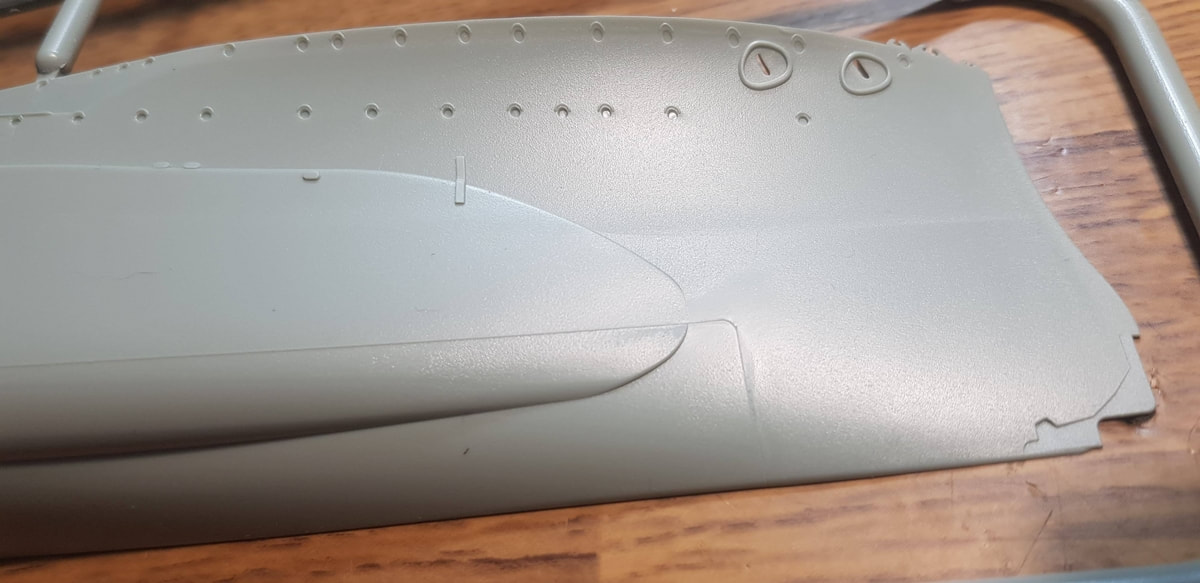
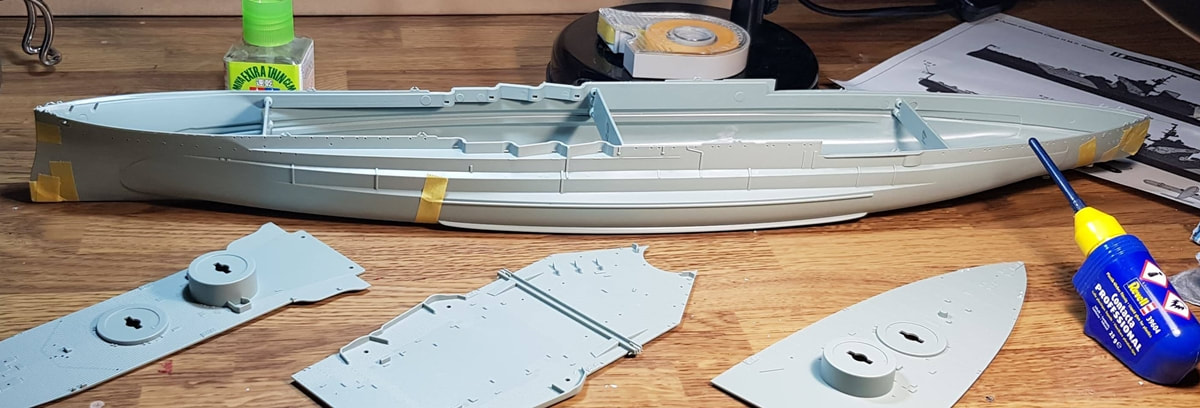
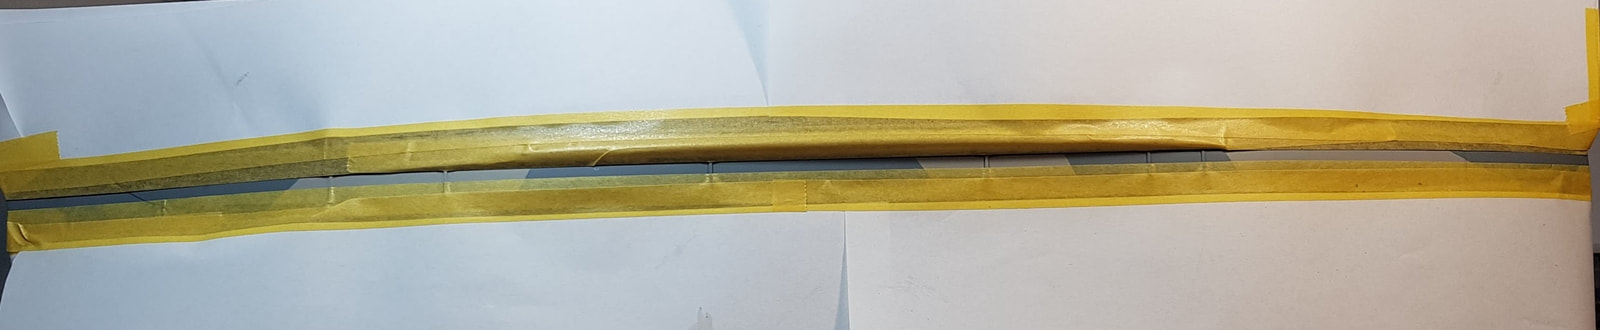
First things first, the hull. The hull has some seams that need work, sanding and a bit of filler. It goes together nicely with three braces across the beam and a bit of pressure from some Tamiya tape to keep it together while it dries.
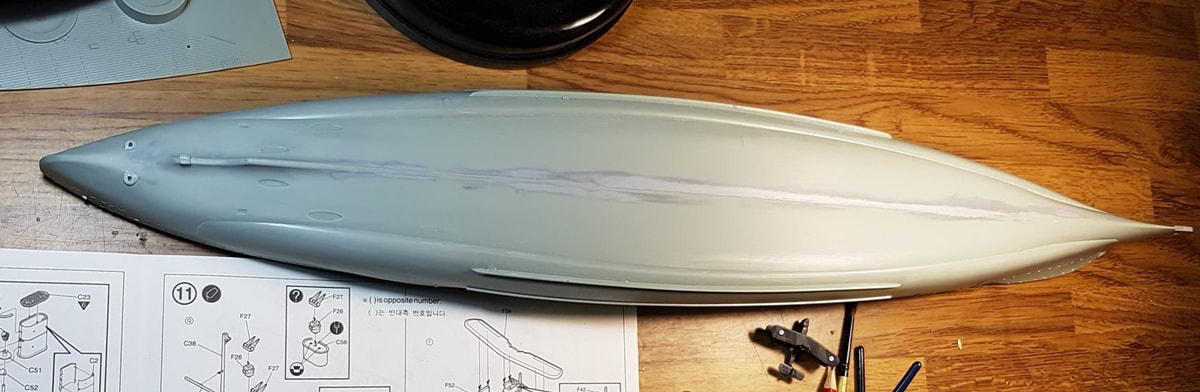
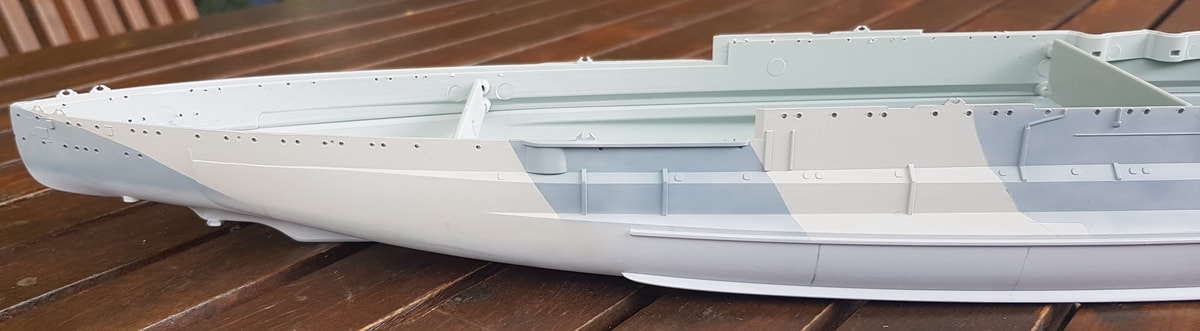
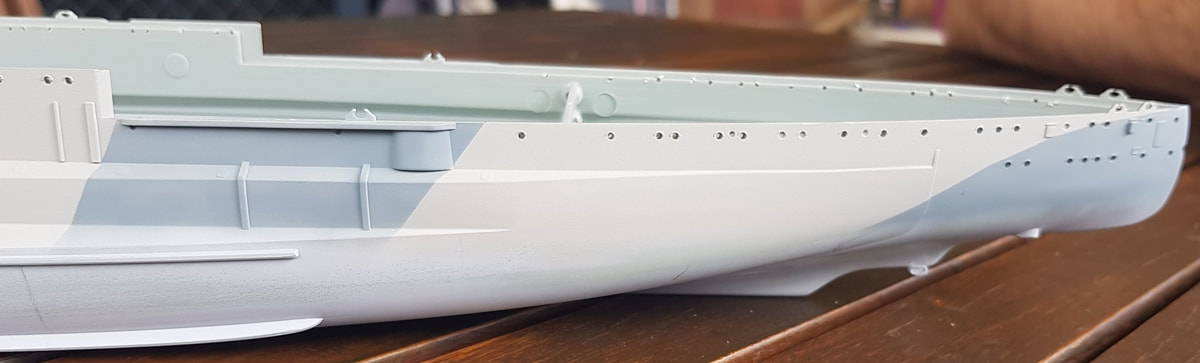
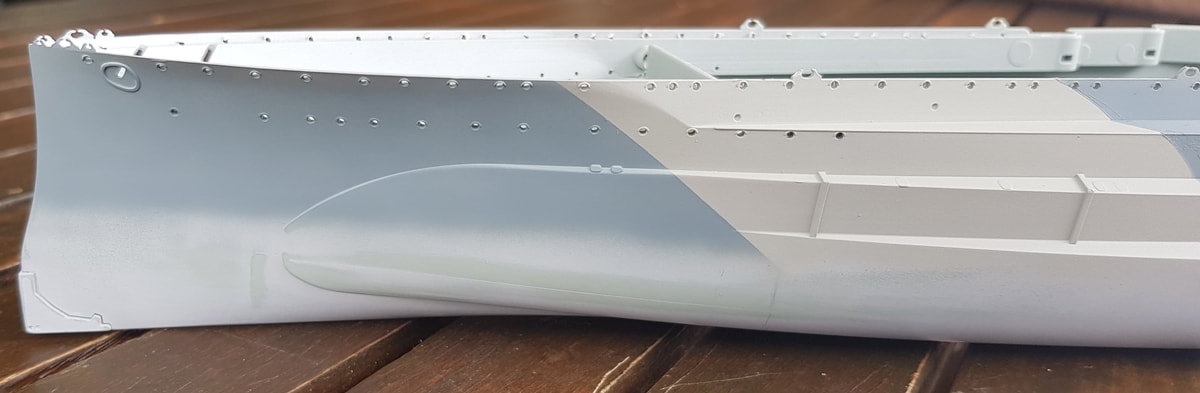
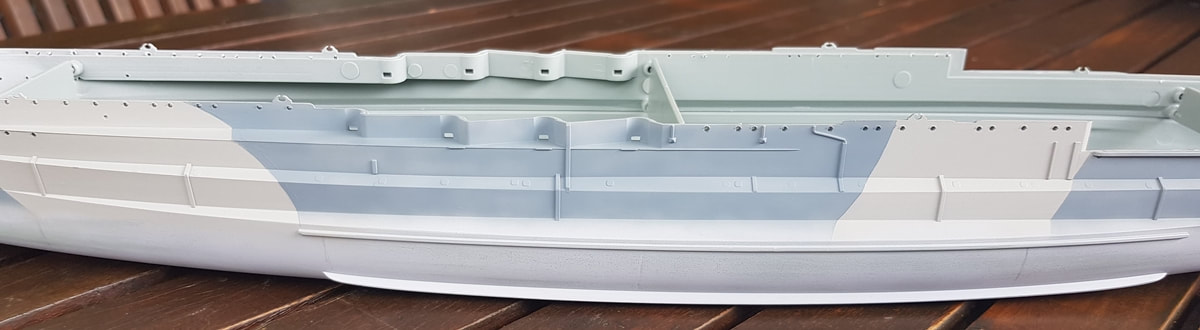
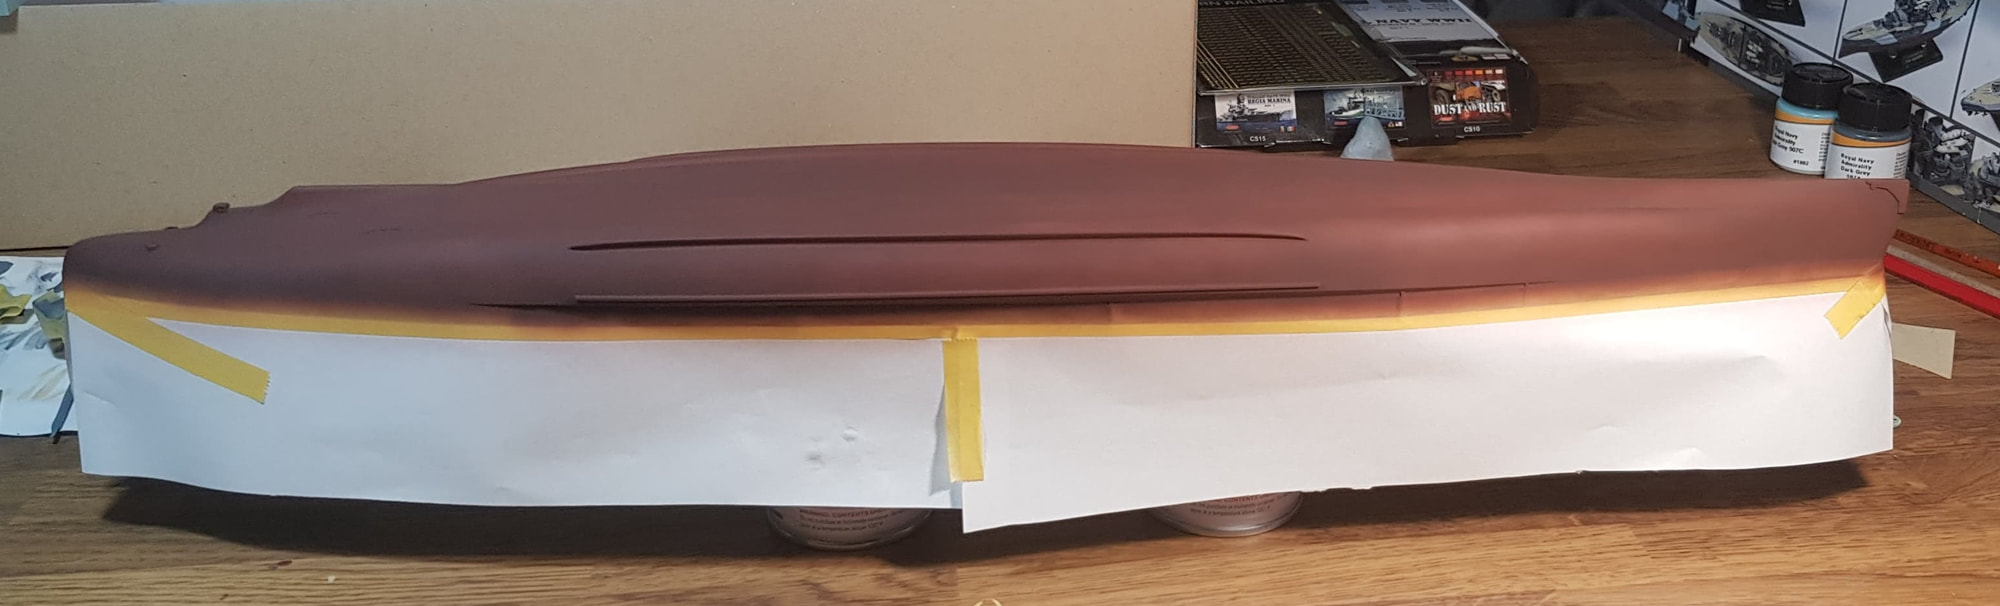
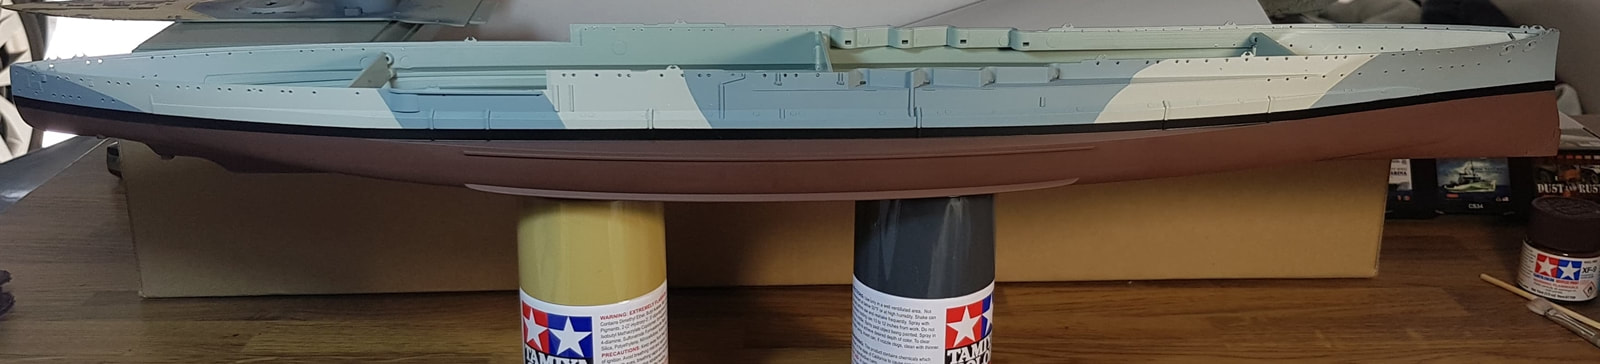
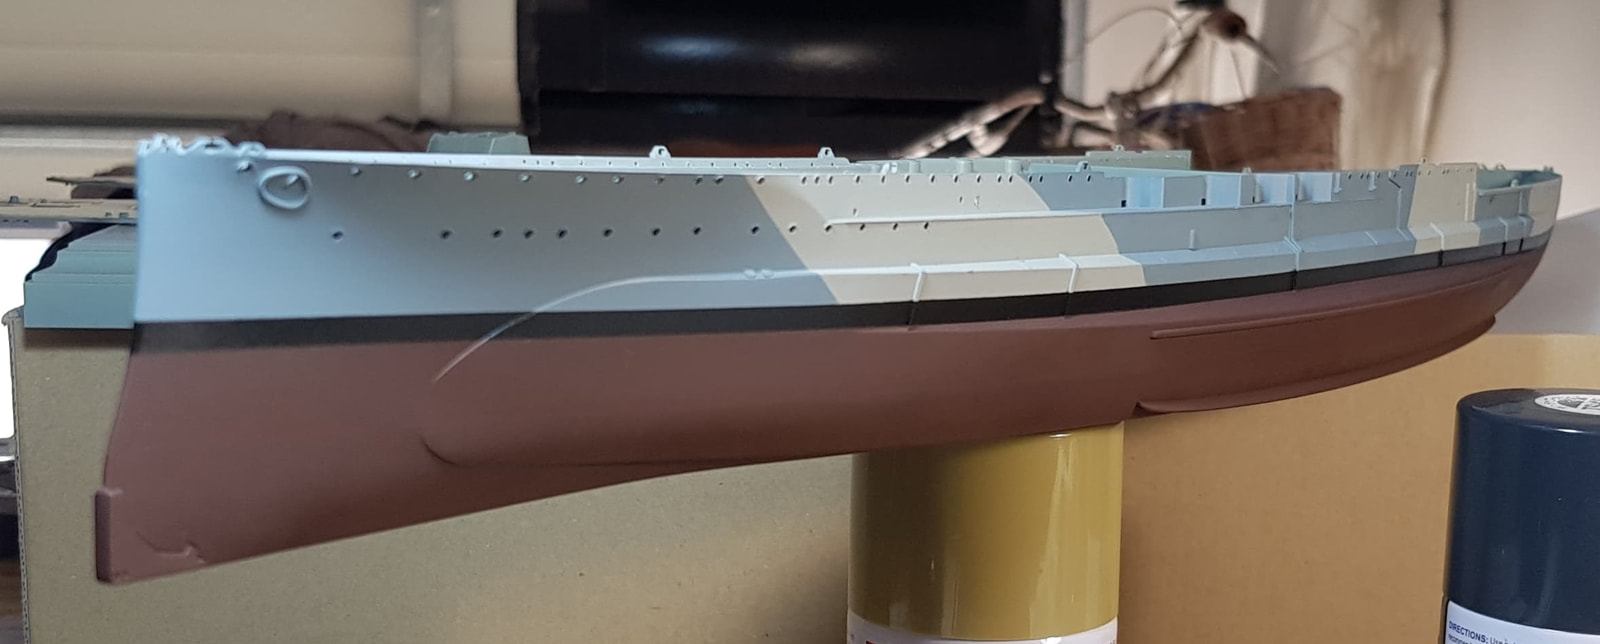
Painting. I was really looking forward to doing the camouflage on the hull and just hoping to be able to do it justice. The Life color paints don't flow as nicely as Tamiya but the colours are very nice. I've ended up with a 70/30 mix (thinner/paint) for decent results. Anything thicker tends to move into constant dry tip territory.
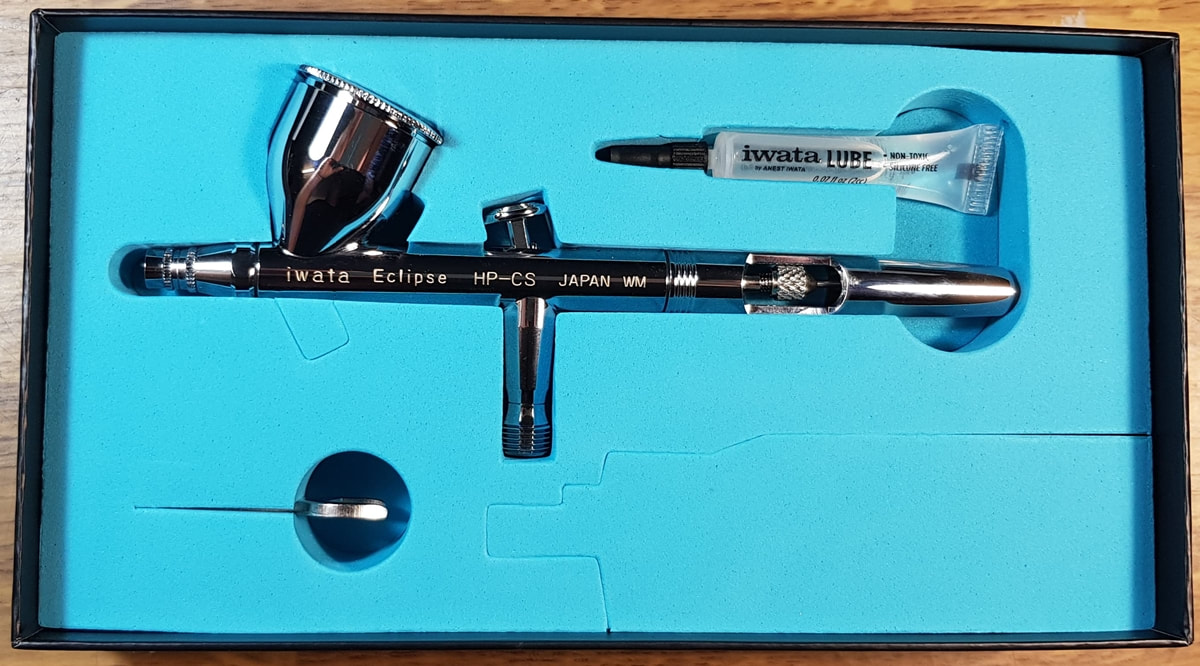
Enter the Iwata Eclipse. The above work had been an exercise in frustration and had me nearly launching the Badger brush out the front door. New orings, multiple cleans and stuffing around with the valve had me doing my head in. After much reading of reviews and model foruming i decided on the .35mm HPCS version of the Eclipse. Chalk and cheese compared to the Badger, this brush is a joy to use and maintain. The overall fit and finish is far superior, the needle finish is miles ahead and inside the bowl is smooth, unlike the Badger which was a bit rough at the bottom of the bowl. The first time i sprayed with it i knew that a lot of my previous issues were not just me which gave me some relief i can tell ya. The FW 190 had been a slow exercise in pain even though it had turned out decent. The fun factor was low.
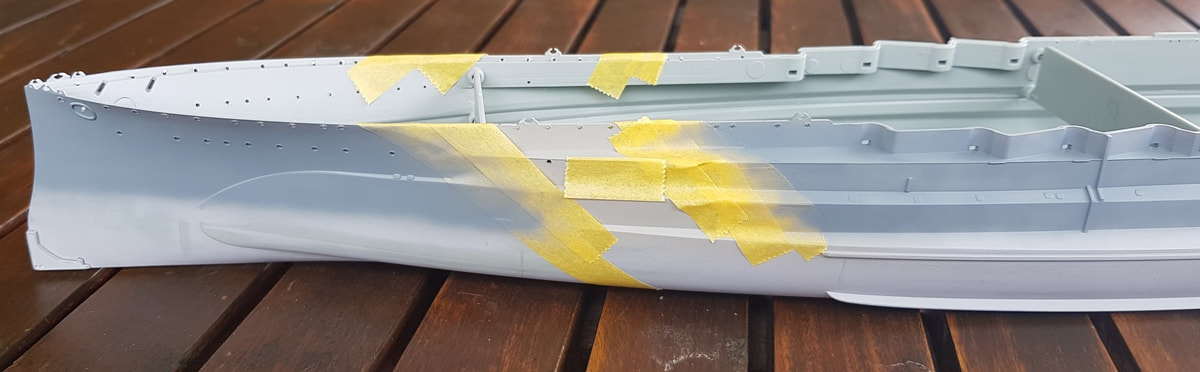
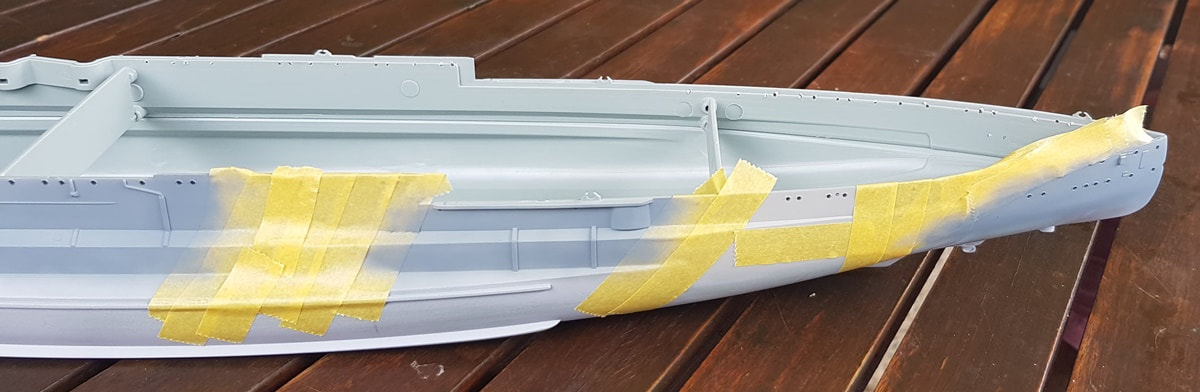
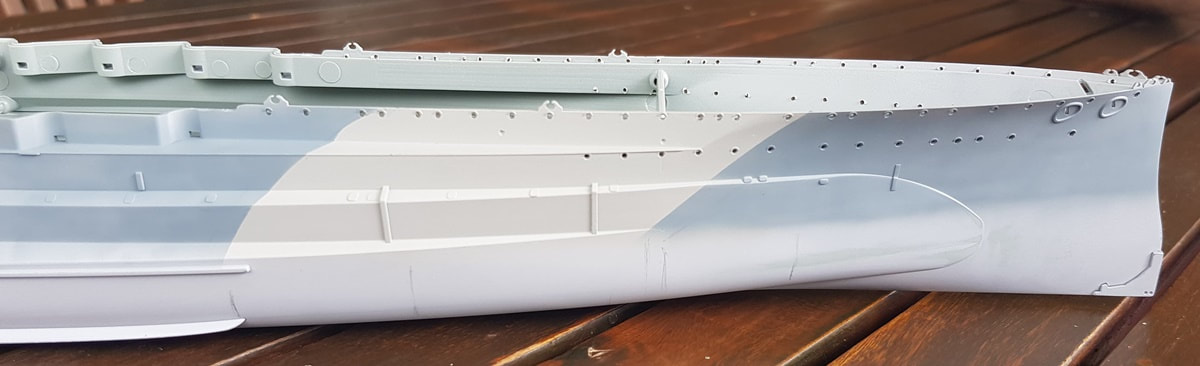
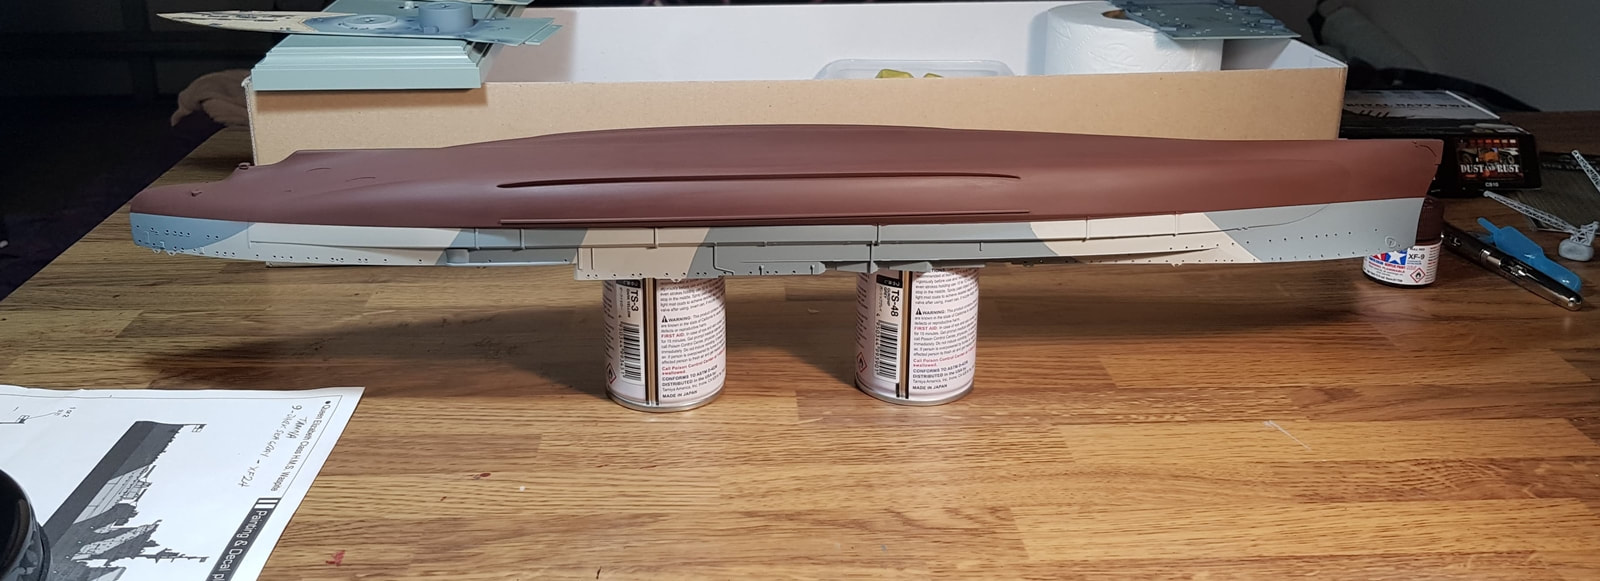
Now i could finish the hull. Tamiya Hull Red for the lower, layering the camo coats for the upper and spray the black boot line that separates both
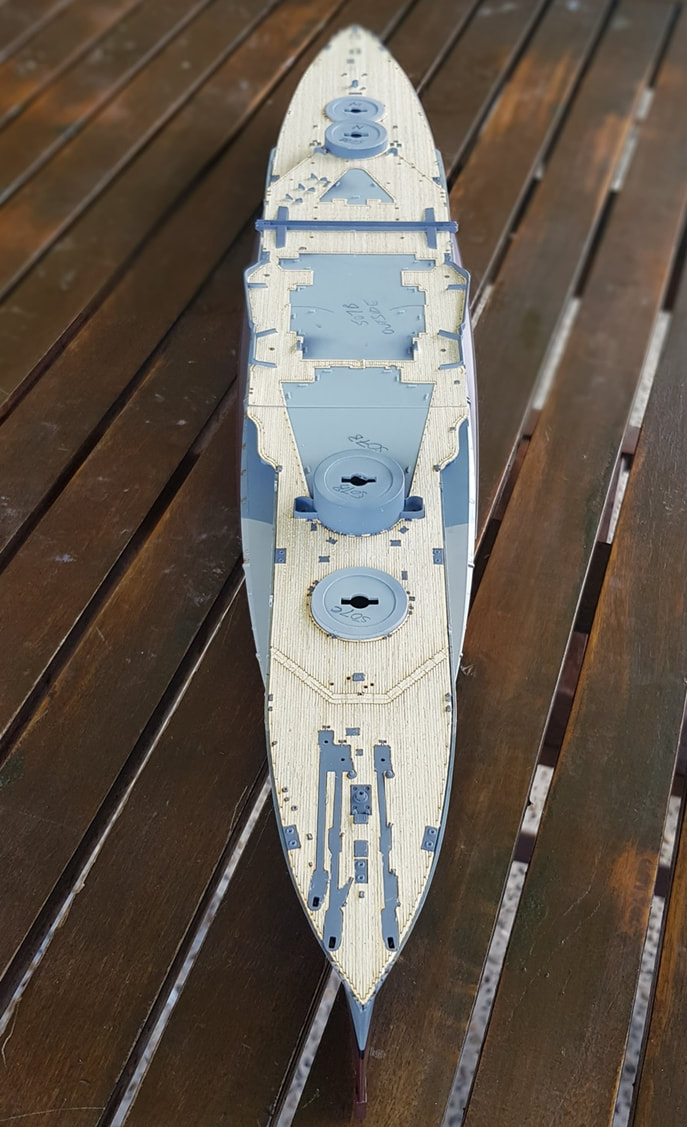
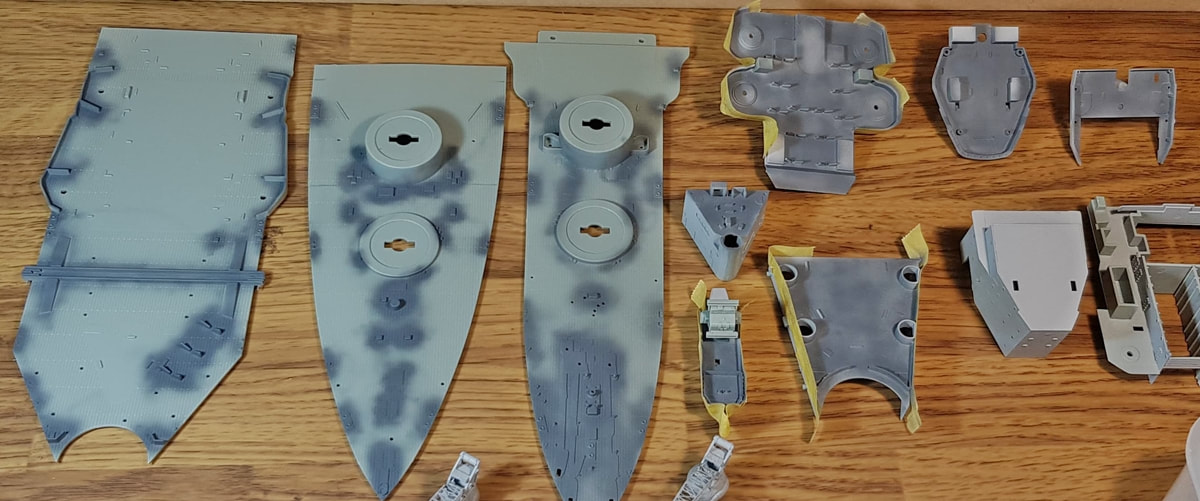
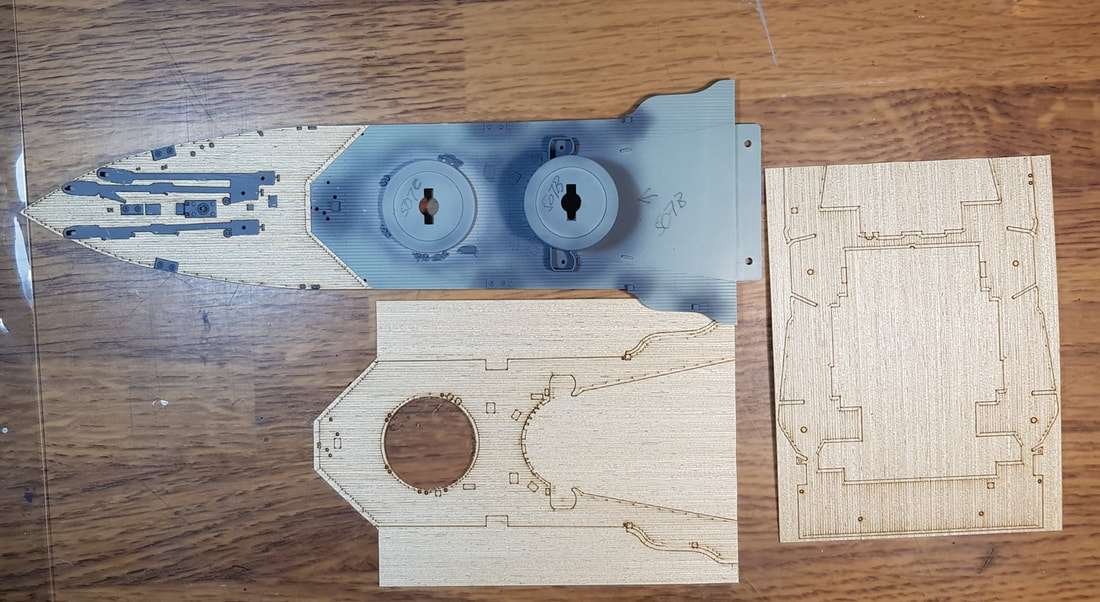
Taking a break from the hull, Pontos wooden decks. The Lifecolor set includes upper deck steel so everything poking through the Pontos decking needs to be sprayed.
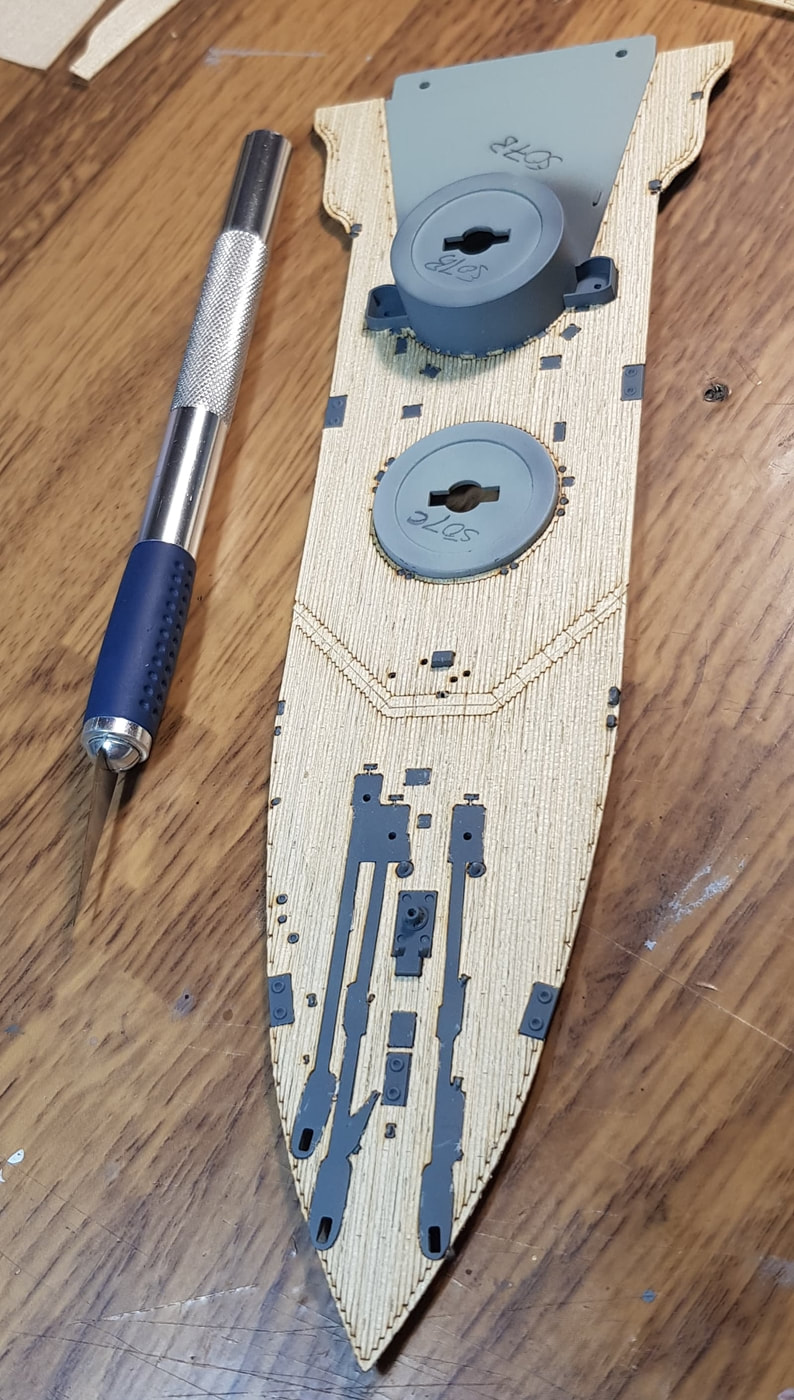
The Pontos kit comes in two sections, fore and aft. I cut the the longer fore section into three pieces as there is no way i was going to apply it all in one large chunk. The deck in the kit is in three sections as well so it would have had to have at least one cut. I had already done the front section down without any pictures as i just wanted to concentrate on not mucking it up. Here is the the one large piece cut into three, the breakwater seemed the obvious place to slice it at the front.
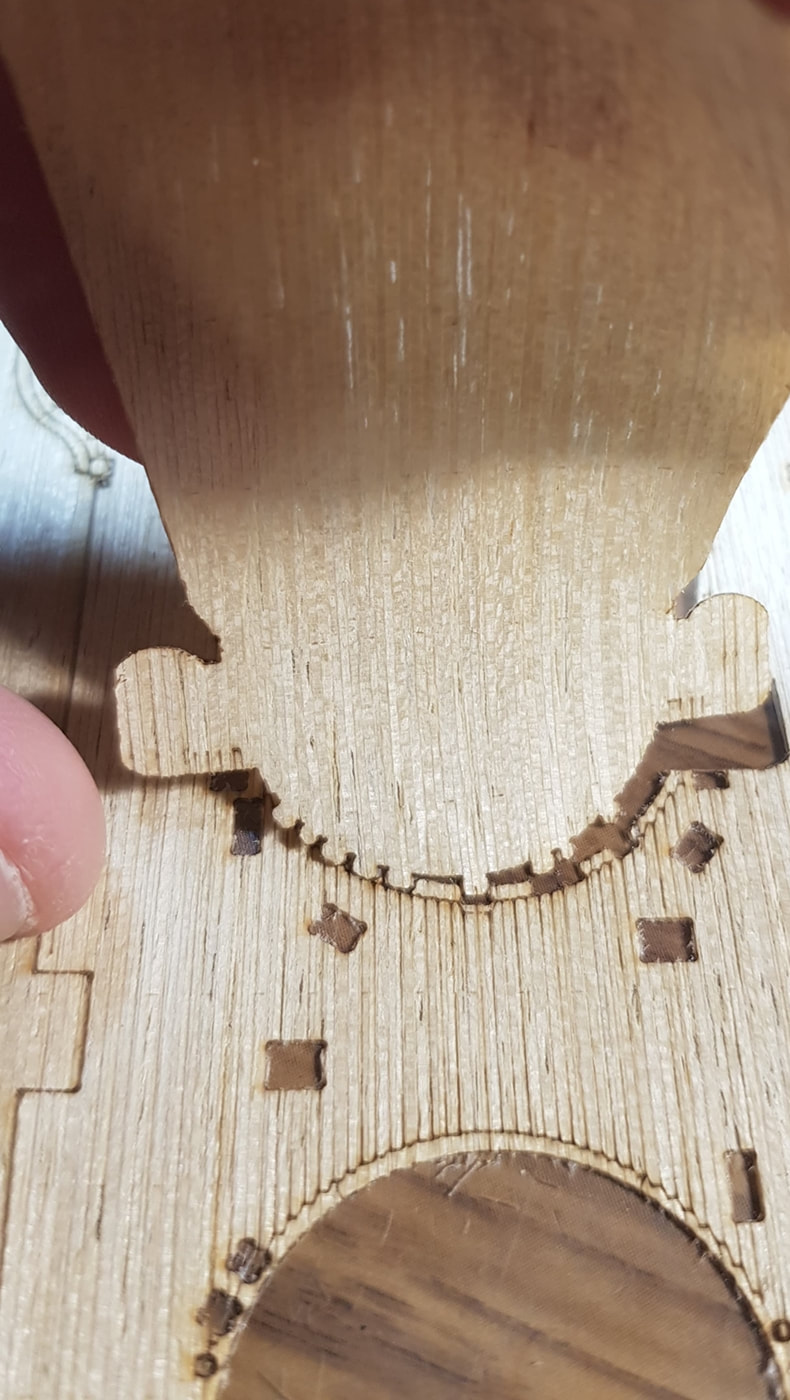
Peeling it is a slowish process. You have to run a nice blade around the pre cut lines as there is still a fair bit of grab and it is fairly thin material with a some fine pieces that need to stay attached. Some of the cut outs you remove for deck hatches etc are also very close to the edges leaving only a sliver of the material next to another cut out. Slow and steady wins the race.
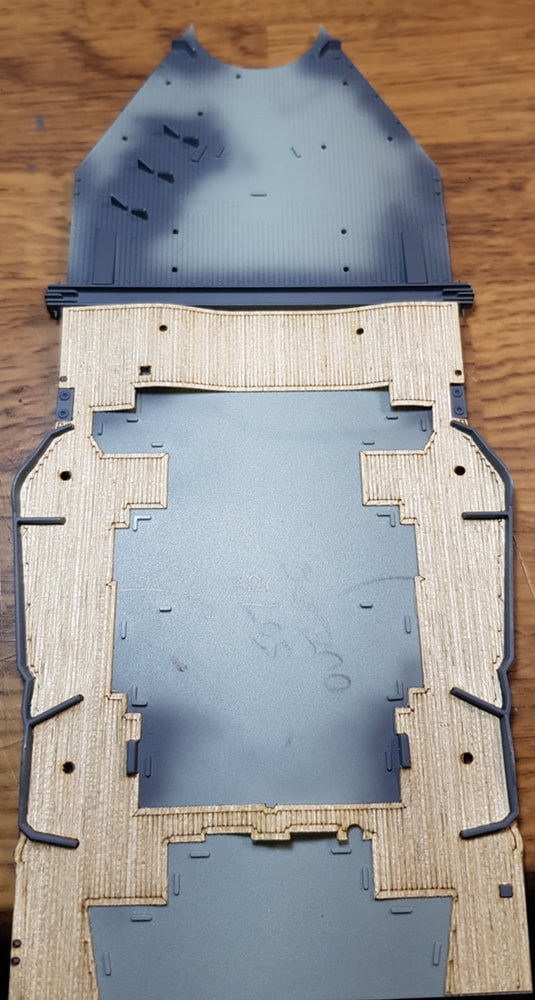
Laying it down is as simple as lining up one end and then working down, from the middle out to the edges so it isn't too tight in the middle which will result in it lifting later on. I just had to make sure my mark 1 eyeball was keyed in before doing the final placement. It will pull up if just resting on there but once it is down it's fairly well down for good.
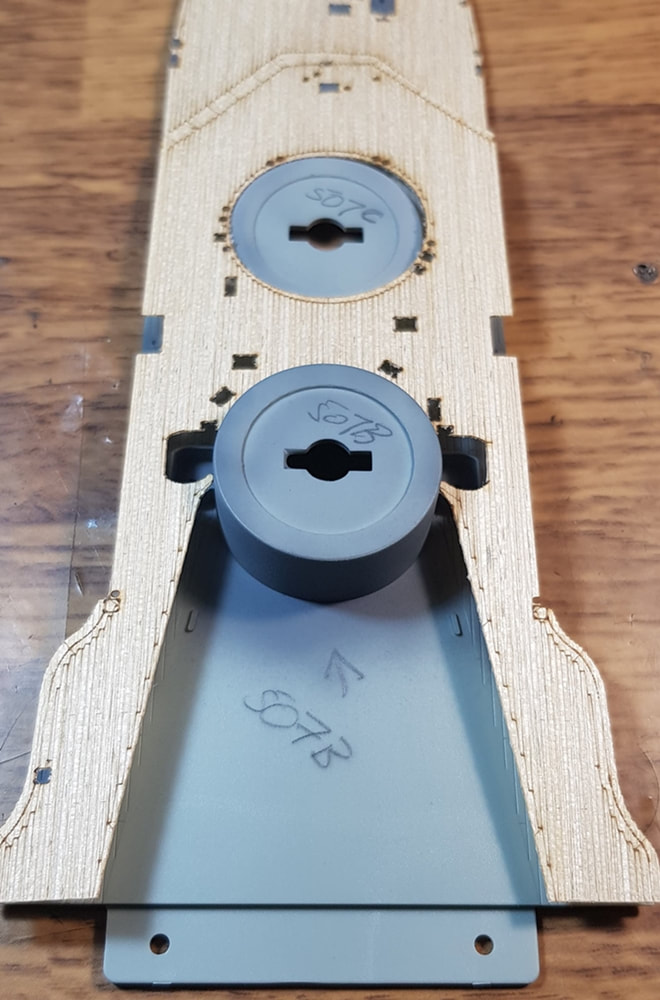
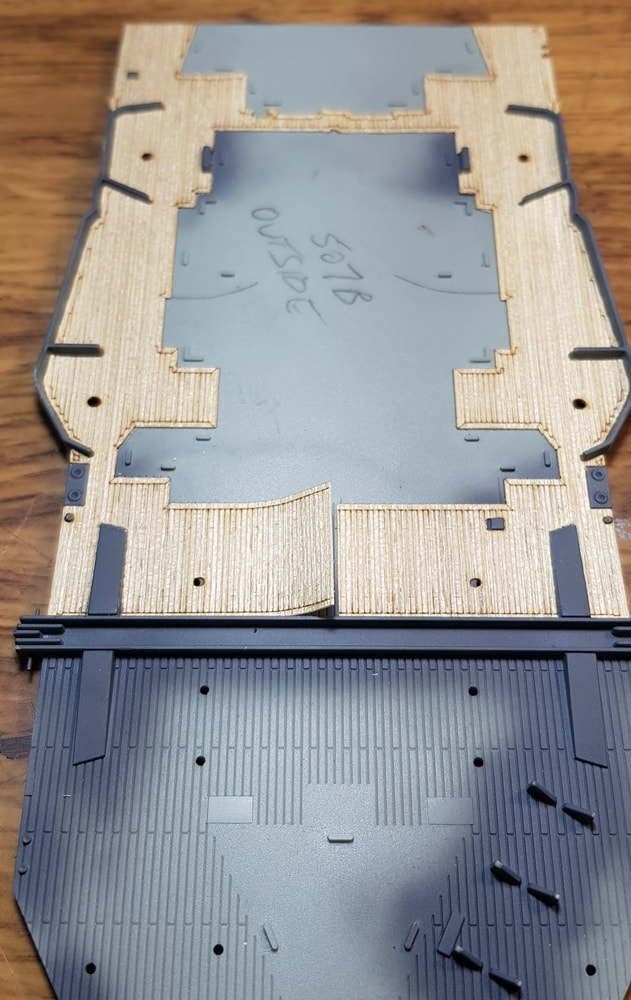
Once it is down i use the back edge of the blade and some paint brush ends to get the small pieces sitting down firmly. There will be some extra clean up of that small stuff and some of the excess edging around hatches and such. I need to see if i can slide some slivers in to fill those gaps either side of the turret in front of the AA casement. I'll let it settle for a couple of days before i play with it any more first.
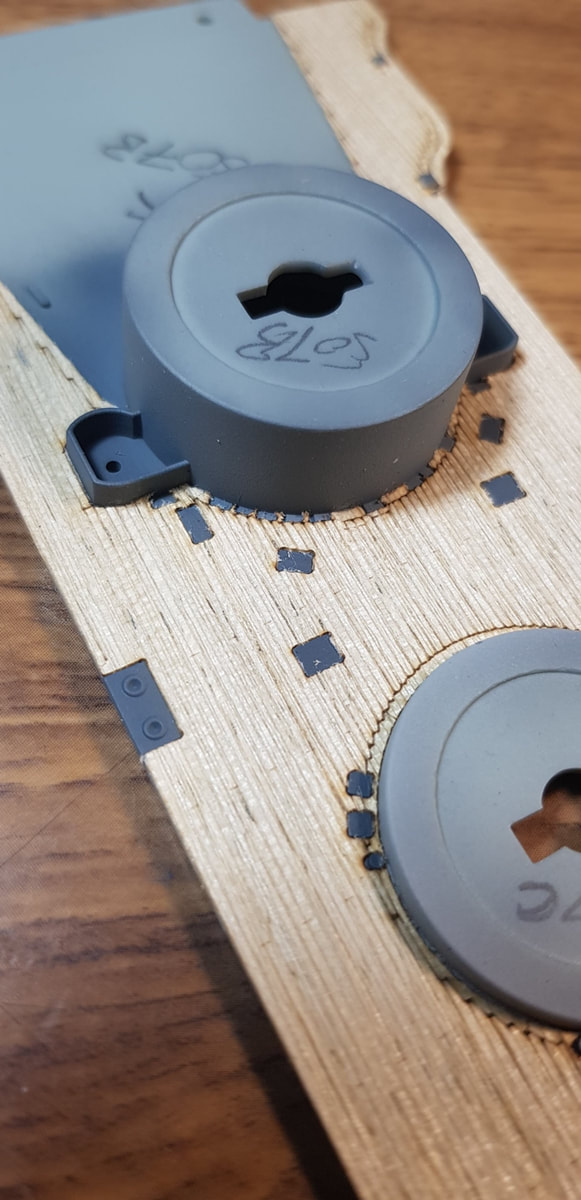
Mostly done, just needs some small clean up and paint retouching. I'm still wondering about what sort of wash to apply to knock back the cleaness of it.
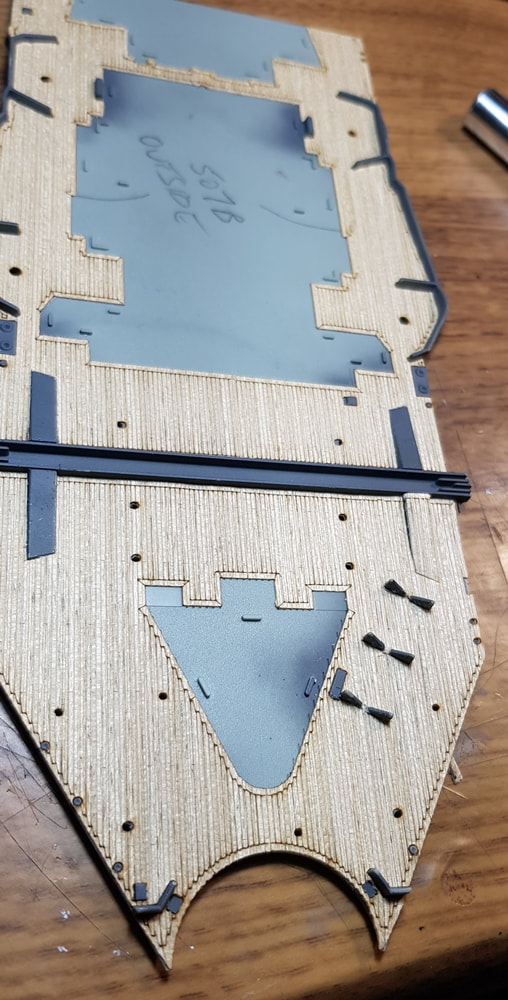
Sitting down lightly to get the sides flushed in, i couldn't work from the middle with this piece as i had with the others as it needed to butt up nicely against the railings and fit into the curves sweetly. The float plane amp sections had to be cut out and needed slicing of a couple of planks out of the middle of the deck for a flush fit. The life boat mounts were also not pre-cut which was weird.
Trial fit of the deck. I'll need to buy some plastic clamps to put some pressure on the hull when i glue the deck in as the fit is close, but still gappy. I found over the next week or so the deck lifts in a few spots and i have been routinely working it in. Hopefully it fully settles and isn't a constant.