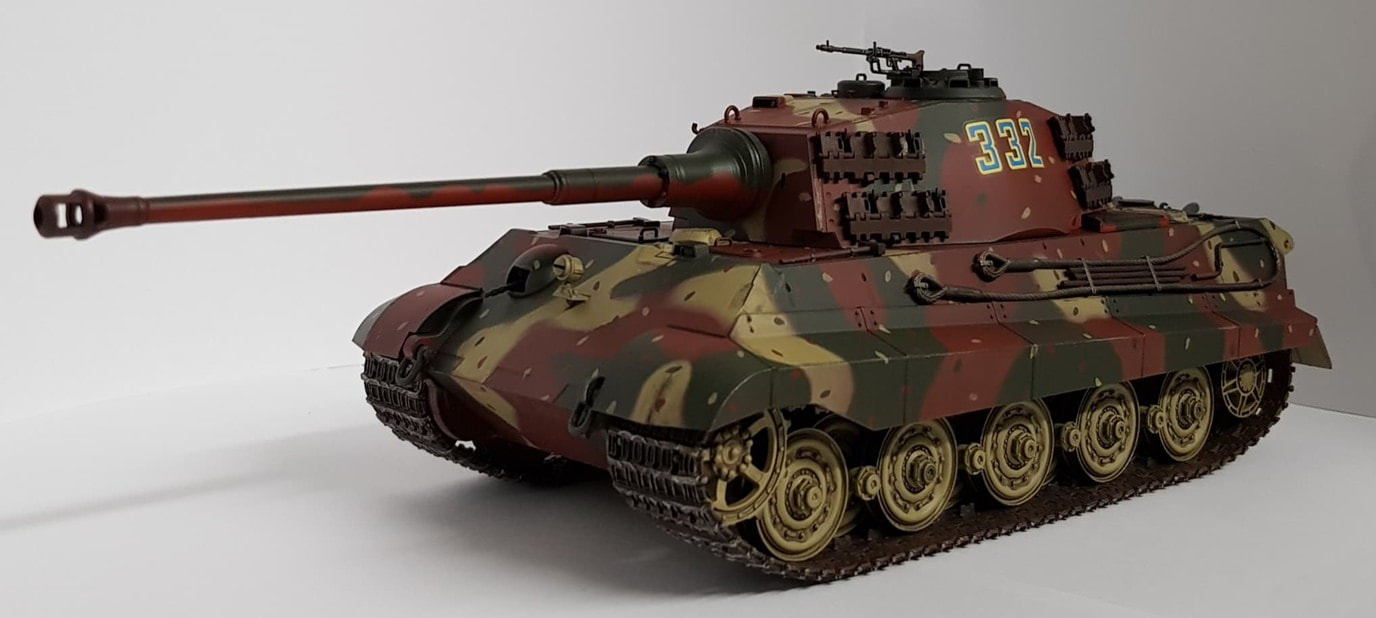
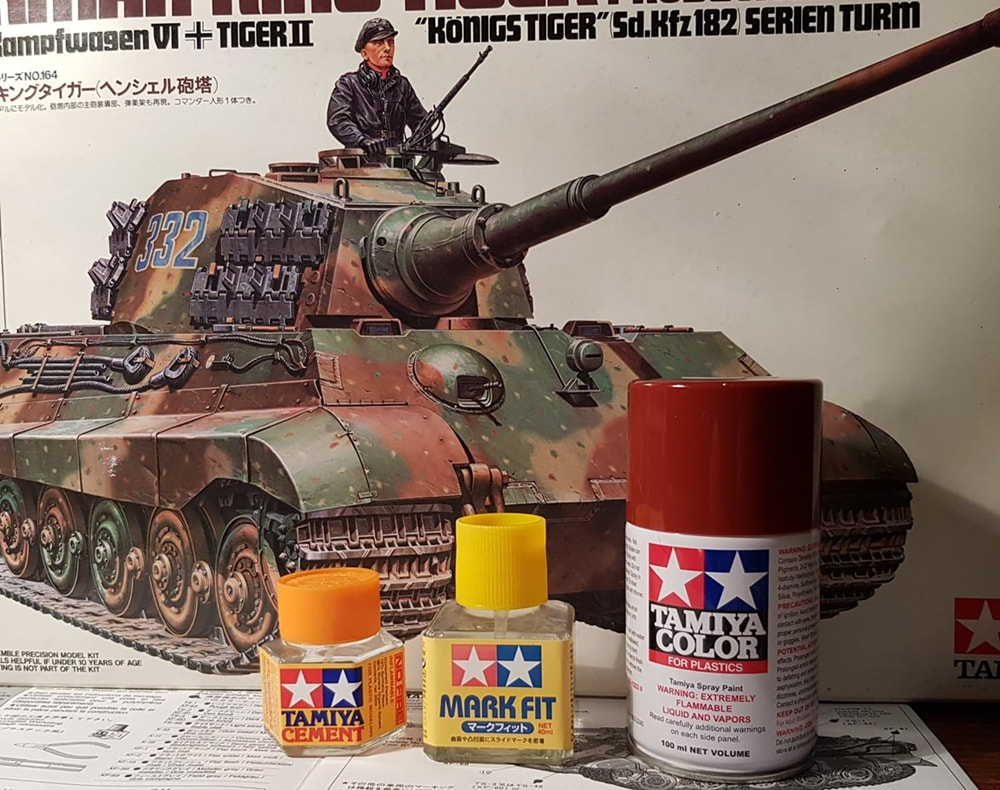
Ok, so i was three models in and ready to tackle something more challenging. I had the Tiger II , also known as the King Tiger, Royal Tiger or Königstiger, kit that i had picked up second hand sitting and waiting for me. The kit i had picked up was a Tamiya 1993 (new tool) original in the box, so it was 22 years old by the time i got my hands on it! I was excited for this one as it was an impressive looking tank and the ambush camo paint job was particularly cool. I had watched a couple of tutorials regards masking, oil and acrylic washes and decal application so i was all geared up and ready to dive in. Down to the model store for some paint. I was still using Tamiya spray cans so a tin of dark green, dark yellow and a red primer. I also added some Mark Fit for the decals and the Tamiya cement that comes in a bottle with a brush. I had found the old Revell glue with the needle type applicator nozzle could become a bit cloggy and also a bit prone to running out of the applicator a bit too quickly every so often. Besides being excited i did wonder if i could pull this one off.
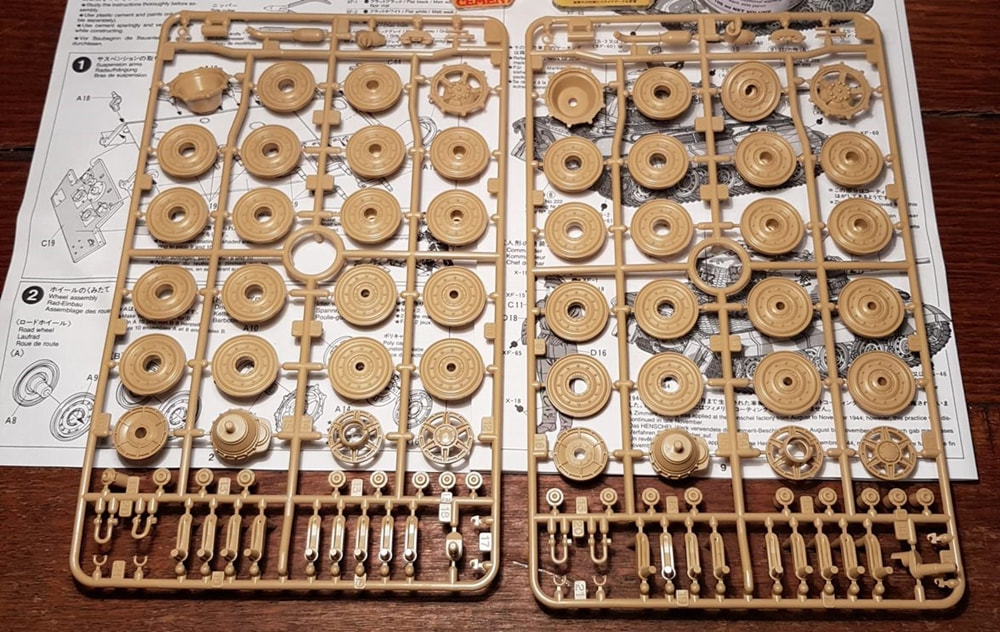
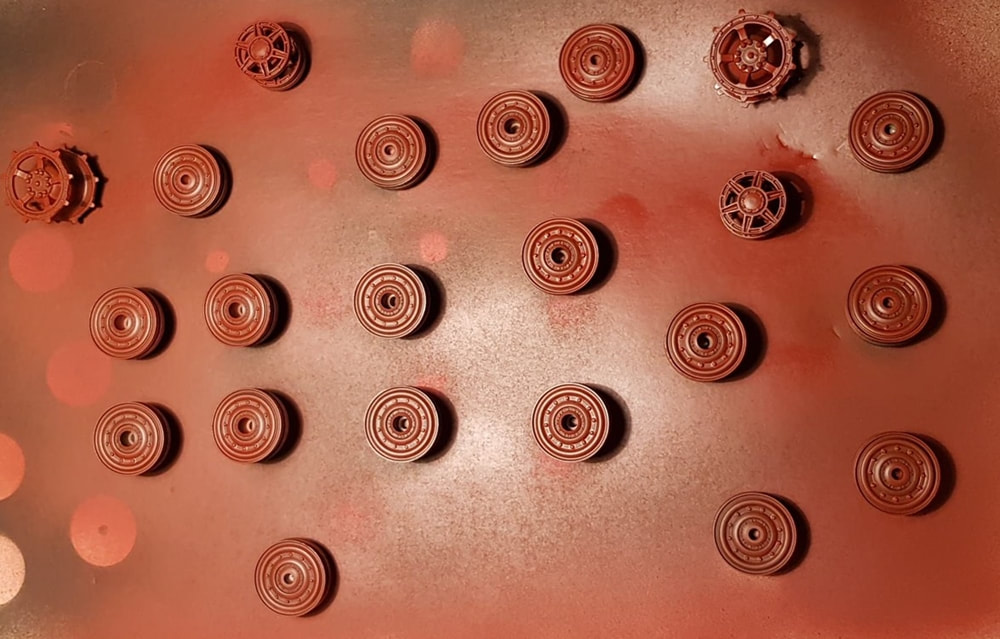
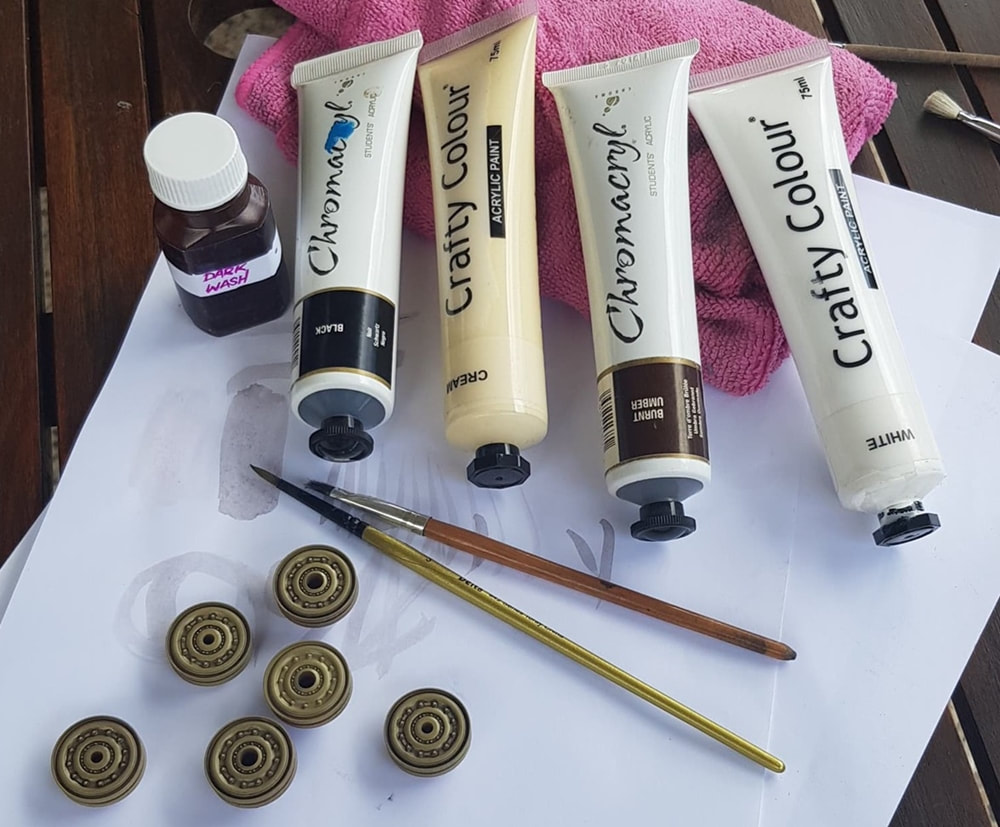
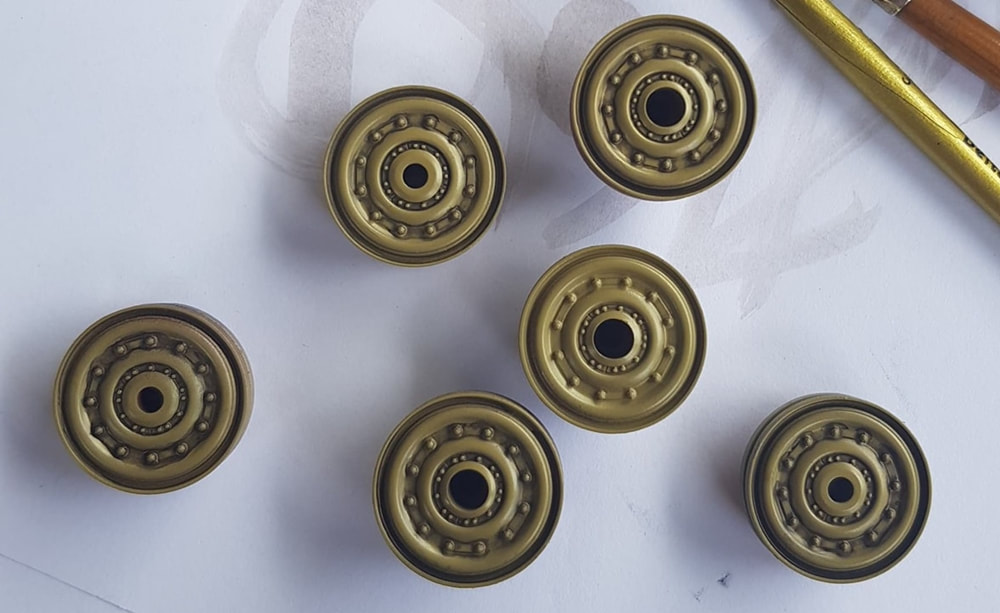
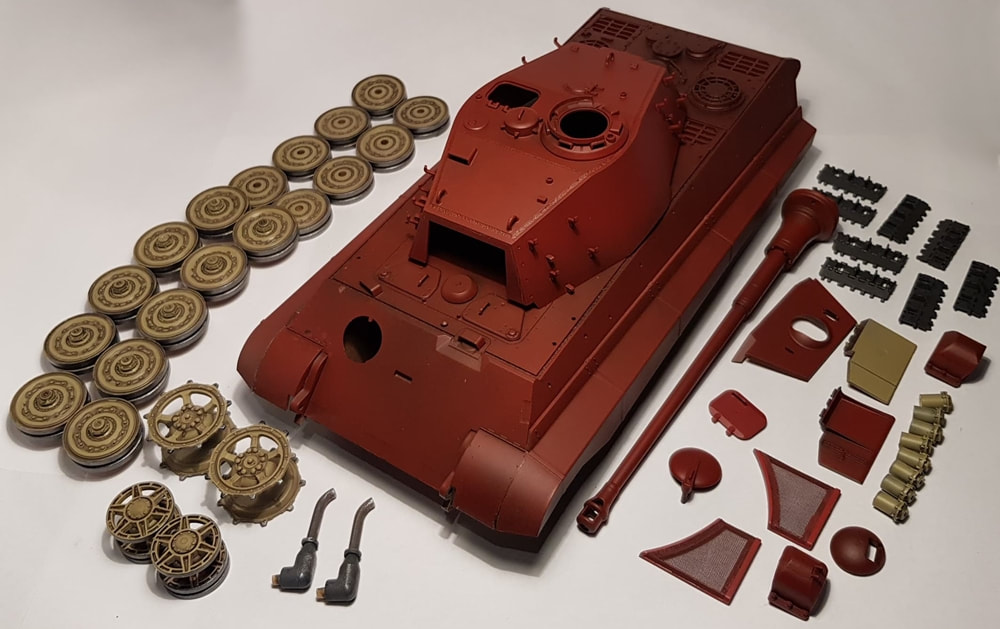
First up, wheels of course. I had a few ways i could go with these, They are steel wheels with no rubber sections so painting would be easier for starters. I could go with a camo spray to match the tank itself or select one of the colours to contrast it. I had seen a couple of the dark yellowed wheeled builds and that was my preference, i think the yellow really sets it off. At this stage i was still up in the air about trying a chipping method but decided i would spray everything with a primer so i could fall back on it if needed. Wheels primed and then yellowed.

This would be my first wash experiment as well. I had some acrylics which were added to water with a drop or two of dish washing liquid. The dish washing liquid helps the mix stick better. I did try it without and there is a definite difference. Before applying the wash the wheels were painted with a semi gloss clear. You can really go as heavy or as light as you want depending on dirty you want your tank to look. The semi gloss coat gives you the option to wipe off the wash at any time so you can go muck around until you are happy with the result.
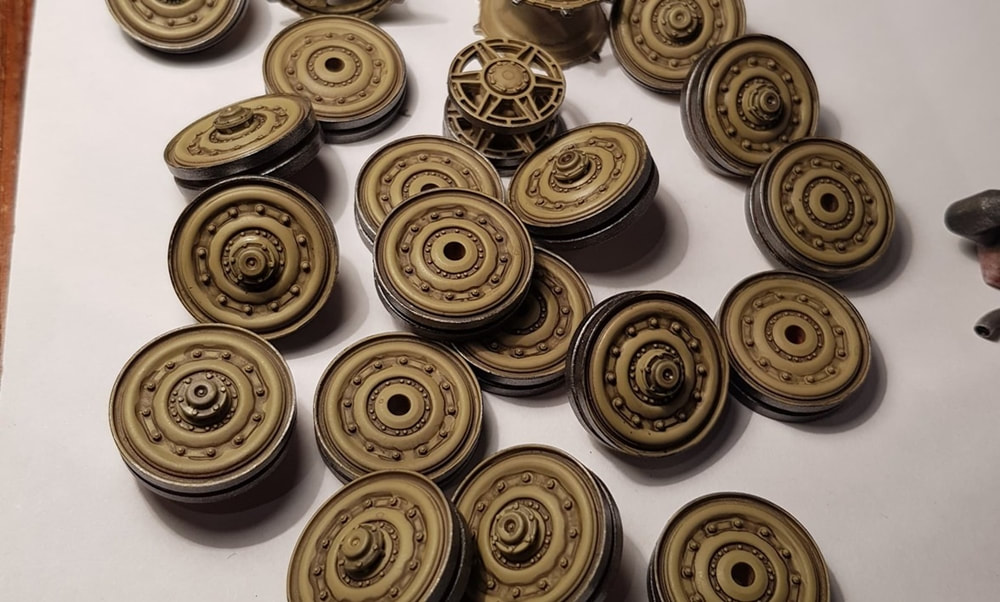
Because these are a full steel wheel i painted the outside edge where it meets the tracks silver. I ended up doing about three coats over successive days slowly getting darker with some dark iron mixed in as i felt the straight silver by itself was just too shiny. The wheels all got a coat of the matte clear for a finisher.
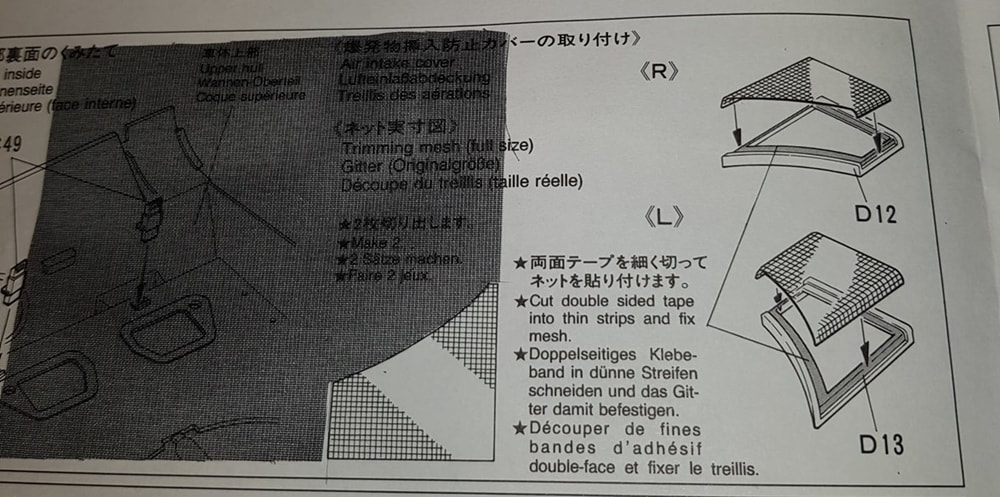
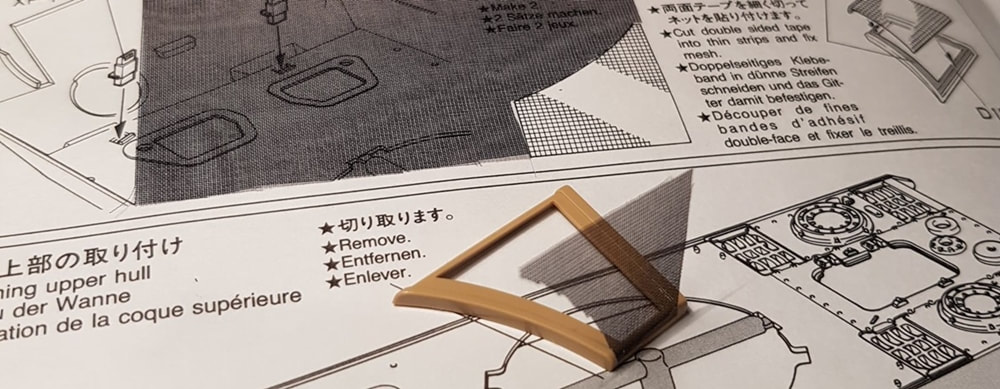
Over the front engine vents the kit supplies some mesh for an extra bit of detail which was cool. A simple matter of cutting out and folding it into place and then brushing on some glue. I let one side dry overnight so when working the other side i could give it a bit of a stretch without it coming loose.
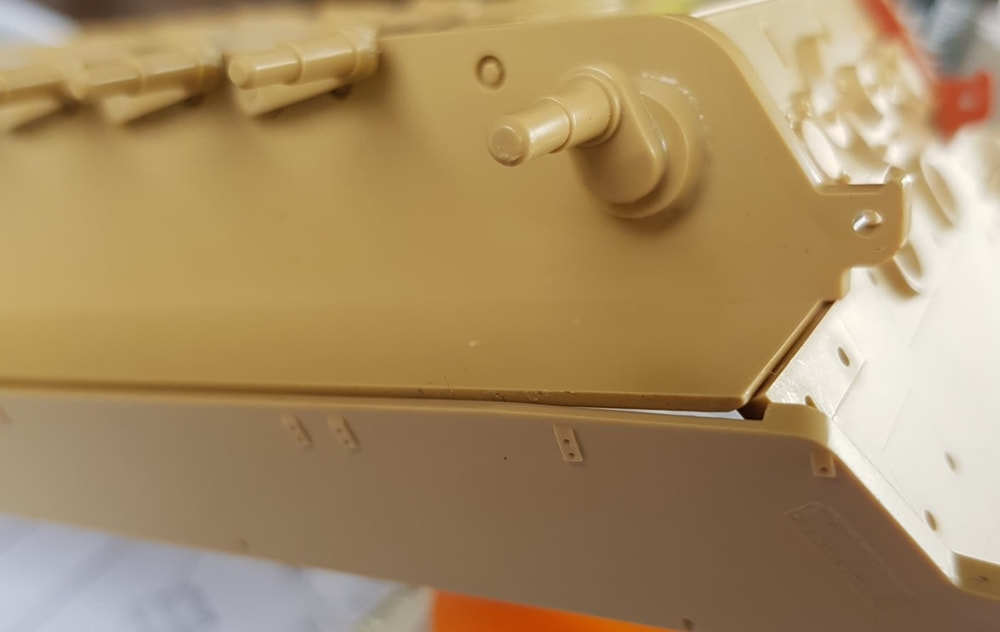
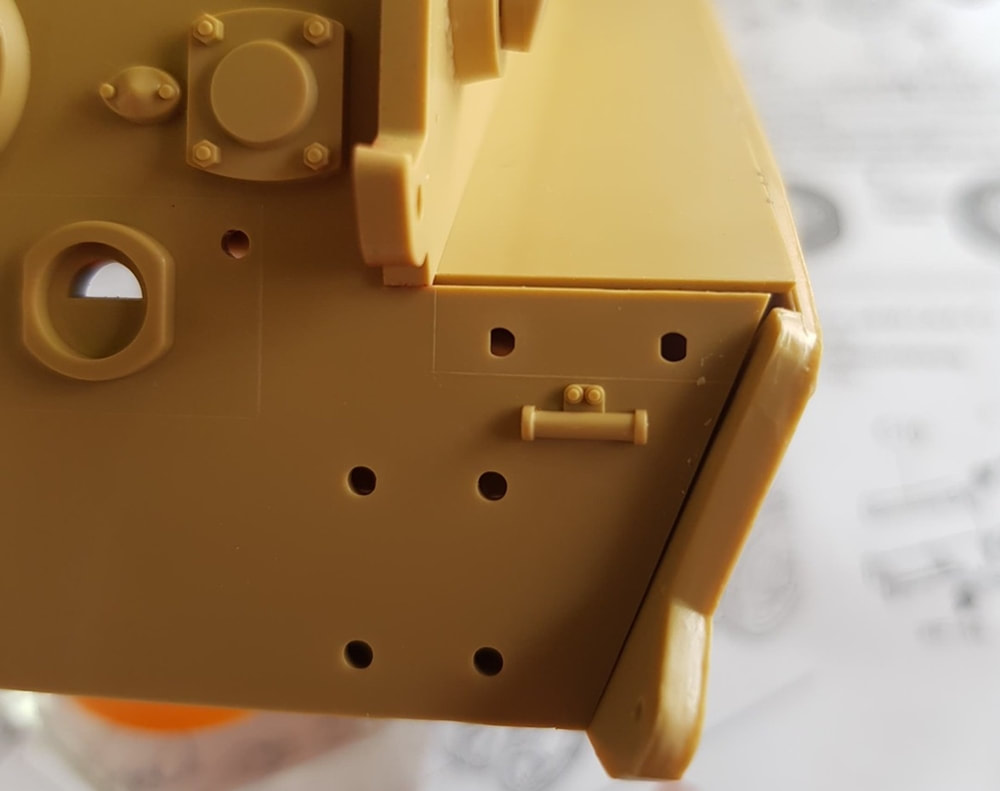
The body was a bit of a rough fit at the rear, whether this was because it was old and had warped over 22 years or just how the kit was originally i'll never know. The front fit perfectly but the rear was very average regardless. A trial fit and then some sanding showed it was still going to need some pressure after being glued to hold a decent shape.
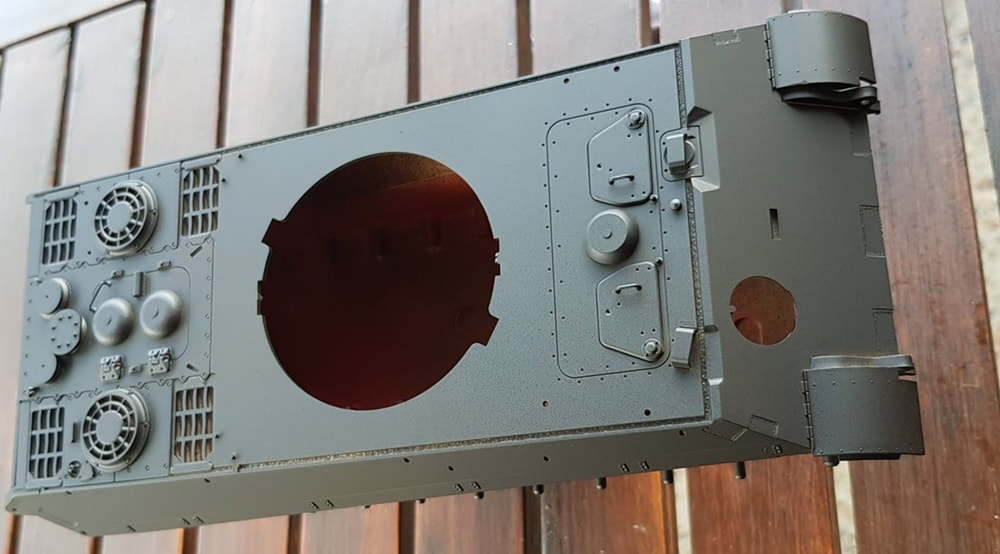
After some more sanding and gluing the back plate on i sat the hull in the garage between some bricks and a toolbox overnight. There was no way this bad boy was ever coming apart after that. First coat of paint. I went with the black again as i liked the way the olive drab had come out on the Sherman with the black base. Straight after it got two coats of red primer which would also act as one of the colours for the ambush camo. The front hatches and handles, rear engine hatch and some other smaller pieces were all glued on previous to this.
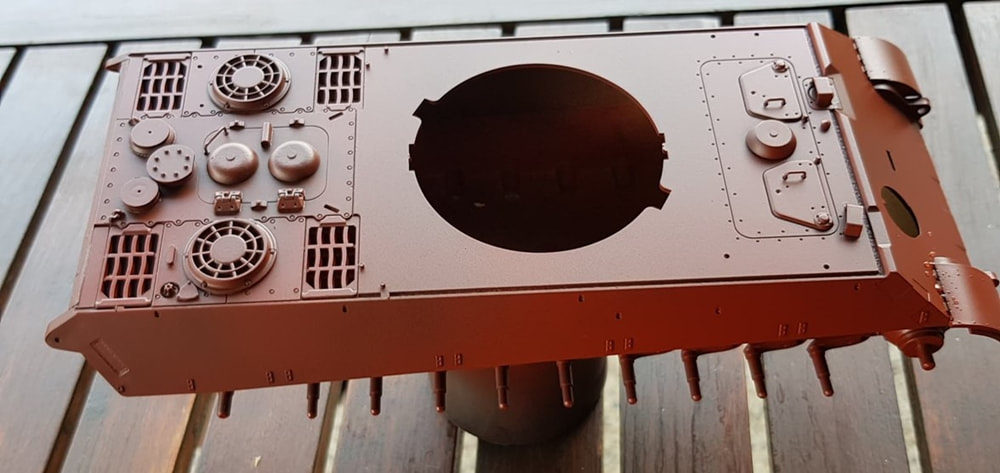
Spare track mounts and the imposing 88 gun coming together. At this stage i decided i needed to do another Tiger II in the future and leave some parts in just the primer finish, Maybe a mix of ambush and primer or a hodge podge pre ambush camo finish.

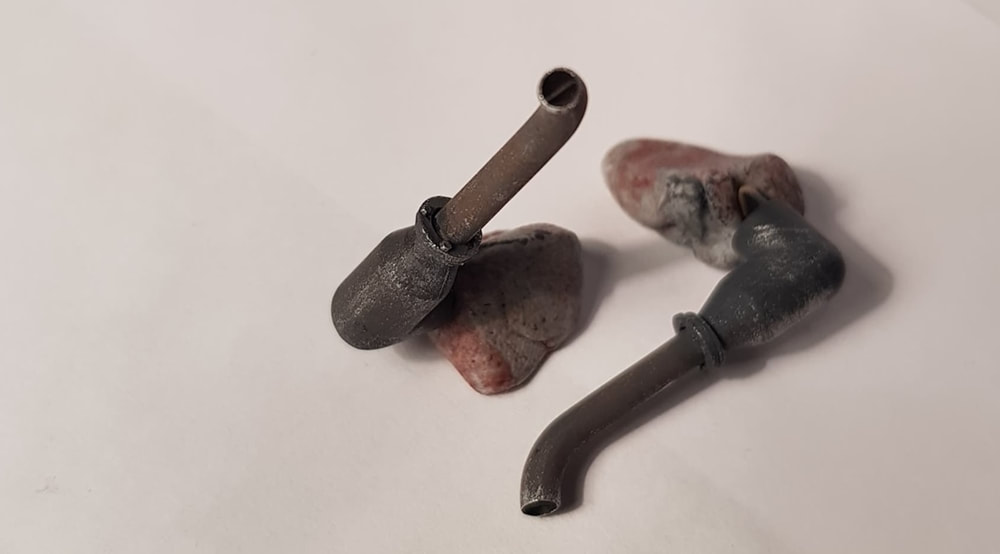
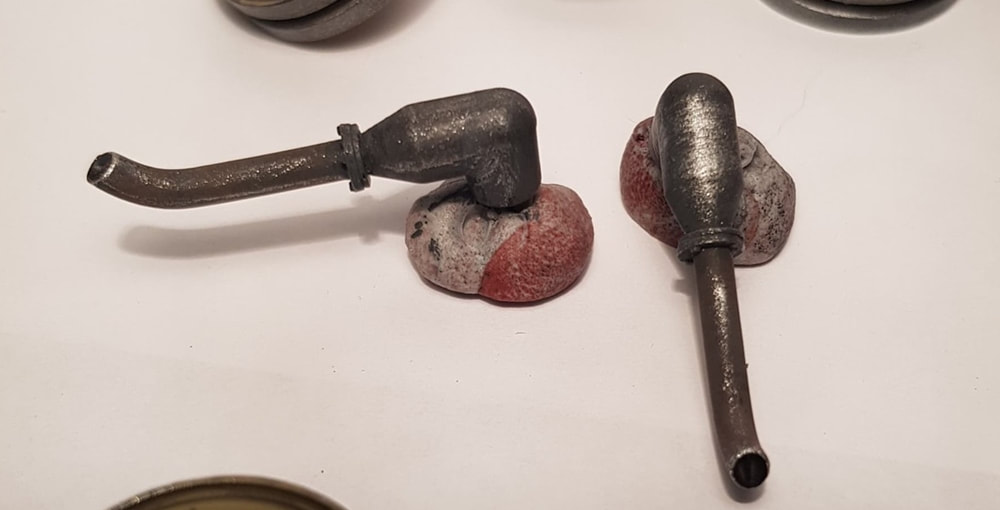
Mufflers and pipes painted and then dry brushed. The whole lot was done in nuetral grey then the lower section dry brushed with silver, the upper pipe i used the rust soot compound and then dry brushed it over with silver, i was really happy with the way they turned out.
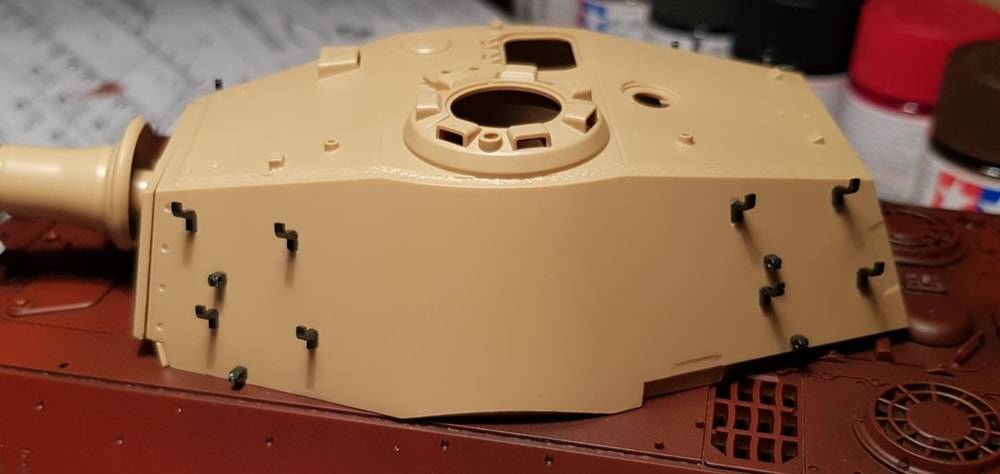
The turret, rear guards, gun mantlet and some hatches all got a shot of primer and were ready to go. It was getting close to attacking the ambush camo.
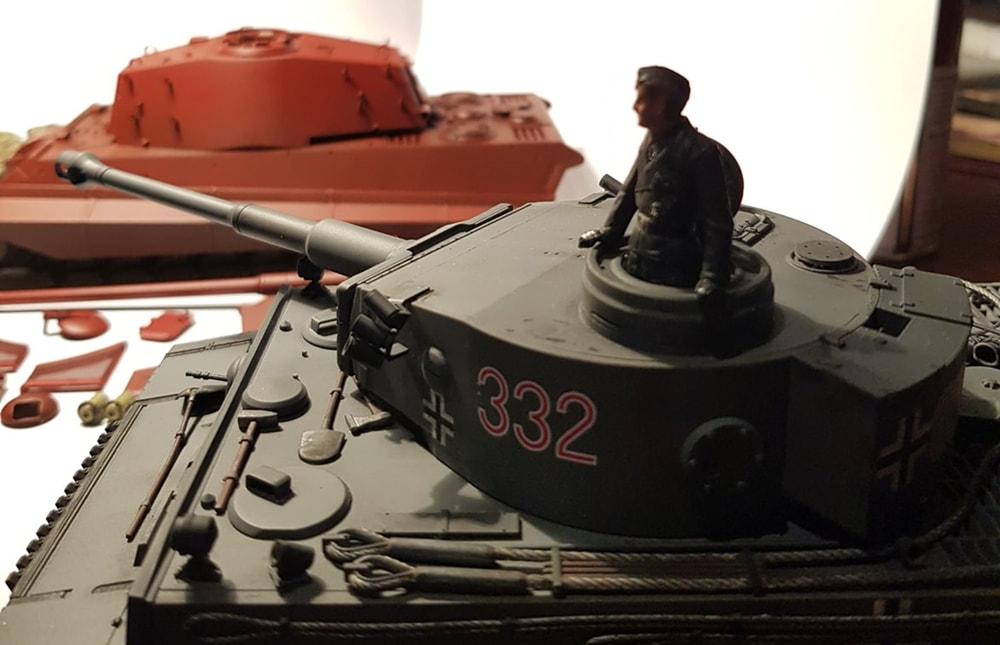
The Tiger I commander was becoming jealous of the new ride being built nearby...
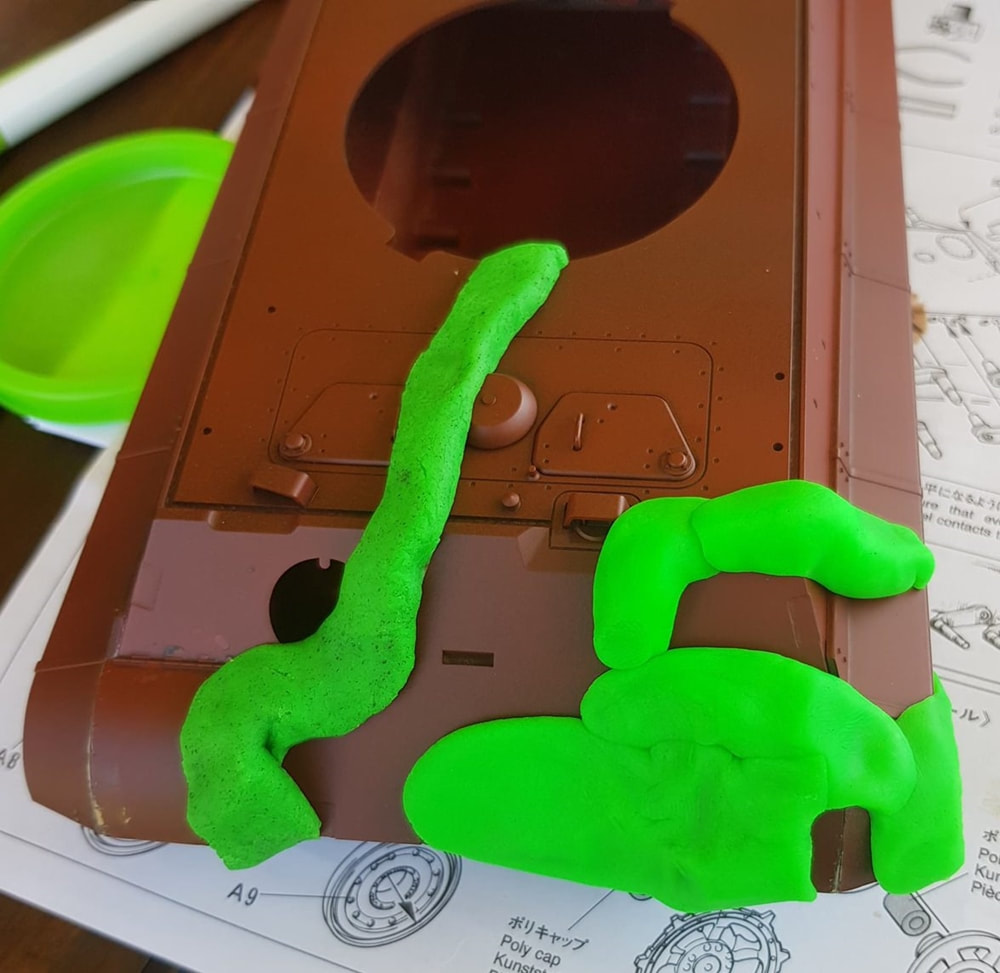
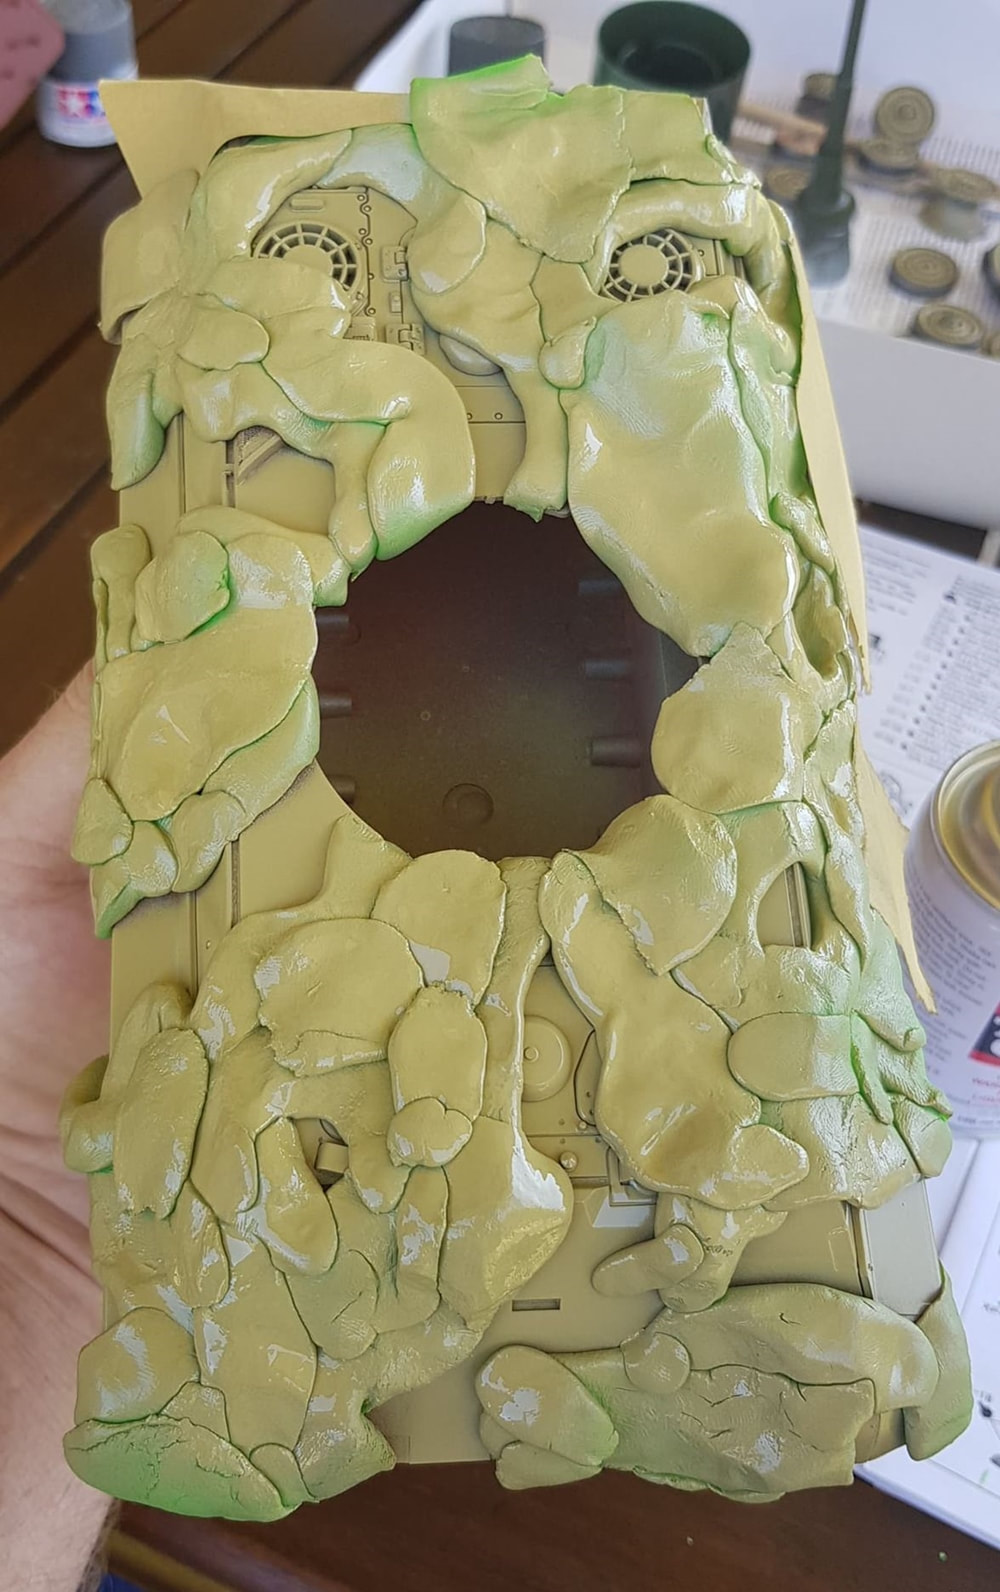
Ambush camo time. I had decided to go with the putty masking style, the putty being play doh. Three dollars for a small bucket. I was just going to go off the box art for the different shapes and colours. Since the red primer was already a colour i only had to spray the green and the yellow. I didn't want a sharp edge and was looking to get just small overlaps between the colours if possible. The side skirts were primed and fitted and the play doh masking began.
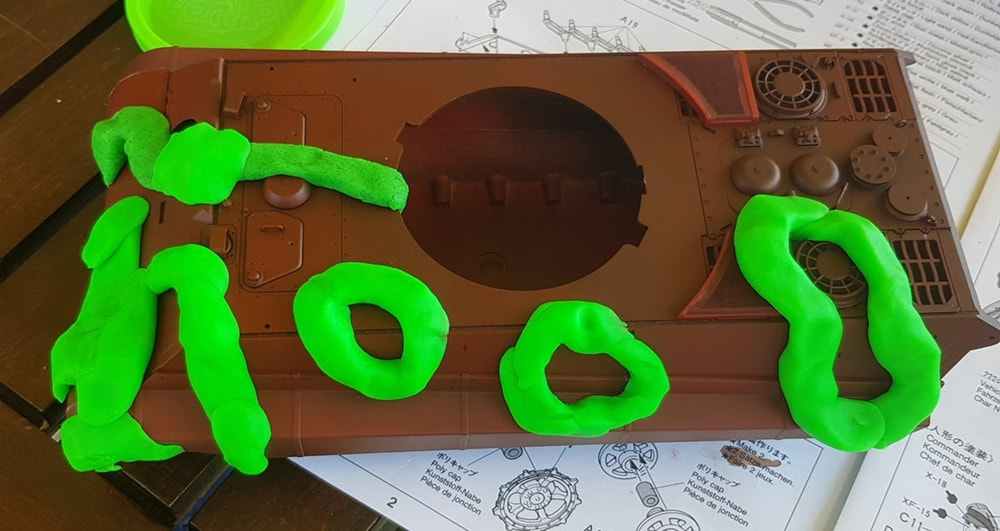
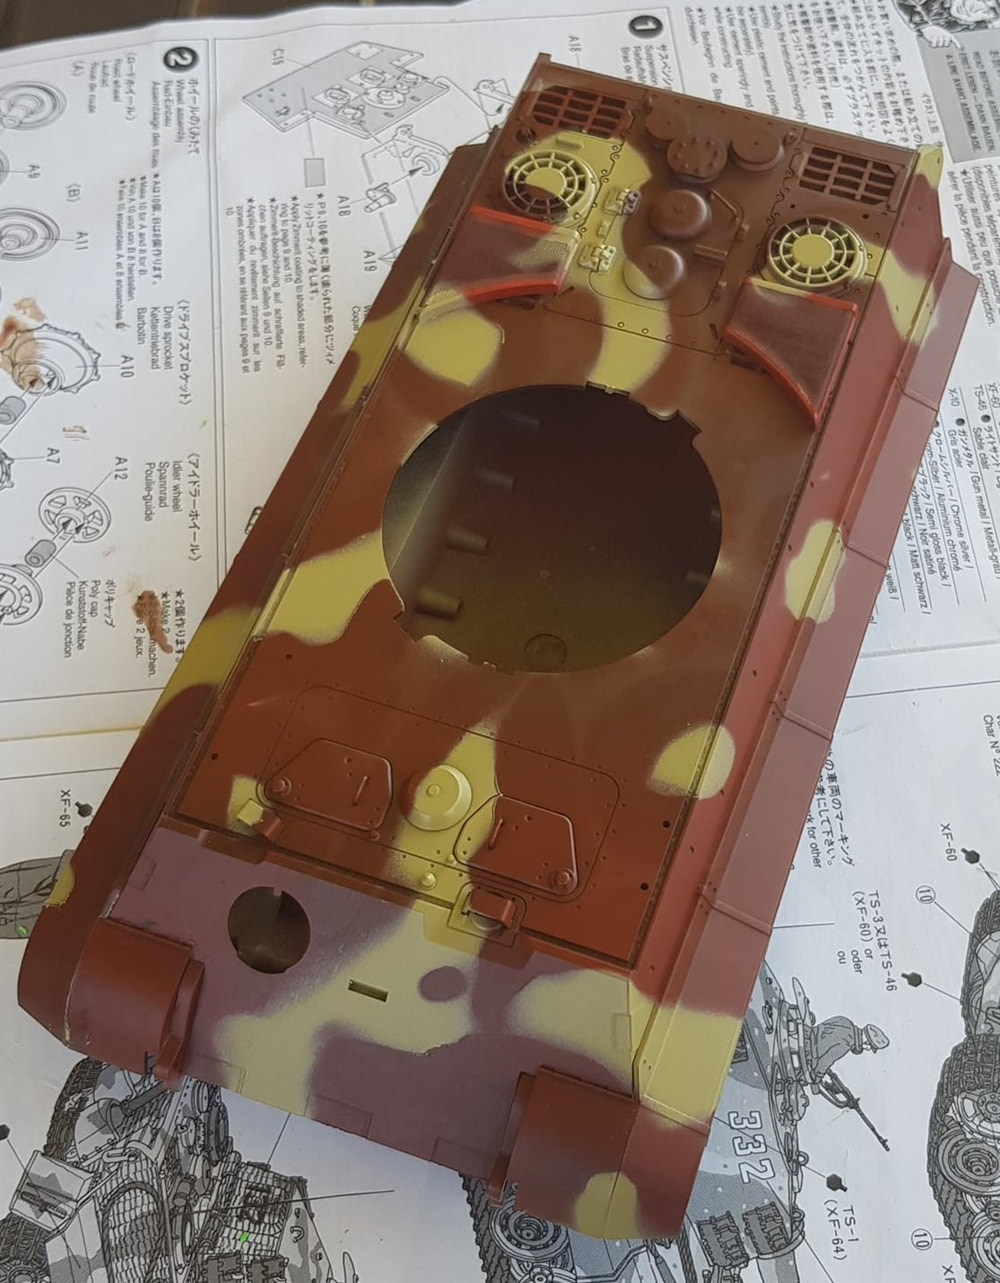
You can see the big difference the black basing makes to the red primer colour. The two mesh vent covers i sprayed without any black base and the brighter red stands out like dogs balls compared to the rest of the tank in the pic above. Once i had the tank all play doh masked it got two coats of the dark yellow, twenty minutes apart, then sat for an hour under a my lamp.
The first reveal. The playdoh left behind a fairly oily surface so the hull got a hot soapy wash and rinse and then was left to dry for a couple of hours.
The playdoh didn't really give me the shape i wanted with the lines,or the workability, so i used blu tac the second time around and the play doh as the mask.
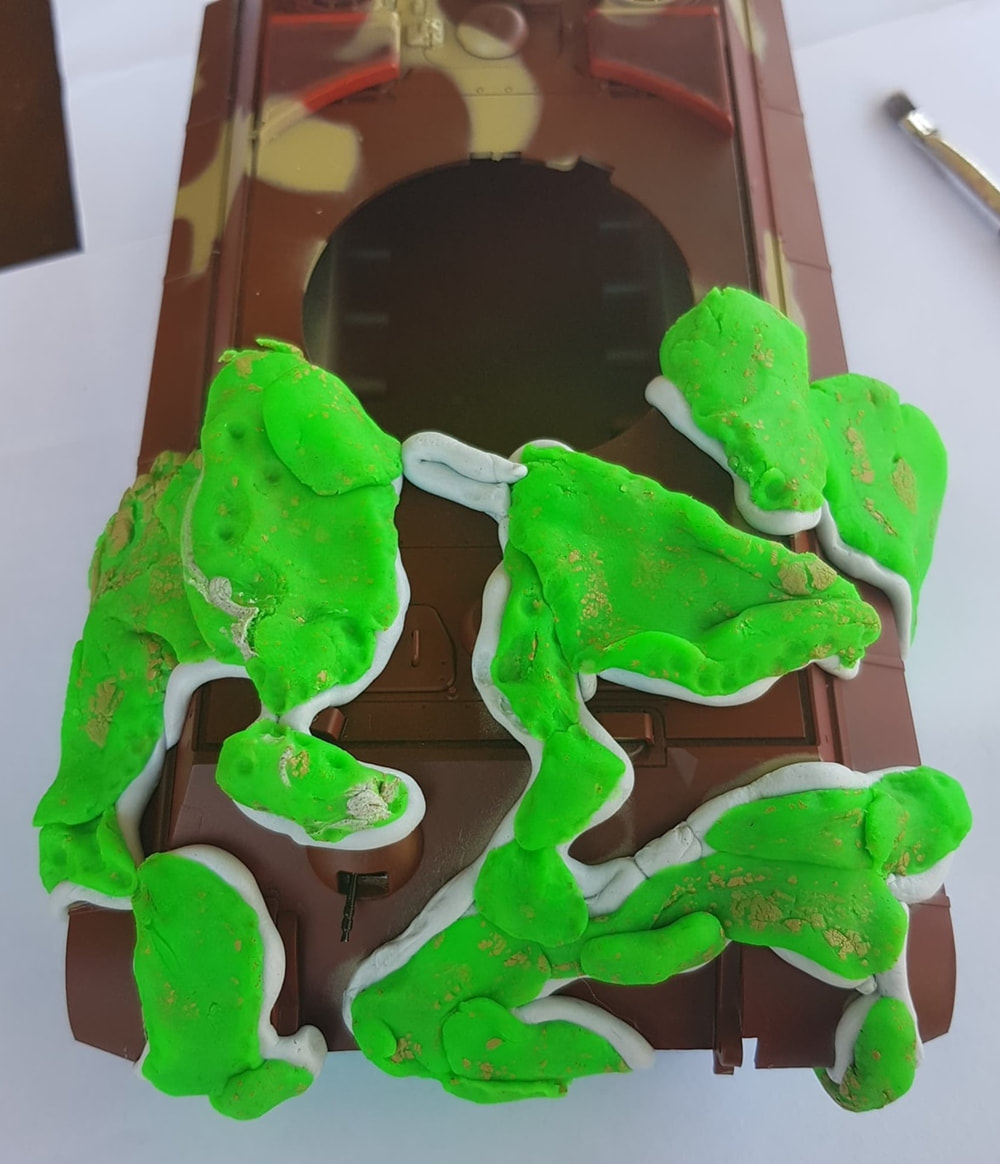
This result had me wondering if it was all going to turn out alright. I wasn't overly impressed with my work so far but was hoping it would all come together in the end.
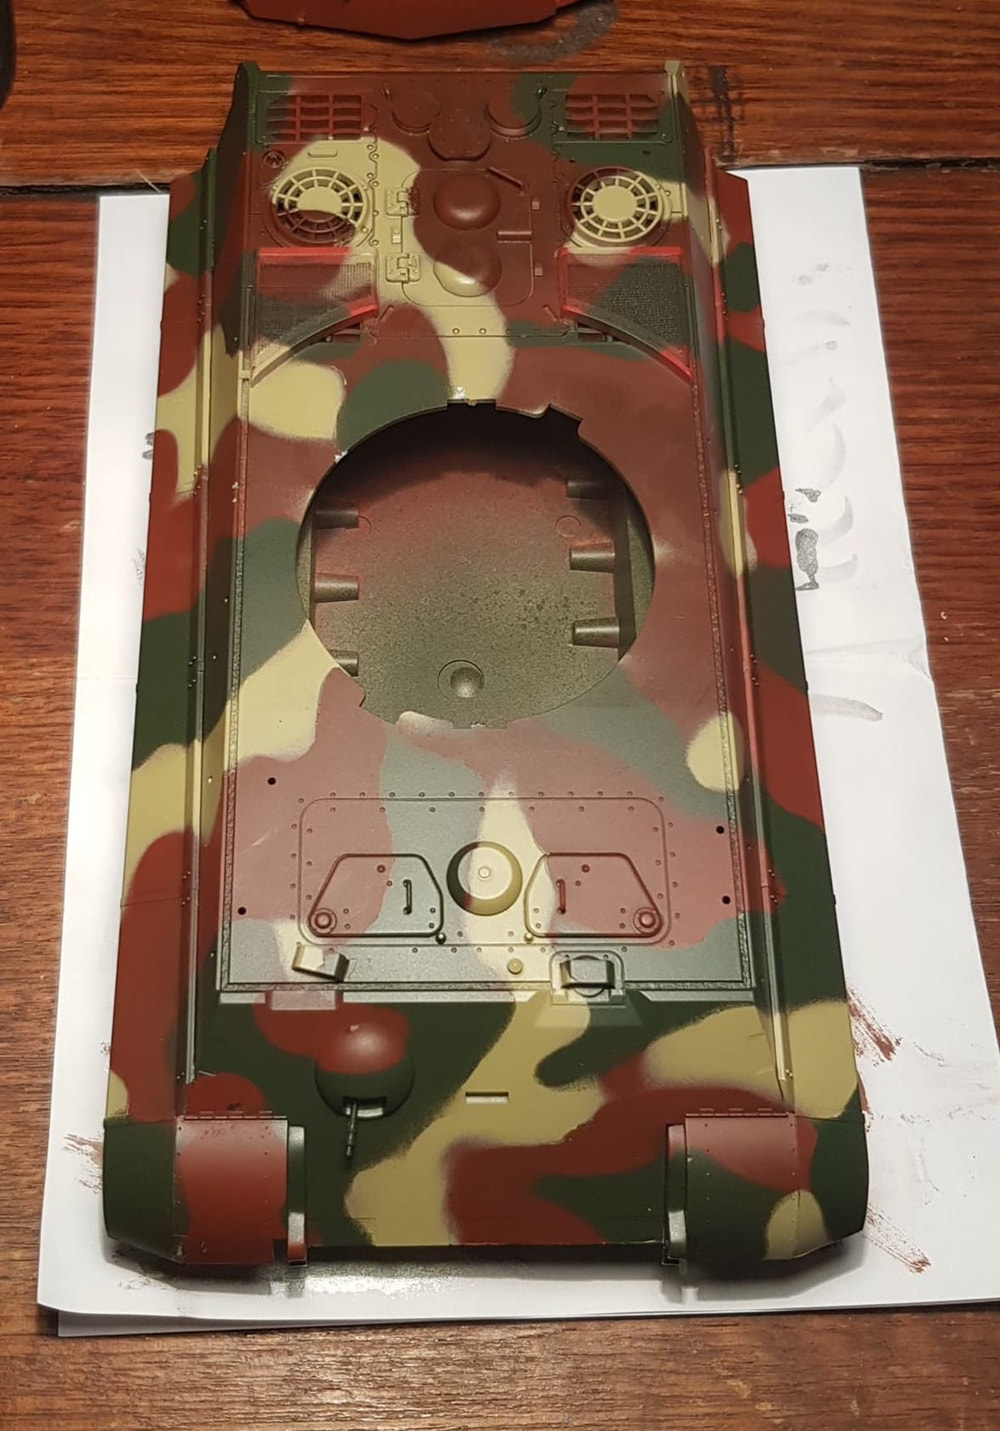
That night i tackled the dot part of the camo. I decided on a leaf shape instead of the dot scheme, once i started i couldn't go back and change my mind. Using the tip of the brush i alternated between red and green on yellow, green and yellow on red and yellow and red on the green. I was imagining guys in the field painting the scheme and tried to reflect that in my strokes. The 88 also got a wavy coat of green along the top side of the barrel to break it up.

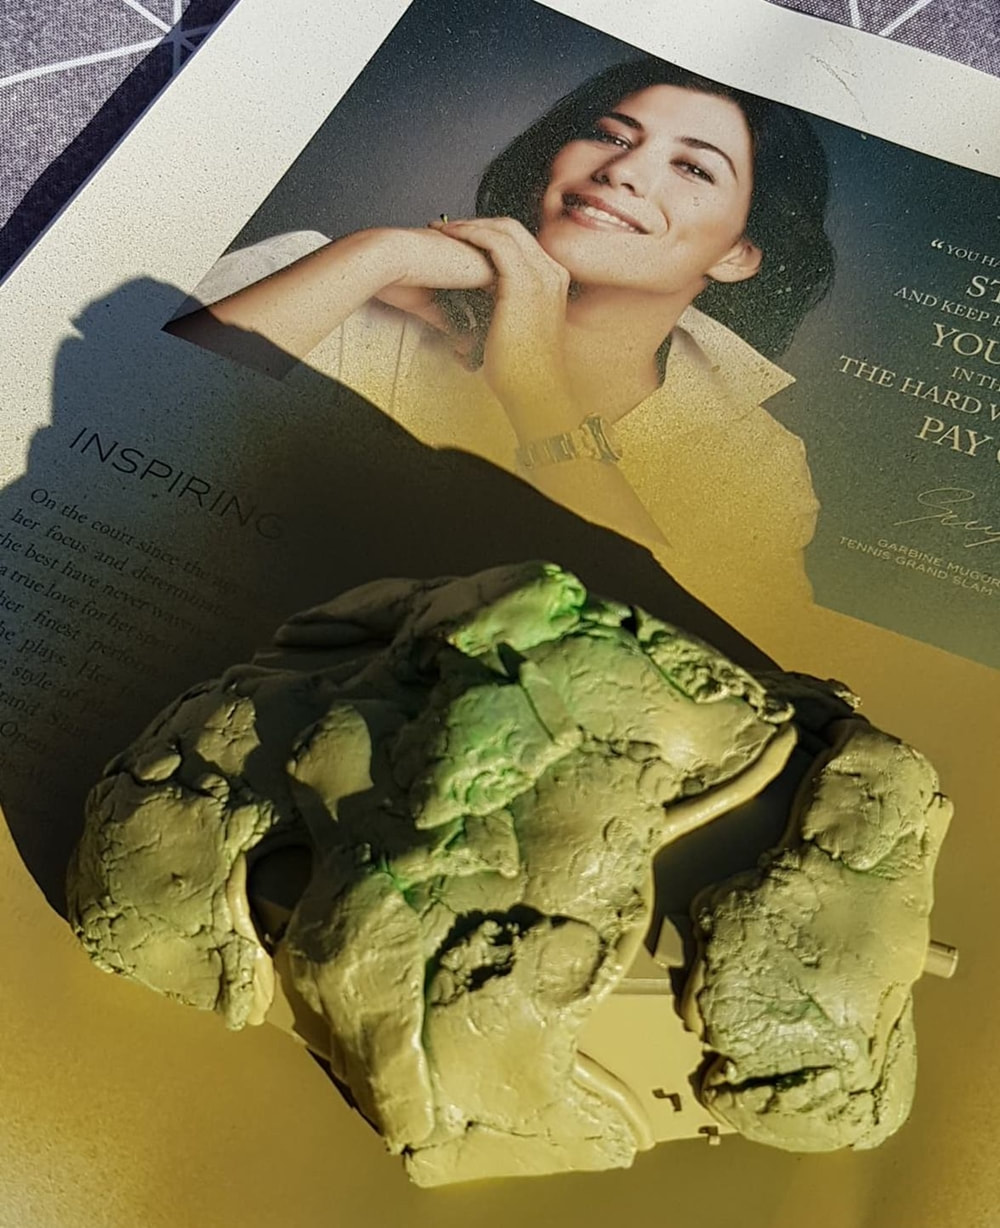
Day two of the ambush camo, turret time. Under this cheeky smile is the turret, also known as the blob. The playdoh was on it's last legs by now and would never see another masking job.
While the turret was drying i semi glossed the hull and added some light dry brushing, panel accent and weathering compound. Once i was happy with that the hull got a matte clear coat. It was starting to looking better. The still to be weathered and clear coated turret shows the difference between the two finishes.
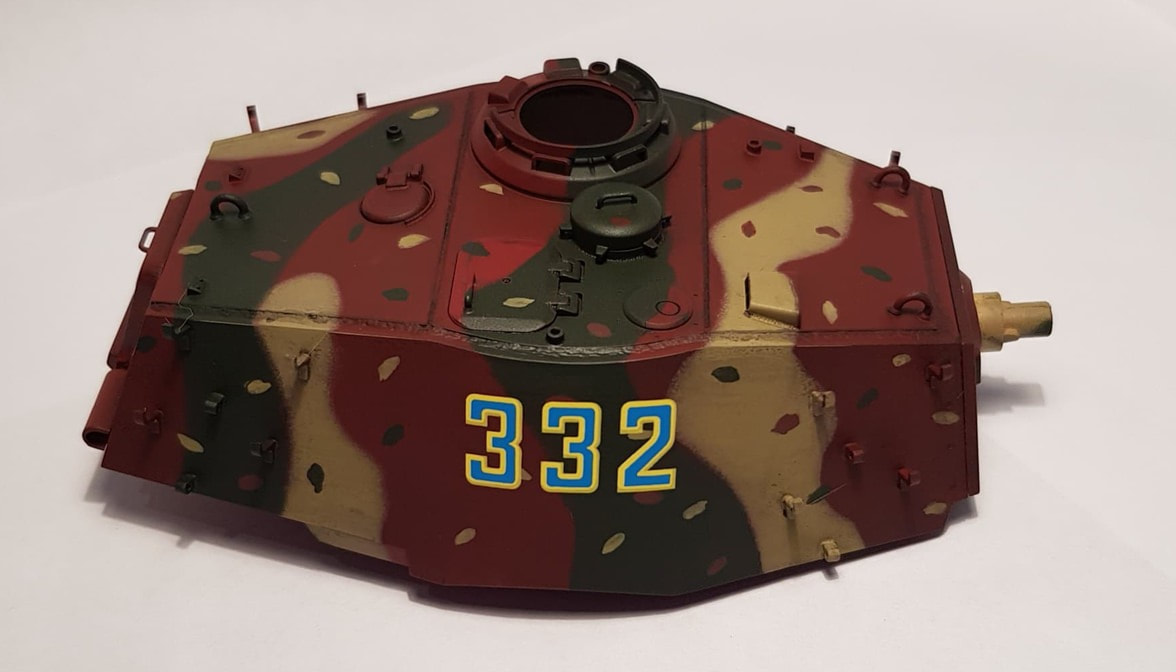
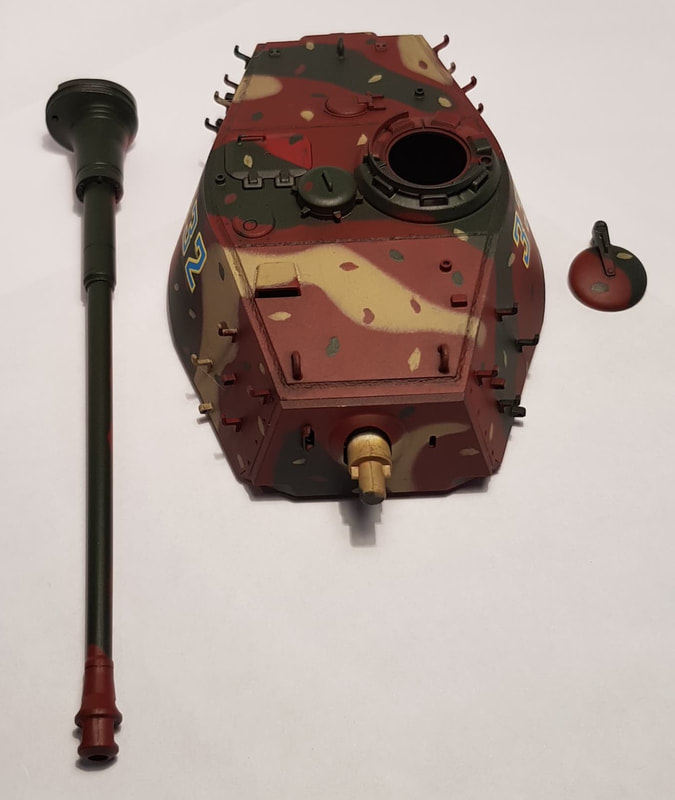
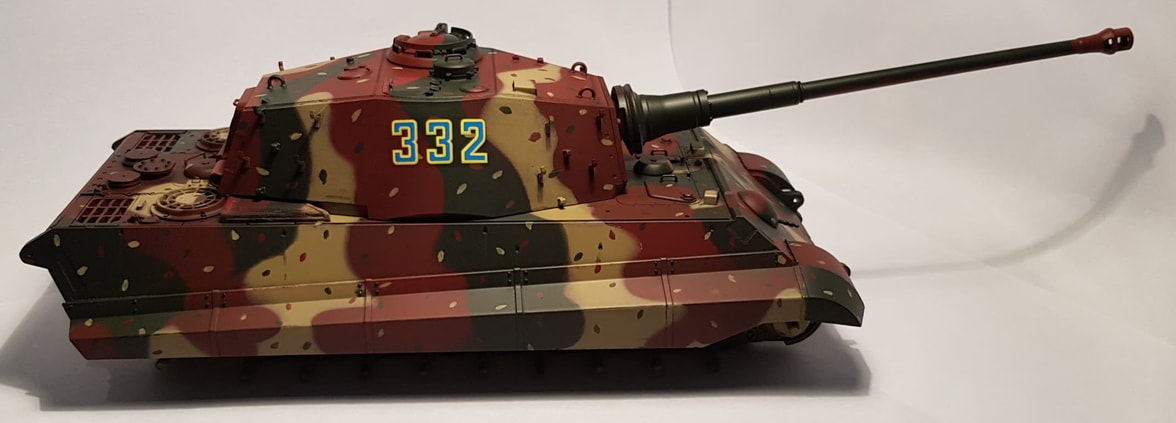
Onto the turret weathering and decals. The decals were very thick compared to my previous three kits. I sprayed the turret with some semi clear gloss and then after letting it sit for a few hours applied my new Mark Fit product to the area where the decal would be fitted and on the decal itself once it was placed. After using Mark Fit on a model since i realised i could have applied more, basically drenched the decal and not affected it in any bad way. As this was my first usage i was unsure of how it would really work or what it may do to the paint or decal. Mark Fit softens a decal so it will settle into panel lines or grooves, of which there were none where i was applying it but maybe it helped the old thick decal soften out a bit regardless and help with the edges. Weathering was some dry brushing around the edges and a hint of the panel accent liner. The rectangular turret hatch was painted without the black base which explains the redness of colour compared to the rest of the turret. I left it as is to add some character. The completed turret was matte clear coated. For the age of the decals, 22 years remember, i was very happy with the result despite a touch of silvering.
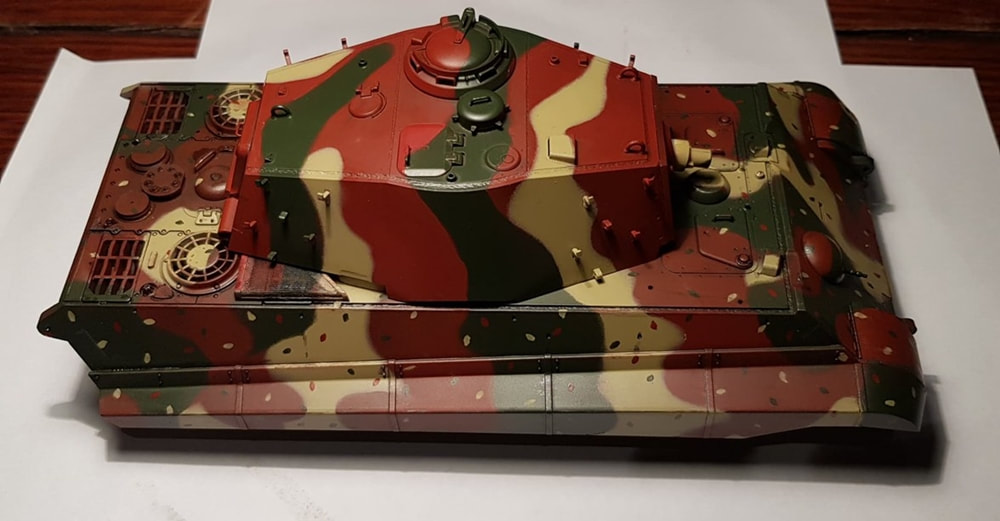
So now i had a finished hull that just needed the tracks completed. The near final result of my ambush camo was looking pretty good i thought and my earlier worries were dissolved.
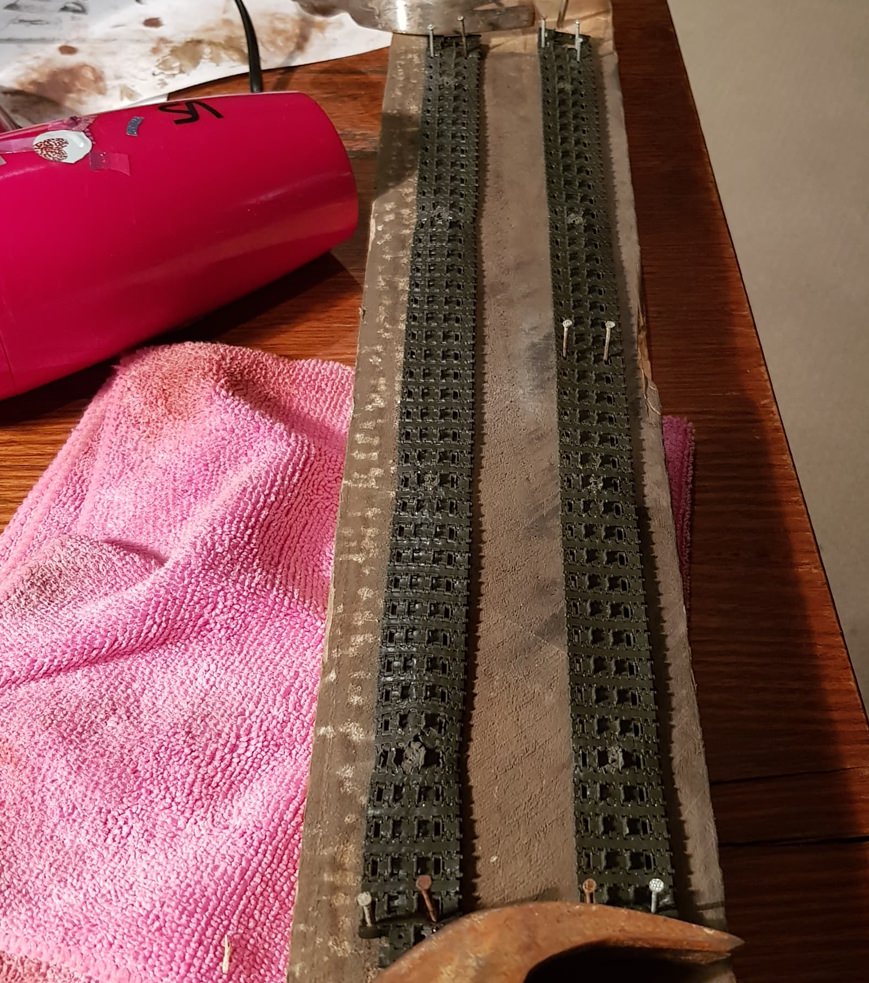
The tracks were in a sorry state. They must have been sitting angled in the box for years and were warped about a 1/3 of the way down their length. One of them was warped in several places and they also had weird blobs on them which i guessed came from where they were injected out of the mold. They were the standard flexible rubber Tamiya jobs and despite being less than average i looked up ways to bring them back. Some mentioned using a blow dryer and others had even boiled their tracks in water. I went with hot water first, not boiled, made up a jig of sorts to lay them in once heated. The jig was just a piece of old pallet upon which i laid down the track straight out of the hot water. The track was then nailed down one end and stretched straight then nailed in the middle, stretched again and nailed at the other end. Repeat for the other side and let them cool. This pulled out the worst of the warping and then i went to work on them with the dryer to get them into the best shape i could.
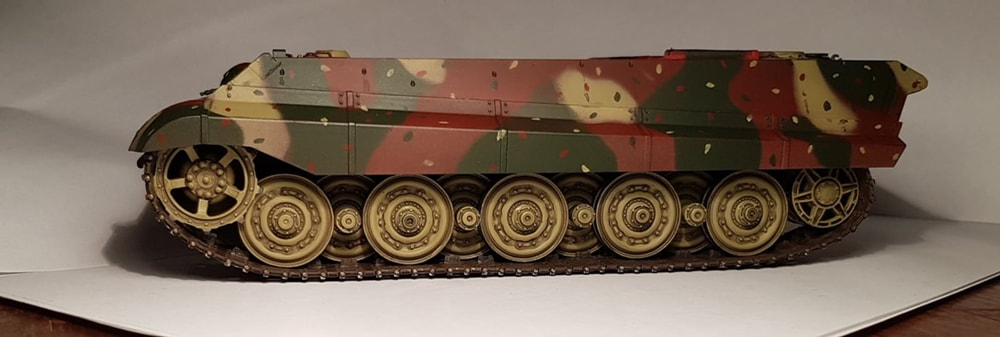
The tracks were painted neutral gray then dark iron followed by a mix of red brown and dark grey put on randomly which was fairly thinned out. The rust compound was watered down and splotched also randomly and then some silver brushed on the bottom of the tracks and the track pins on the sides. The tricky part once painted and weathered was trying to find the best part of the tracks for display front and rear owing to holes and warps that i could not fix completely.

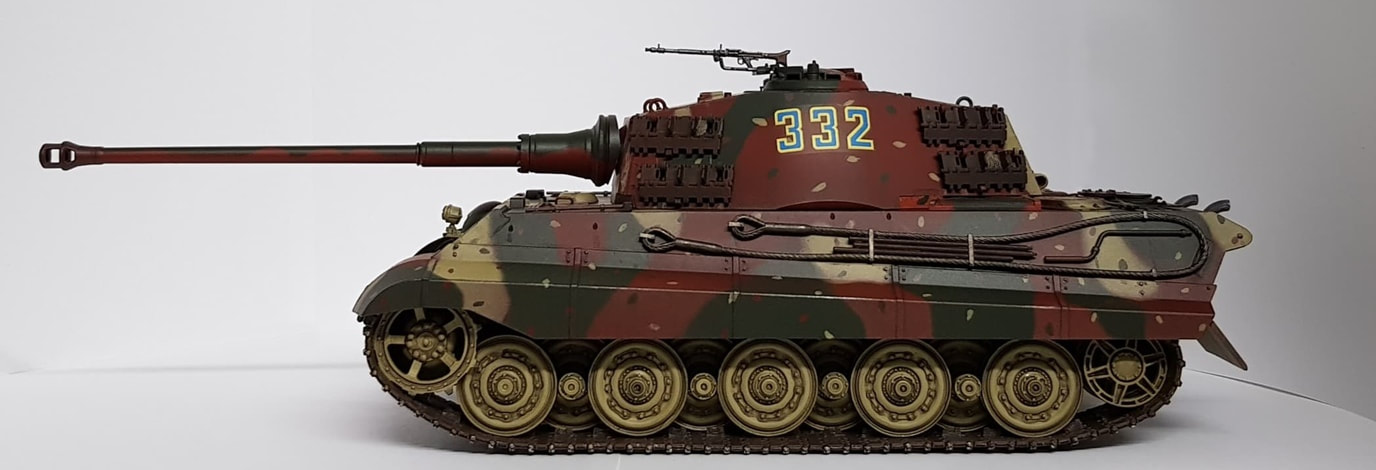
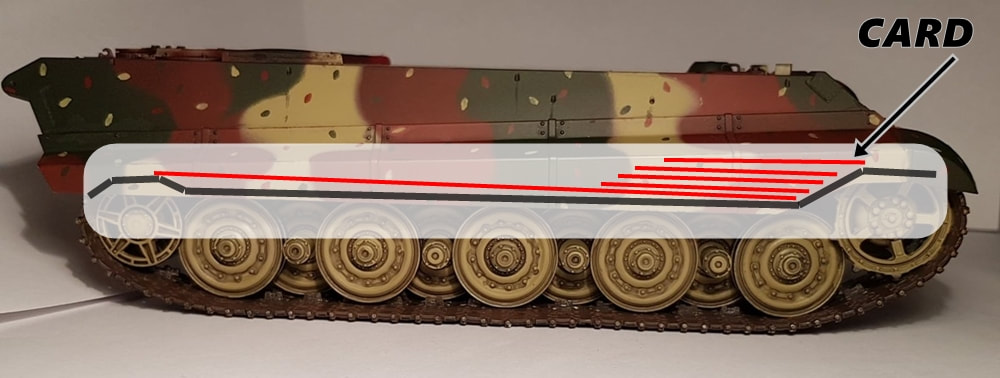
Tracks and wheels on! The glued sections were hidden under the guards and i spent some time spinning the tracks around to find the two best show off points, front and rear, on either side. These track had a bit of flex but were still very tight. Next i needed to be able to push the track down at the front so you could see a hint of the track sag in the front skirt gap. I wish i would have thought about this previously and not glued the skirts when painting but just had them taped so i could remove them.
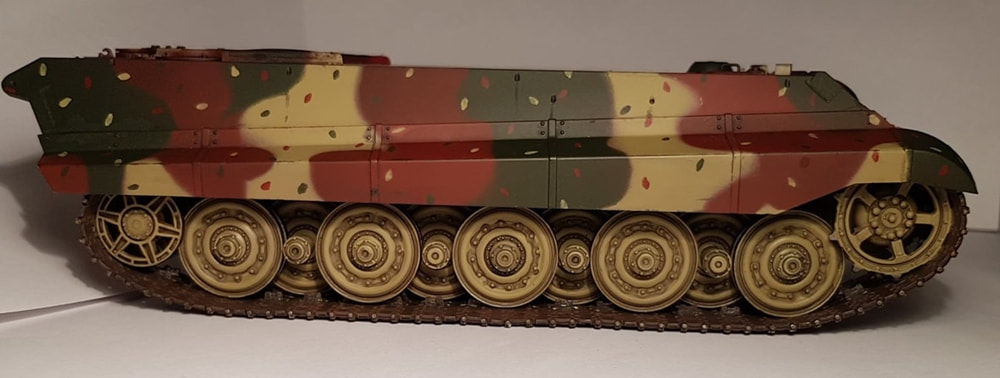
The only way i could achieve this was to shove something through from the rear where the mudguard would be fitted and push the front of the track down. The solution was some card shoved in in sections until i could see the track through the skirt gap. Easy peasy! Sorry in advance for my shitty graphic skills.

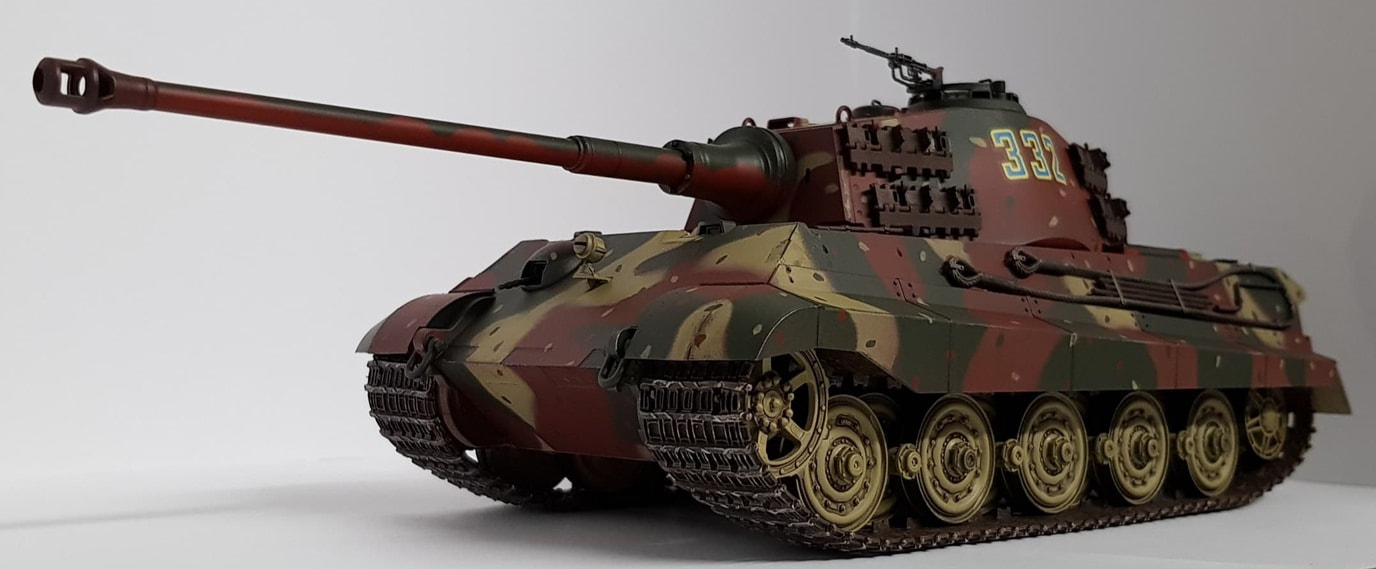
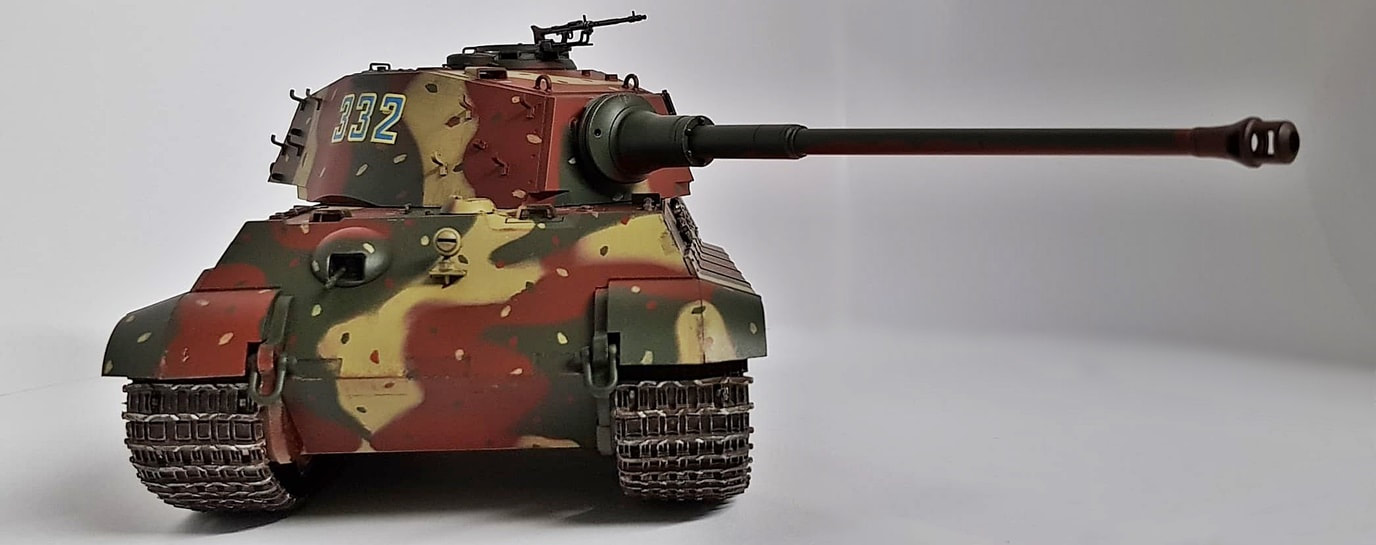
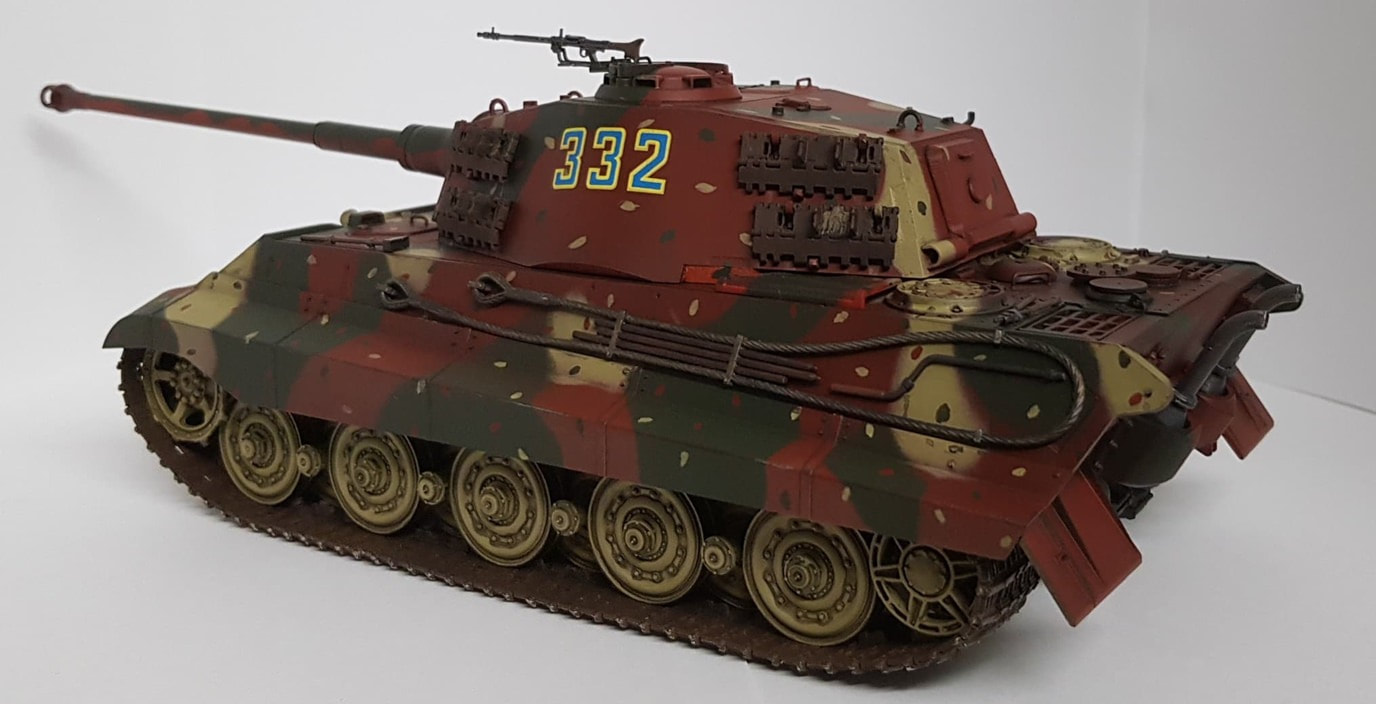
Just the bolt ons, tools, machine gun, mudguard, spotlight and tow cables all glued on and she was finished. Looking back at it i could have weathered it some more but i was still trying to find the line between too much and too little. I really need a mule so i can practice without fear of wrecking a build. I have to throw myself in the deep end with weathering and attempt some chipping and other forms of wear and tear for sure. Anyway, here's the finished job and one i was quite proud of, i think she turned out fairly nicely and showed me a fairly complex looking paint job could be pulled off rather decently by a noob with some patience and tutorials.