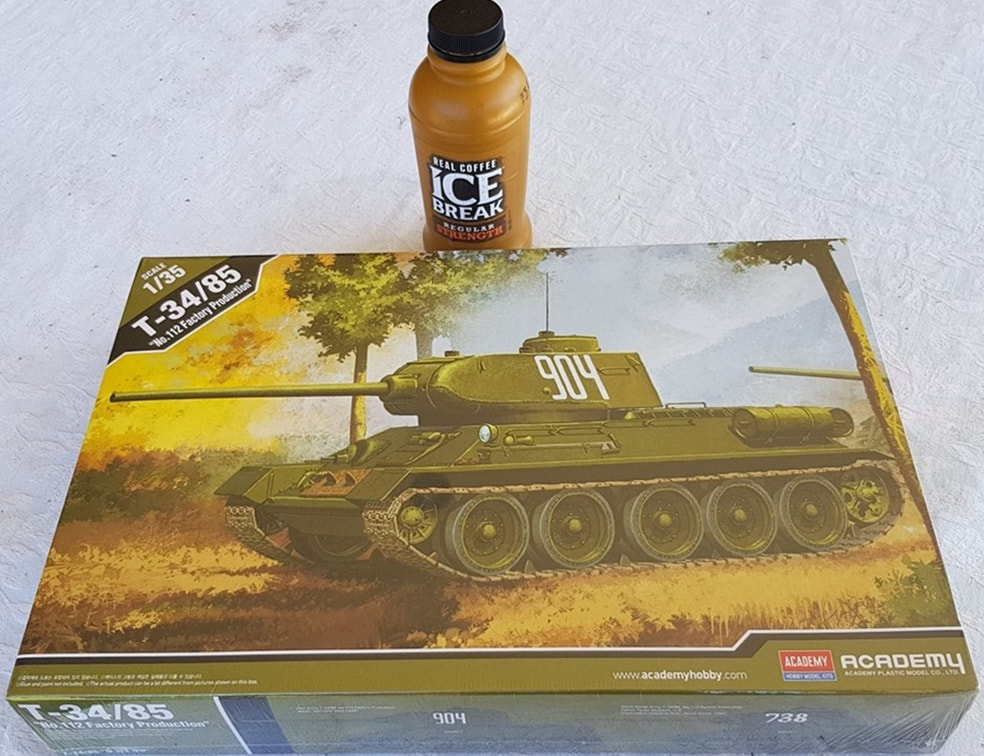
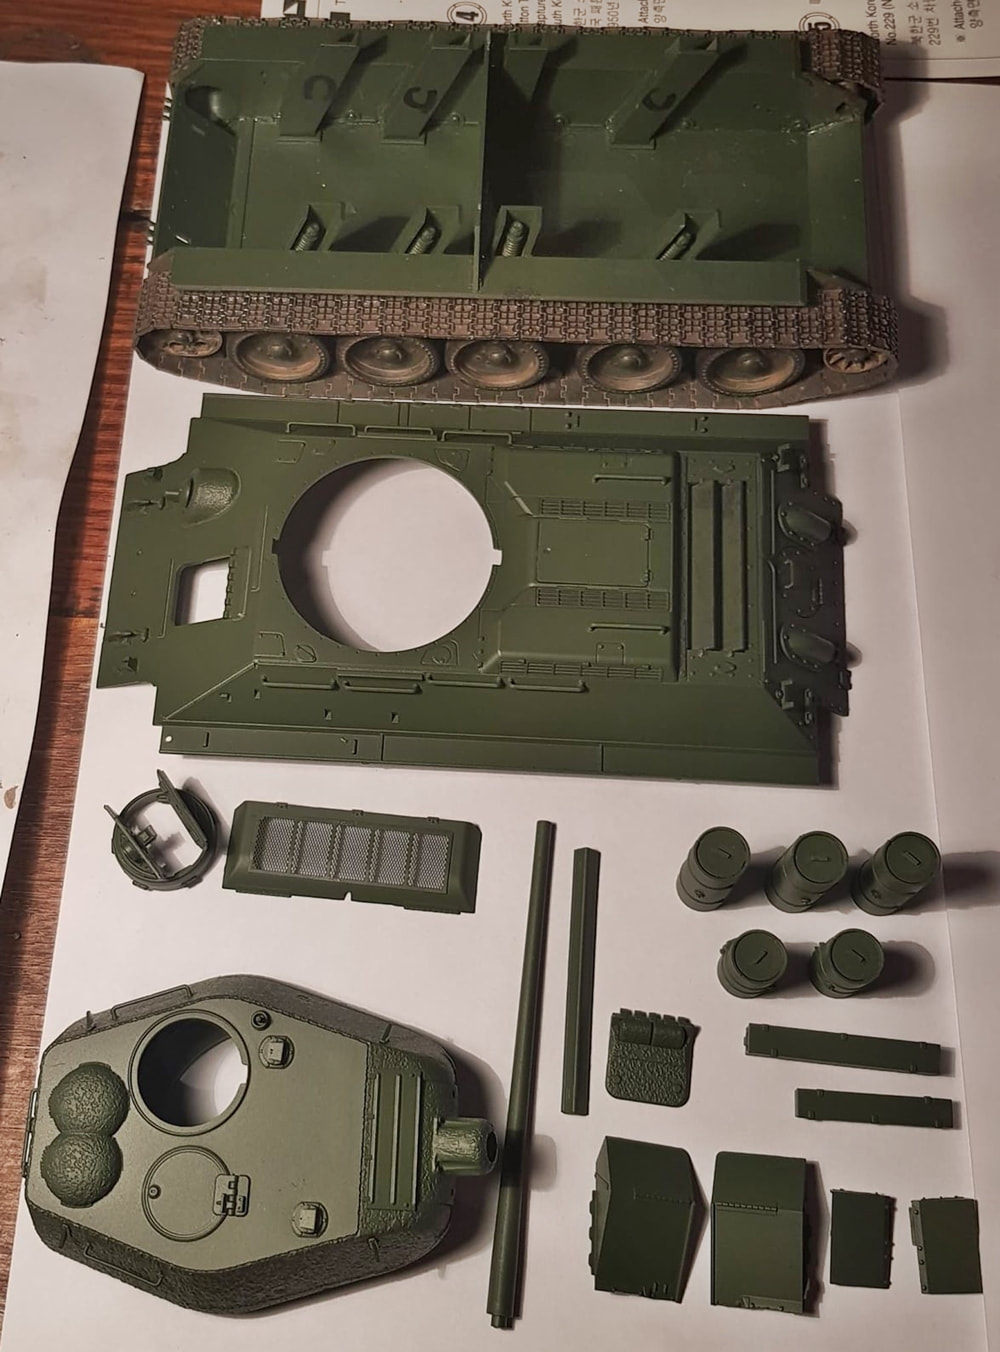
After the Tiger I i decided needed something to sit beside it on my bare looking soon to be full model shelf. I was thinking either Russian or American armour and juggling between a variant of the Sherman or T34. The T34/85 ended up winning out, so off to the shop to get the model and some more supplies. I came back with a spray tin of Nato Green as it looked fairly close to the box colour. The T34's came from a bunch of different factories and the colours varied immensely so i wasn't worried about rivet counting in any way. Close enough was good enough for me. The Kit was an Academy this time and i was interested to see if it was as good as the Tamiya, so lets dive in!
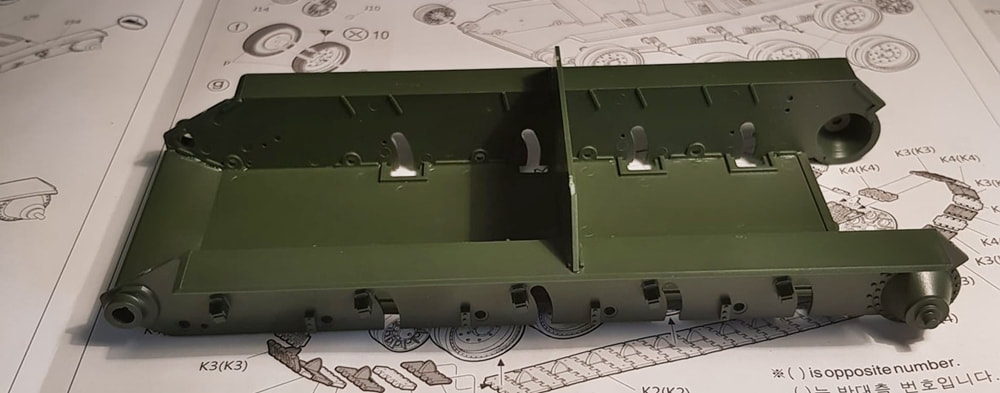
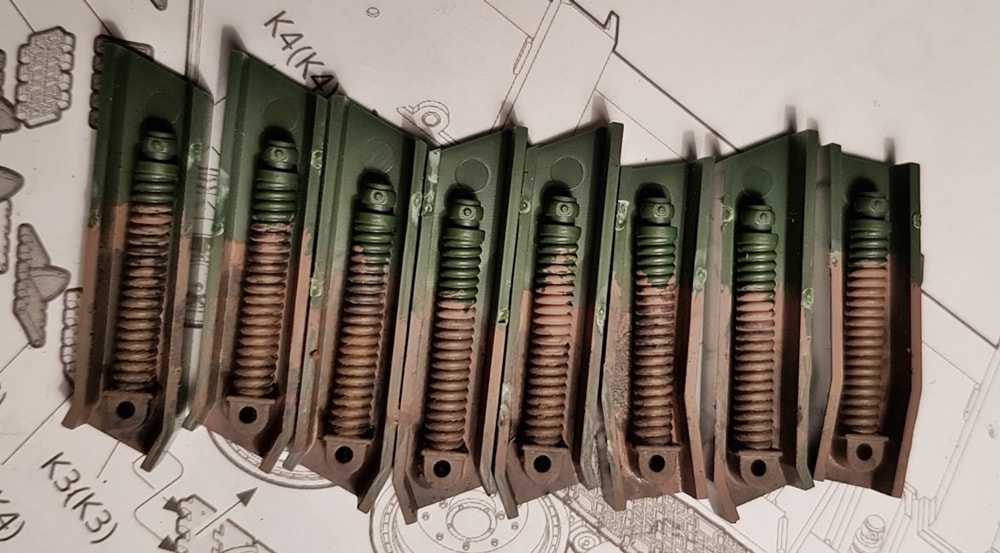
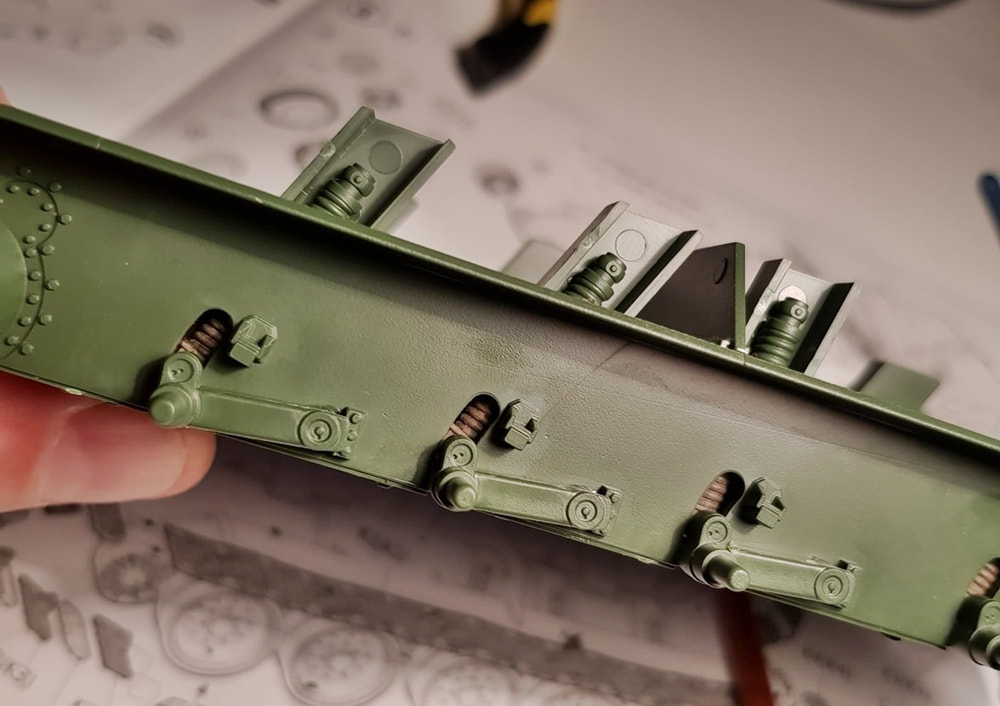
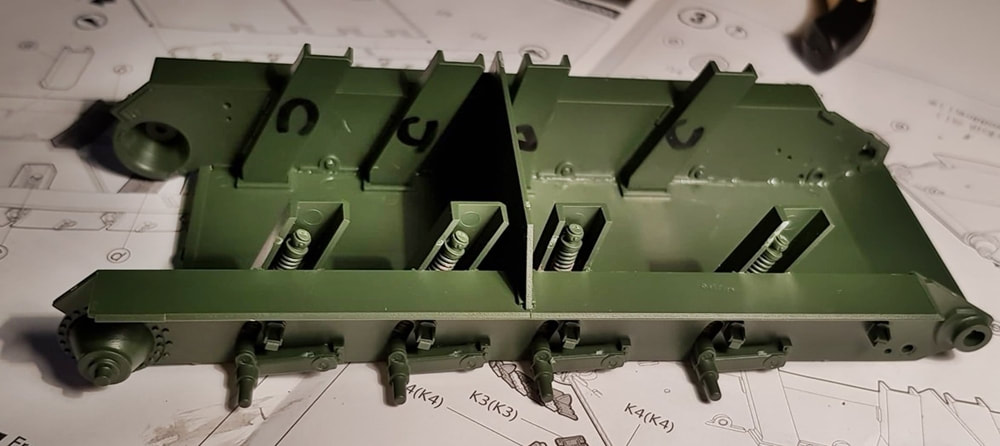
First up was the hull, the suspension and suspension arms. Thelower hull is the customary4 or 5 pieces to form the base rectangle. The Academy kit didn't trim as nice as the Tamiya off the sprue. The plastic felt softer and squishes a bit when cut compared to the clean cuts i was getting on the Tiger build. Everything got a coat of the green (no primer ..again) and the springs got a brush with some flat earth paint and then dirtied up with a watery mix of the rust weathering compound. I knew i would hardly see any of the spring work, but just in case a bit peeped through when the wheels were on. I marked all of the spring mount boxes when cutting them off to make sure i didn't mess up.
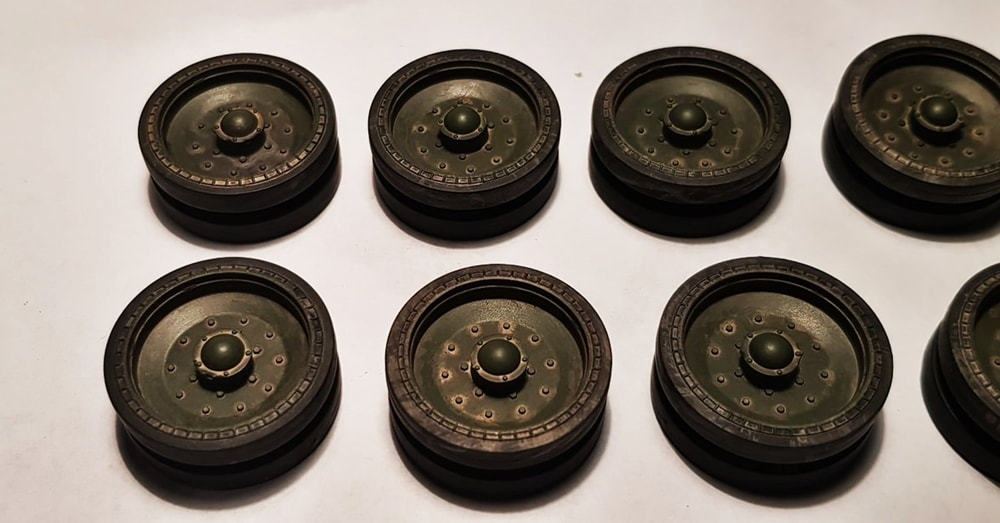
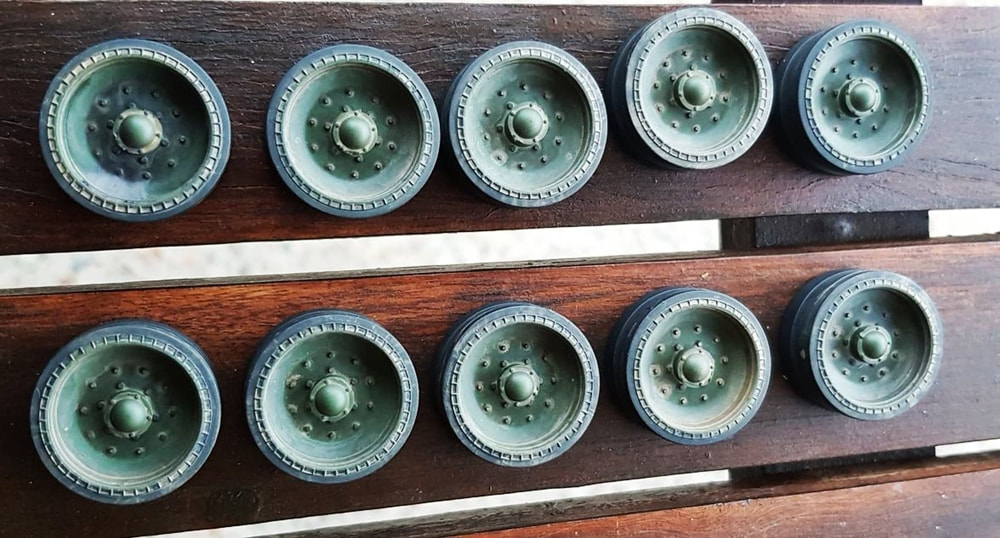
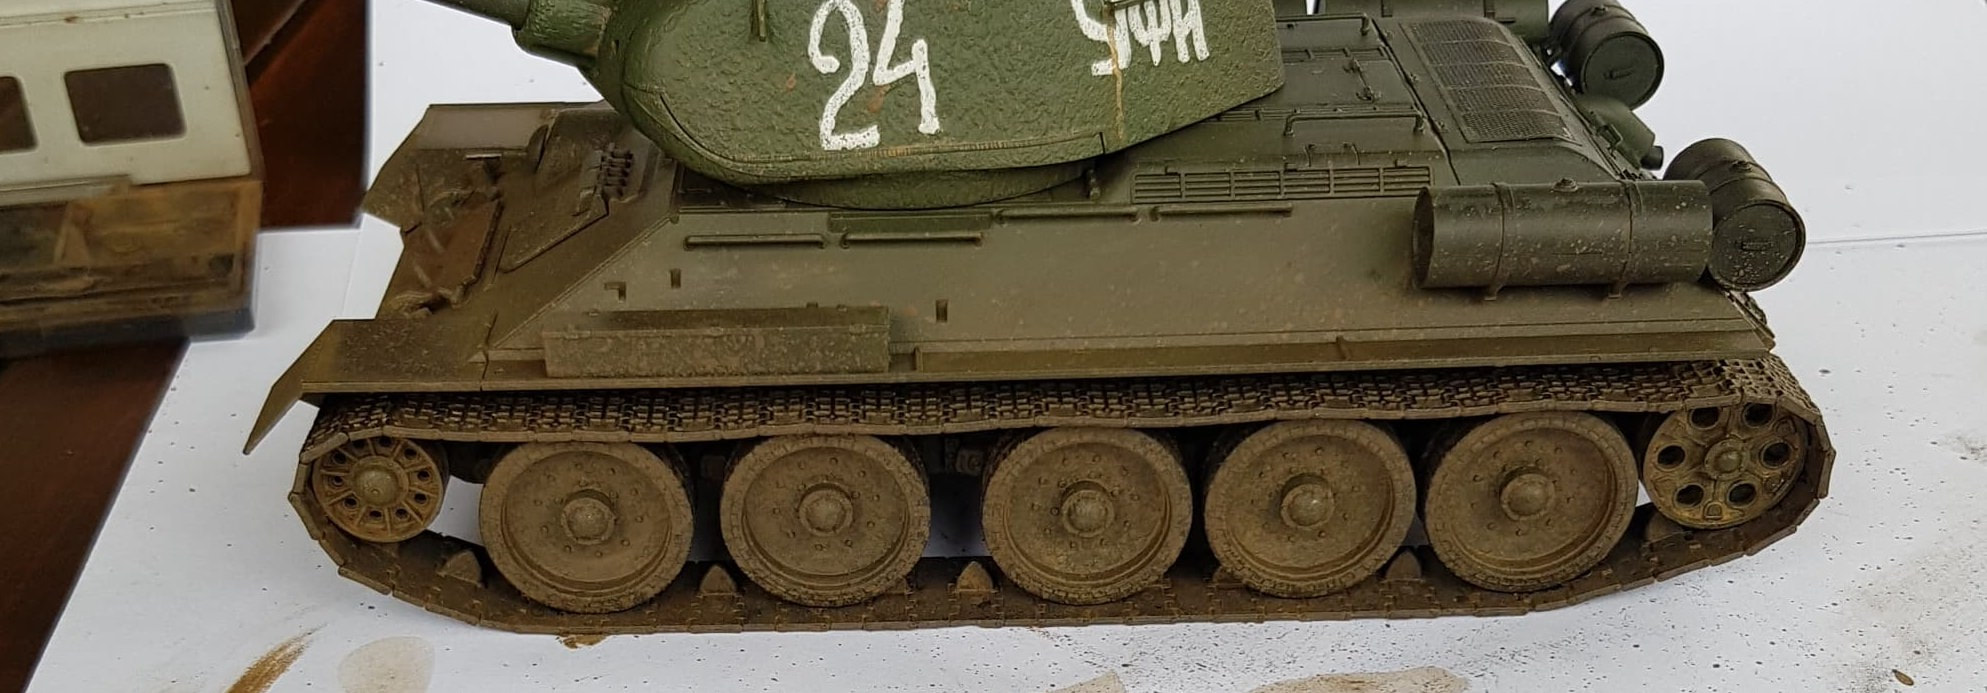
Next up was the wheels. They were far easier than the Tigers, twenty wheels that turn into ten sets of two, five per side plus two idlers and two drive sprockets. Rubber black on the tyre section and a water and rust /soot mix compound to dirty up inside. Inside and outside pictures colours vary wildly, the actual model colour is about midway between the two. These wheels have a nice lip on them so any over painting of my rubber black was easily scraped off with a blade.

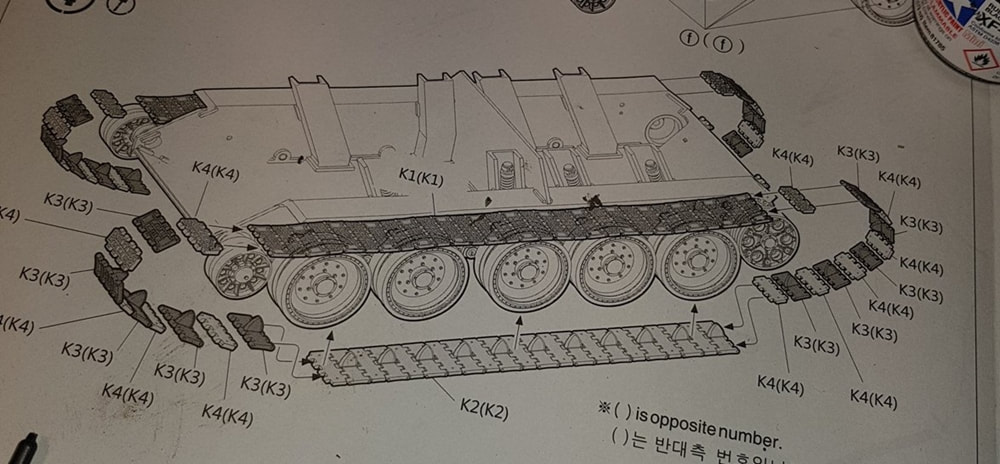
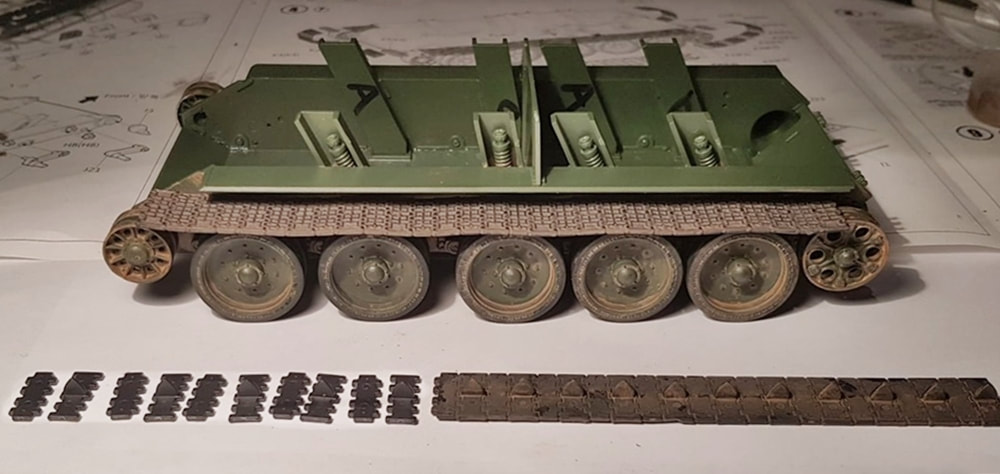
Tracks. The tracks in this kit are hard plastic and come in sections. A large length for the upper and lower and then ten small links to curve over the front to join the upper and lower, eleven links to join the rear. The setup looked interesting and challenging.
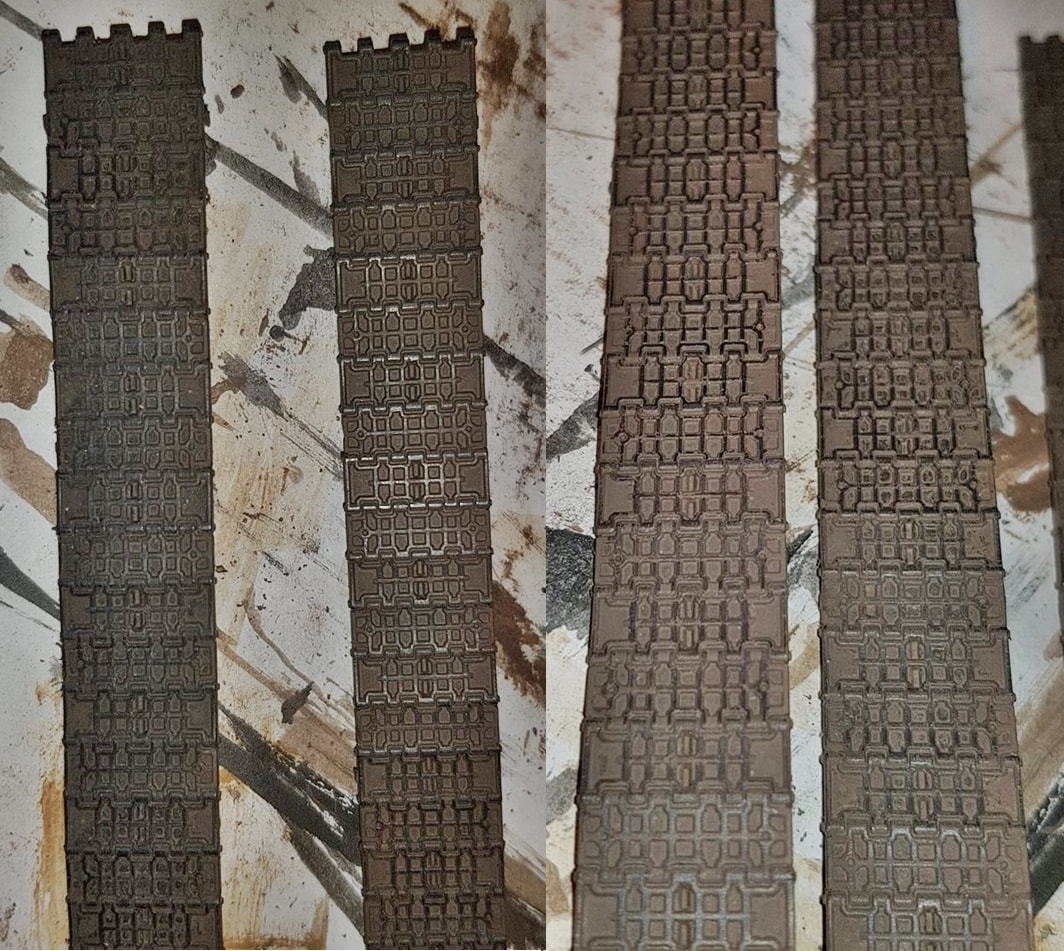
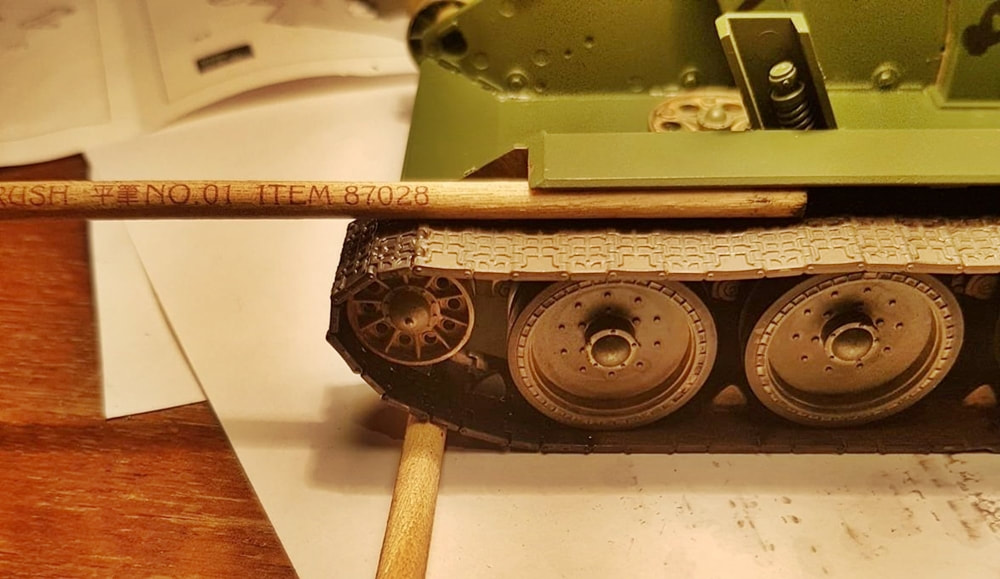
I tackled weathering the four main lengths first. The tracks are a dull silver out of the box so i decided to run with that and just paint weather straight onto them and then see if i could rub the higher sections of the track to reveal the colour underneath. I made up a mix of red brown, flat earth and rubber black, basically a gunky browny mess. This was splotched all over the tracks with a brush and then i wiped the tracks on some cardboard to bring the dull silver colour back through. The inside of the tracks got a light coat of iron and then some soot and rust covering with the 'teeth' that runs through each wheel highlighted with some dry brushed gunmetal. I thought they looked passable.
Next up was assembling the tracks onto the tank wheels. The easiest way to do this is to lay the large bottom section of the track flat, lay out the section of links you are working on (front or rear), apply glue to a link and click it into place on the main track piece. Work through fairly quickly until all of the links are connected and then let it sit for a minute. You want them to start gluing but still have a bit of flex so you can manoeuvre the links around the front or rear to join the upper track section. Of course you have to have the upper section of the track sitting in position above the wheels ready to go as well. So it's basically -Lay, Glue, Wrap around.
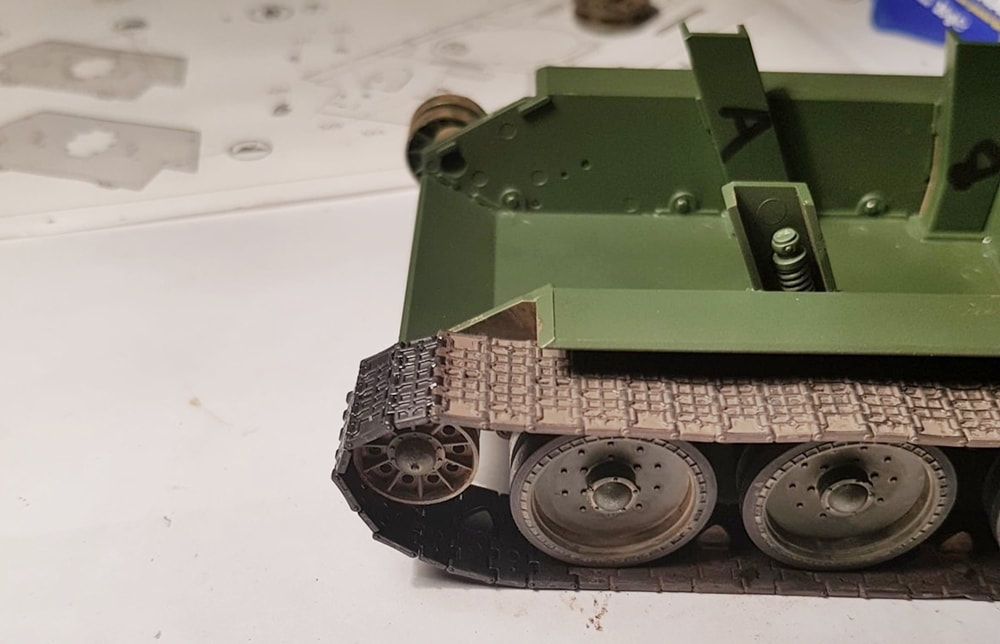
From there to make sure the i got track links sitting how i wanted, i used some paintbrushes as wedges and let it sit for a few hours. Some extra glue dribbled in here made sure it would all stay together. At this stage i had not placed any glue on the wheels, i wasn't going to make it a solid unit until i was sure the rear links would all meet correctly and give me a full track.
The rear links were the exact same procedure. Even after gluing the complete track assembly there is still enough play in the tracks to be able to get some glue on the bottom of each wheel. After the rear links had been wedged ad dried i did this and then put some weight in the hull while the tracks glued to the bottom of the wheels.
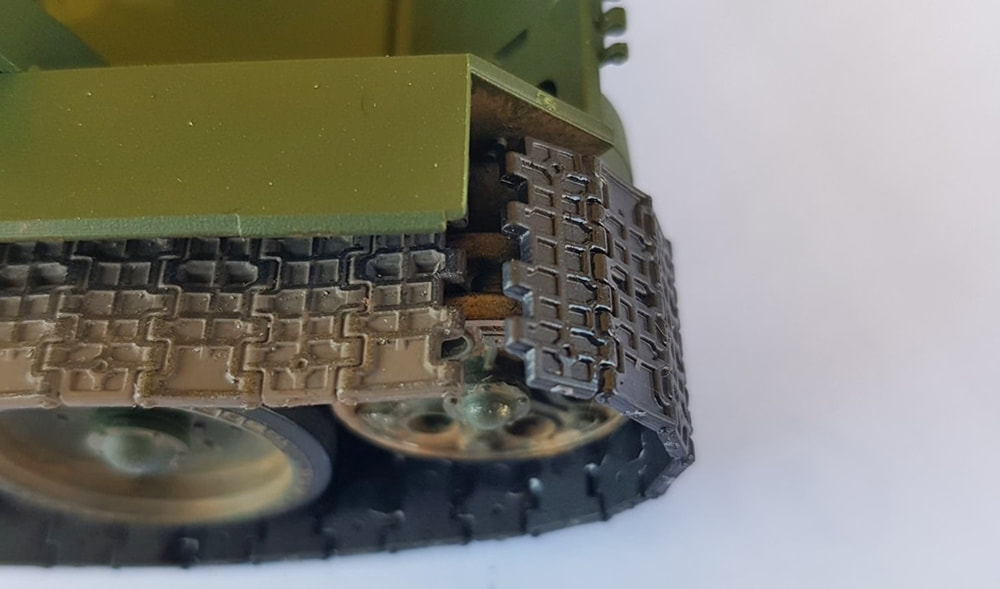
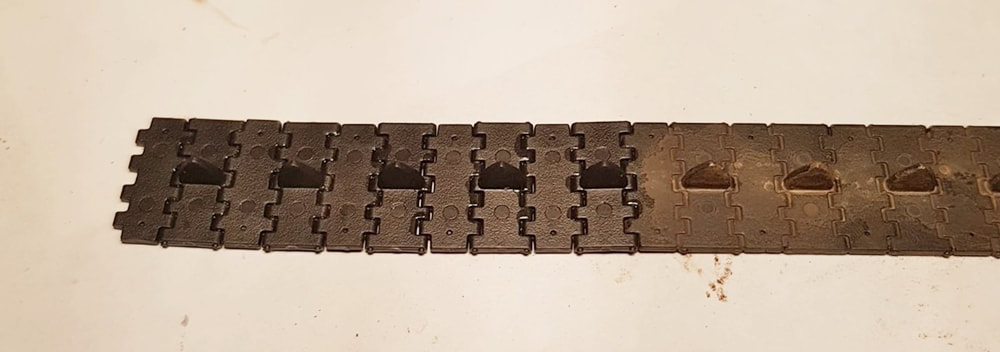
While not as nicely detailed as the Tamiya tracks they go together easy enough and look the part. Since these links are a dark grey, nearly black, i could not scrape them like i had with the longer sections. I painted them with a similar gunky brown mix and then highlighted the tread that touches the ground with a mix of gunmetal and silver by dry brushing them.
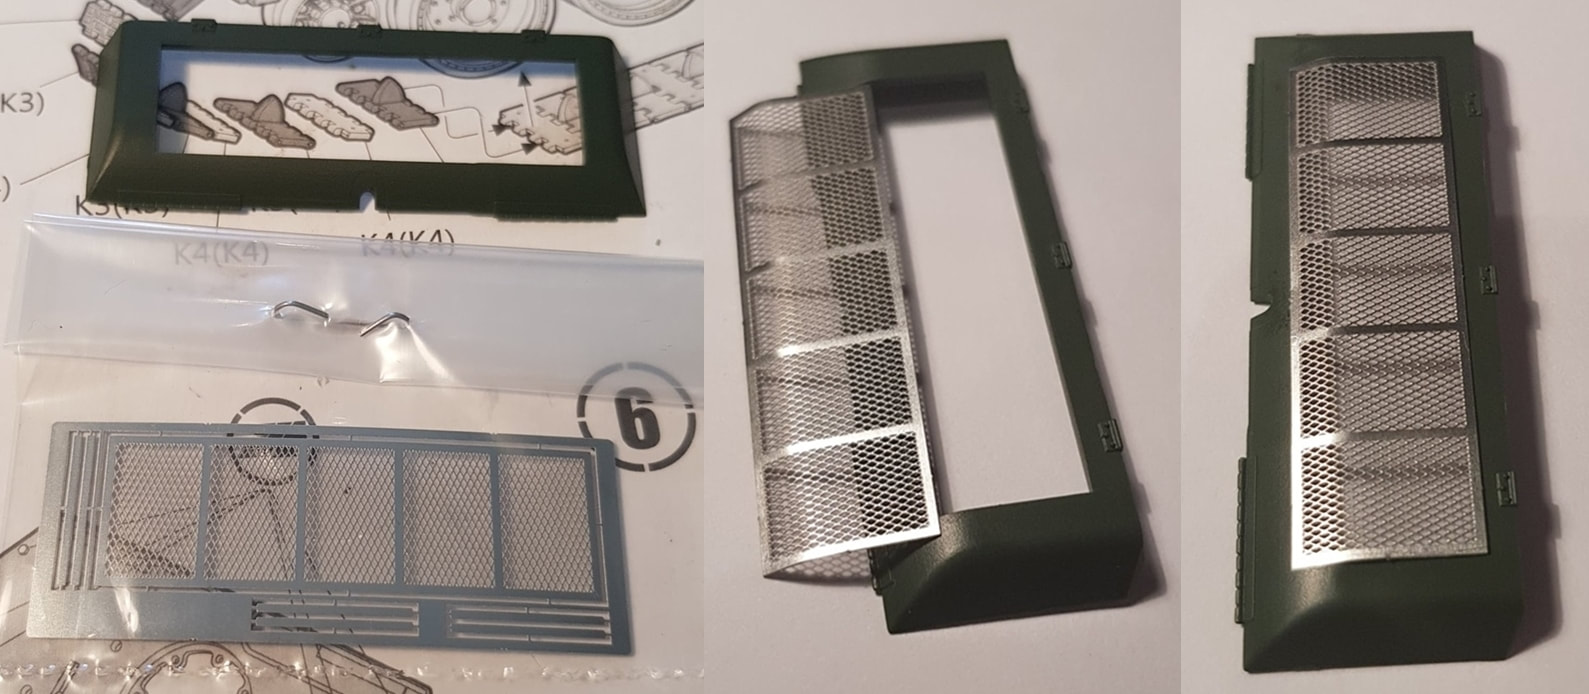
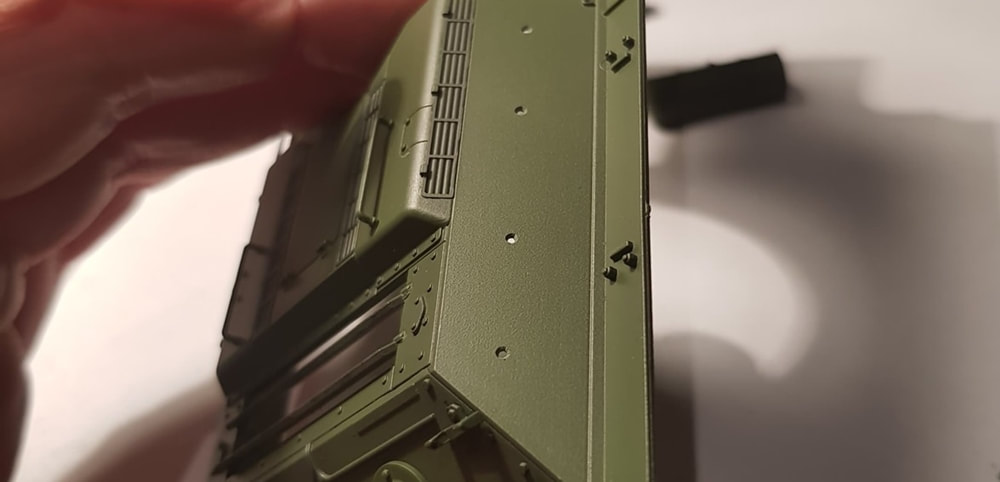
My first ever photo etched part! I was quite excited by this piece. It just had to be bent into shape to fit the cover and then i ran a tiny bead of glue to hold it down.
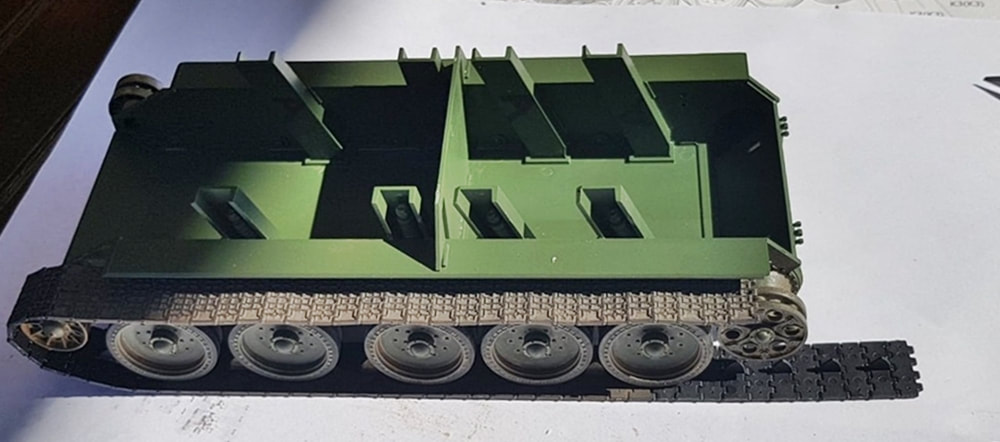
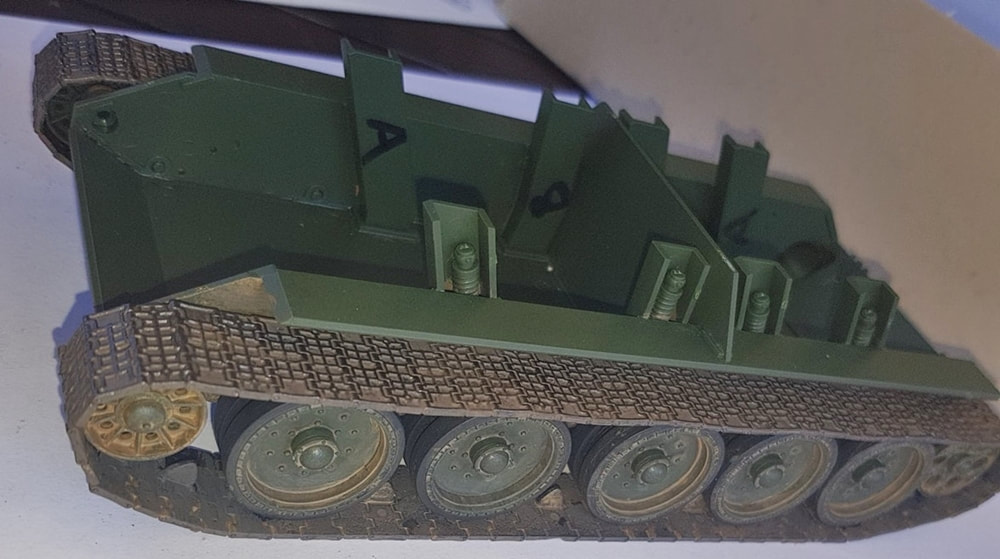
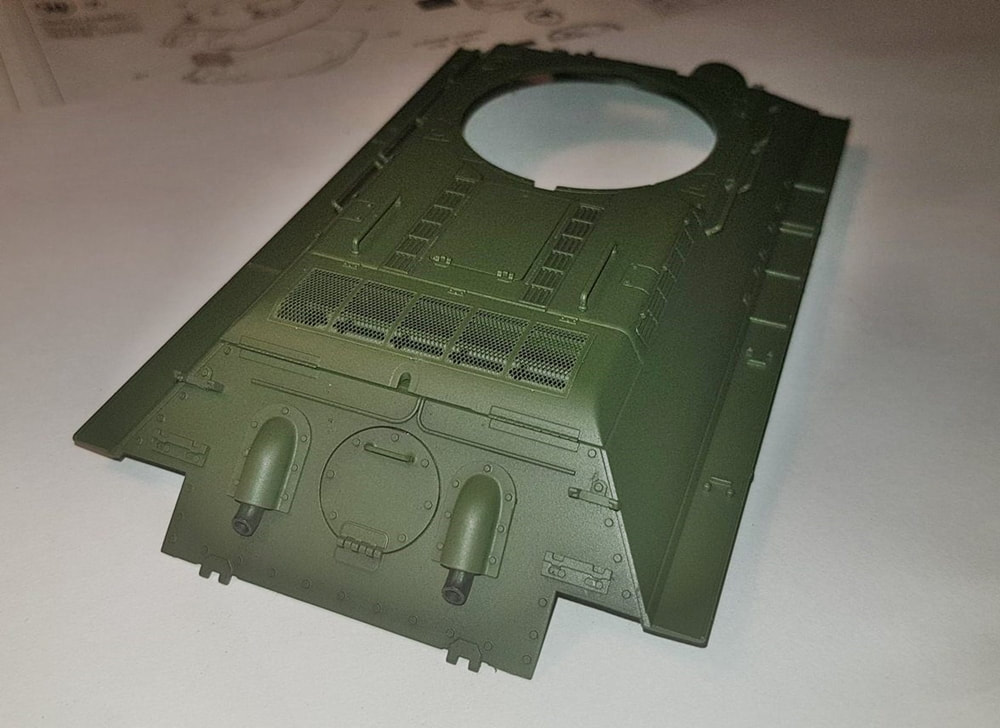
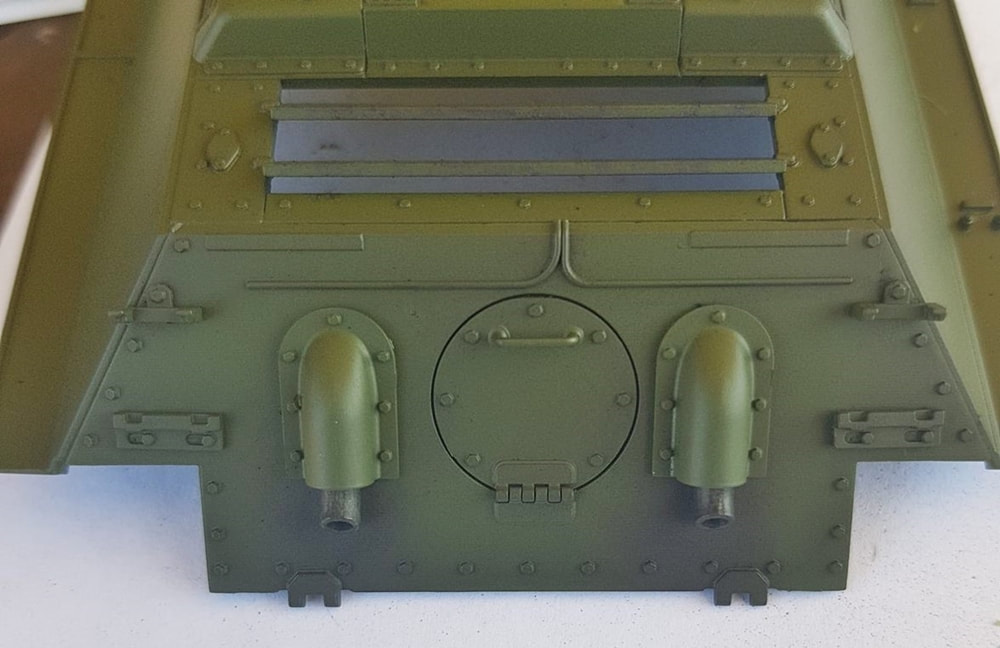
Time to do some work on the top part of the hull. The MG mount, hooks, brackets, exhausts, covers and a whole lot of bars were fitted. Weathering was the Tamiya soot with a brush.
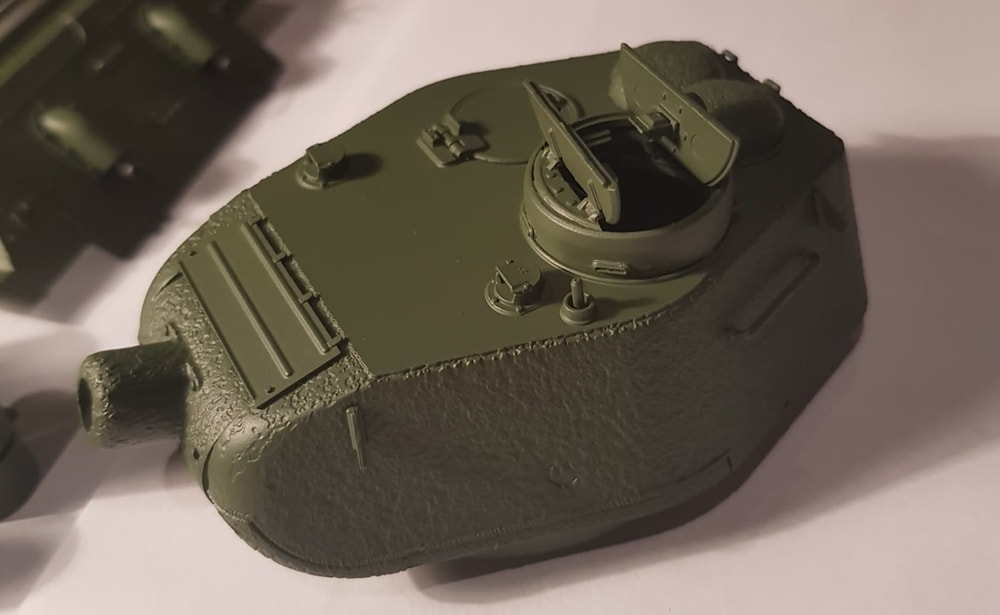
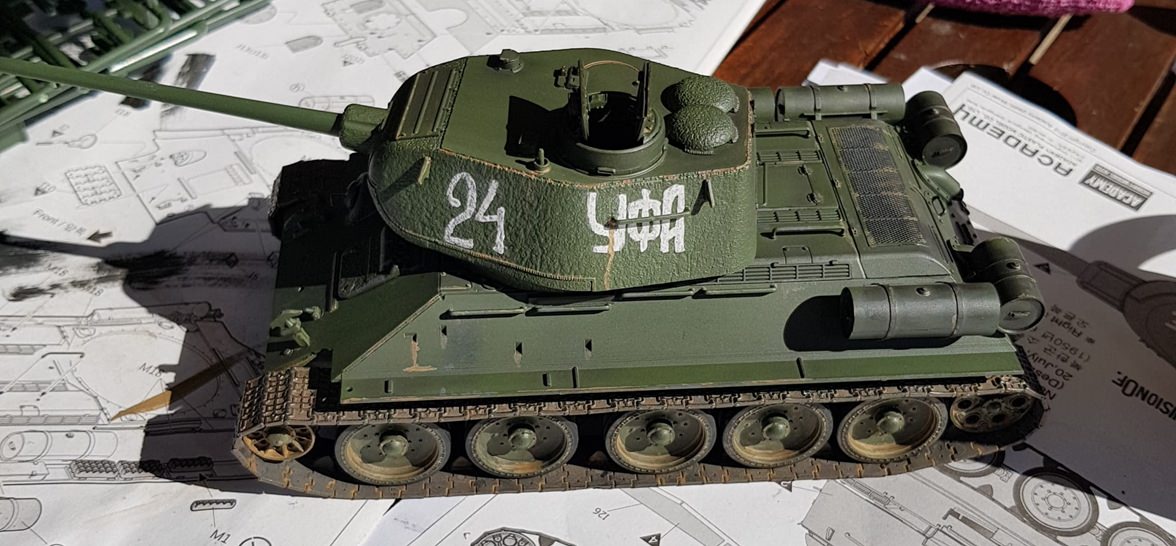
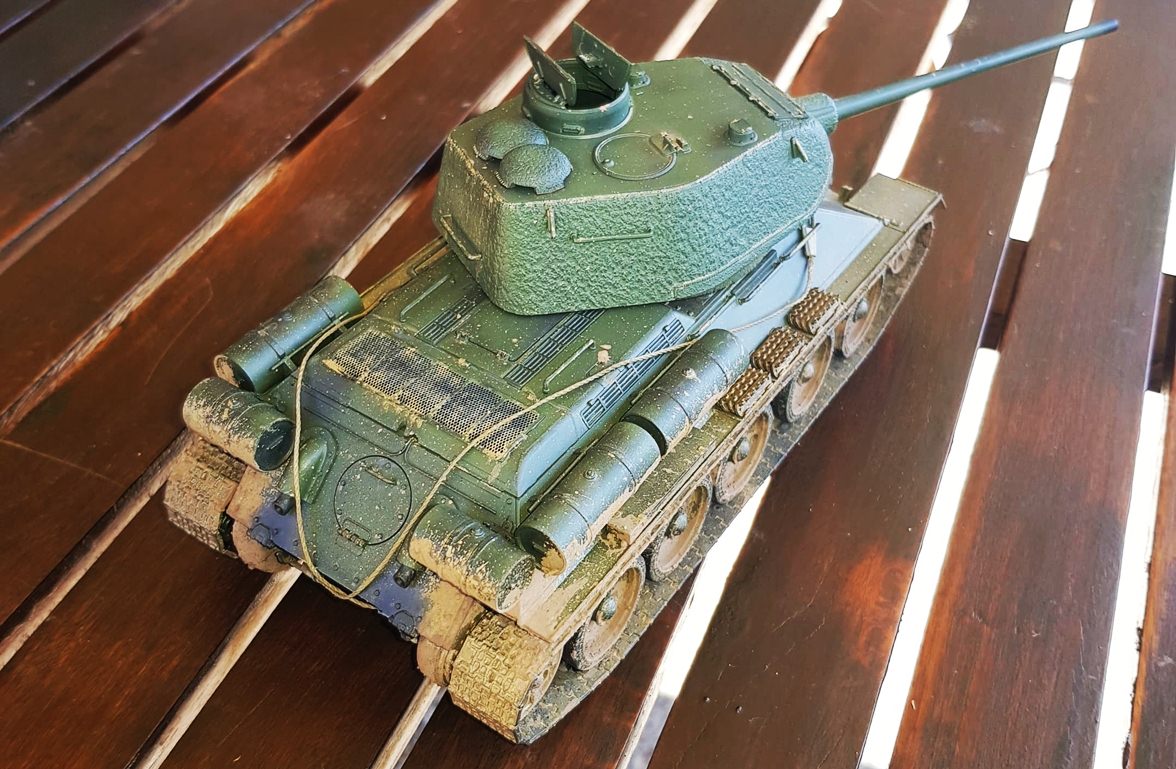
In between all of this i had put together the turret, turret cupola, the front guards, oil/fuel barrels and had collected most of the parts needed to complete the build. The Turret has a big 'weld' seam/join and i could have spent more time on it getting a better fit. By this stage i was not into using any sort of model putty though and just left it as tight as i could manage to make it fit.
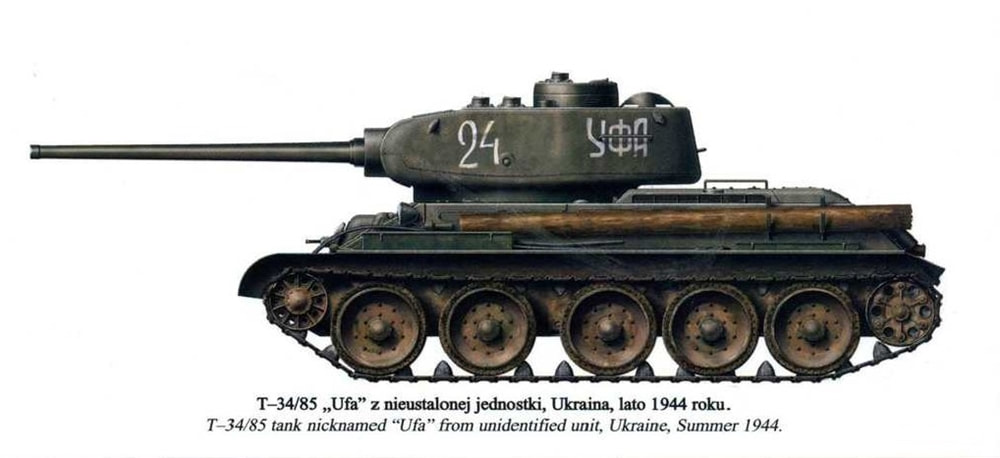
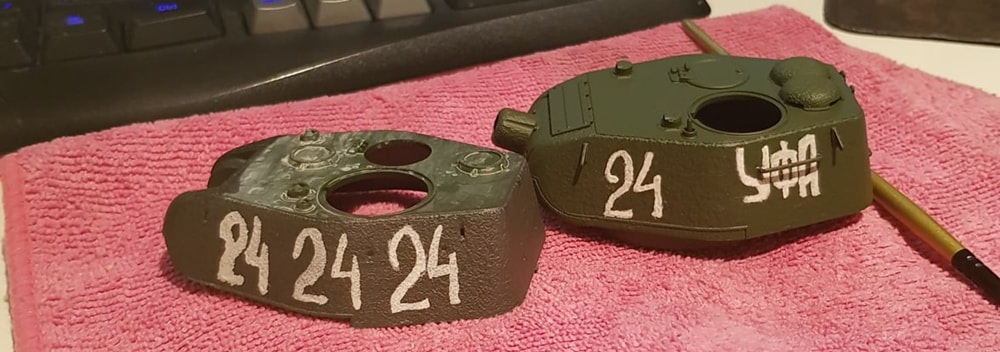
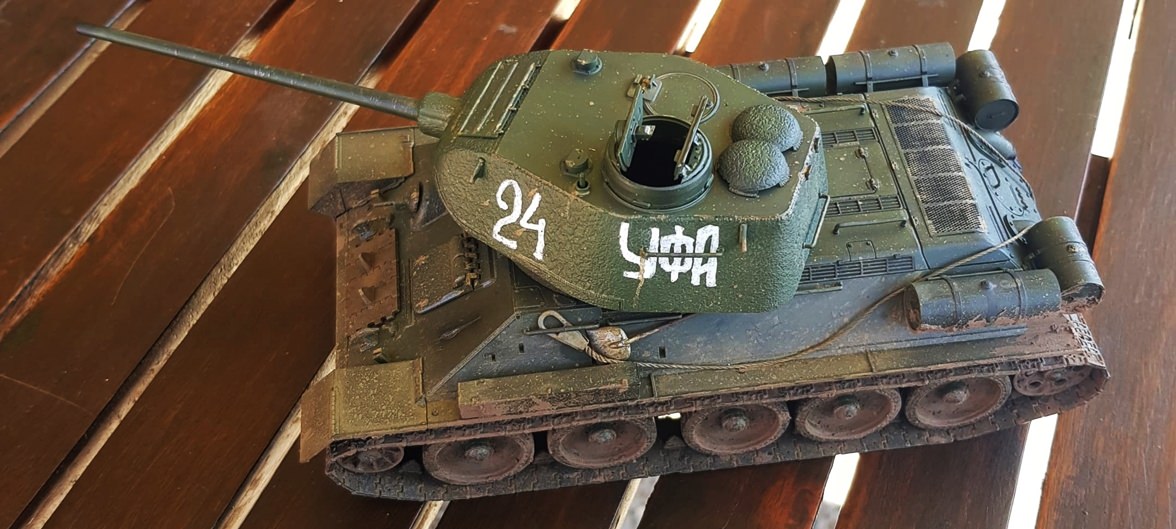
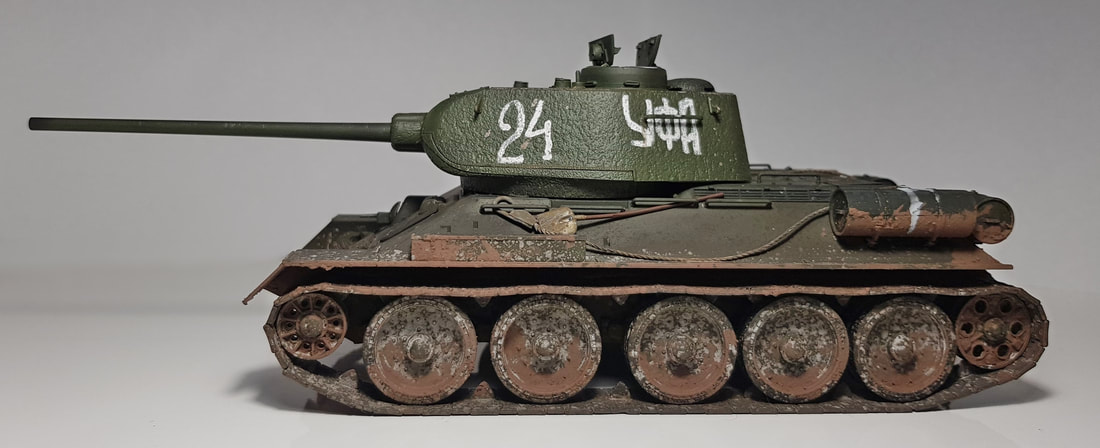
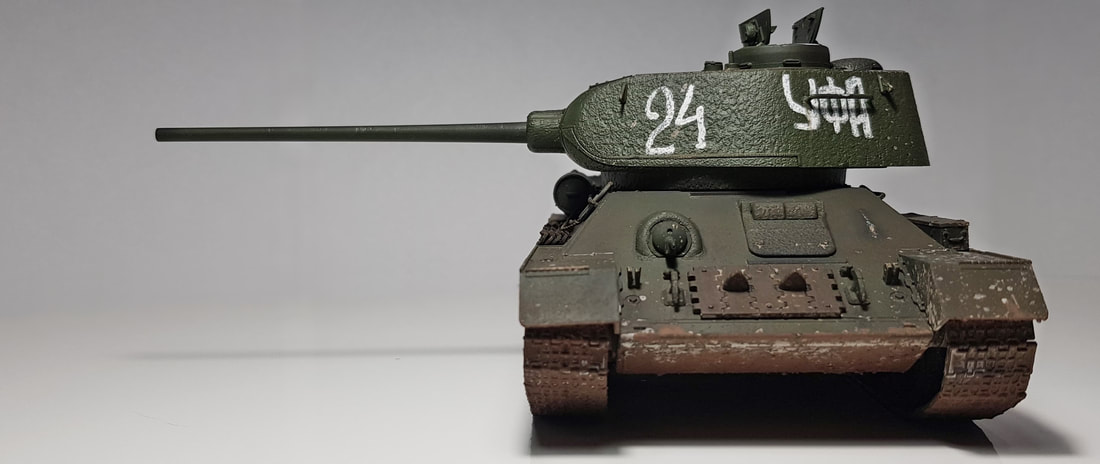
With the kit you get decals for a few versions. By memory i think you can do two WWII types, mid and late and then a Korean War job. I decided on neither as i had no faith that the decals would adhere to the very bumpy cast look turret surface. I decided to use the Tamiya snow weathering compound mixed with water and paint on my own numbers. I chose this one for the turret numbers and name as it looked within my capabilities and wasn't too flashy or too drab. Sort of a middle ground. The kit gives you two turrets, one WWII and the other Korean War era so i used the Korean version as practice. To look at the turret and cupola you wouldn't think it, but, there is a total of thirty seven pieces to make it complete! The cupola is a bit finicky but goes together well.
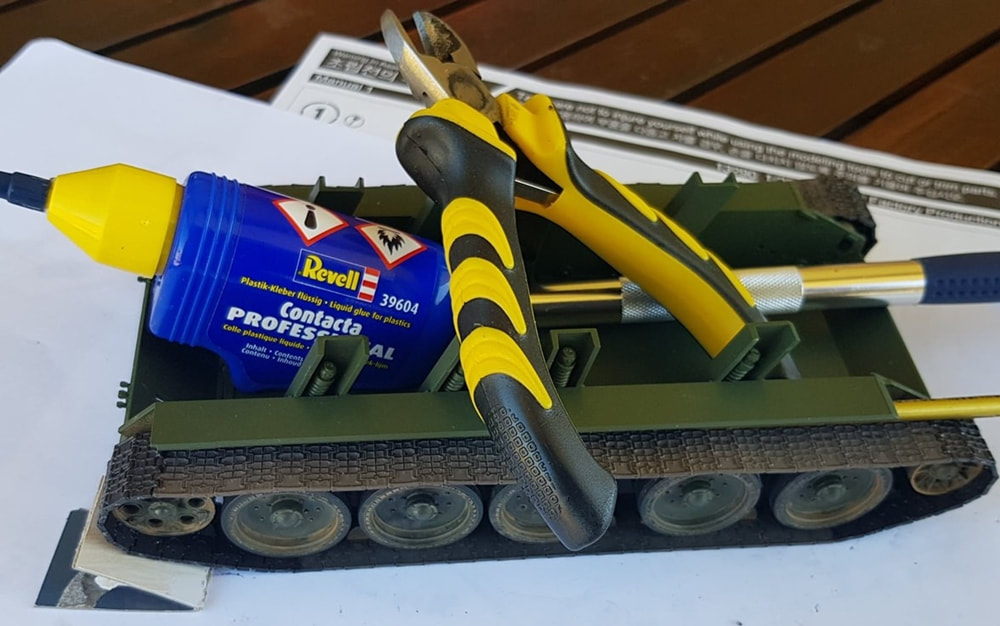
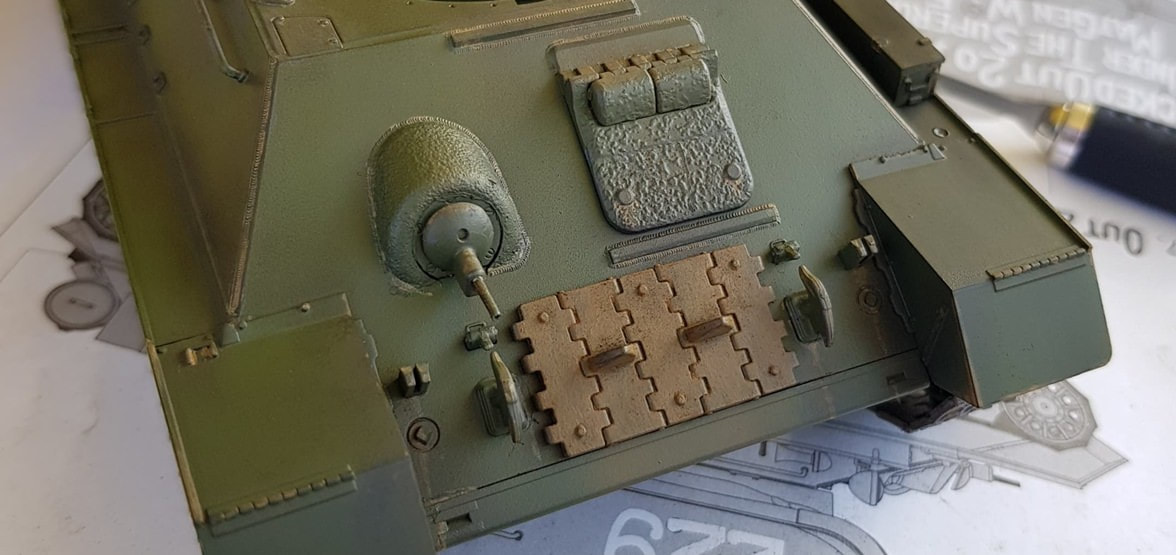
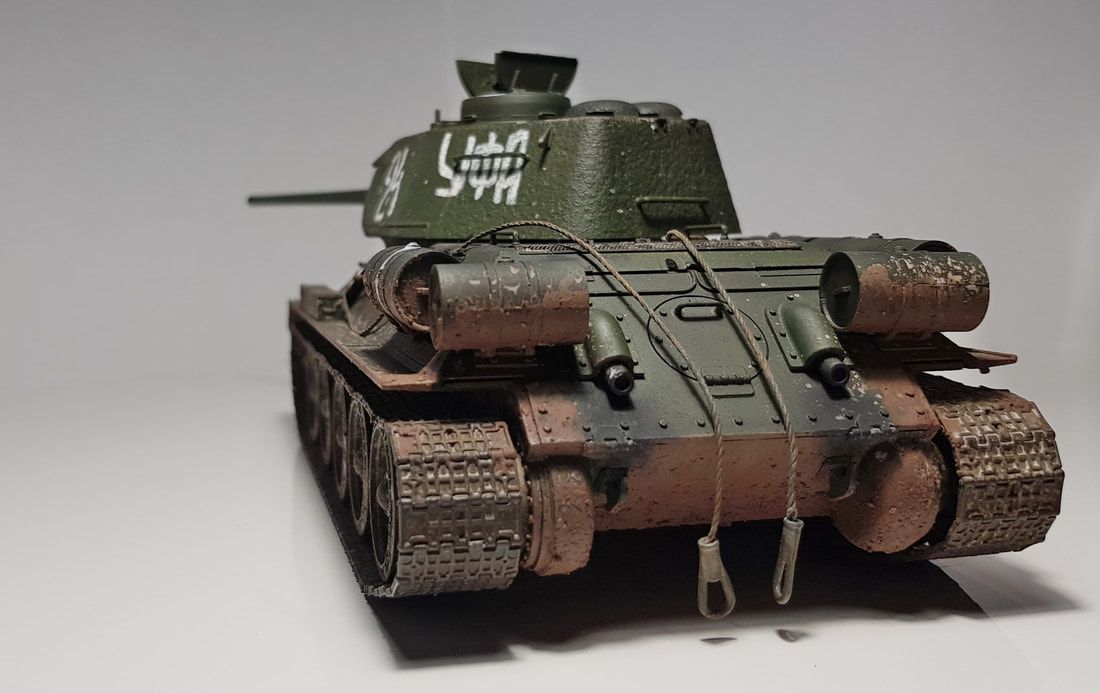
The tanks that attach to the sides require holes to be made. I just used the point of the modelling knife from the inside and slowly turned it until i had the size needed then cleaned up the outside by doing the same. I made a note that maybe i should invest in a modellers drill or pin vice for later builds.
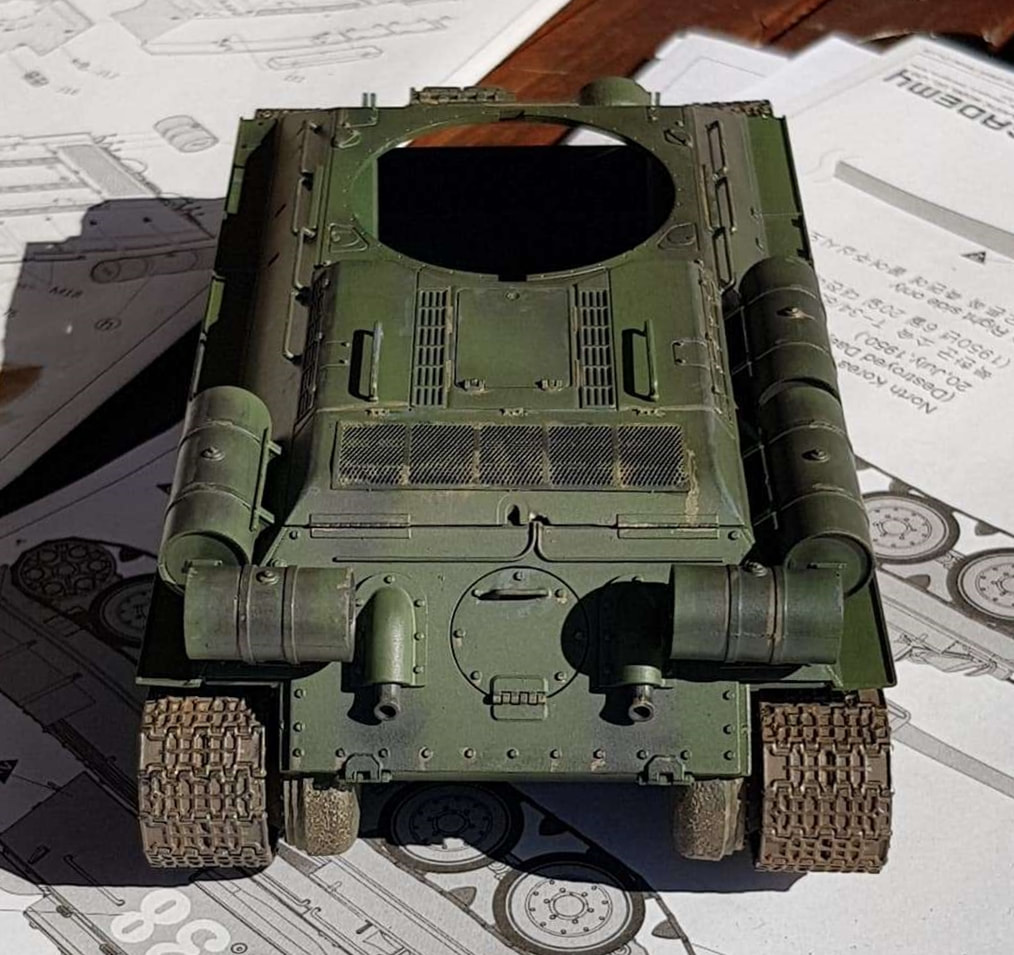
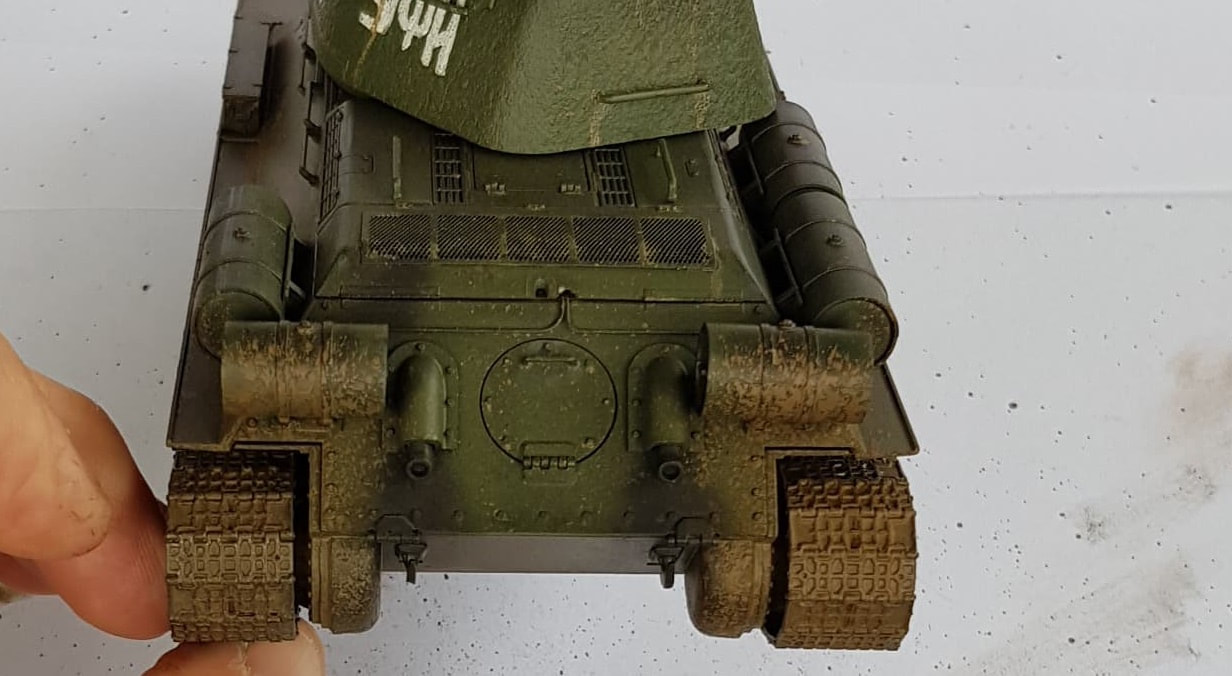
This was basically it for the building of parts, the rest was putting them altogether. Tanks and brackets went on first and then i played around with the soot and rust doing some weathering. There is a spare track piece that sits on the front i weathered solely in the rust and some track cleats that bunch up on the side, also treated with the rust. Front guards, tool and storage boxes were glued on as well. The rear piping/cables, just above the rear lower hatch, don't line up with the kit half hole so i (rather crudely) cut a hole for them to appear to go into. This seemed a fairly weird and obvious overlook by the kit designers.
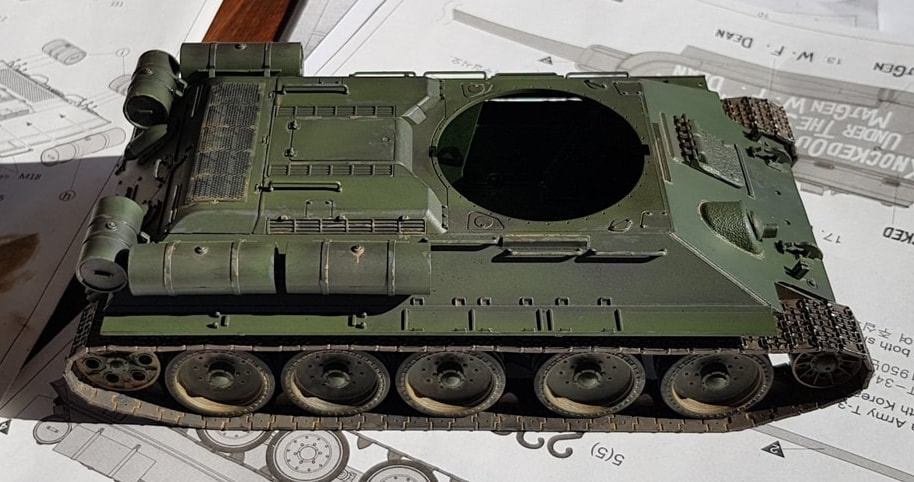

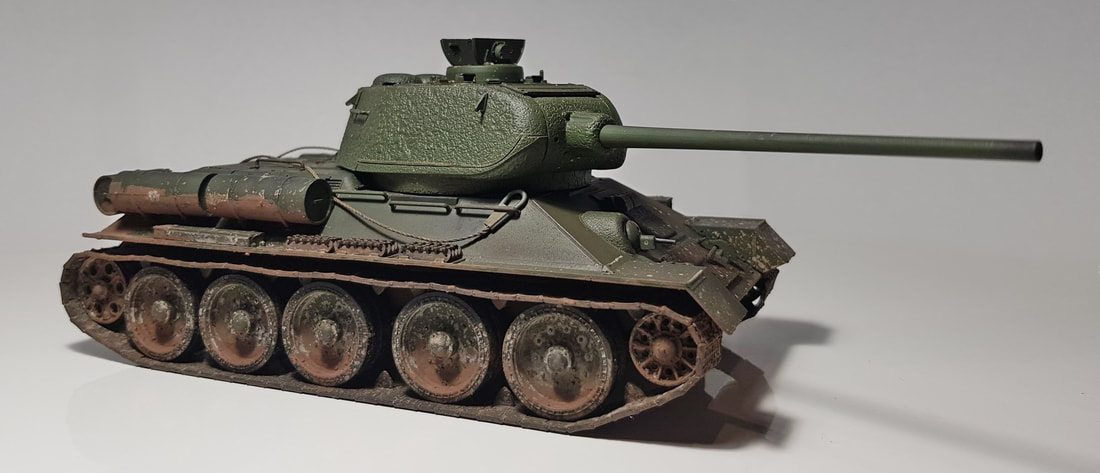
Finally i could place the turret on! This is the cool part of the build, when it becomes a tank. I had done most of the weathering now but was not really liking it. Looking back at it i should have left it at this stage. My thinking was it still looked to toy like, more than likely because i was using big shots of spray paint and wasn't attempting any modulation or pre-shading or any other effect. Anyway, this was one of the last shots before i decided to go ahead and really make a mess of it.
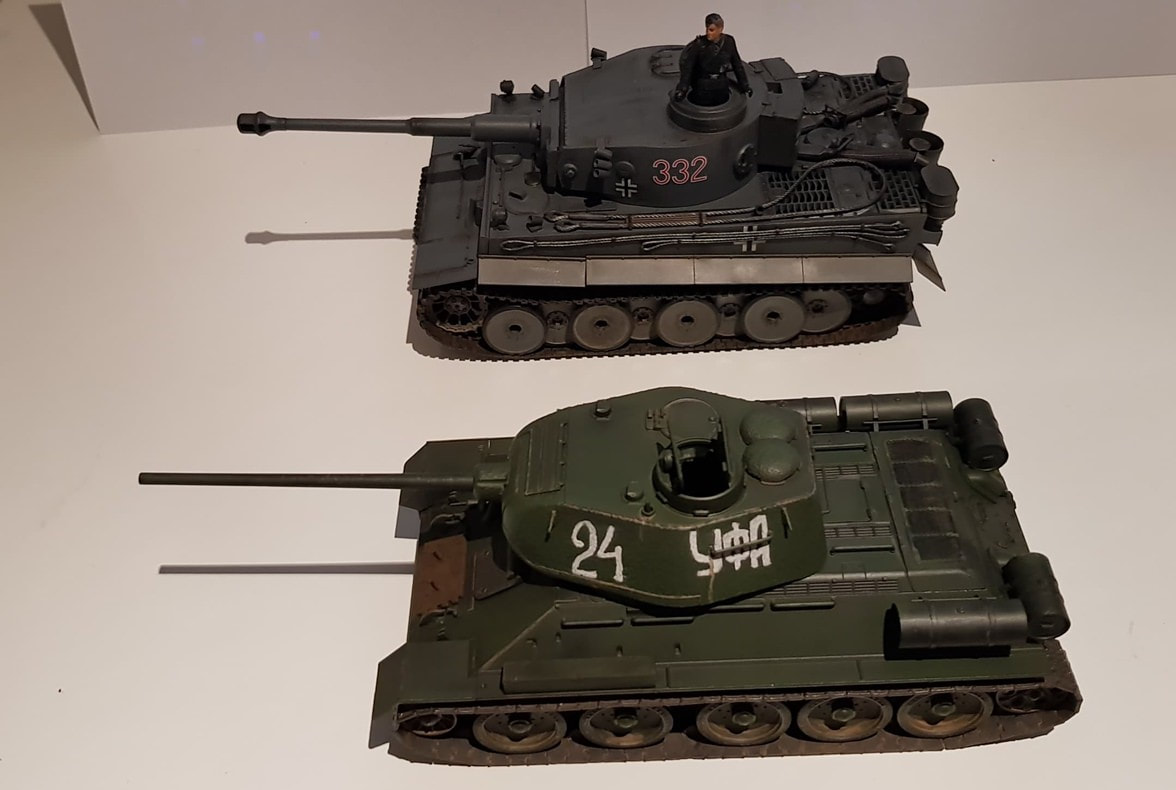
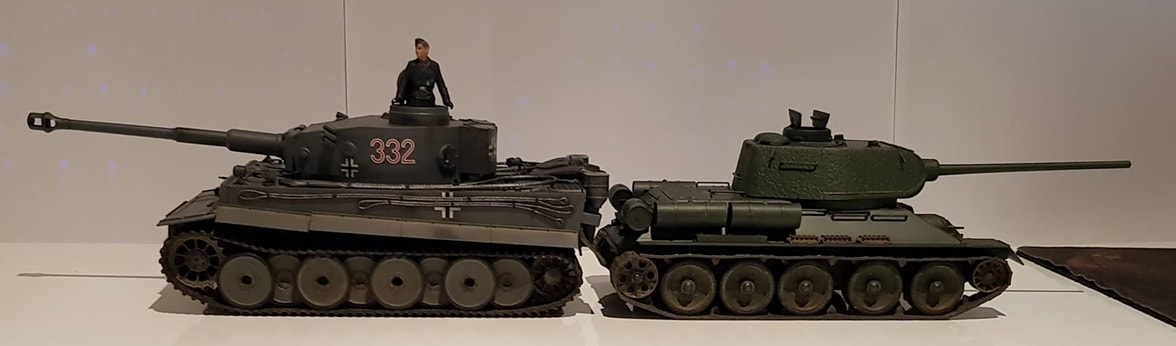
Before we move on to me destroying my model, i took a couple of pics with the T34 and the Tiger I for a size comparison.

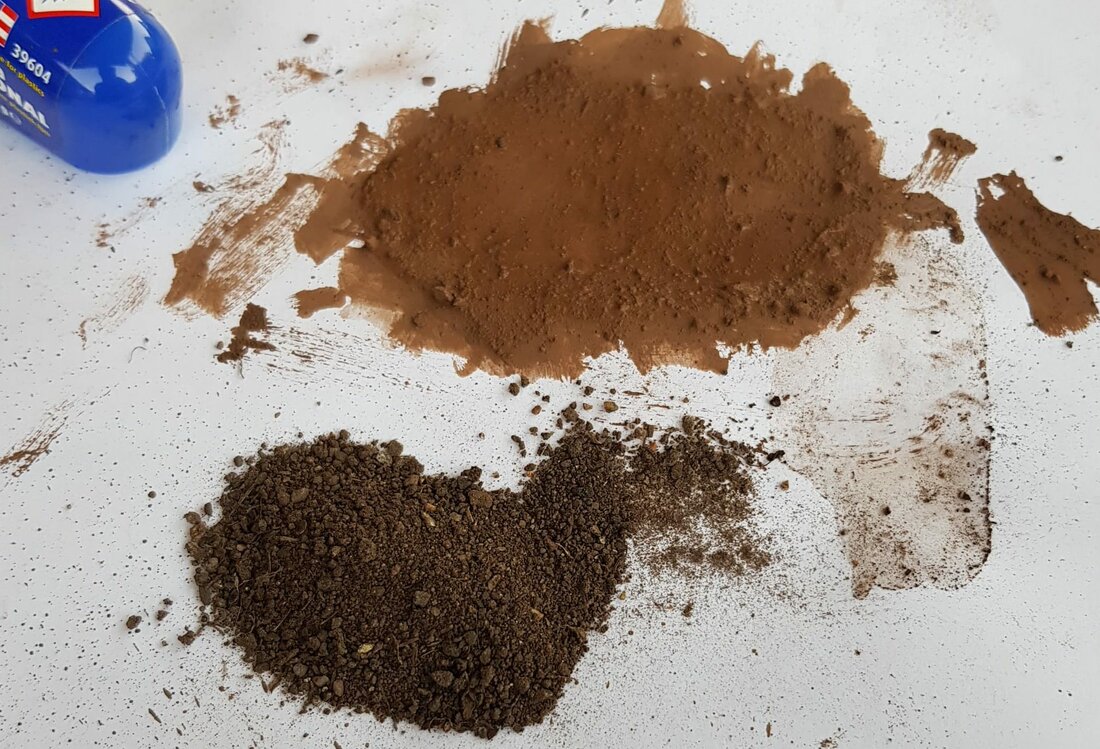
Ok, so here we go. Because i didn't really like my bland flat green paint job i decided it needed some more dirtying up to break it up a bit. I had seen a technique online that mixed wood glue with water and dirt to make a sticky brown mess that you applied to the model with a brush and a flicking motion. This mess dried and looked like (hopefully) scale sized mud. Awesome! Lets do this!
At this stage it was not too bad for a first crack at this sort of approach, but i would continue to do worse things as i progressed adding mud and then later applying a flat coat that i thought may save it. Narrator - It wouldn't.
Maybe it would work in a diorama but whenever i look at it now i know i was trying to cover up work i wasn't happy with and just made it worse. Less is more and i went well past that. I had debated trying a chipping effect with this model originally but decided i needed more basic skills before moving onto that. Maybe i would have had better success, who knows. Either way, i wasn't really happy with how this one had turned out thus far so i sat her on the shelf in the dark corner where it wasn't so prominent. The T34 sat there until i had completed the next tank, a Sherman, and then i pulled her out, gave it a quick dust over and sprayed it a coat of flat clear. I thought somehow it may dull it all out and maybe finish it off. Nope. The clear reacted with all of the gunk i had on the tank, probably didn't help that it had been sitting for a month gathering dust and who knows what else. This is the final, final result. A weird speckly finish of mud, gunk and white spots. I also could never get the tow cables to hook on the lower rear so they just remain hanging off the back.

Overall the kit was ok, i felt like the Tamiya Tiger had spoiled me regards fit and finish but the flaws in the Academy kit were my own. I needed to spend some more time on the ill fitting tank halves, they needed sanding and filling to come up properly. Lack of primer didn't help my paint situation. The tow cables need ditching, they are terrible imo but i also did not have the skills required to make them appear as actual cables and not the string that they are. The turret join needed more time and some filler and my mud experiment was me trying to hide faults and a paint job i didn't like. The flat clear mess was just sloppy icing on a sloppy cake. Lots to take away from this second build though and i still had enjoyed most of it despite the end result. I think i might crack out another T34 in the future so i can get this one of my back.
