This Academy 1/48 Spit was meant to be a quick weekender build but i ran into decal issues and thus my plan failed. Weirdly enough she started out as a 1/72 MK I Spit that my son bought me for christmas. My daughter also had gotten me a C47 1/72 kit so we did a trip to the model shop (after i explained 1/72 is too small for my fumbling fingers and aging eyes) and exchanged them. Thus the 1/72 Spit I transformed into a 1/48 Spit XIVc, and went from the mighty Merlin to a Griffon engined variant, the C denotes the wing type.
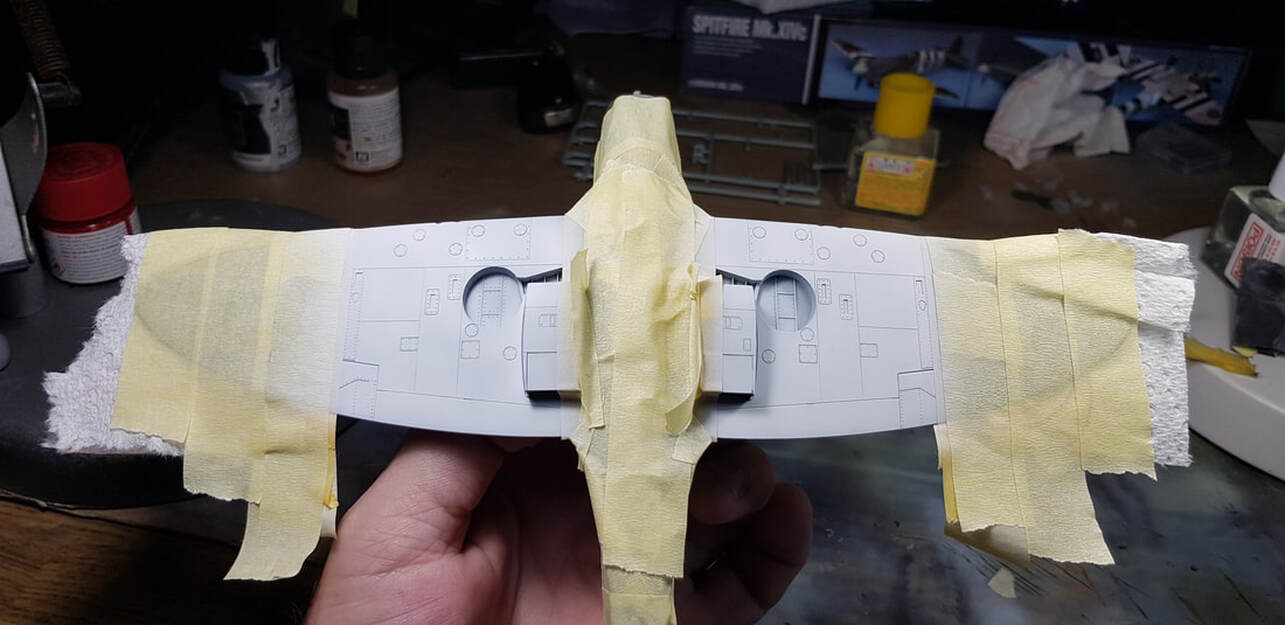
Apparently there is a lot wrong with this kit regards shape, a poorly shaped nose, the too deep fuselage, the spine is incorrect, the tail is wrong and even the wings are too thick. There are a few resin kits that address these issues but i really wasn't interested in all of that, she looks like a Spit to me and i wasn't willing to throw any more money at a 29 dollar kit...or so i thought. More on that later. I didn't take any actual early build shots, the cockpit was very basic and everything went together fairly neatly excepting one wing join which i sanded and worked as much as i dared without losing detail so this build starts with the plane at the prime stage.
Apparently there is a lot wrong with this kit regards shape, a poorly shaped nose, the too deep fuselage, the spine is incorrect, the tail is wrong and even the wings are too thick. There are a few resin kits that address these issues but i really wasn't interested in all of that, she looks like a Spit to me and i wasn't willing to throw any more money at a 29 dollar kit...or so i thought. More on that later. I didn't take any actual early build shots, the cockpit was very basic and everything went together fairly neatly excepting one wing join which i sanded and worked as much as i dared without losing detail so this build starts with the plane at the prime stage.
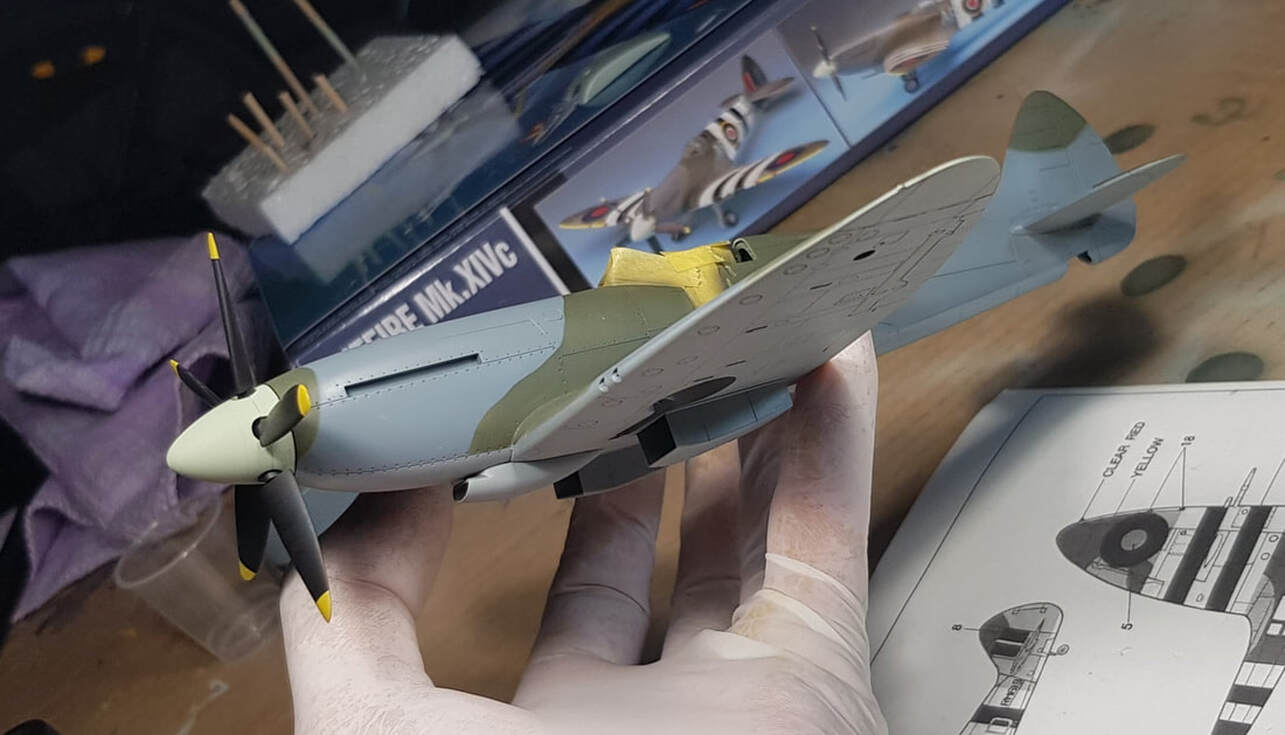
I already had four of the colours i needed for this build in Tamiya on the shelf so ventured away from Vallejo for the main part.XF71/ XF81/82/83. Raf Cockpit Green, Raf Green, Raf Ocean Grey, Raf Sea Grey and then i just needed XF21, Raf Sky Green for the prop spinner. Vallejo primed and pre shaded, i knocked out the prop while i was waiting for the wings to finish glueing.

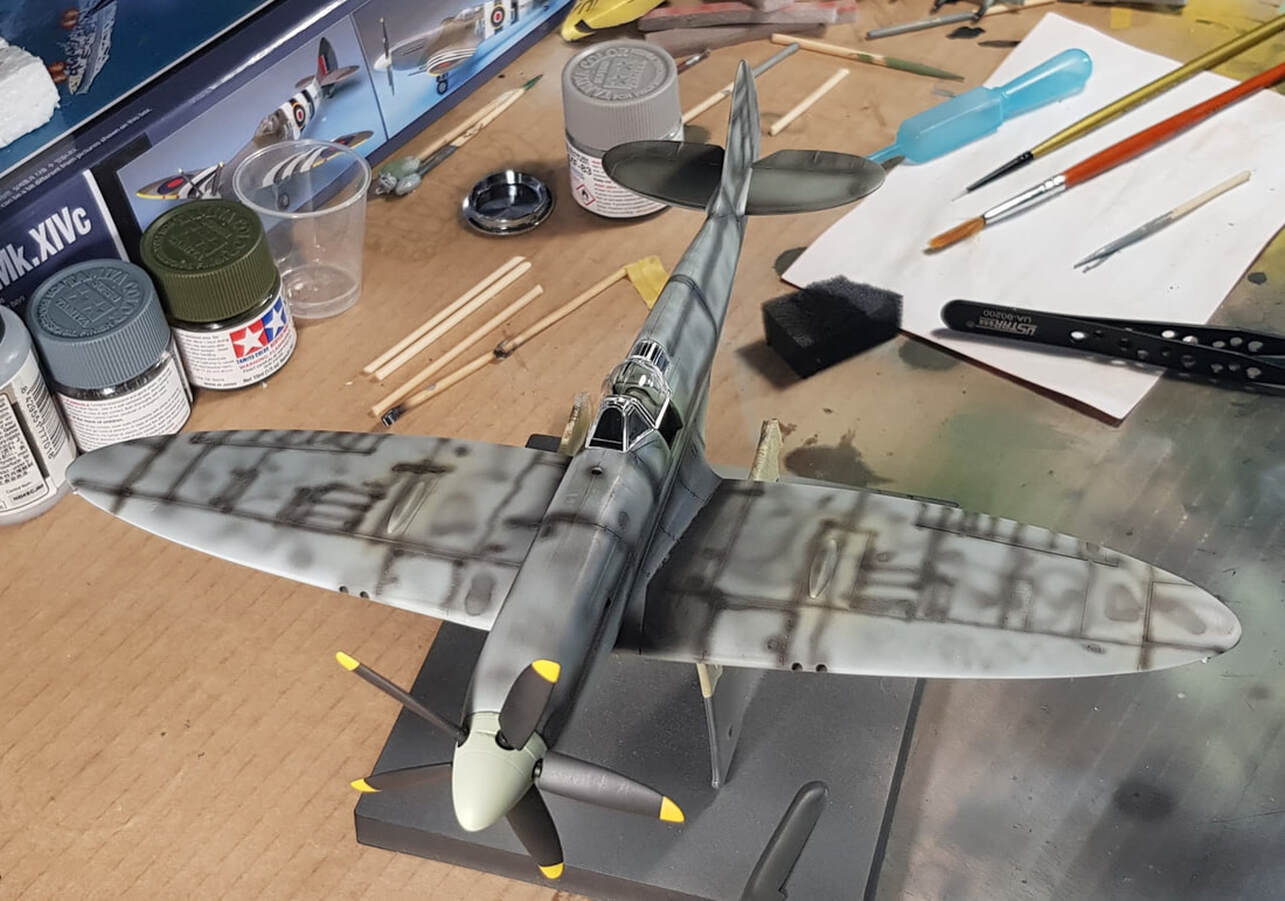
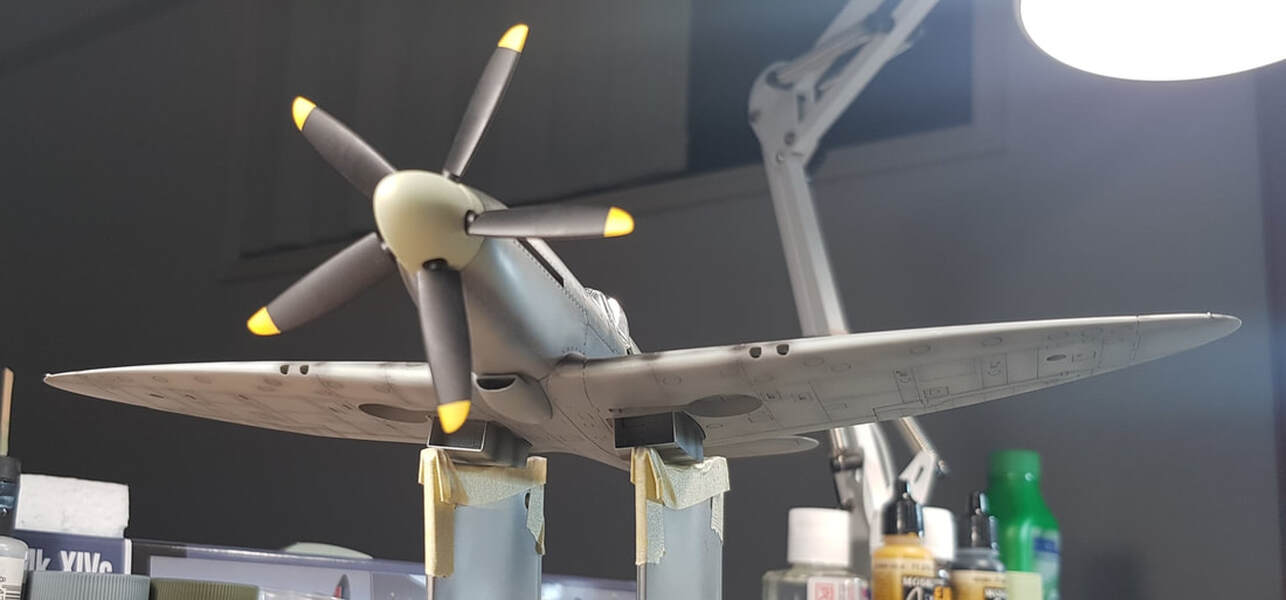
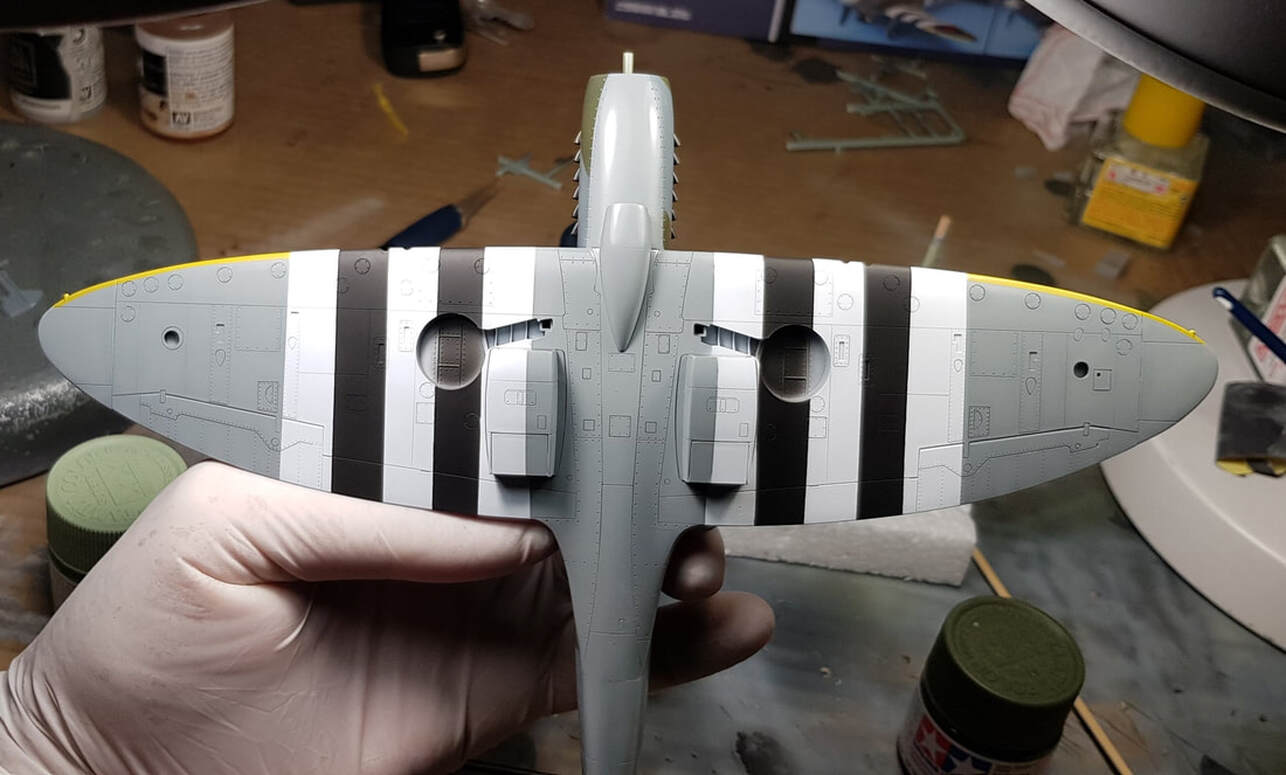
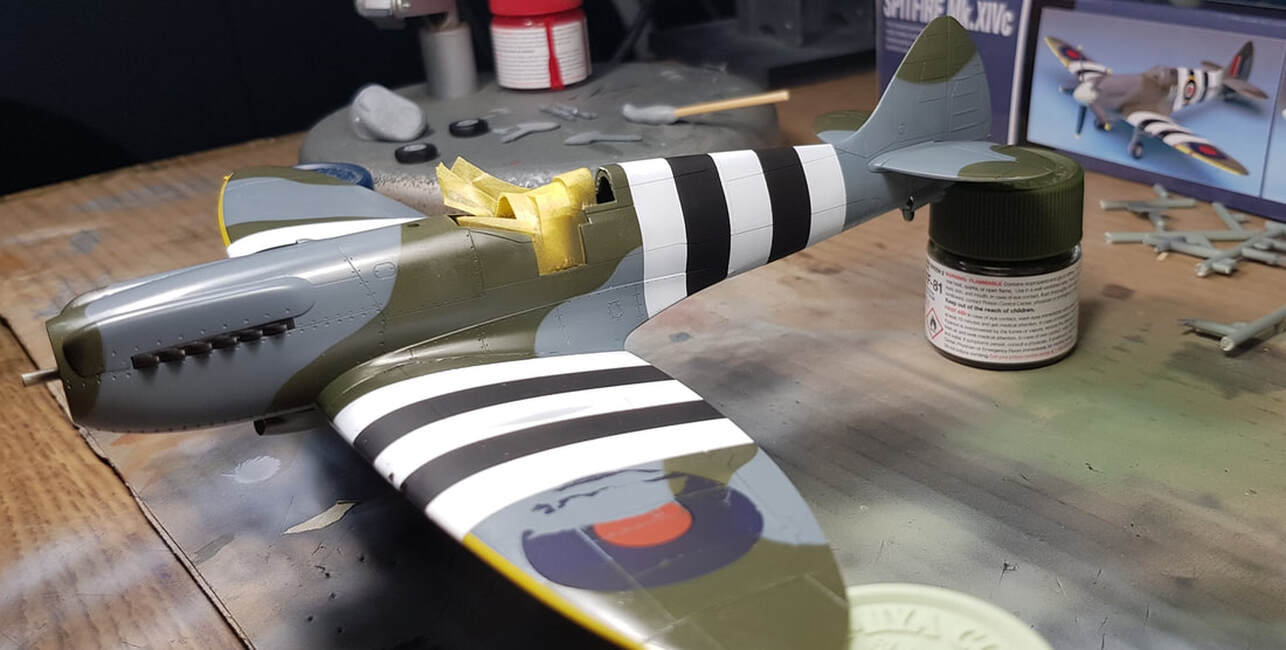
.Love that shape, she is easily the sleekest and nicest looking of all of the planes i have built so far. Next up was a top coat of the Ocean grey with a lower of Sea grey. I marked out the green camo with blutac and tape, a lot of which would be hidden under the decals so i wasn't too fussy with my paint work.

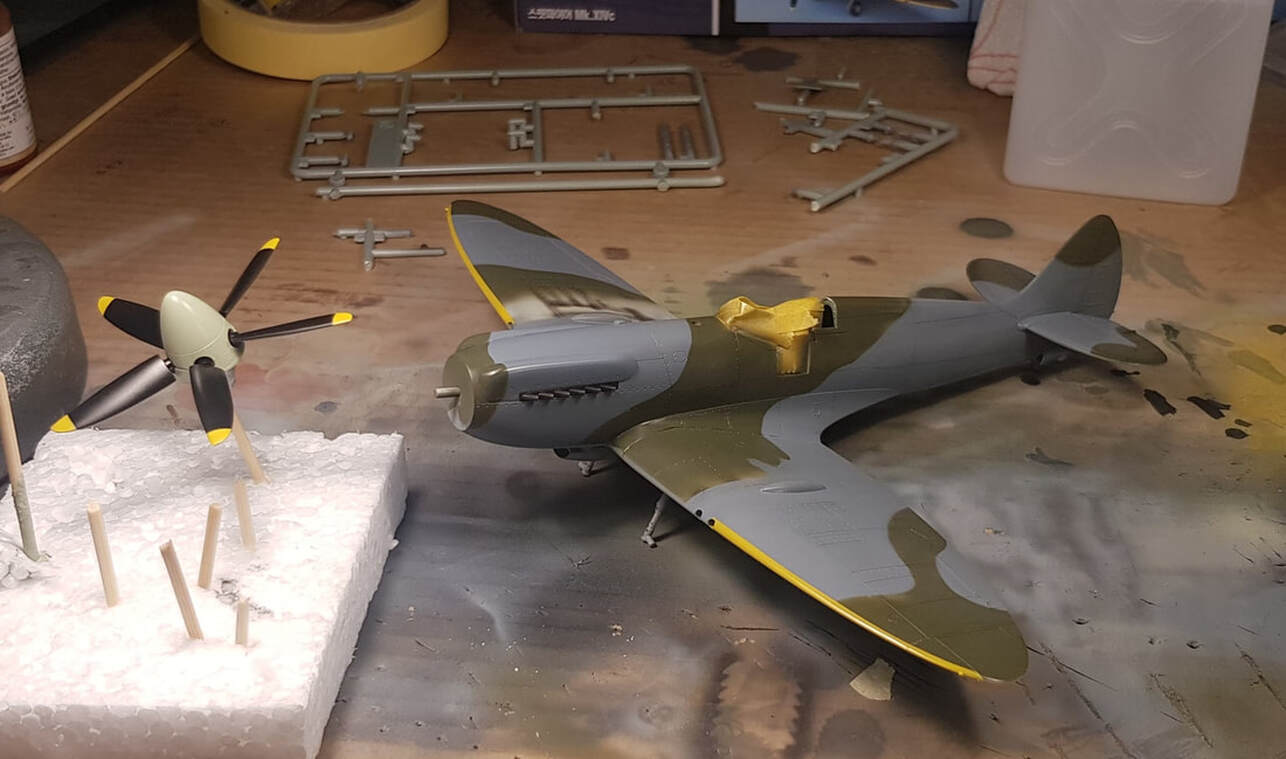
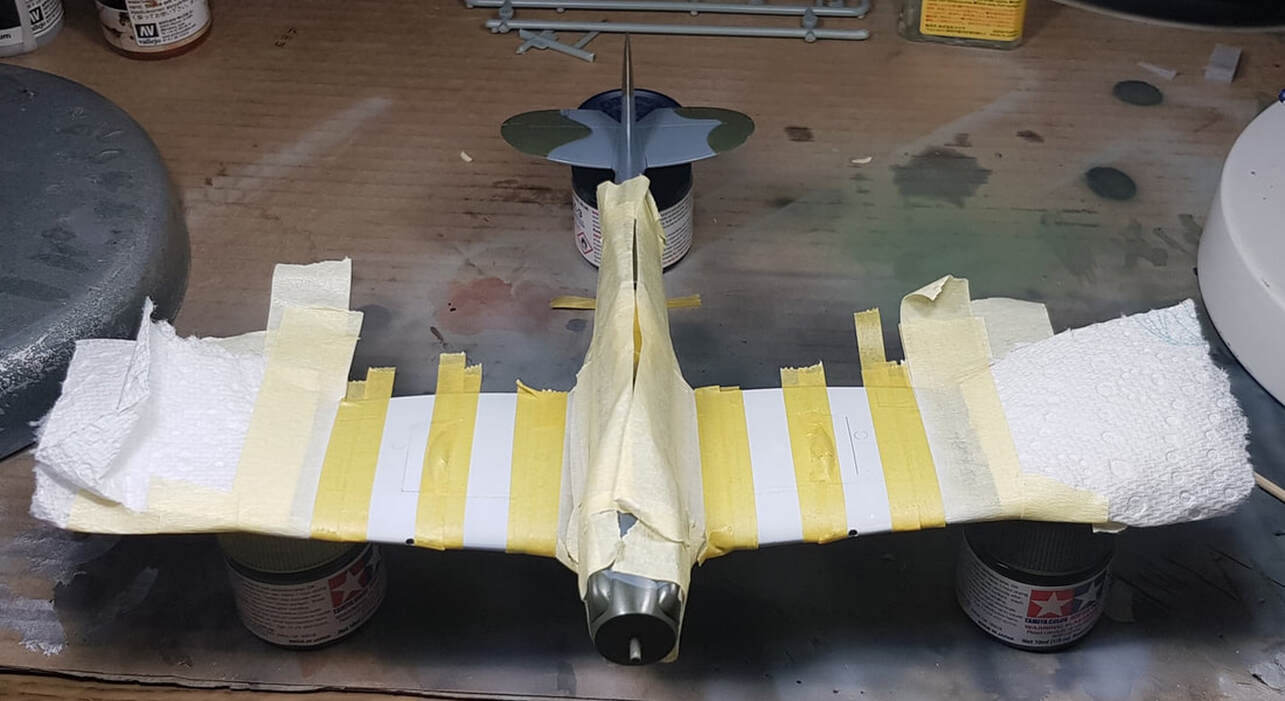
Raf green sprayed followed by the yellow leading edges and then clear coating in prep for the decals.
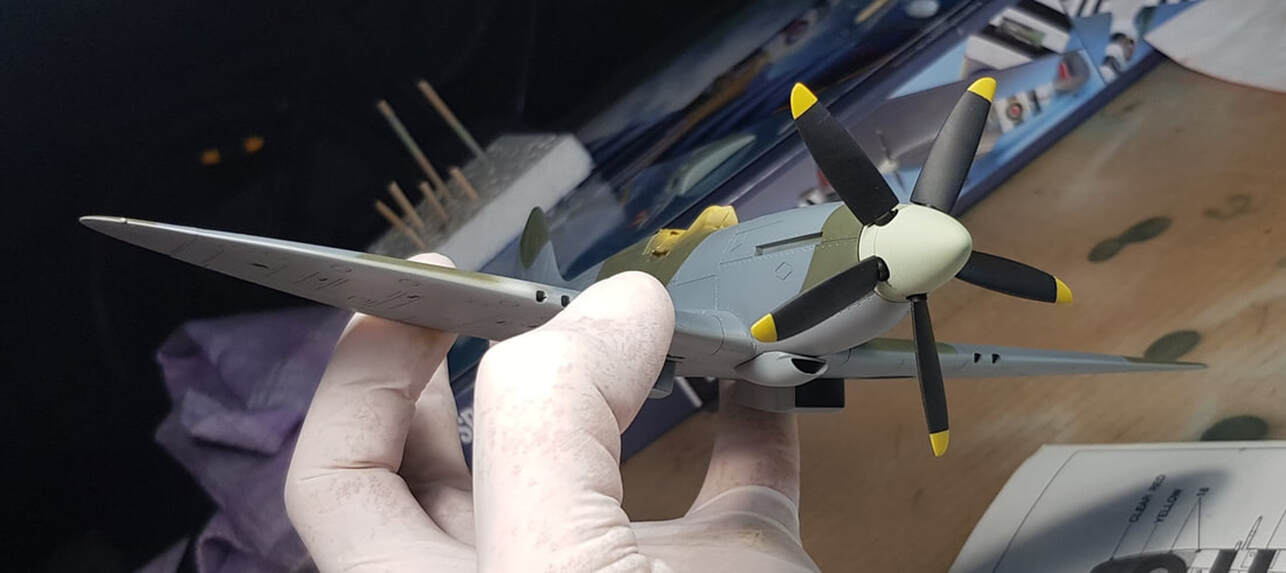
From here i placed a wing roundel first to see how the decals were. She went down fine so i moved onto one of the top wing invasion stripes. These would not settle well and did not line up with the gun ports neatly plus they had overhanging small clear sections. I persisted for about half an hour and then gave up and decided to paint them. The main reason why i didn't want to paint initially is because the fuselage stripes incorporate the letters and roundel which i would have to finely cut out to keep the markings consistent. I thought maybe i can get away with painted wings and a decalled fuselage...this all went out the window very soon anyway as you shall see. Since i was spraying i then tossed up about how to imitate this sort of a field painted look...
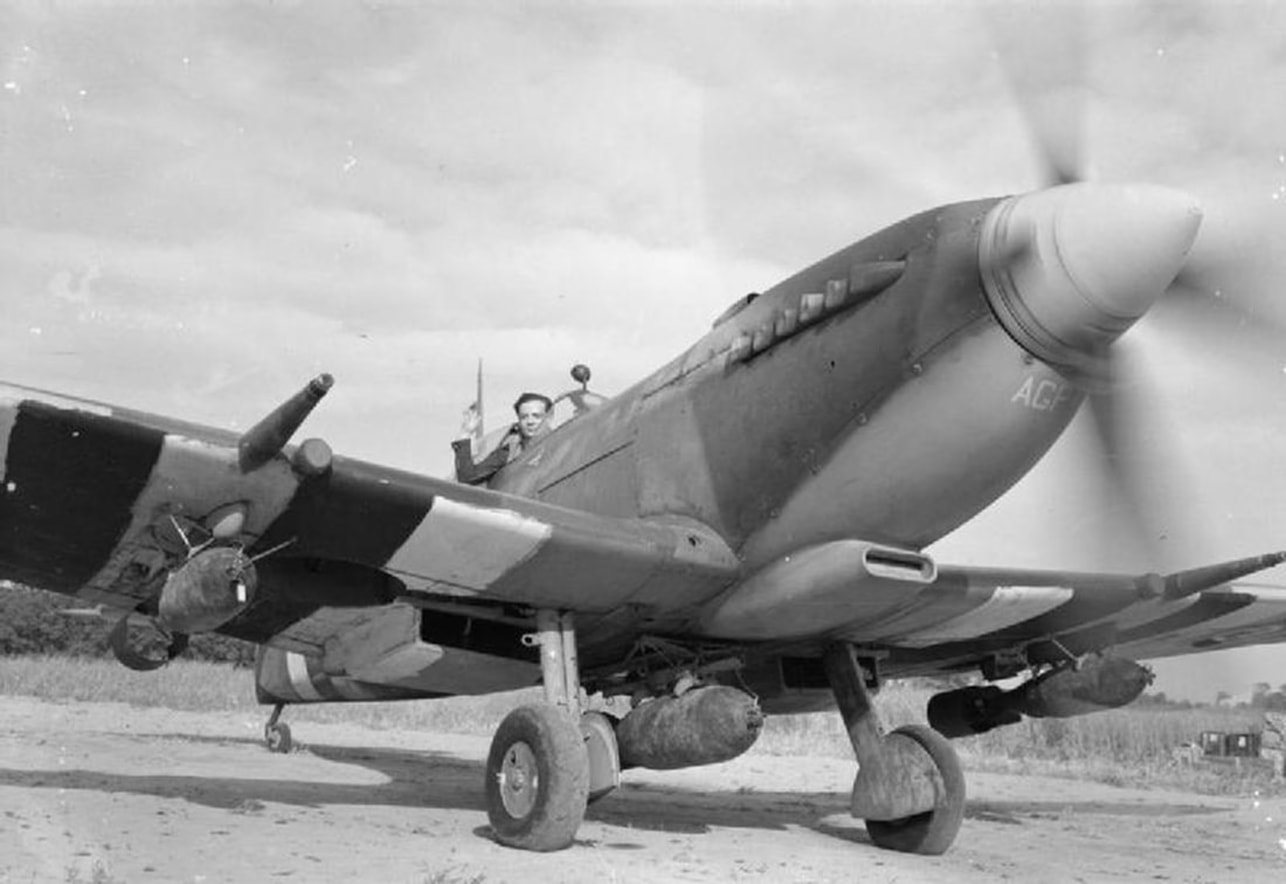
but then i found this Typhoon
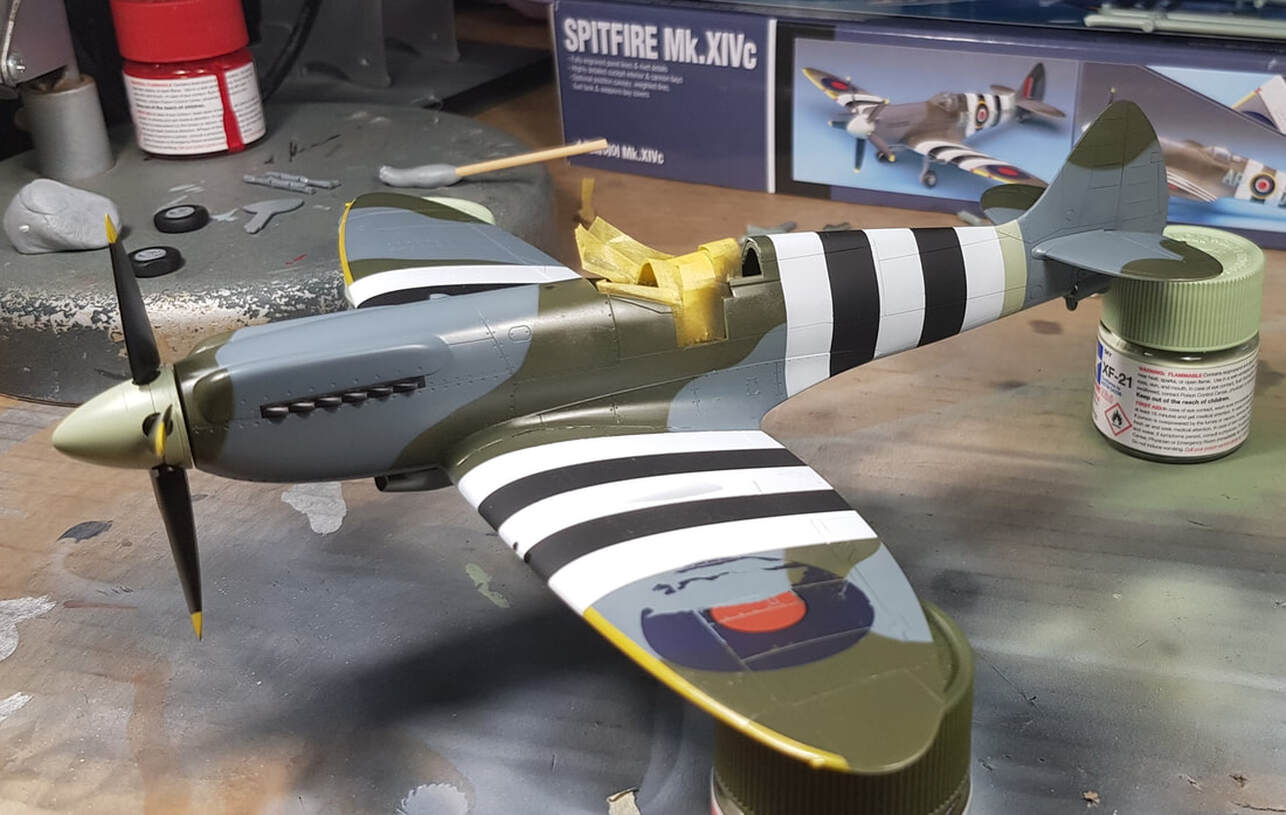
So i decided on some clean stripes. I wasn't real sure how i was going to imitate the rough ones without making a mess of it anyway. Maybe a future project.
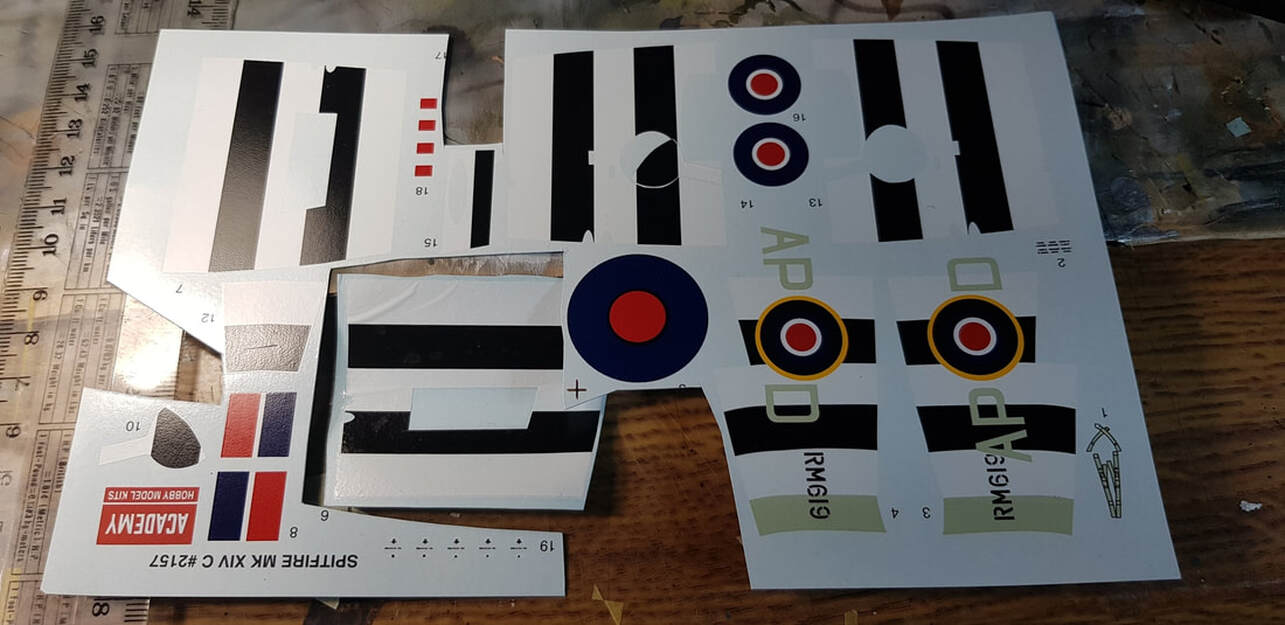
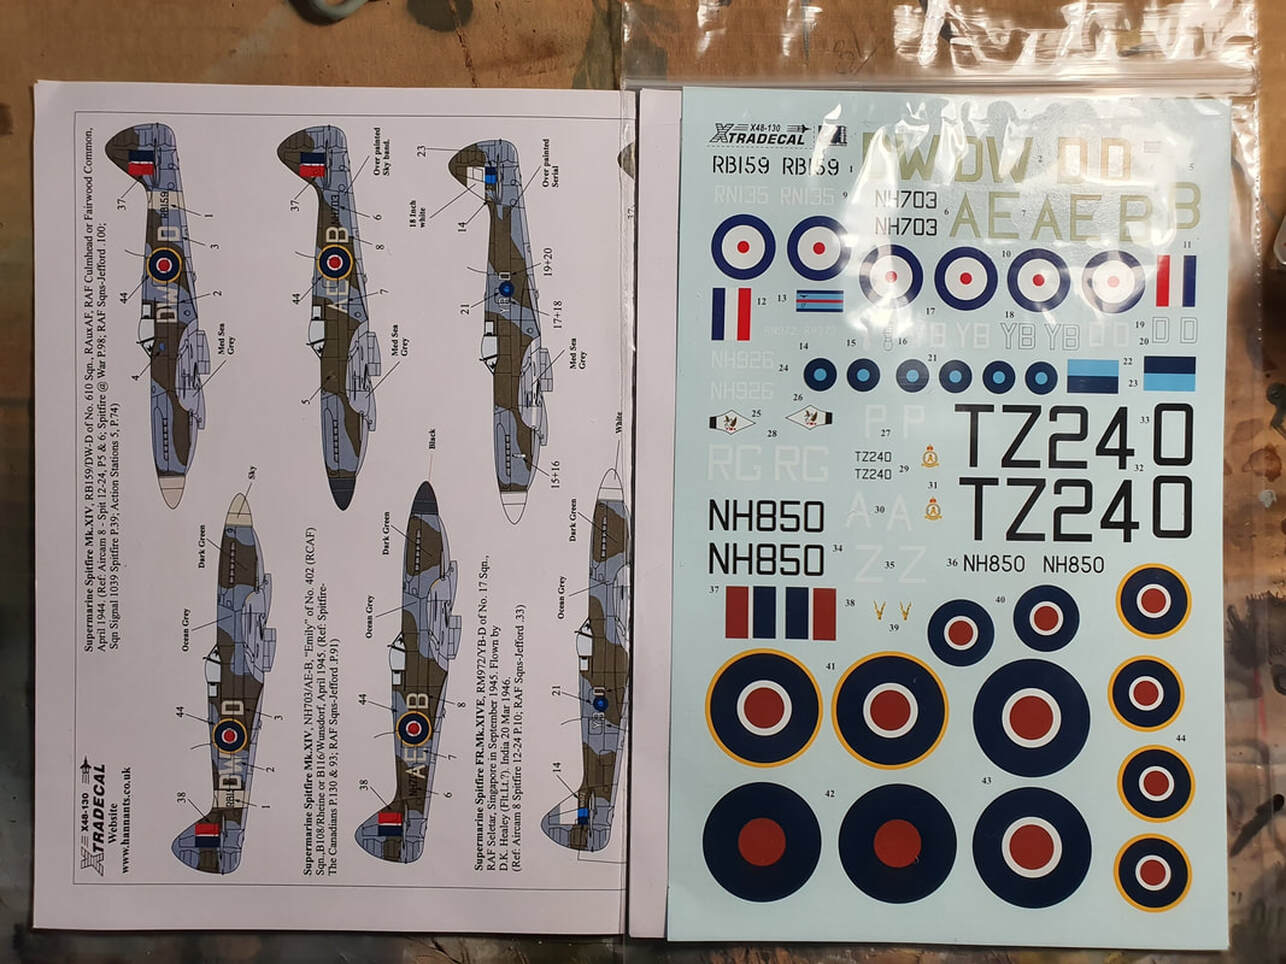
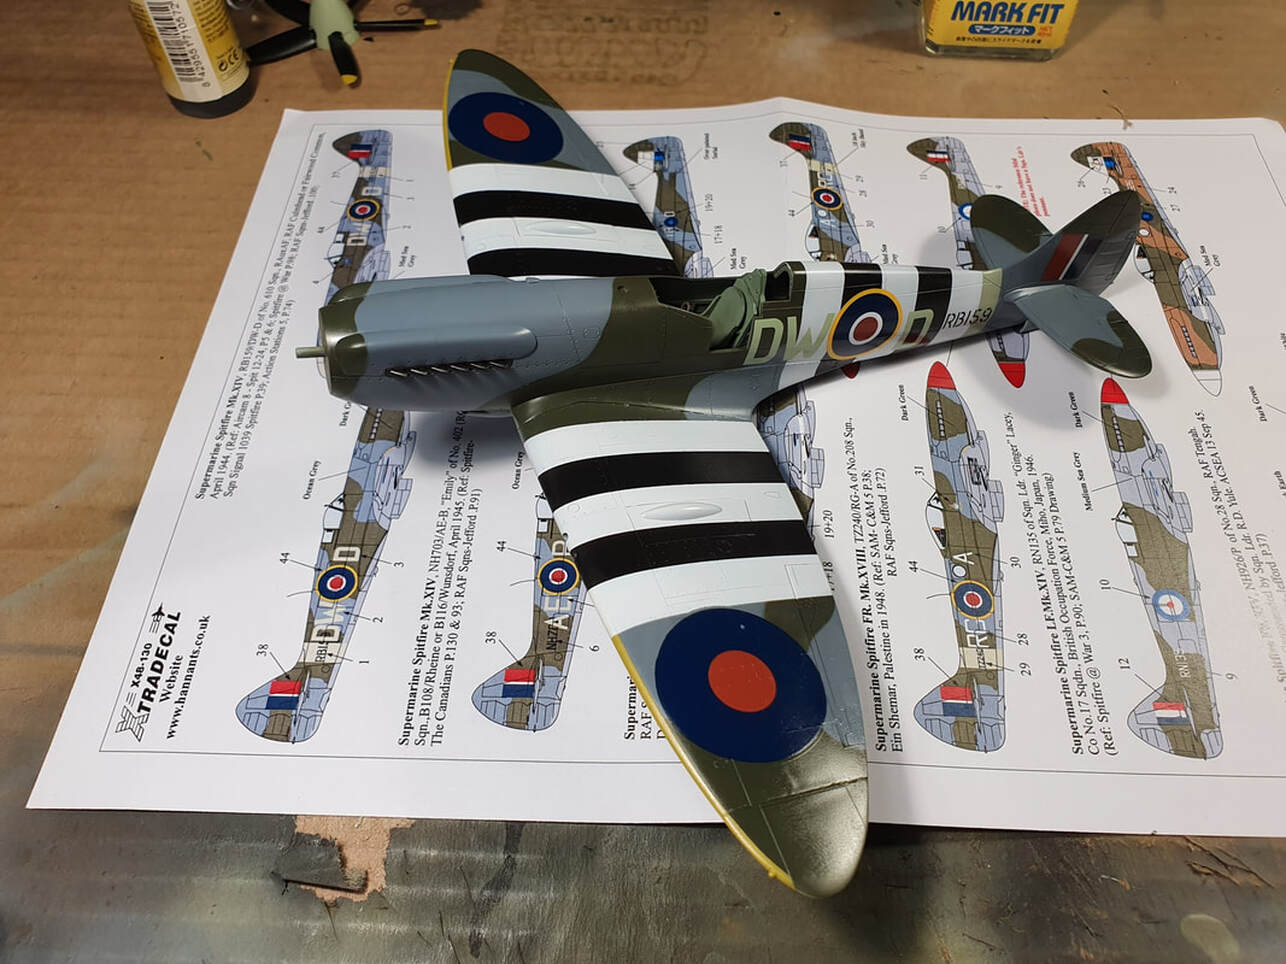
These are the decals. I've placed the wing stripe decal that didn't want to play the game back on it's sheet as well as the undercarriage door decal that was overhanging. You can see my dilemma with the fuselage stripes incorporating the roundel, numerals and letters. I',m sure i could have gotten them to work with more mucking around but honestly, paint is going to look better anyway.
These are the decals. I've placed the wing stripe decal that didn't want to play the game back on it's sheet as well as the undercarriage door decal that was overhanging. You can see my dilemma with the fuselage stripes incorporating the roundel, numerals and letters. I',m sure i could have gotten them to work with more mucking around but honestly, paint is going to look better anyway.
.At this stage i started thinking about a decal kit, the cheapest one i could find sans stripes was about the same price as the kit, and had to come from England. While i mulled this over i moved on with the stripes, these are all mark 1 eyeball.

The decal that sealed the deal for me having to get a new set. The tape was only just resting on it but that was enough to destroy it, my bad. It was also only at this stage that i realised there was still a thin film of clear on the decal that needed to be removed. I had not seen this since i was a kid, funny how things can jog a memory. I ordered a set of Spit roundels and markings from Hannats and then set about to finishing off the fuselage stripes.

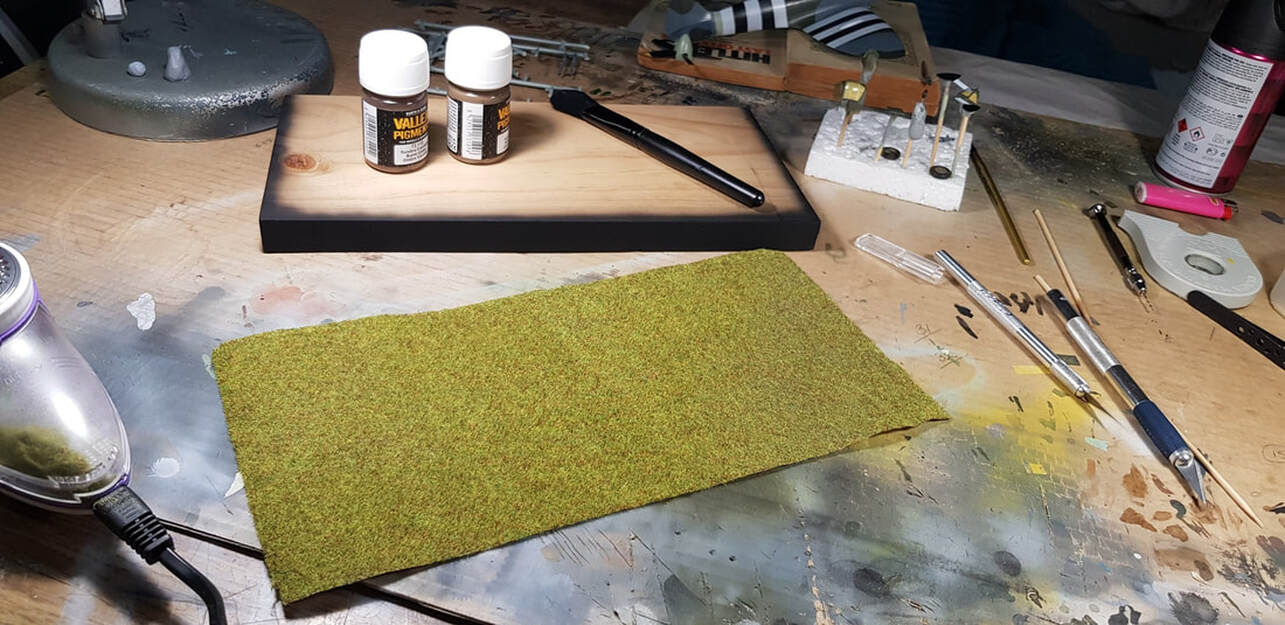
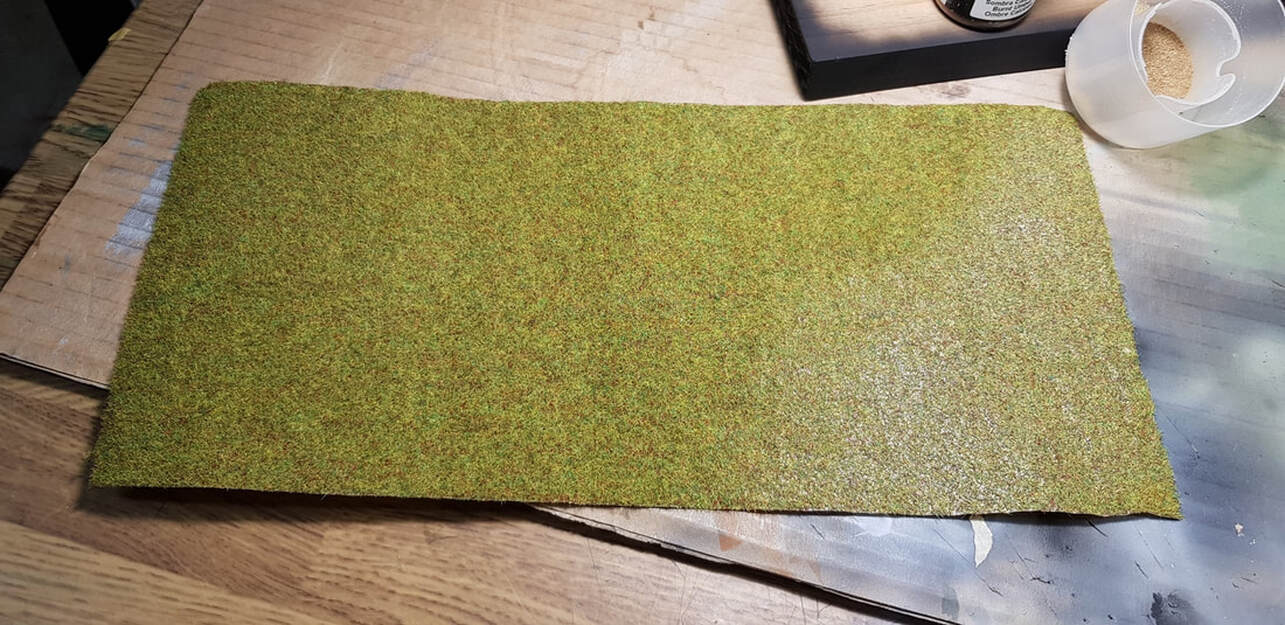
10 days and still waiting on my decals so i decided to have a crack at a base. I picked up a sheet of grass at the model shop..i didn't realise there was so many options so selected what they called Autumn, it was the only one in stock that wasn't just one colour and had a bit of variety to it. A piece of wood from an old bed frame base that i cut into a usable size and hoped i could use the dirt pigments i had to use as...well, dirt. The wood itself i ummed and ahhed about for a bit and ended up with flat black as i feel it keeps it nice and neutral. I decided on a rectangle over a circle or square as it just seems more pleasing to my eye.
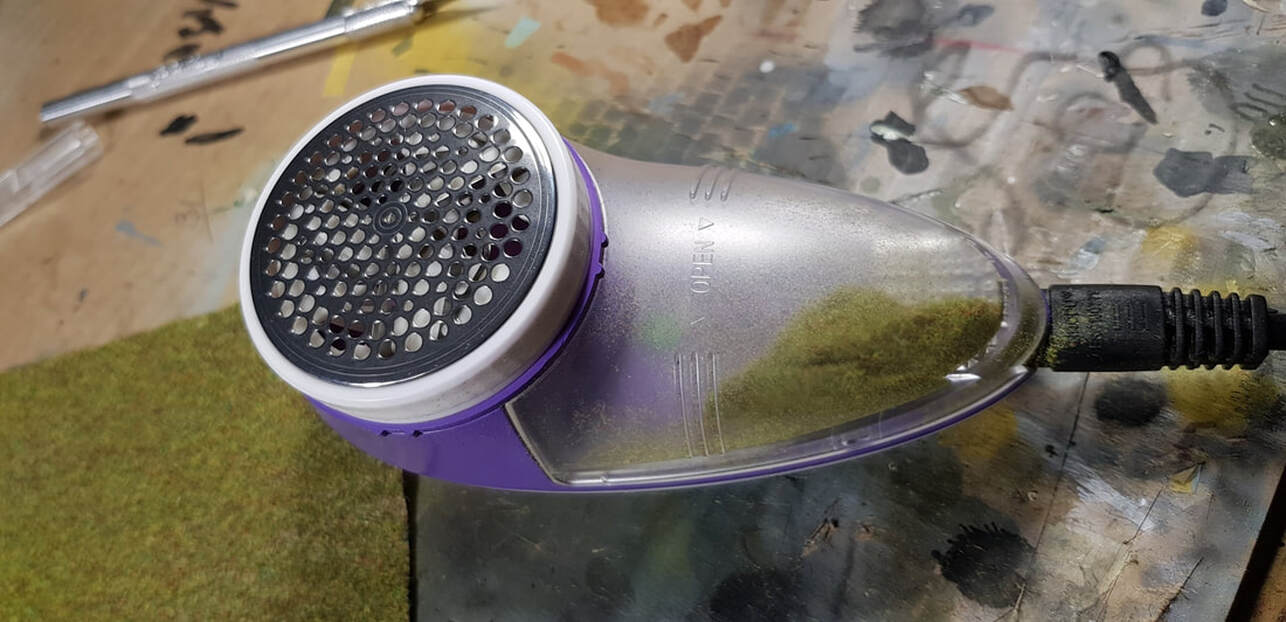
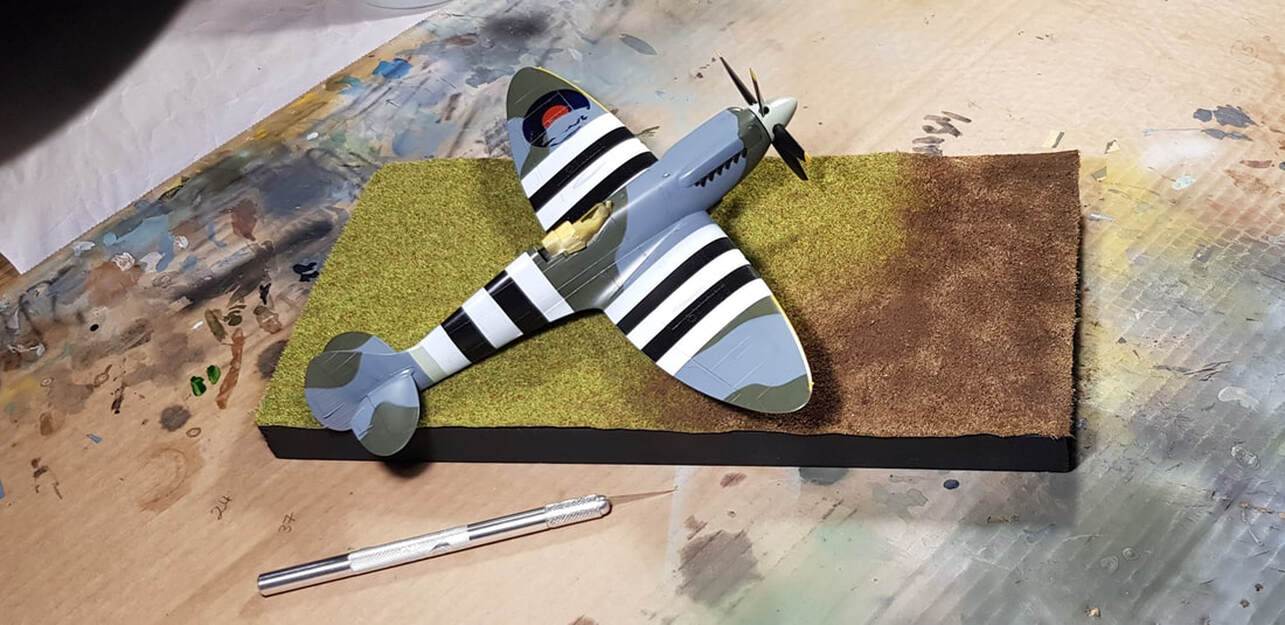
I had a rough idea of of what i wanted, a small section of angled dirt at one end that faded into the grass. I couldn't just plonk the dirt down on top of the grass as it needed to be slightly lower to look at least half credible..but i wasn't sure how to remove or lower the grass. After a bit of staring and poking at it with a blade i had a moment of enlightenment and grabbed our electric lint remover from the kitchen cupboard. If you don't have one of these, i highly recommend it, cheap and one of those rare items that actually does what it says and does it well. A few passes over the grass area you want mowed and job done.
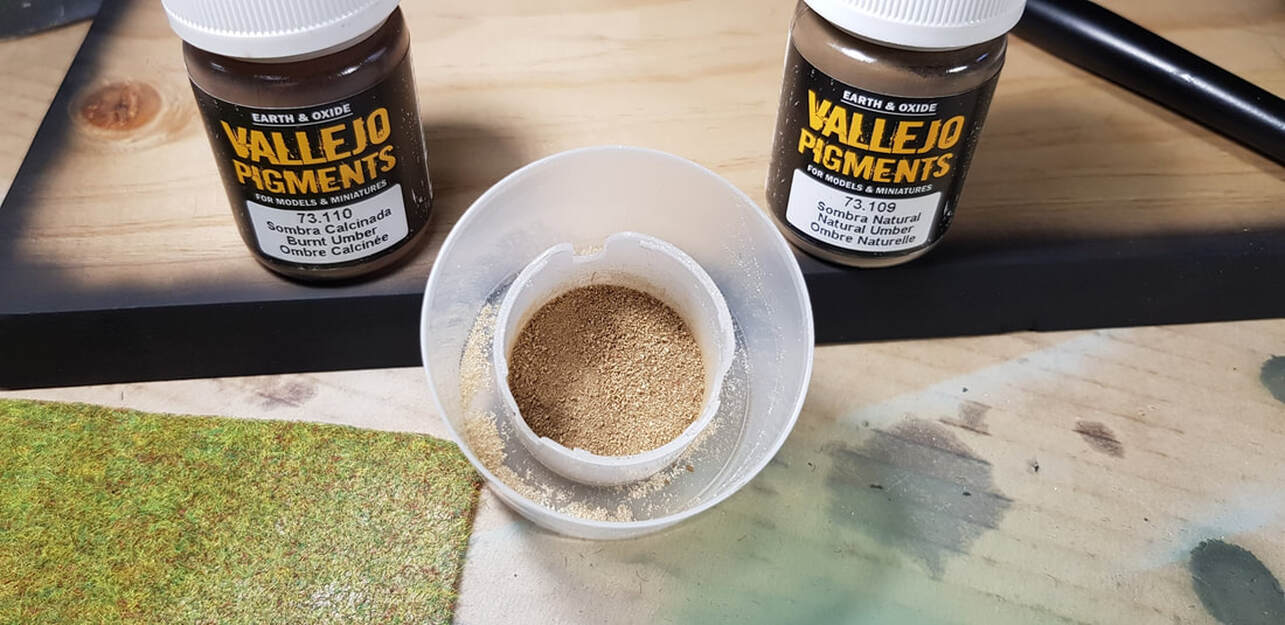
I saved the sawdust from sawing the base and added a couple of pinchs of the lighter pigment to use for the base of the dirt, to add some texture and give me another colour for my ground. The pics are all fairly self explanatory.
Decals f i n a l l y turned up. The markings are now incorrect as i would have to delete the invasion to make it all historical. The left wing roundel nearly hid the old ruined roundel, if you look closely you can see the edge of it just peeping through.
After that it was attaching a few small pieces and sorting the canopy glass, losing the fuel cap to the carpet and making another one out of sprue, then immediately after that...losing the canopy mirror to the same carpet and finding it after a 25 minute deep dive. Weathering was a very light all over oil wash with some tamiya soot for the exhausts and vallejo dust pigments for the wheels and wheel wells. The side decals didn't seem to like either the clear or the oil wash or maybe i didn't lay enough clear and the oil got to it in sections. Also, weirdly, the top wing roundels both started to fall apart in the same place, the small dot sections. As soon as i noticed it happening with the second roundel i pulled up on it.. I forgot to add some seatbelts to this build, i never even realised until i was sorting my pics that the seat was bare, dude better have grab handles. Lastly, i managed to push one of the wing lamps into the wing itself so she has a slight rattle and ...a hole in her left wing.

