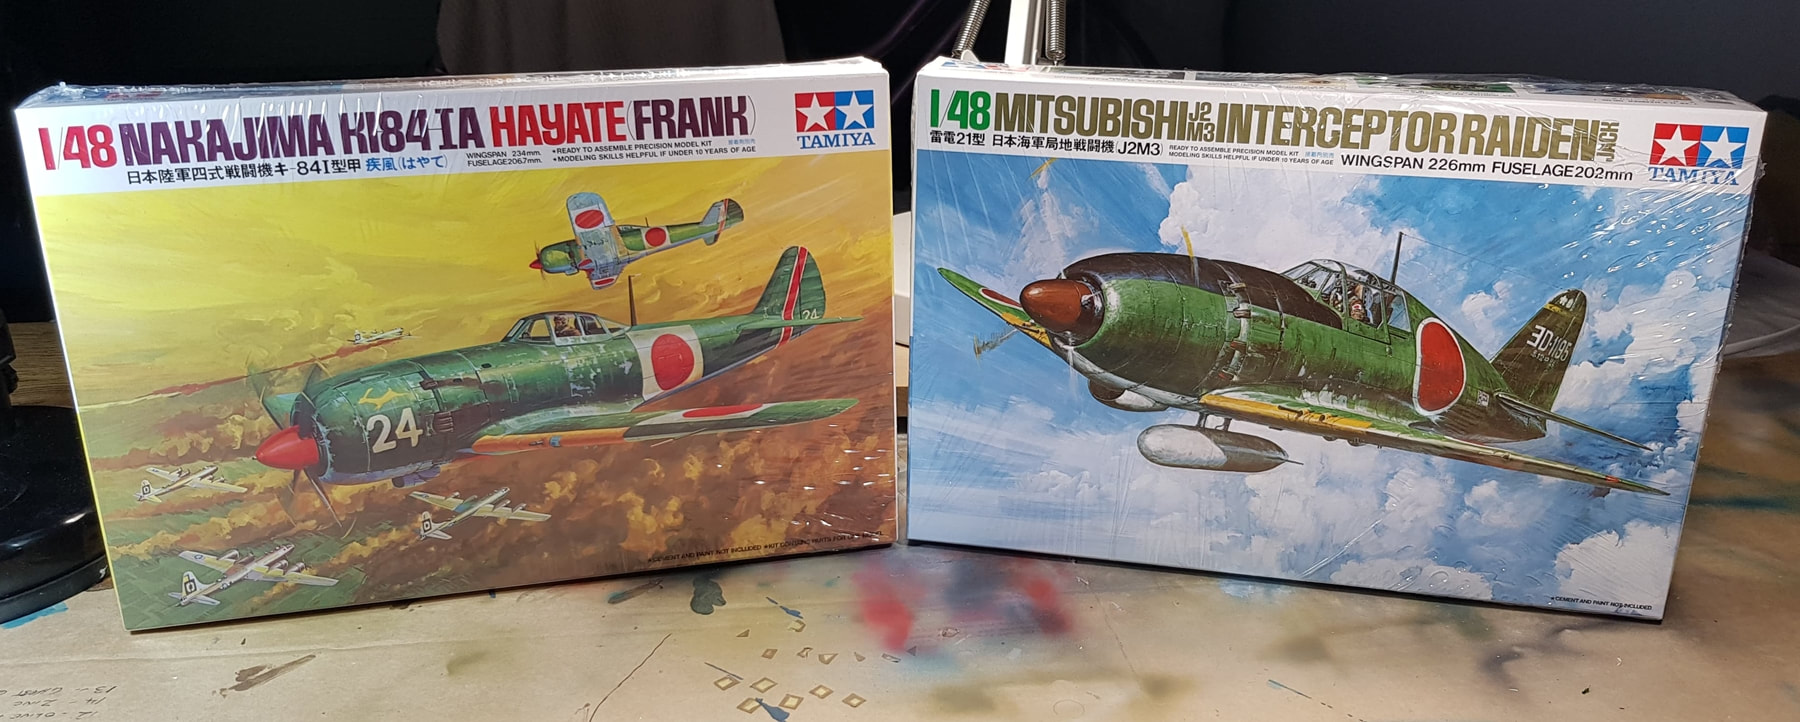
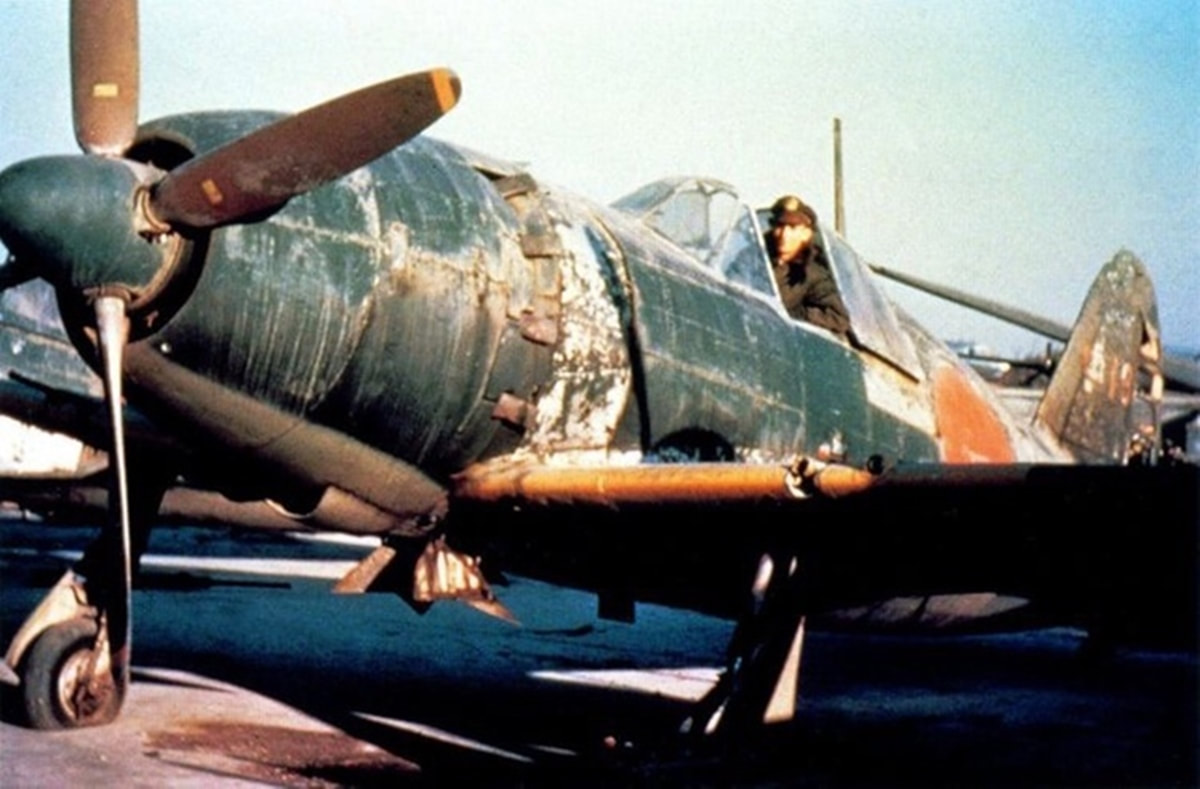
I'm wanting to stay in the Pacific atm and decided to have a look at the Japanese offerings, tons of zeros and i nearly picked up a Rufe ( float plane version of the Zero) but decided on these two as i hardly know anything about them. I've always thought the Raiden was a bit of an ugly chunky little thing but it's growing on me, and the box art as usual for the time period is just too cool. Both kits are marked 1973 on the boxes but Tamiya seems to have slipped in updated decals as they are marked 2003. Very basic kits but at $18 each i couldn't pass them up and they should build up decently..and easily
So, first up i'll knock the Raiden (Jack) and then move onto Frank. Both of these give me a good excuse for plenty of weathering and i'm thinking about doing a crashed/beached/abandoned dio with the Frank.
So, first up i'll knock the Raiden (Jack) and then move onto Frank. Both of these give me a good excuse for plenty of weathering and i'm thinking about doing a crashed/beached/abandoned dio with the Frank.
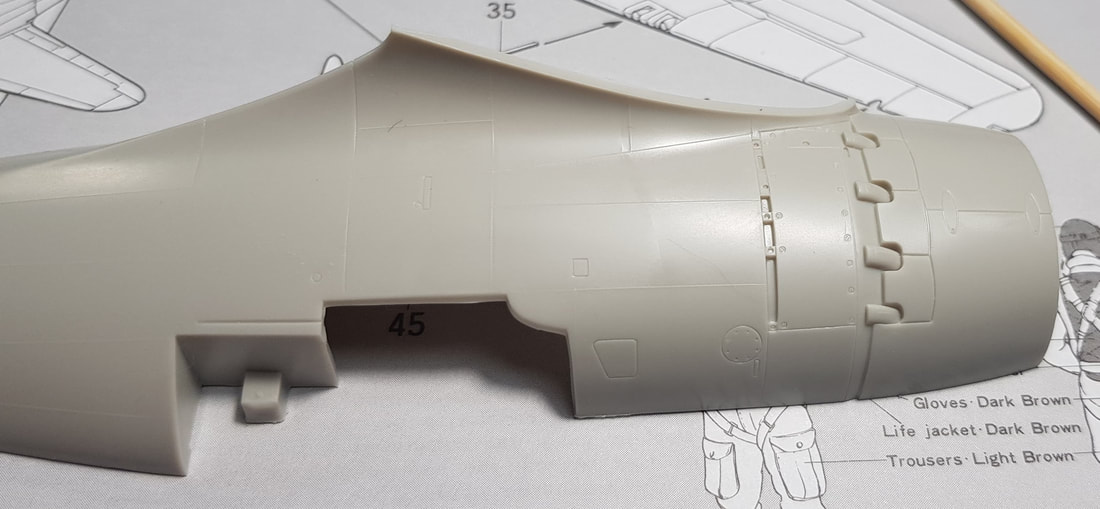
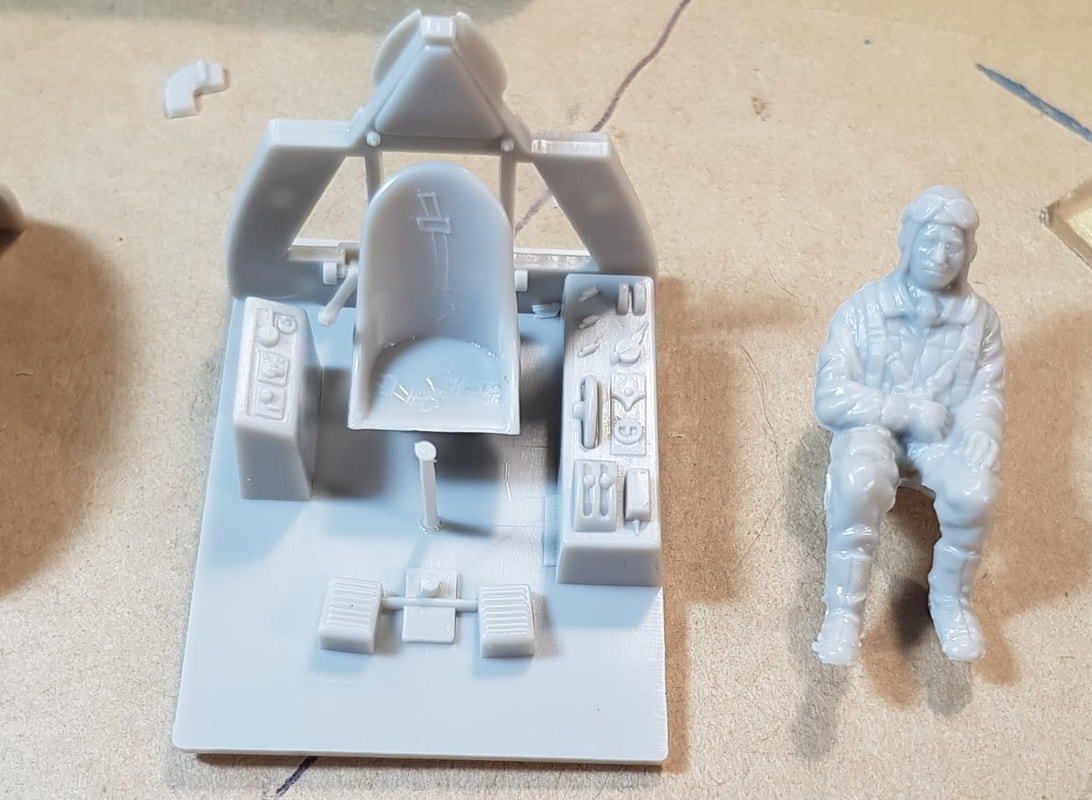
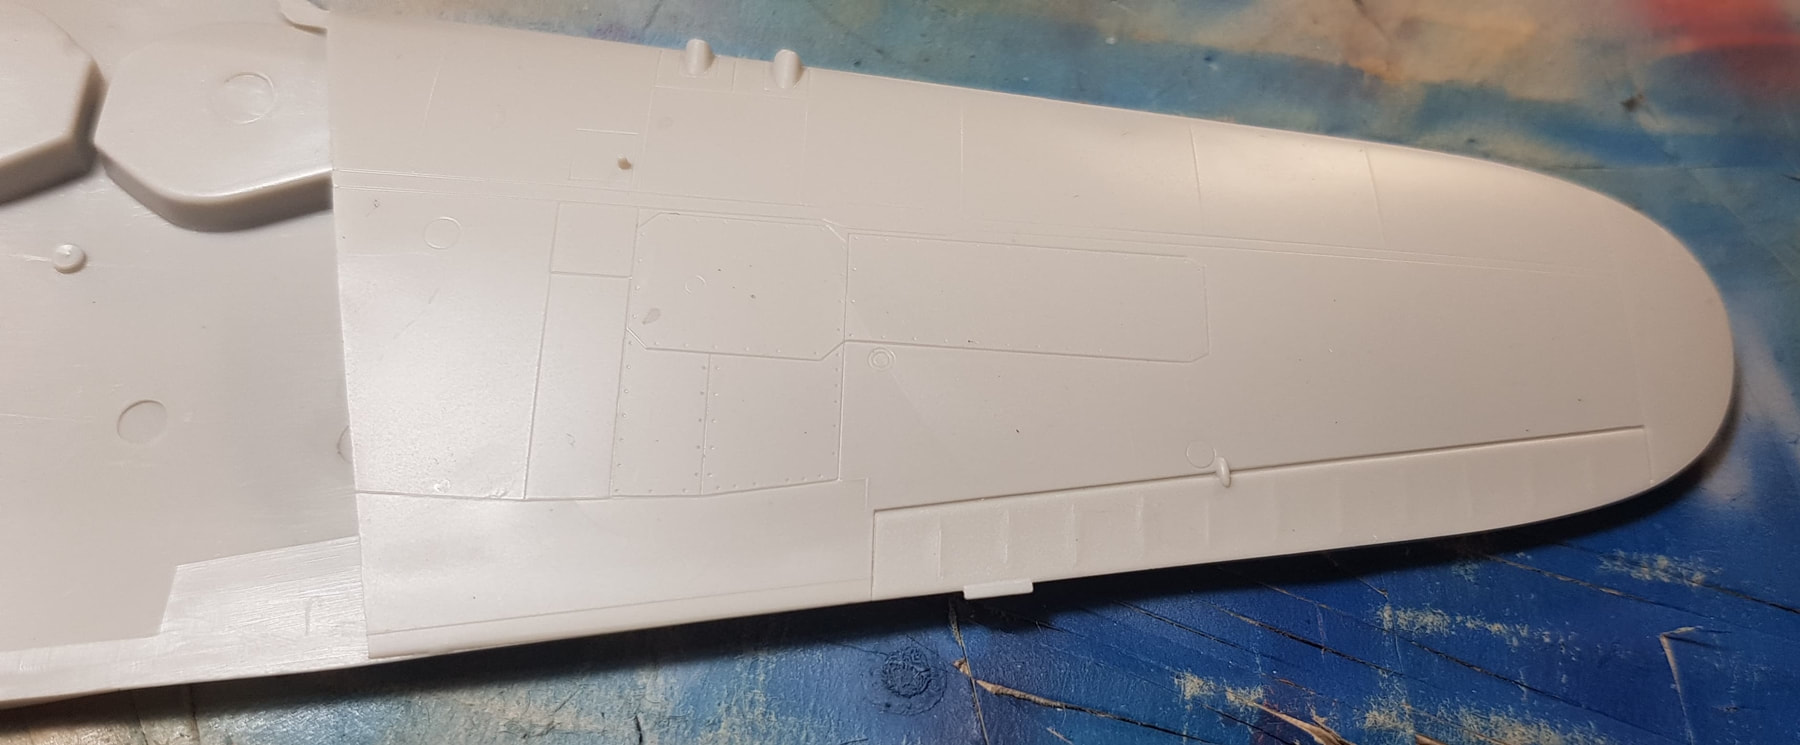
The detail is pretty decent for a cheap as chips kit.
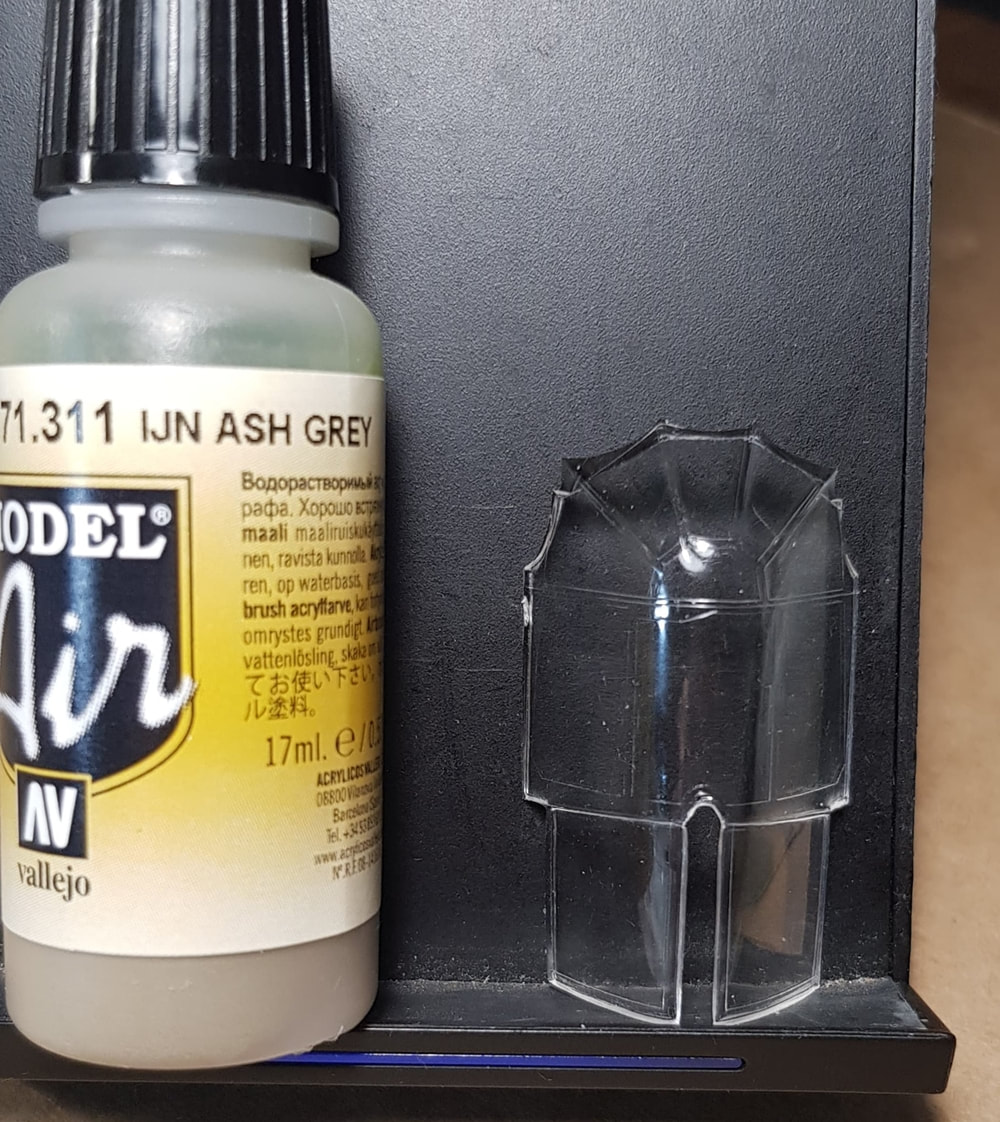
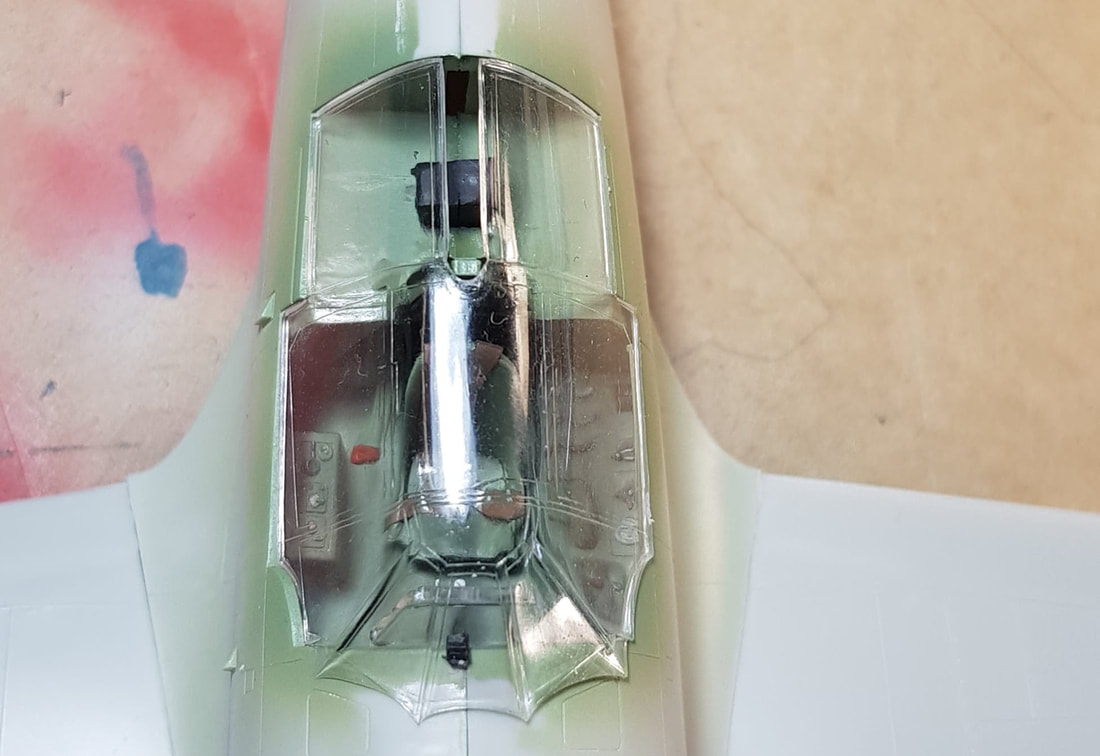
The canopy, very Batman.
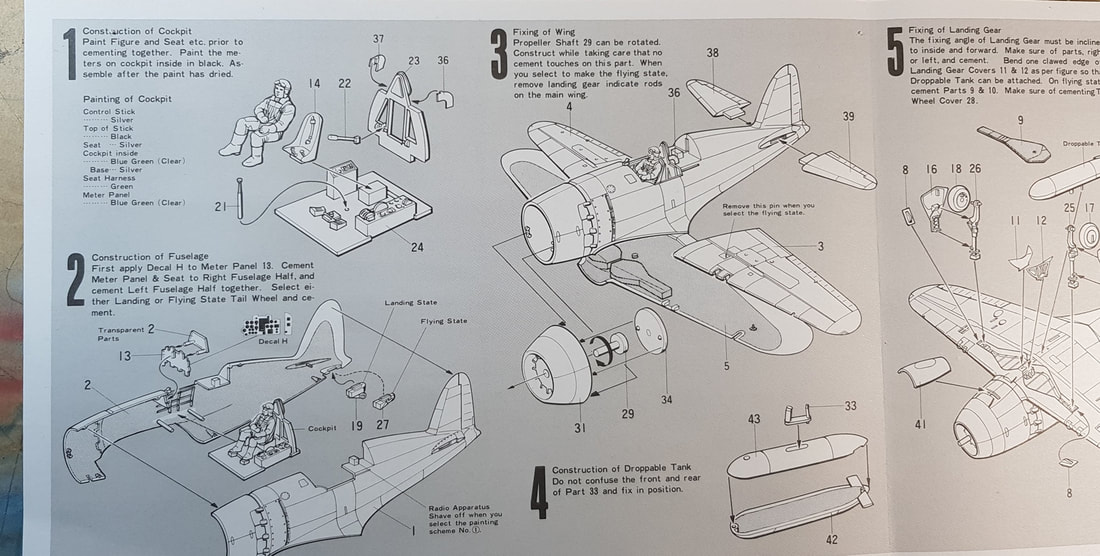
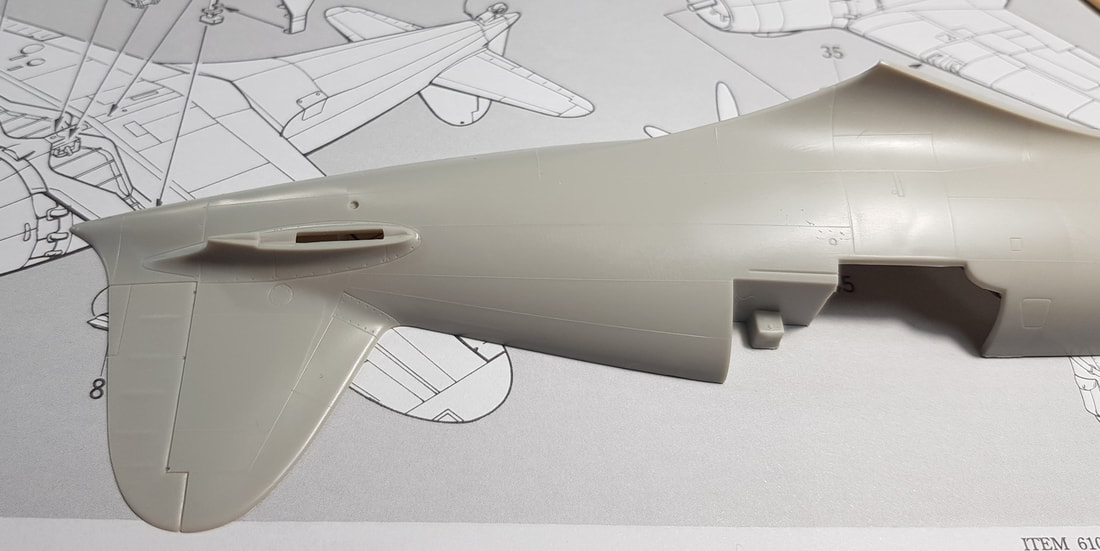
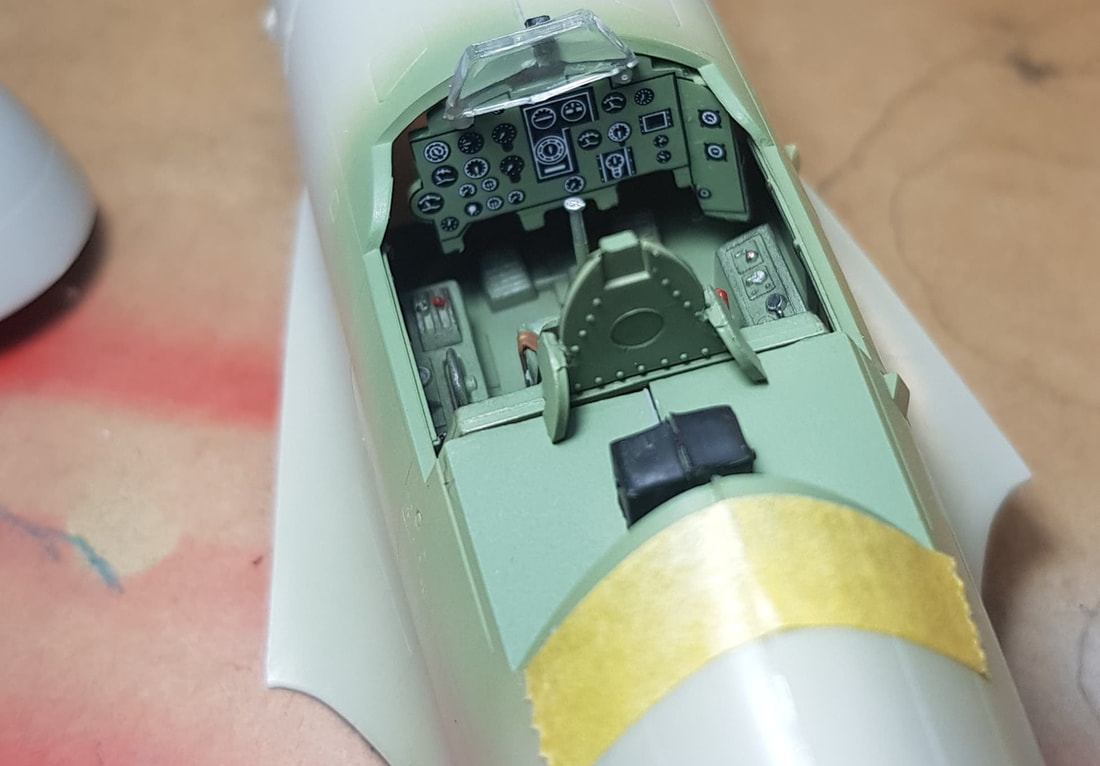
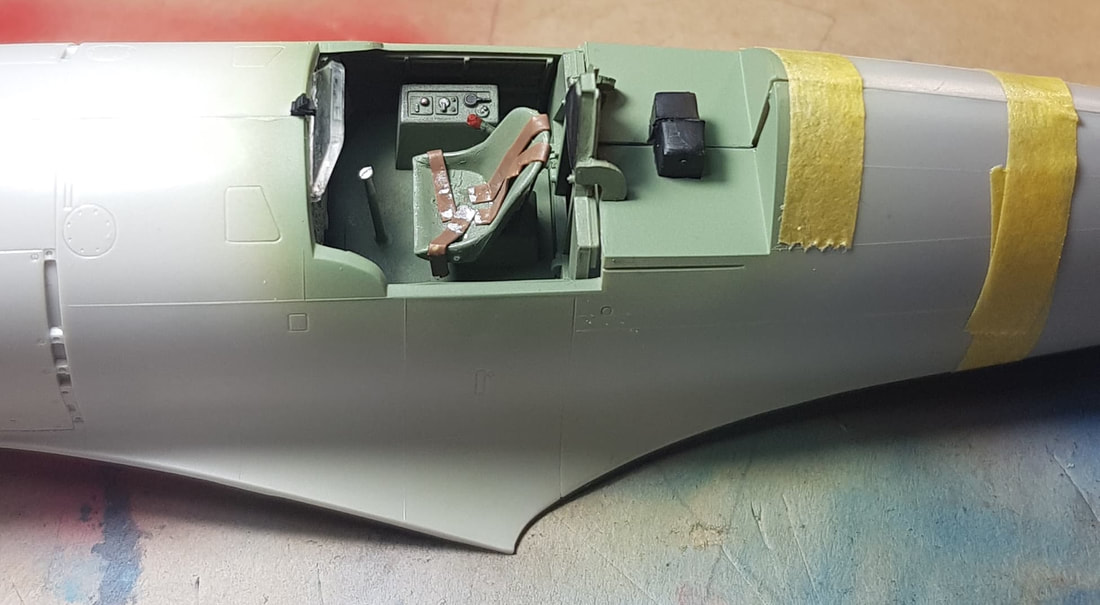
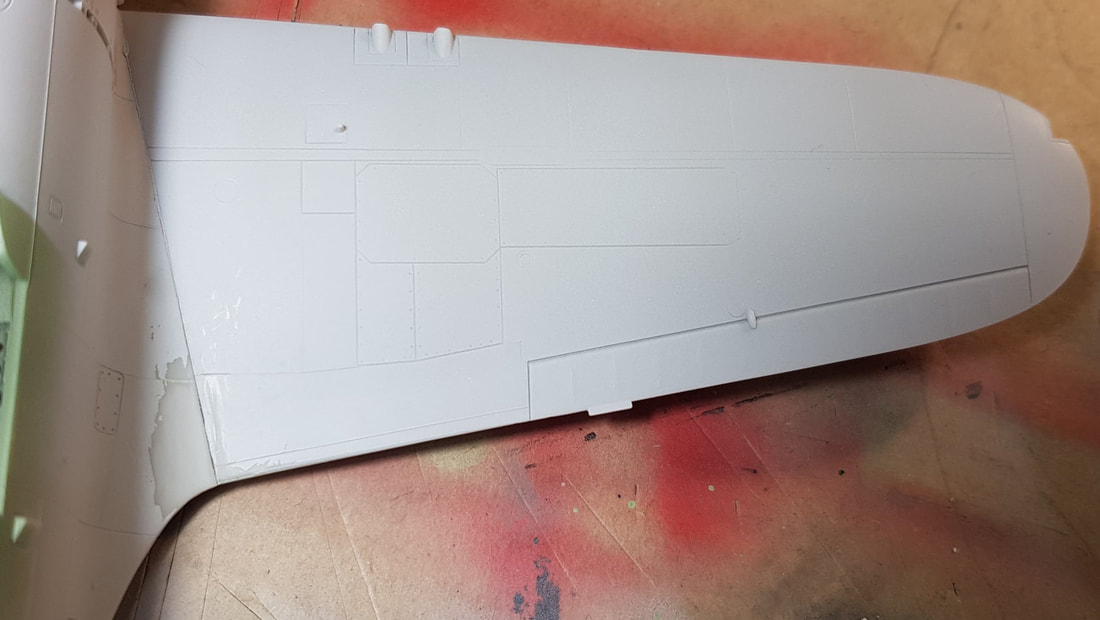
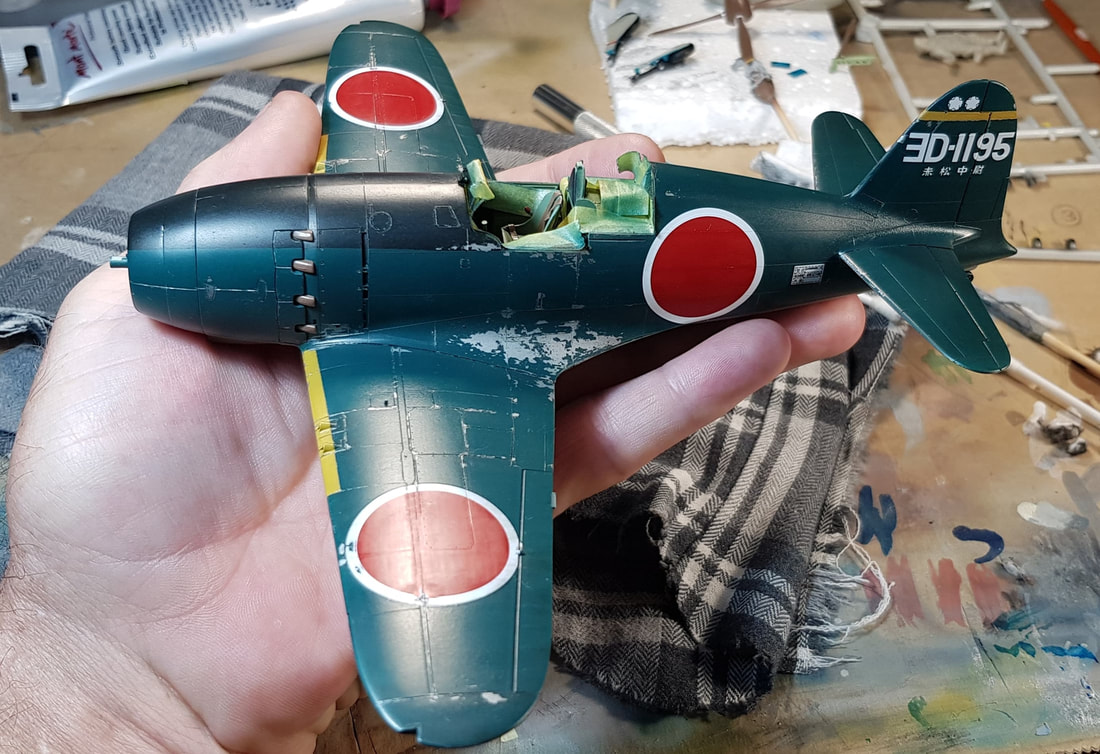
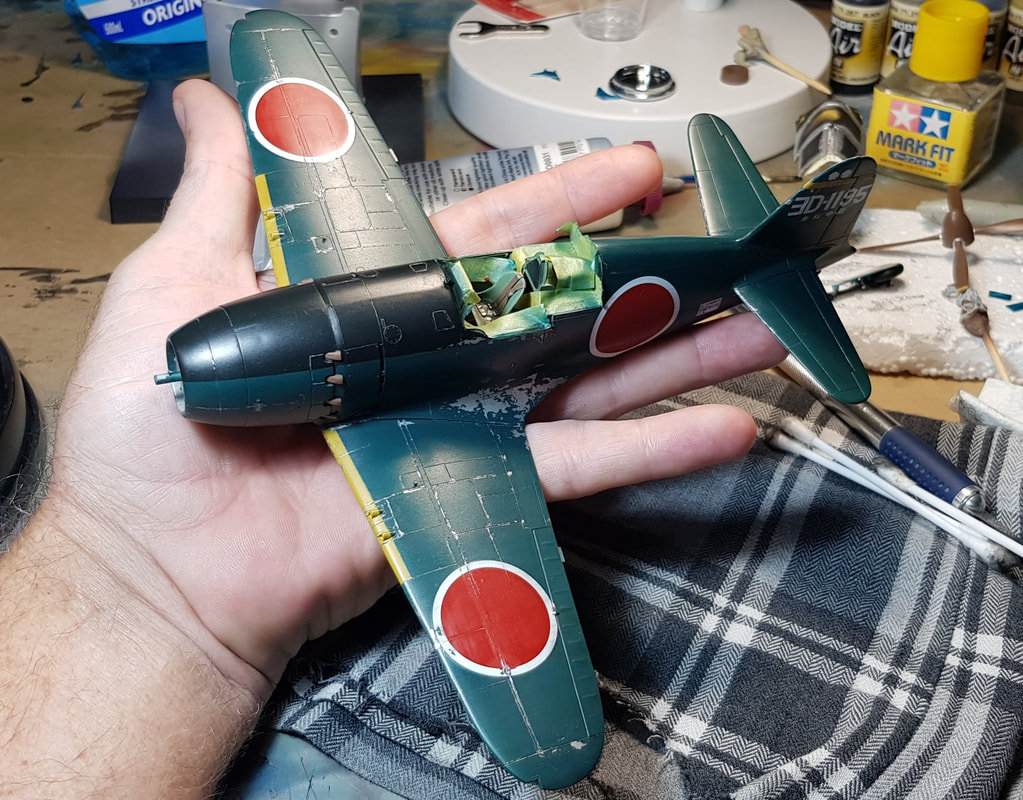
The cockpit area was a ten minute glue session, very basic and open. The kit includes two figures, this guy and one standing. I might sit this chap on the wing awaiting take off. As usual a quick trial fit, the wings over and under lap so will need trimming and sanding to sit flush with the fuselage, i'm used to this with model kits now The rest is decent enough, just the usual fuselage seam sanding and small amount of putty.
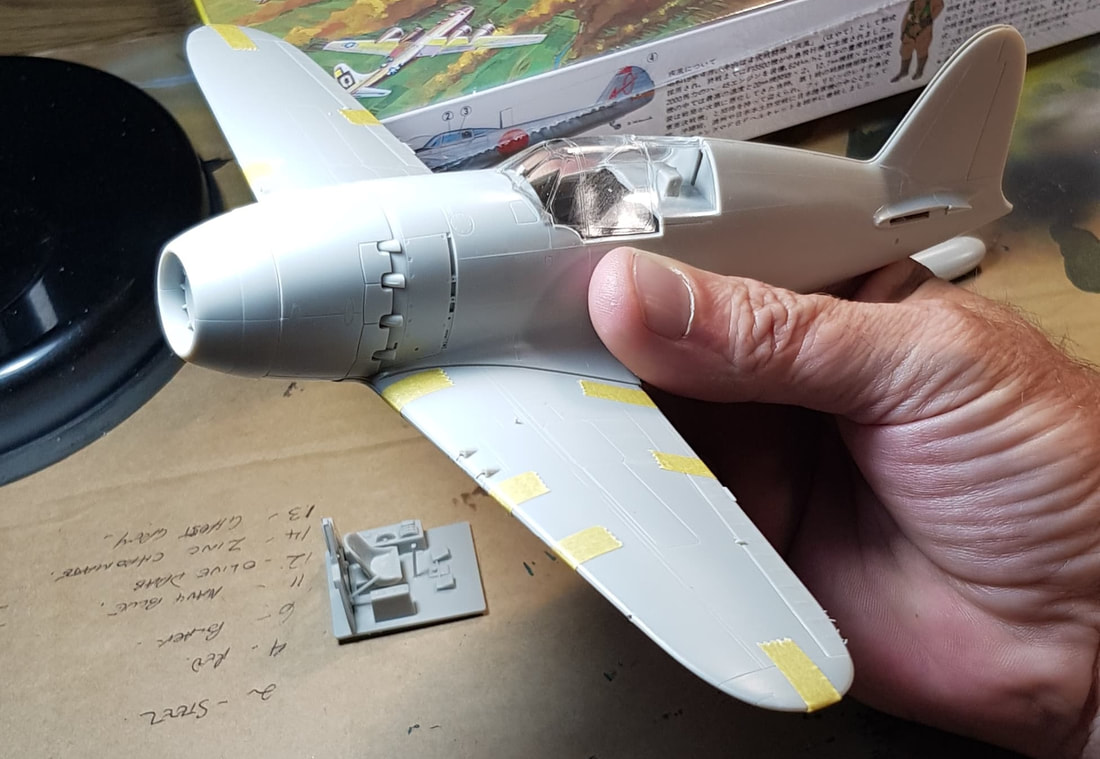
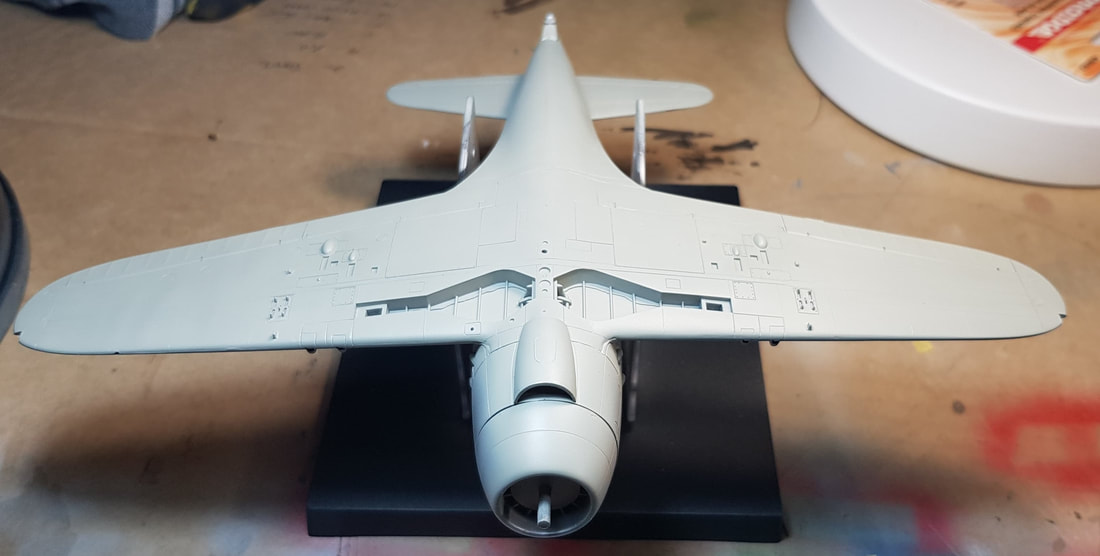
Wing sitting perfectly flush at the front, once they are on the fuselage i will decide which way to attack the trailing edges.
The Japanese don't muck around when it comes to armoured glass apparently. Plenty of gaps at the rear that will be filled and i'll cut that radio into a semblance of a square shape and add some detail. The belts are painted up Tamiya tape that will be cleaned up a bit more, cockpit gaps need obvious work as well.
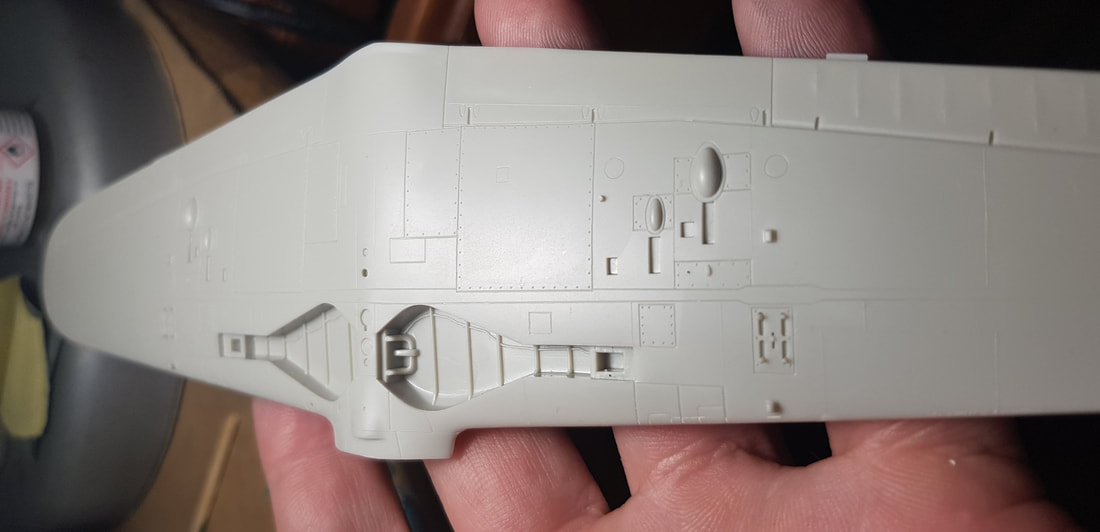
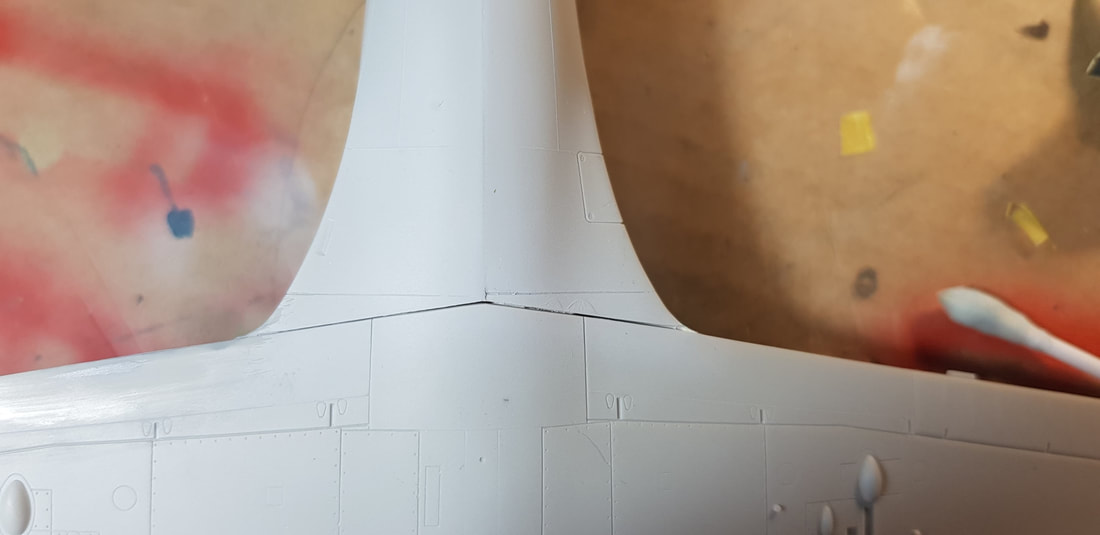
The Batpit. This canopy when lightly pressed down fits more snug and flush than nearly any of the other kits i have done so far. You can see where the rear of the wings meet the fuselage is off on both sides, blade work will be needed.
.
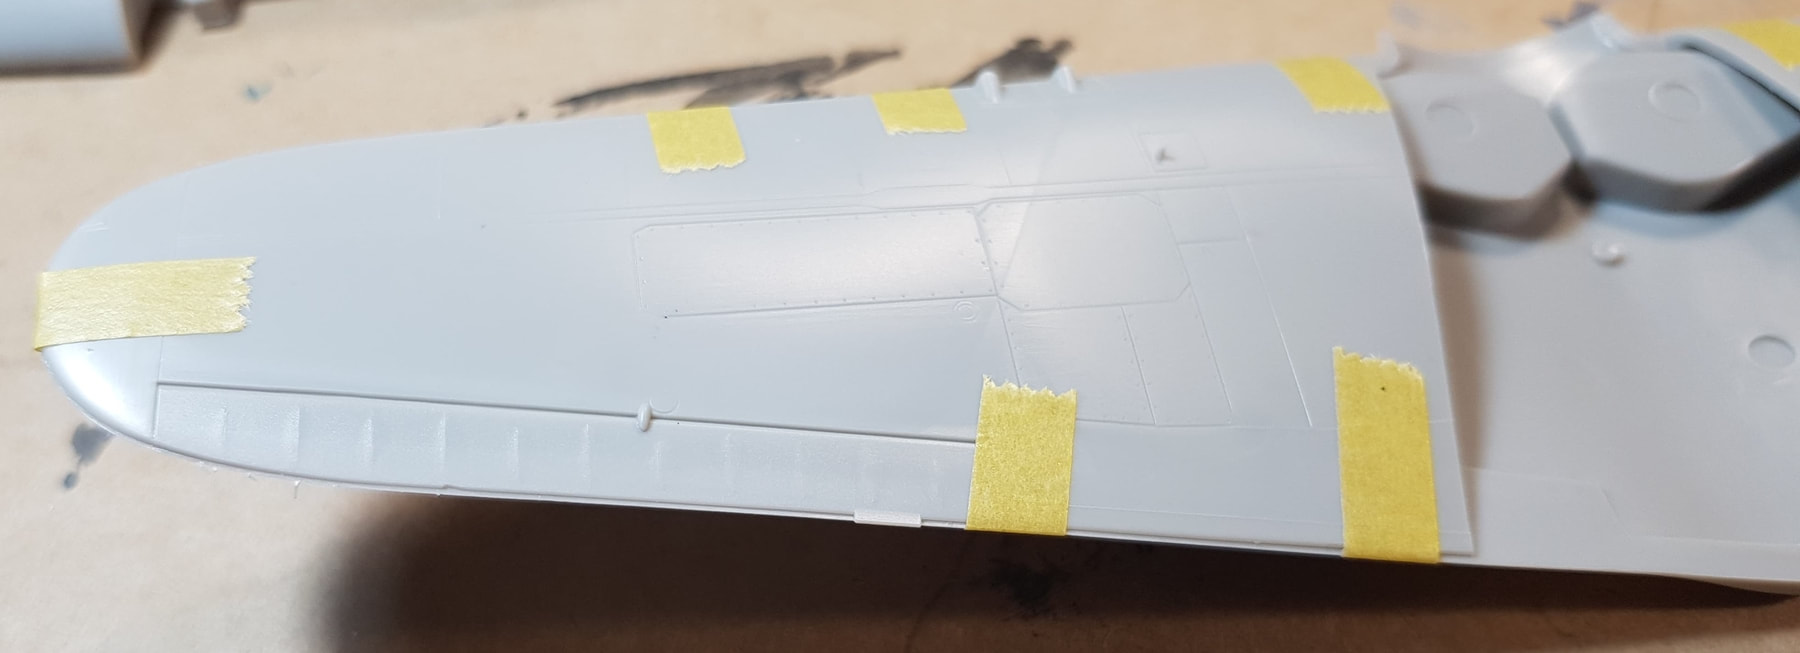
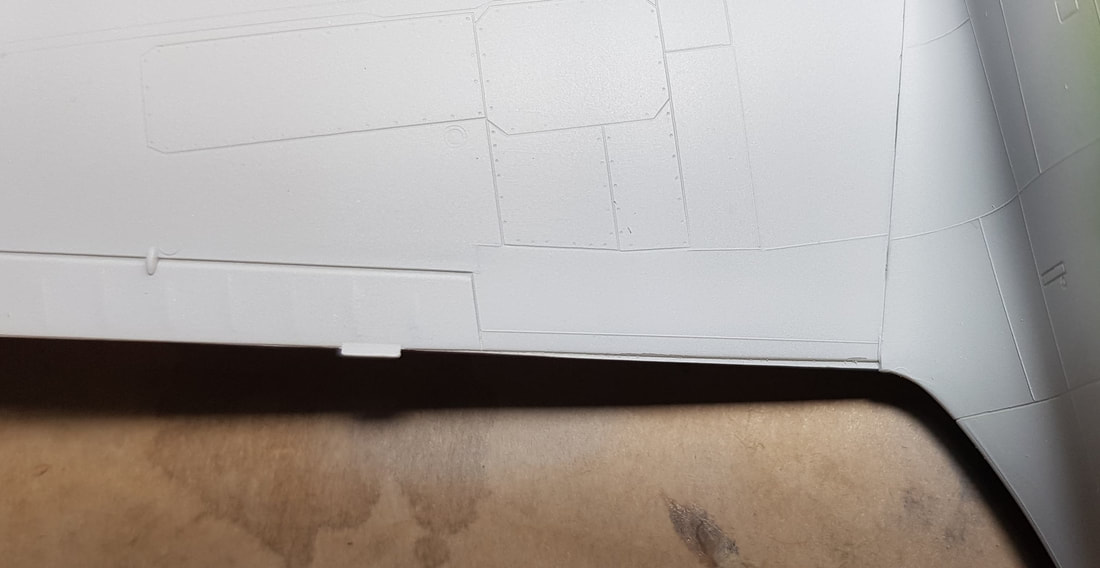
Sanded the fuselage wing flare to meet the on the right wing trailing edge and sanded the underlap on the left wing to angle up and meet the flare so the tab didn't look out of place. And of course, the ever present standard filler needed gap on the underneath join.
Sanded the fuselage wing flare to meet the on the right wing trailing edge and sanded the underlap on the left wing to angle up and meet the flare so the tab didn't look out of place. And of course, the ever present standard filler needed gap on the underneath join.
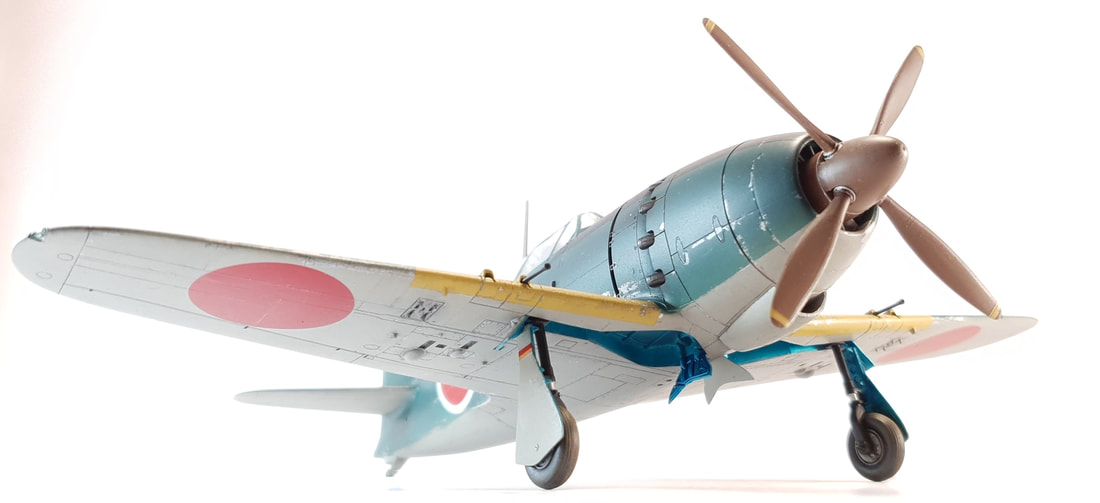
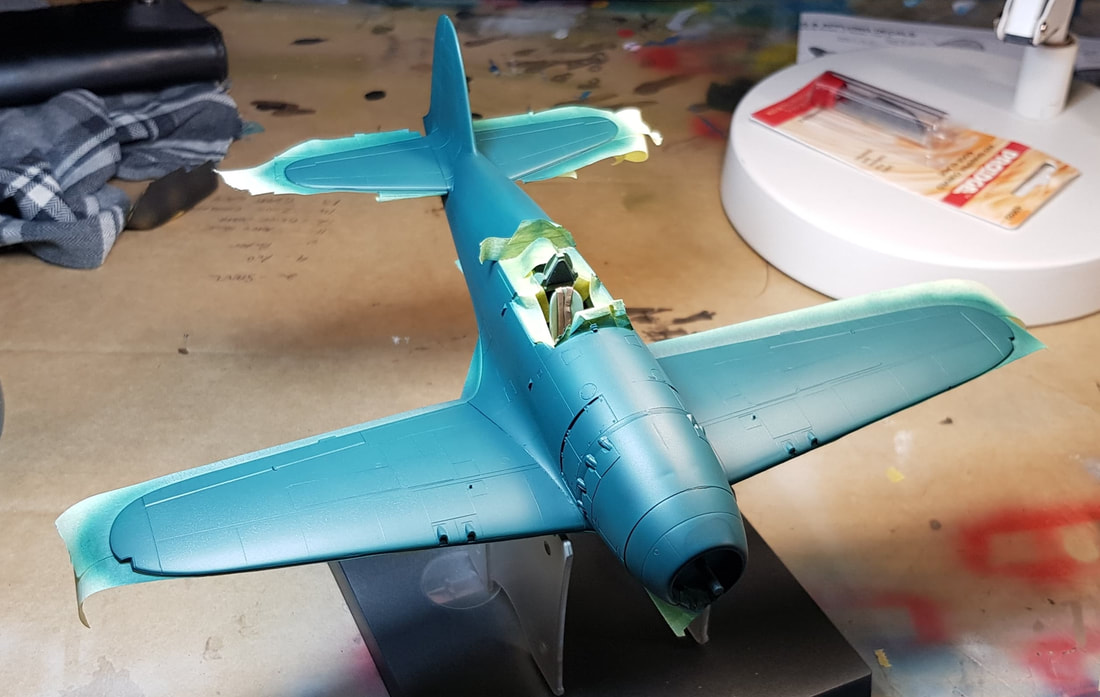
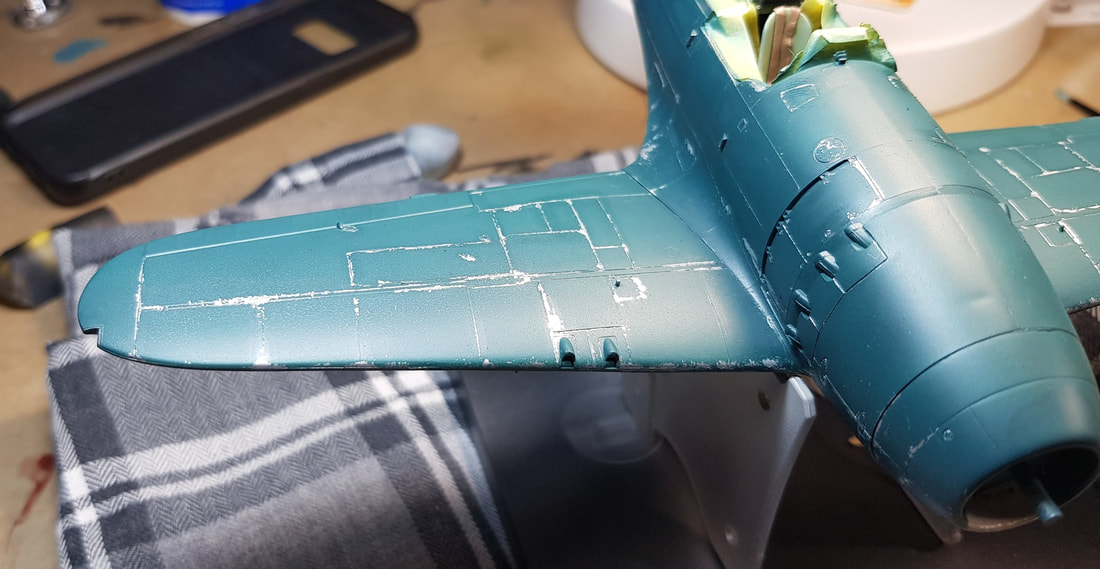
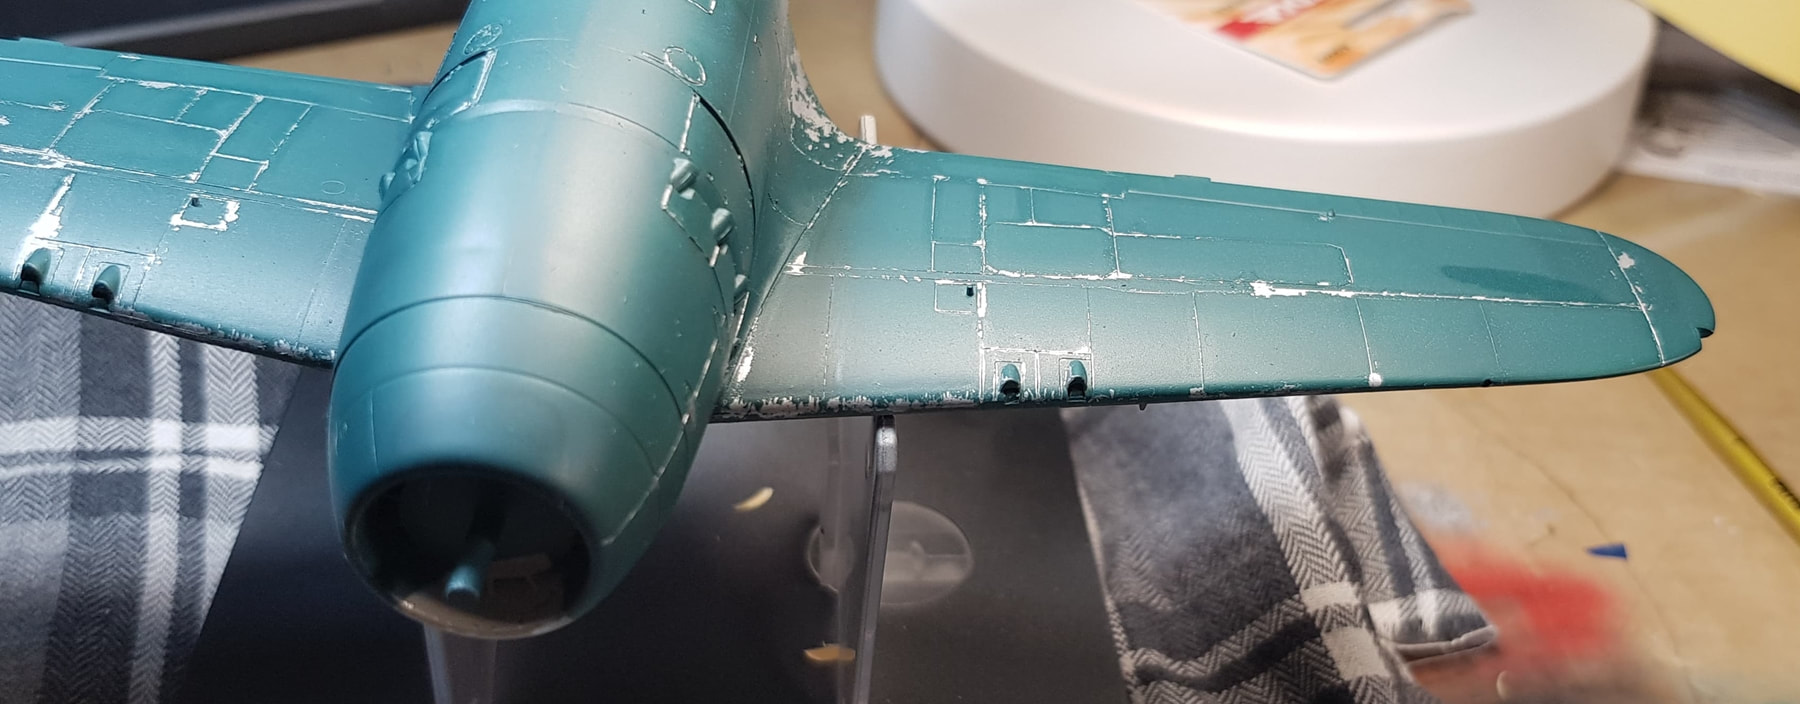
I primed, a coat of black followed by Vallejo metal colour aluminium silver and i've decided to give the hairspray method a second shot. Once the aluminium was sprayed and cured i rubbed it all smooth with a soft rag, i find this brings the aluminium out better as well as giving me a nicer surface finish. Next i sprayed prayed the whole thing with decanted hairspray (extra volume!) and then let it sit for an hour before spraying the final colour coats. I've cut the wingtip light sections out as well and will fill them with crystal clear, i've been dodging doing that on all of my previous kits so time to start making it a thing.
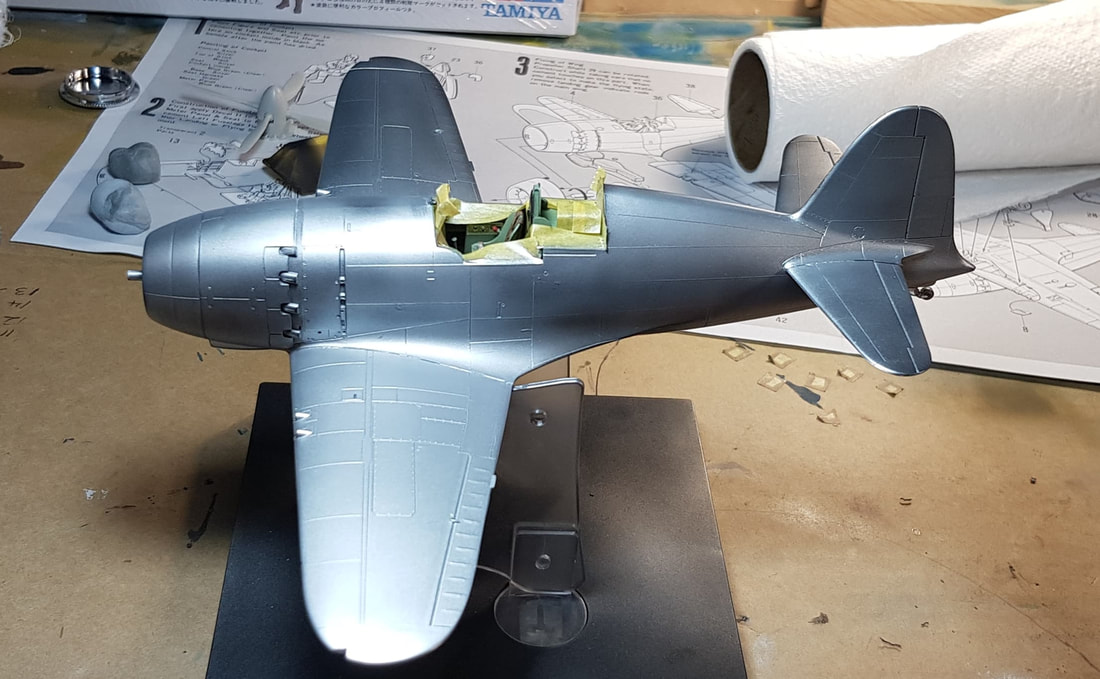
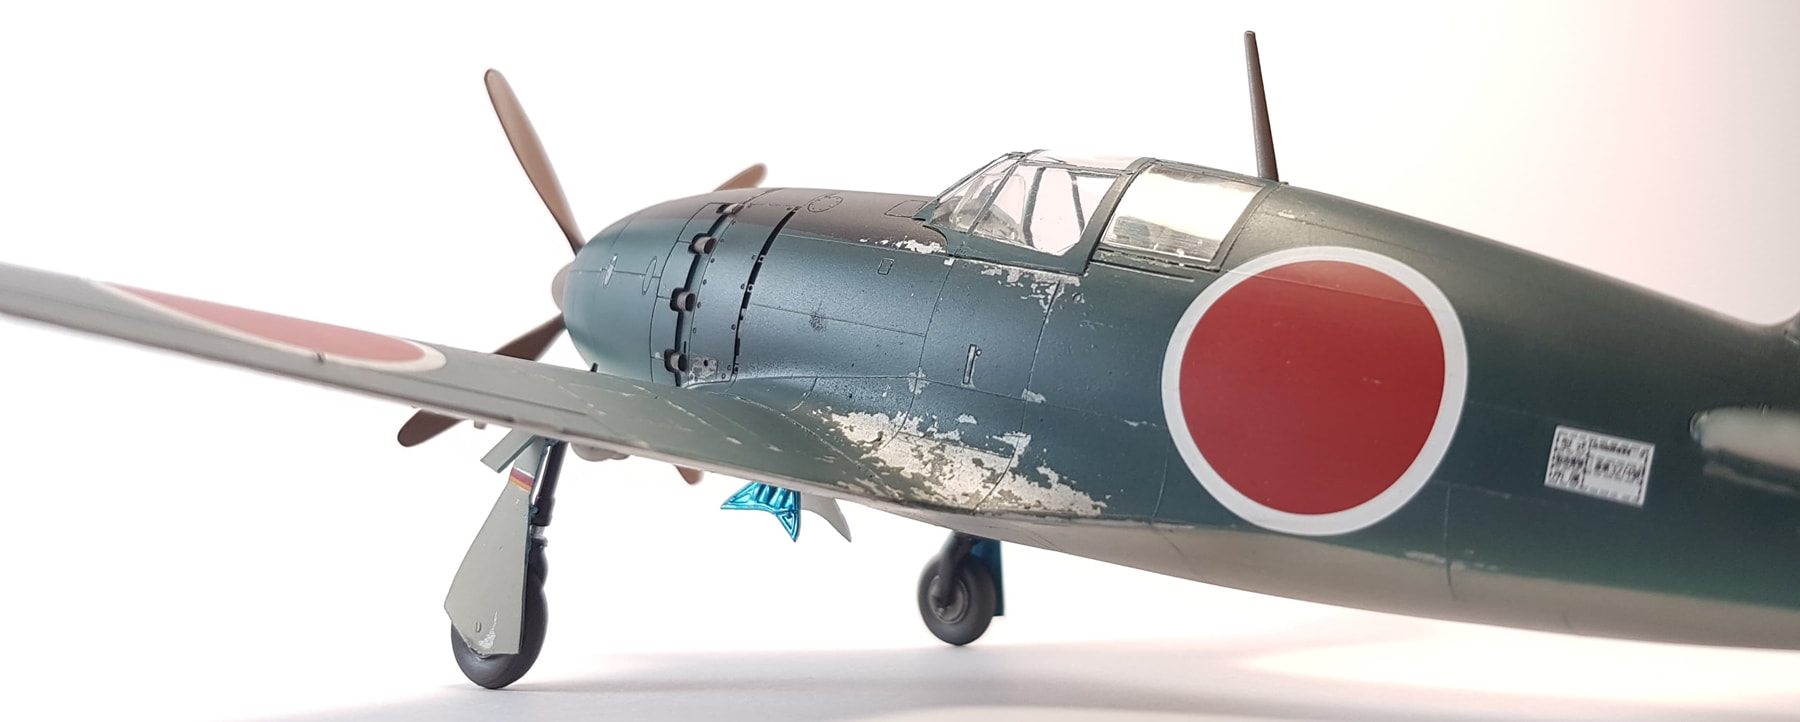
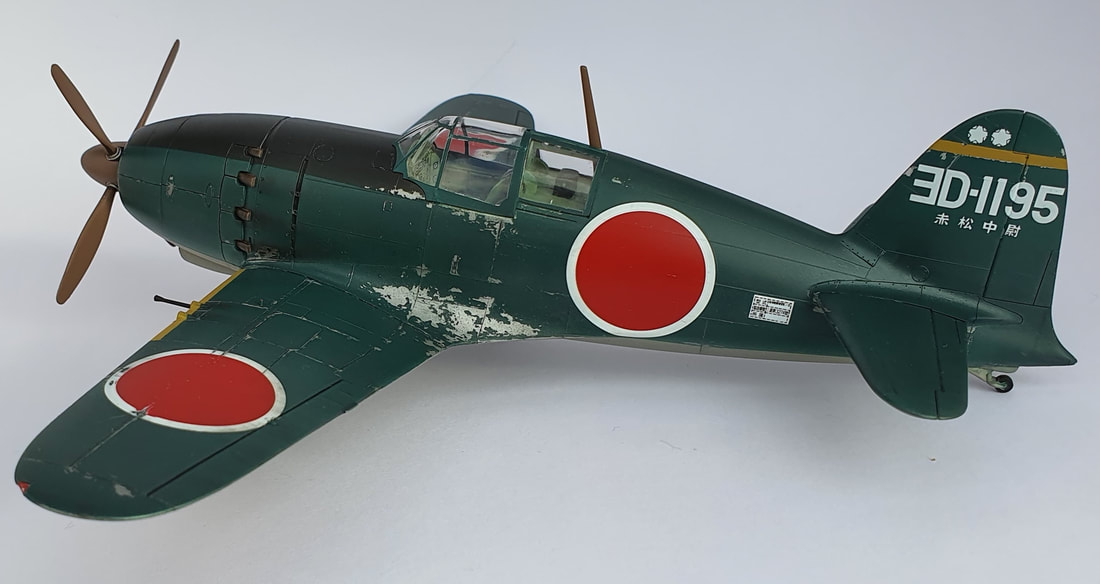
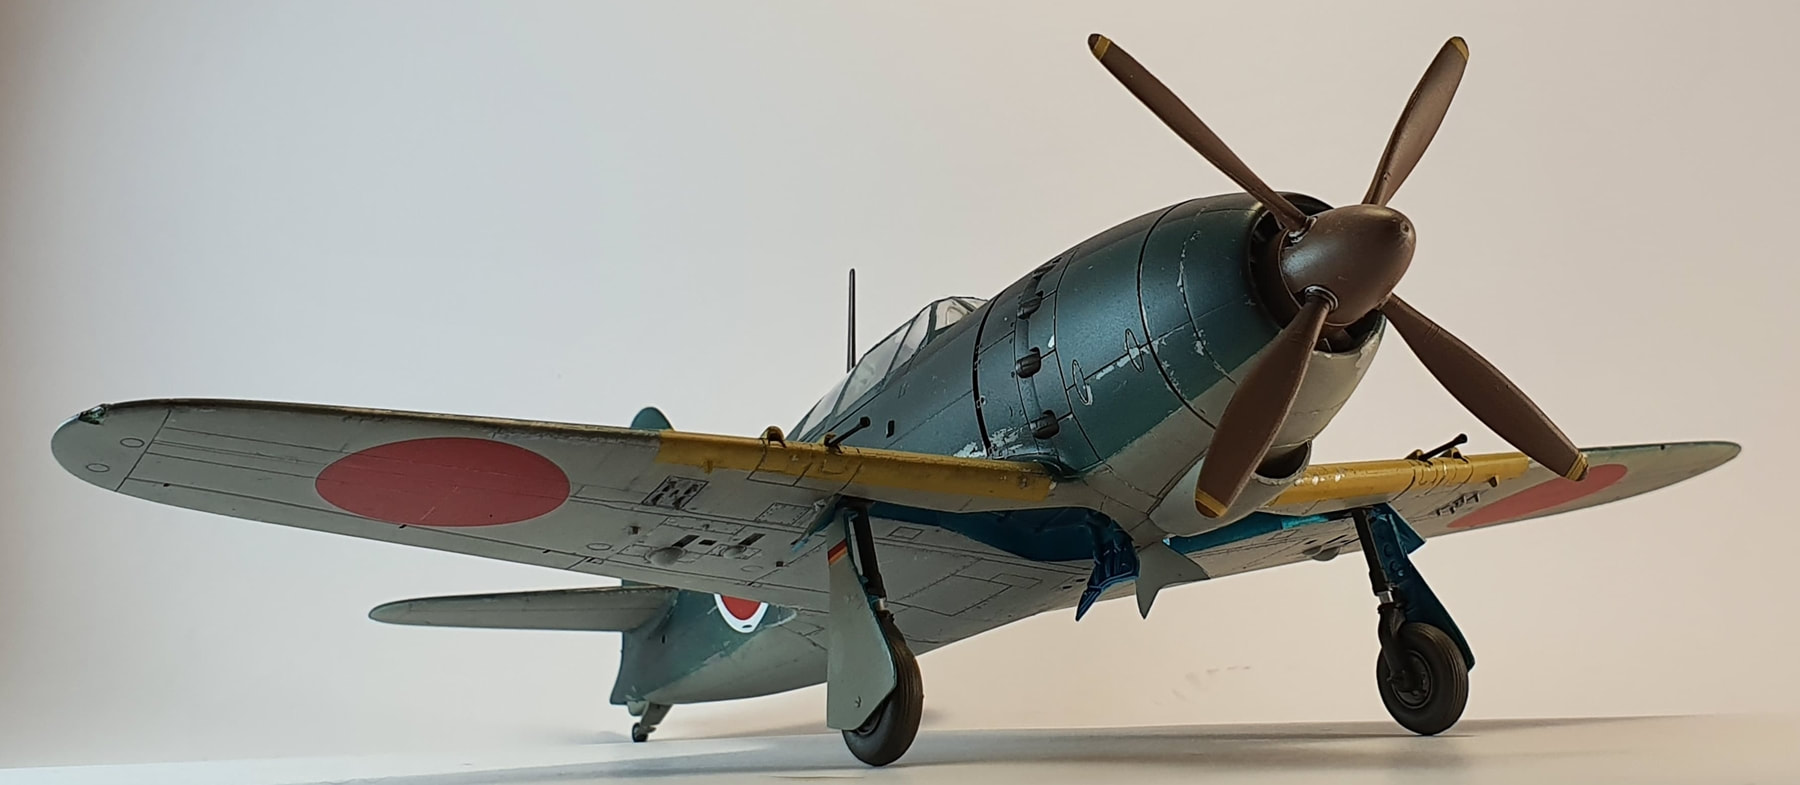
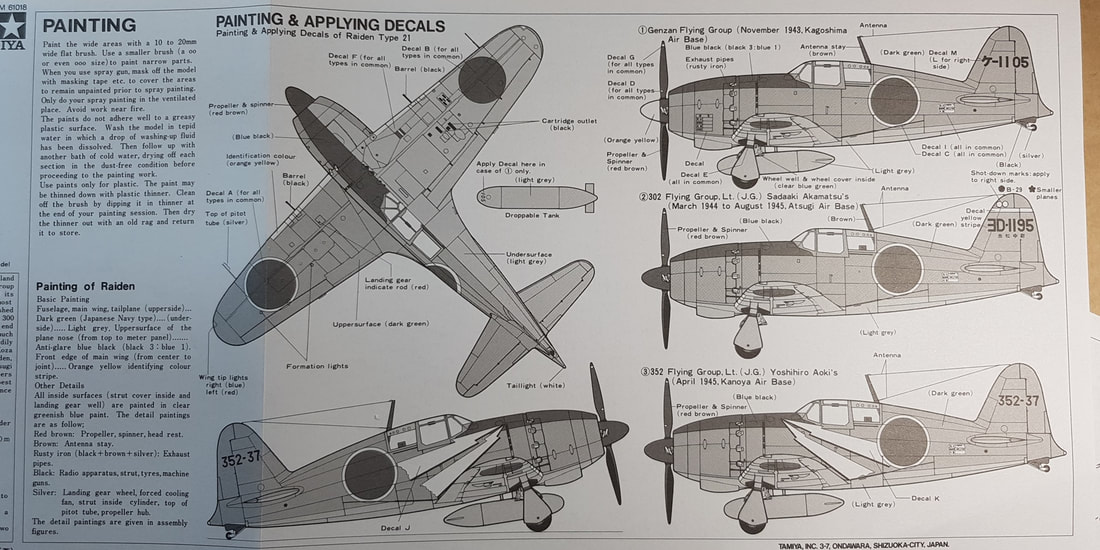
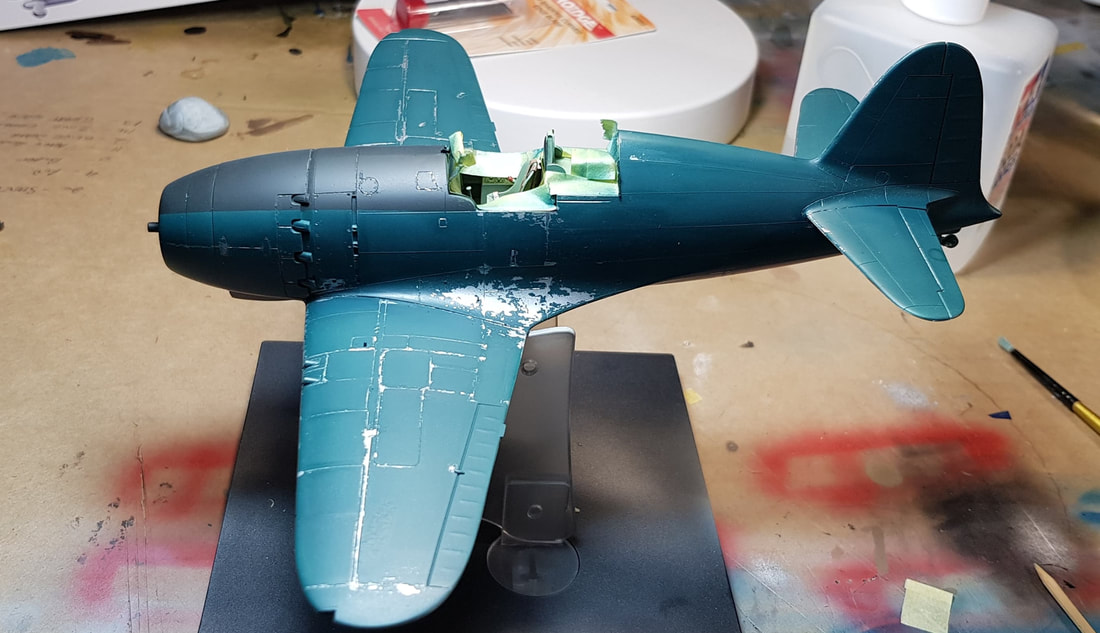
Underside is painted Vallejo IJN medium grey and the topside in Vallejo IJN deep dark green.
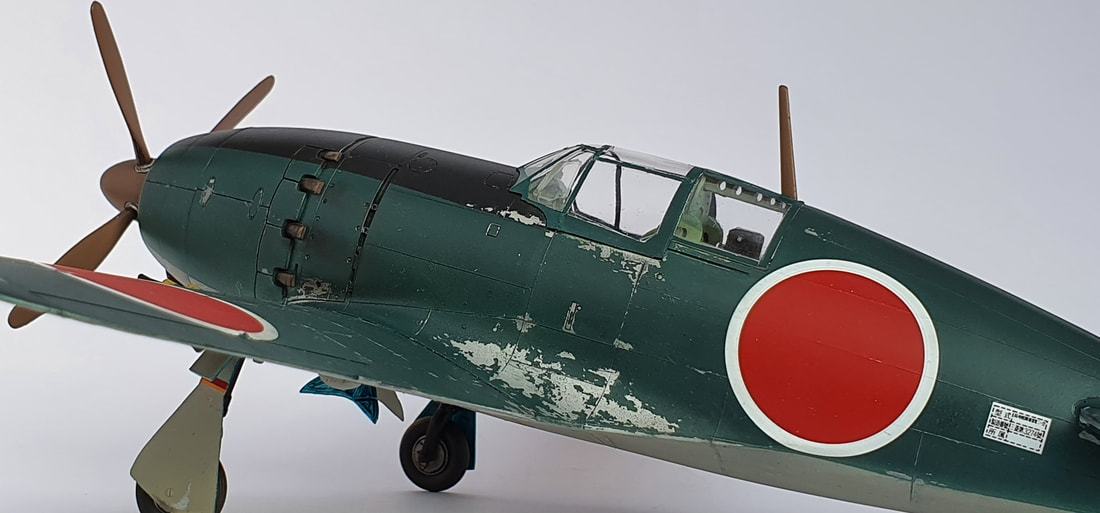
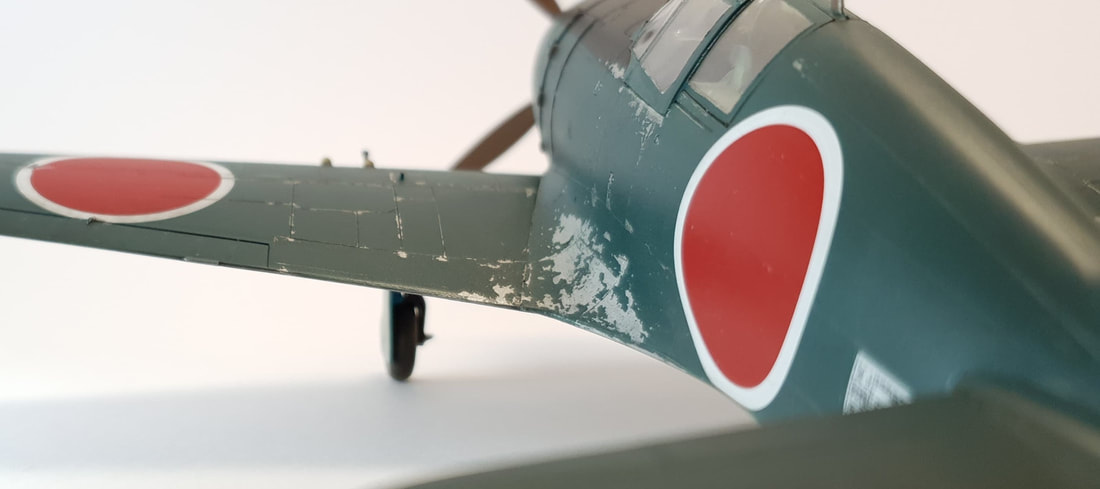
The model sat for an hour to let the acrylic settle and then using warm water (which will activate the hairspray ) a toothpick and my stippling brush i picked away around edges and rivets. Some chunks had come away with the tape so they will just have to work in with the rest of the effect.
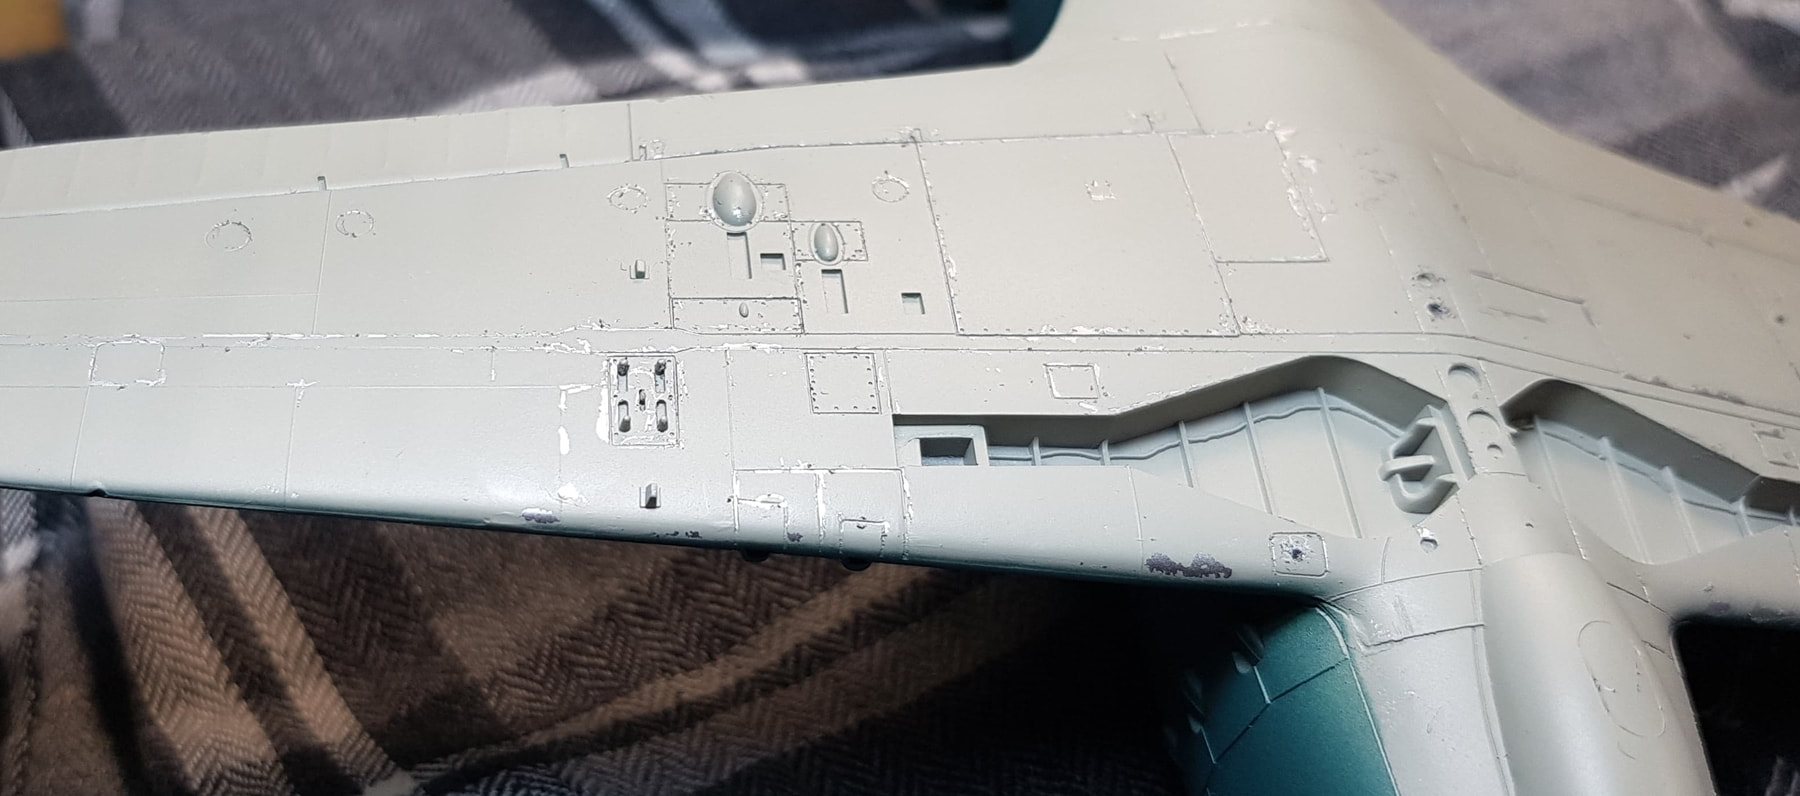
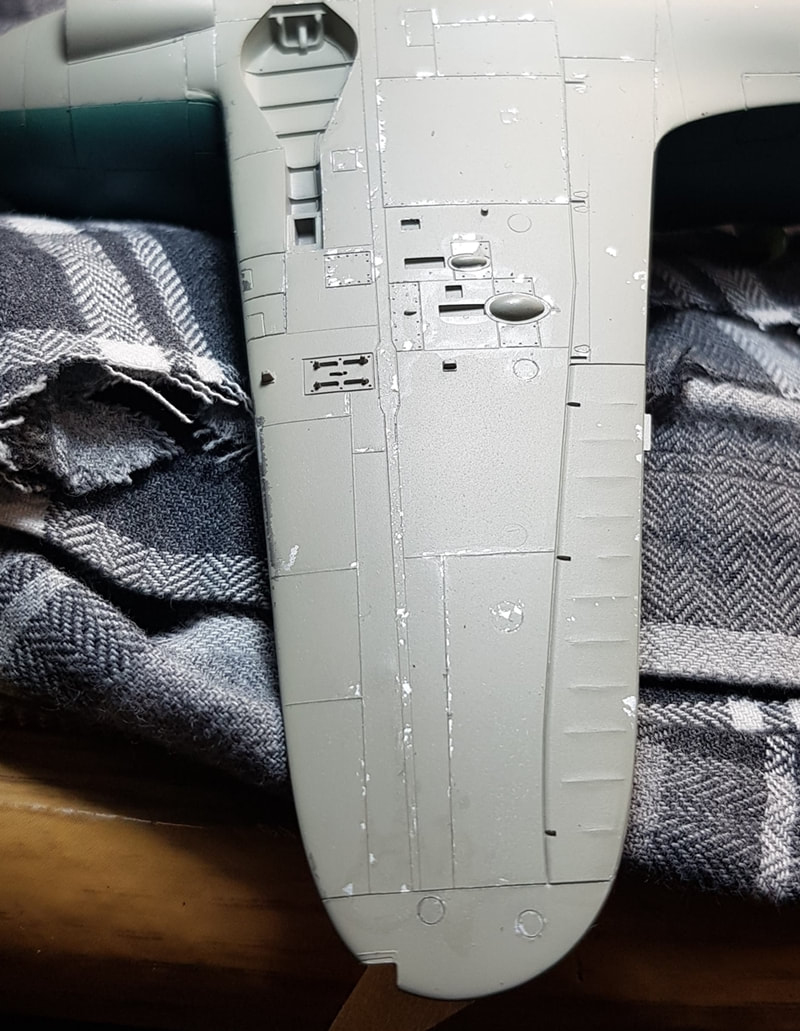
The chipping is a slowish process but rewarding. Take your time and just plod along carefully. I found using too much water resulted in too much paint coming away so did most of it by just dampening the toothpick end and moving along seams and lines. The stipple brush i used to create bigger areas after i had already chipped with the pick.

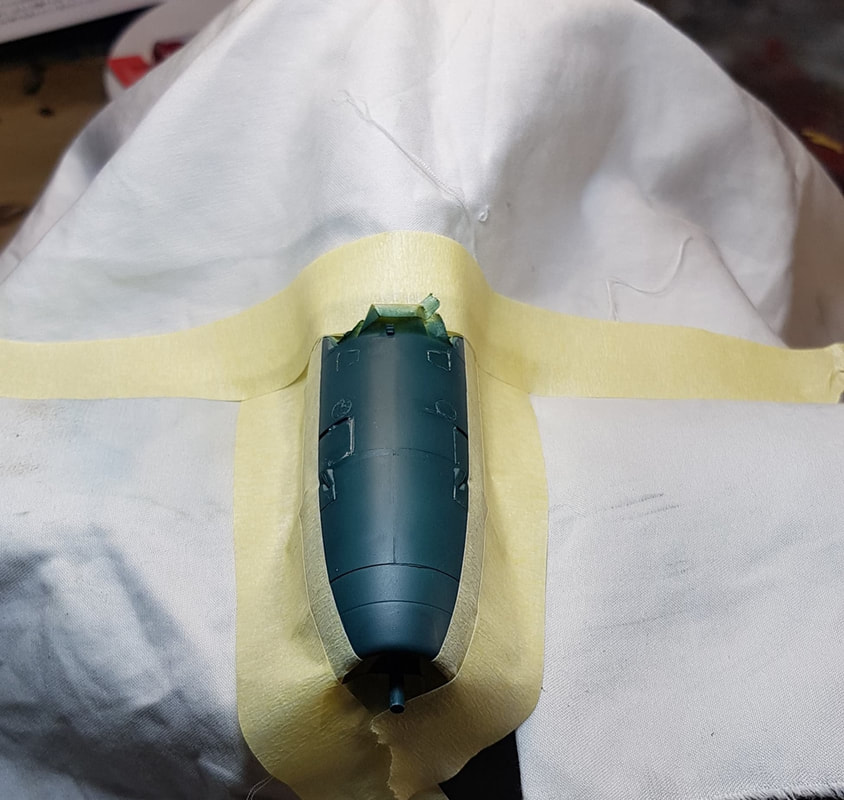
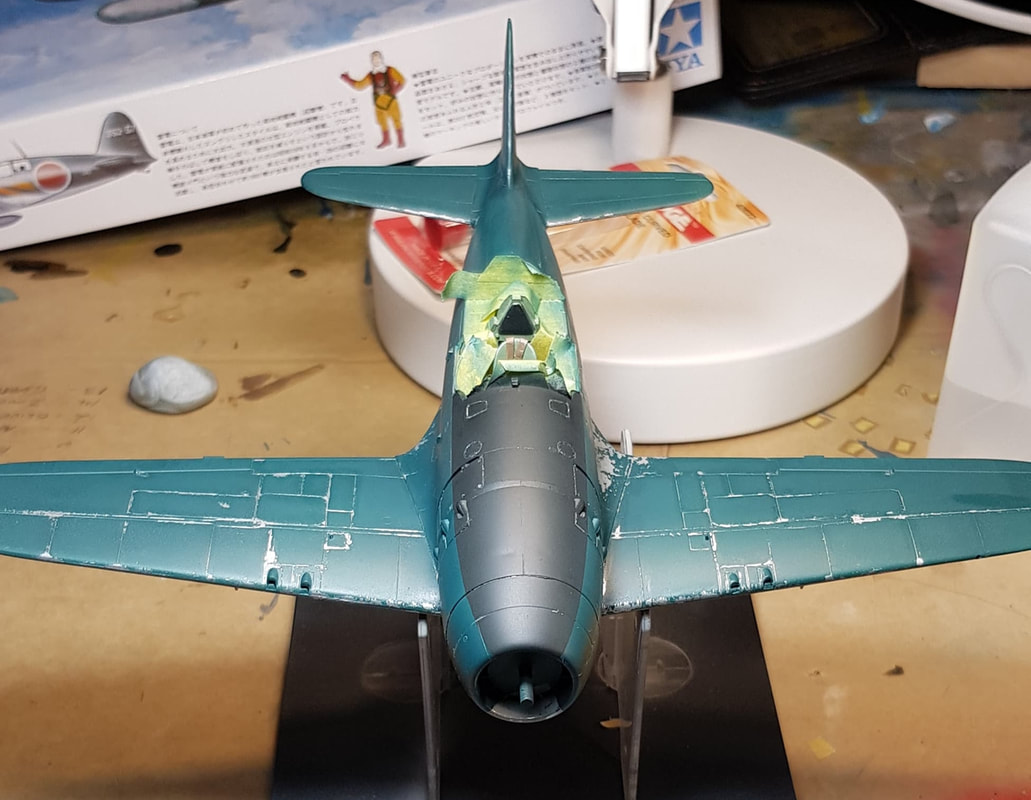
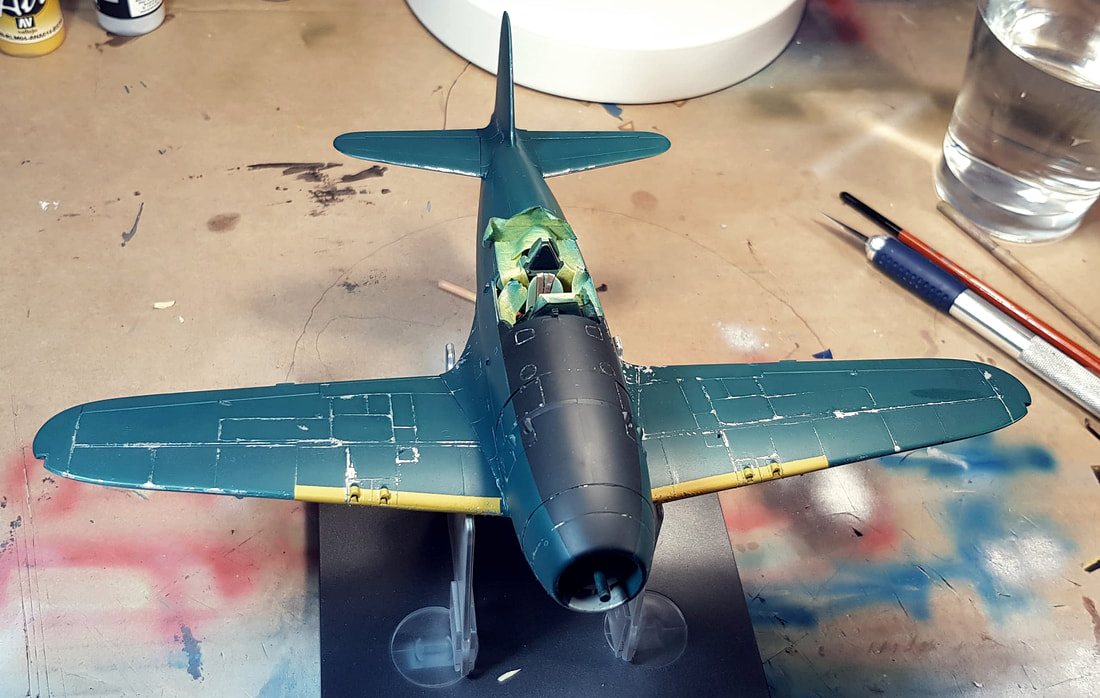
A mix of IJN green/IJN black green and straight black for the nose anti glare panel which was then chipped in the same fashion.
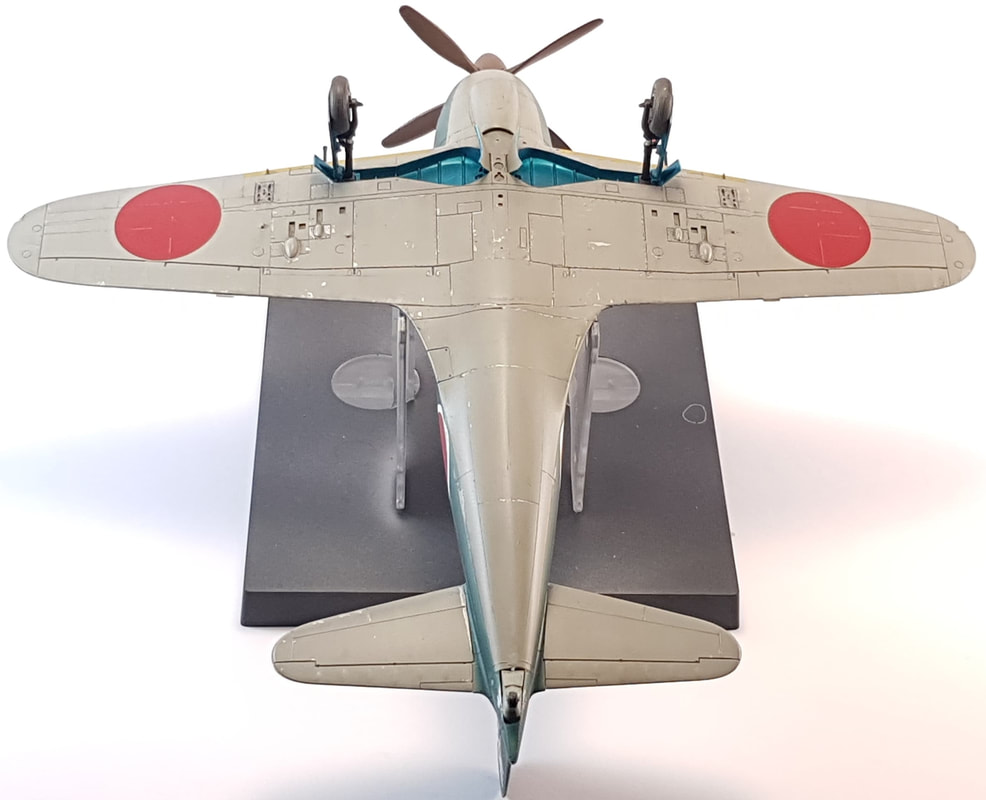
One cool thing i have found out during this build was when i was looking for the correct wheel well colours and stumbled on the 'Aotake colour' debate. I'll copy and paste this here to explain it..
As a translucent primer coating the stuff was applied during many different stages of an aircraft's production, at the main factories and among the many smaller subcontractors that were employed to manufacture parts. A piece of aluminum stock would be stamped, then coated with a layer of Aotake to prevent flash corrosion. Then that part would be drilled and cut, then given another coat of Aotake. After that part was riveted into place within the air frame it would be coated a third time or more. The procedure was generally to ensure that no bare metal was exposed to the air for any length of time. Then, in some areas of the aircraft, a matte black coat of paint was often applied - as a further measure of protection or to cut down on the glare of the glossy Aotake, it's not known. It's generally accepted that there were two main variations of Aotake: a blue and a green (though other shades including yellow have been encountered). Some have suggested a number of different means to predict the application of either variant - time frame, manufacturer, or other. In reality both blue and green could be expected to be seen in any random aircraft regardless of manufacturer or time frame SOURCE - colesaircraft.blogspot.com/2014/08/japanese-wwii-aircraft-aotake-primer.html
So you end up with these types of colours, these samples are both parts of the main wing spar of the same Zero
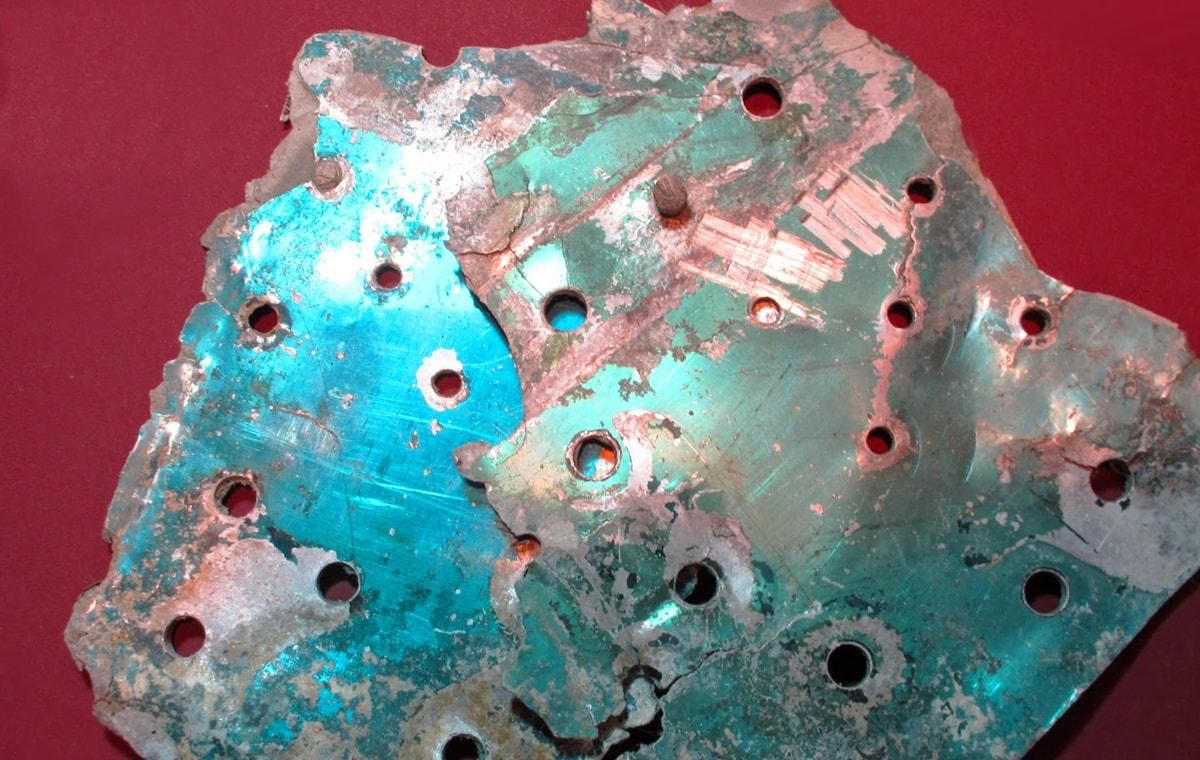
A simple mix of Tamiyas clear blue and green and i came up with what i thought was a passable result. In the end it is neither here nor there when we are talking about some dudes model plane sitting on a shelf gathering dust but it is an interesting tidbit.
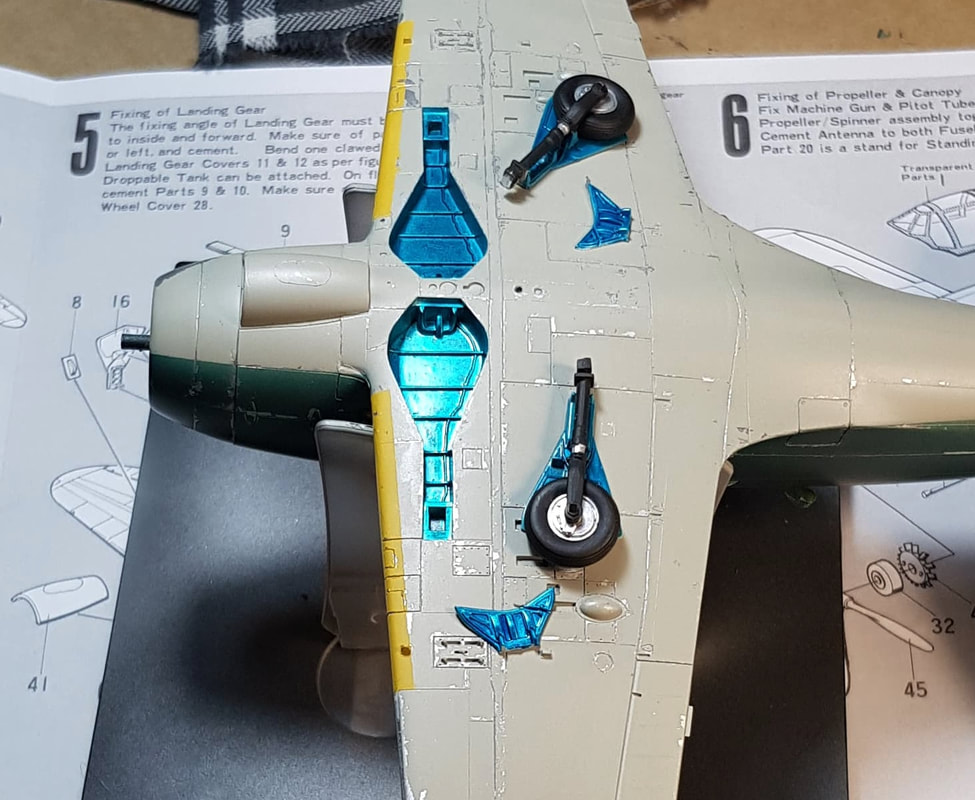
Leading edges yellowed and ready for a wipe down and blow off up before the clear coating prior to decals and a wash.
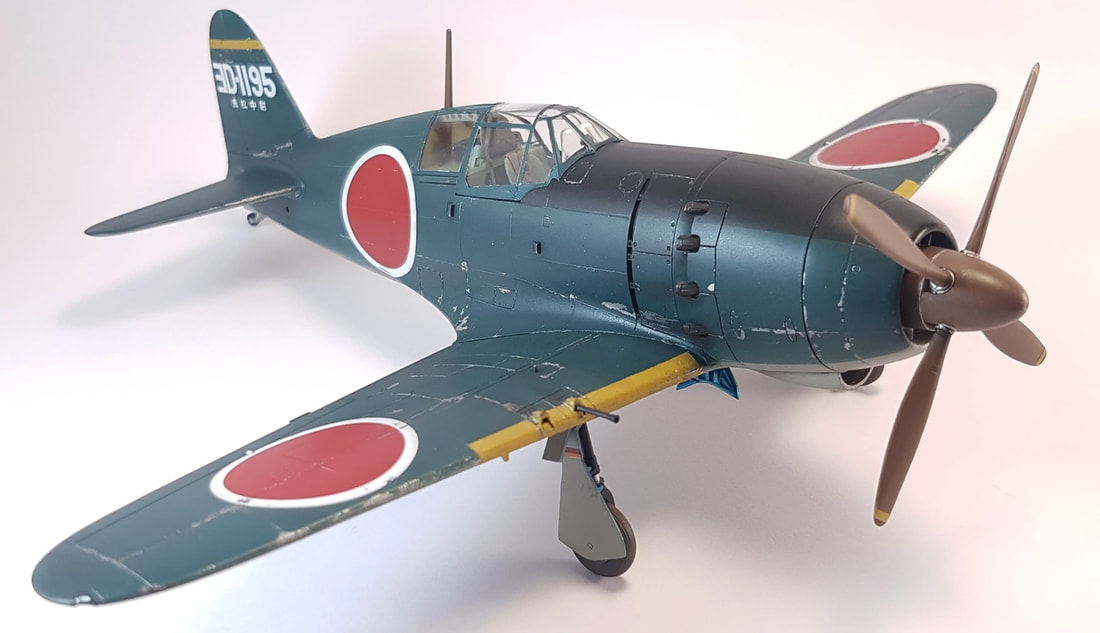
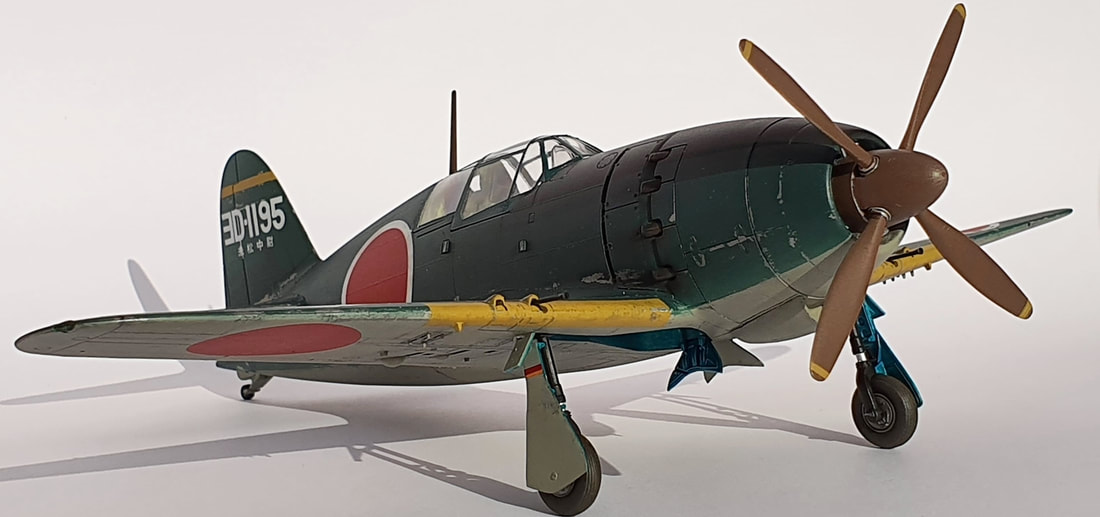
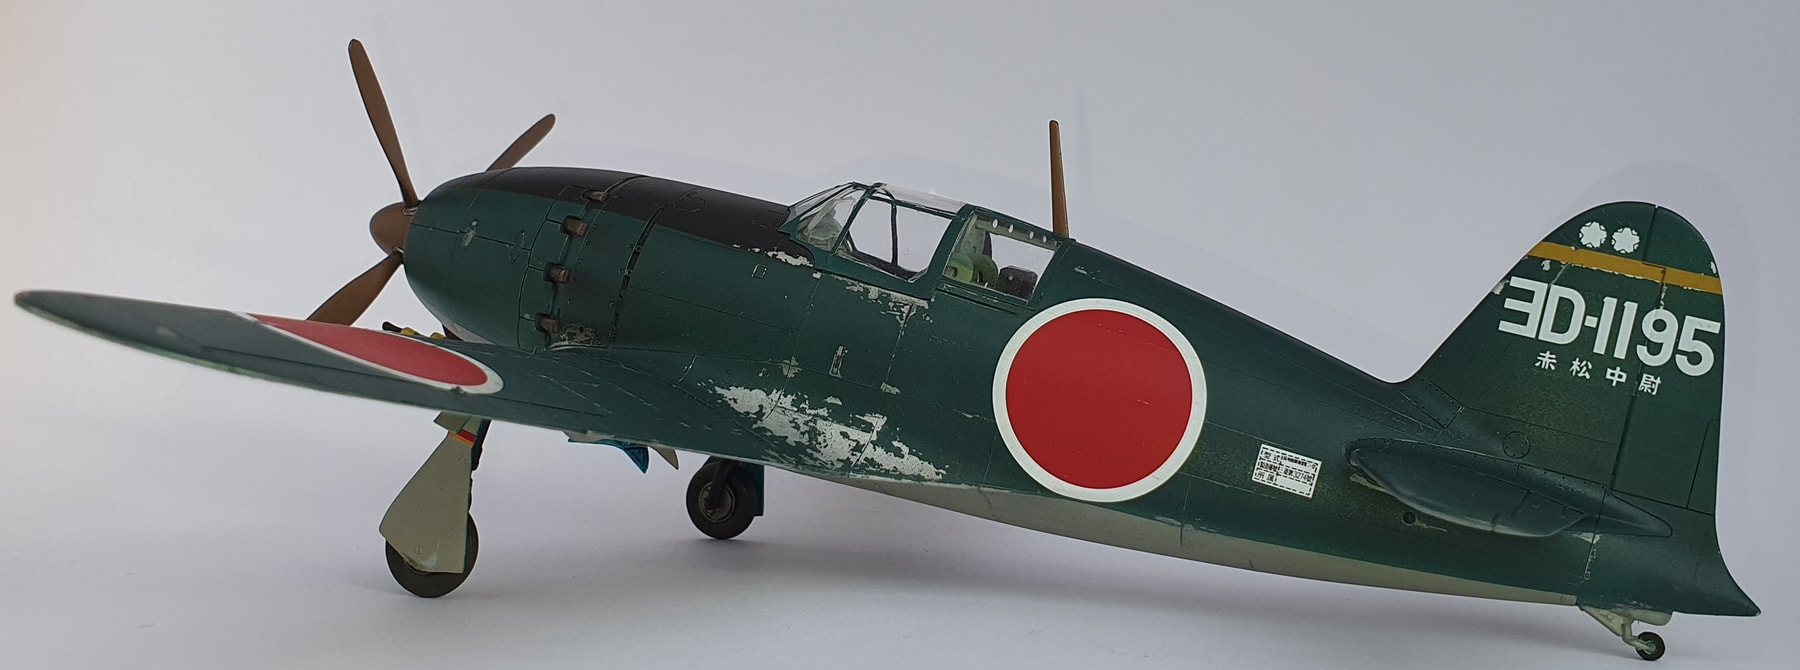
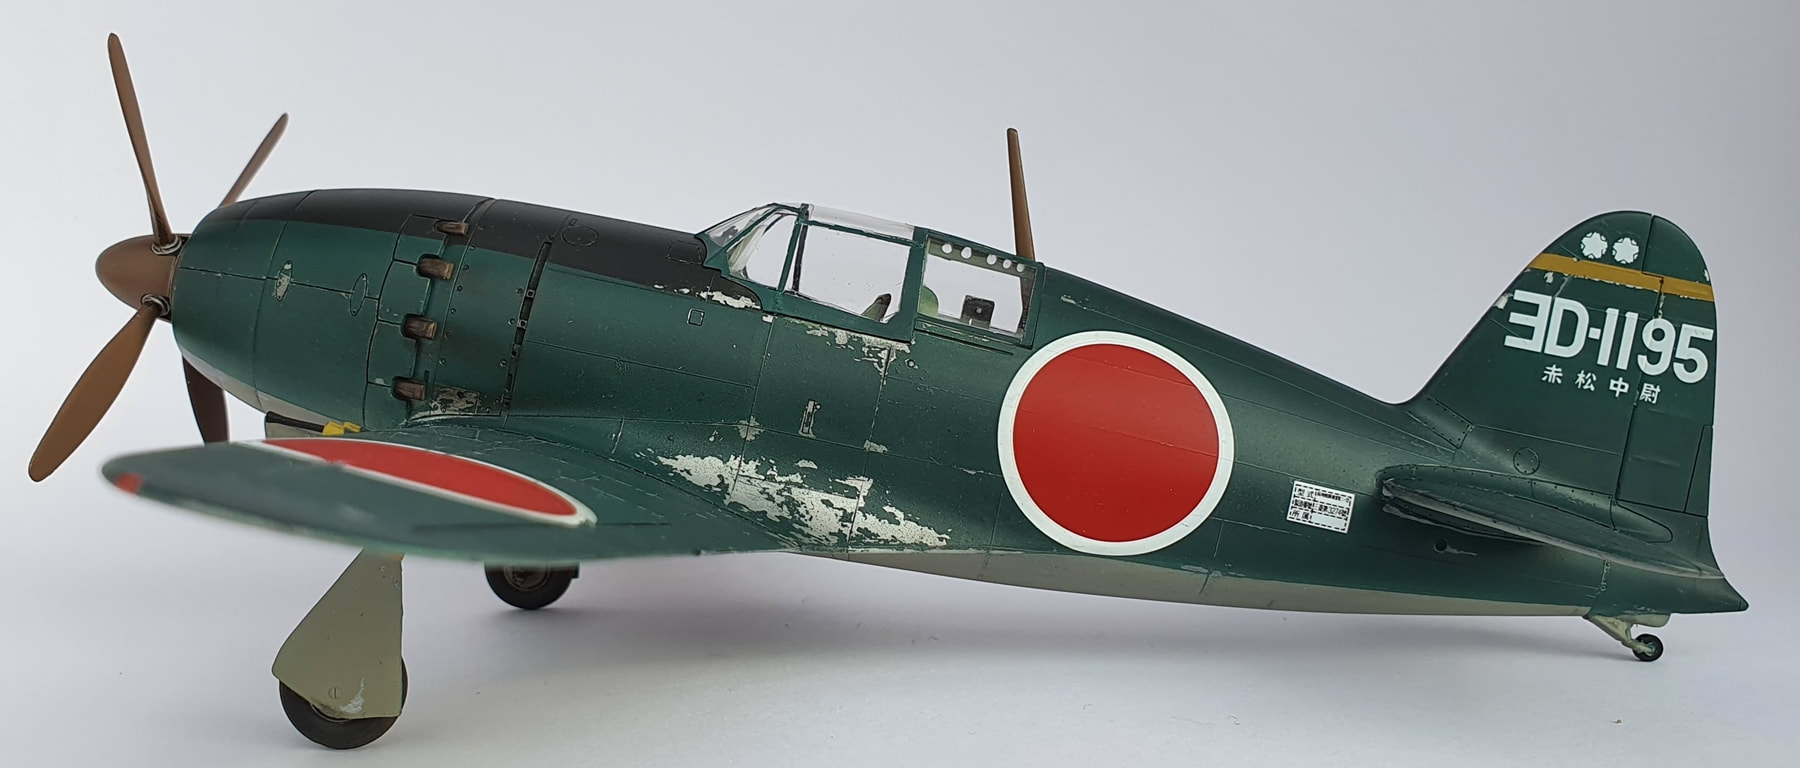
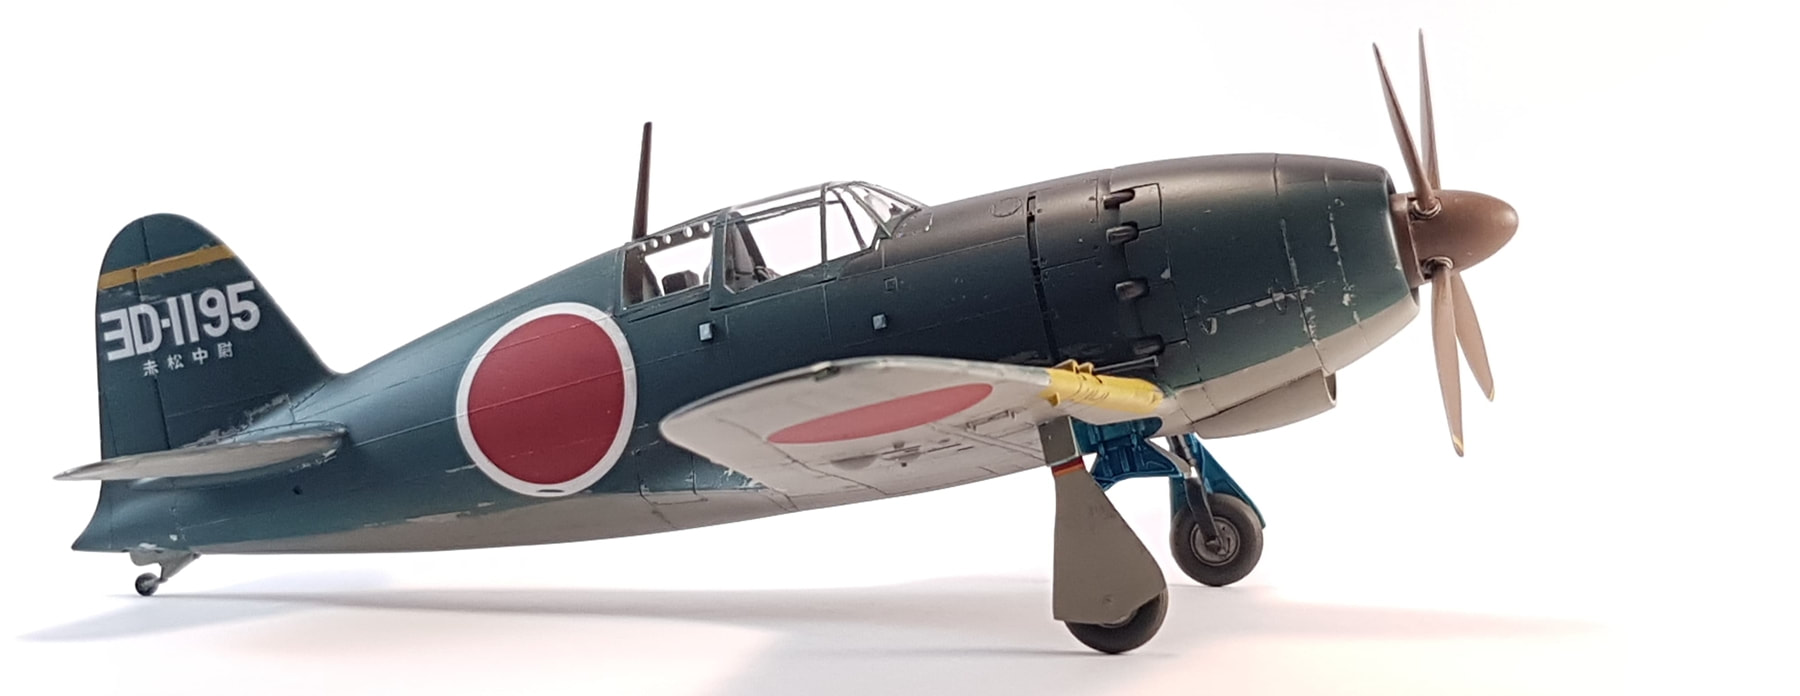
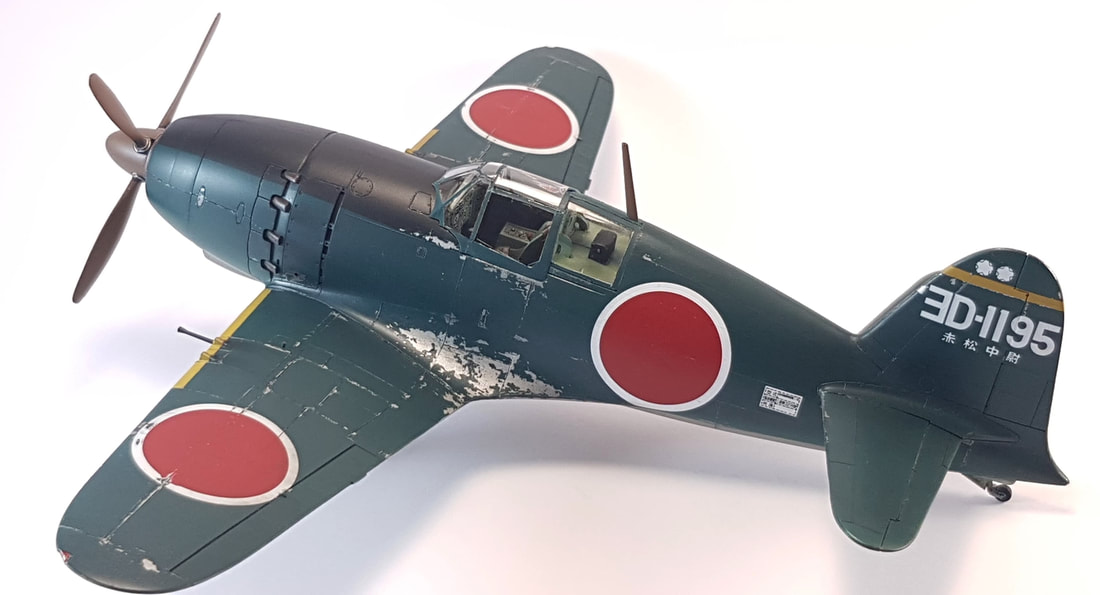
Decals and a thin dark oil wash on, she looks terrible with the shiny clear coat on and i can't wait to flatten it out once i have washed the underside. The decals needed a lot of decal solution, very thick and resistant to settling in the panel lines but came good after a couple of hours. I took some fine grit sand paper to them to knock back the shine and scuff them up a bit with mixed results. I need to look into decal masks so i can just paint my own and have them new or faded, chipped etc.
I had a mess of a time with the cockpit, i ran out of Tamiya tape so i used some painters tape that i hoped would do the job. Yes and no The cleanup from leakage was bad enough but it also pulled up the edge of the paint so i ended up having to knock some of it off and then free handed over it, then clean it up as best i could. Pretty rough but good enough i decided, after i had sunk a couple of sessions on it. Trial fitting said canopy, she was a bit off but with some angled pressure i found i could make it fit neatly. Of course when i applied glue to the cockpit frame on the plane it skewed a fraction and i could not find the sweet spot that i had moments ago before it had set. I used superglue in tiny dabs as i find i can use smaller amounts and have less chance of making a mess of the glass or canopy frame. So, she's a bit out of whack as well as having a rough paint job.
Lastly, i just could not get that shot i wanted, normally you can get that one, two or even three shots that you really like and feel they show the lines well. No joy this time so i threw it in after about 80 photos, inside under lights, outside in the sun and with two different phone cameras using pro and normal modes. Anyway, after that whine fest she's a nice little kit and turned out decently for a first time hairspray job. I know now at least that i can achieve the same effect with about half the amount of the hairspray and have better control of my chipping. All in all i'm happy with the effect and end result, it was a fun build.