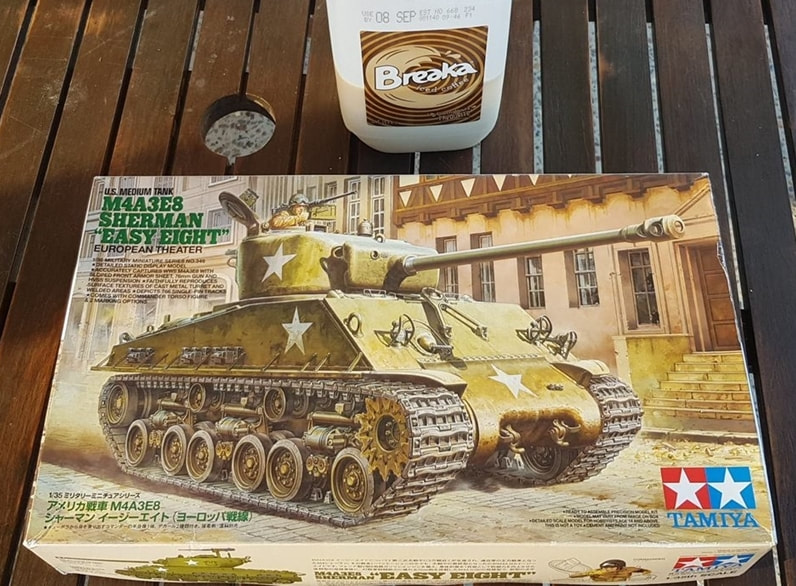
After the T34 build i needed to redeem myself i thought. I still had an interest in knocking out a couple more tanks but decided to look and see what was offered secondhand around the internet. I came across this guy, what is known as a model hoarder. He was selling and so many models he had arranged them into an excel list that he was sending out to prospective buyers. I picked a Sherman Easy Eight and a Konigstiger and motored on over to his place a short distance away and got both kits in excellent condition for half the price of new. Awesome. Down to the model shop for some paint colours, some primer and Tamiya panel accent to add to my weathering compound.
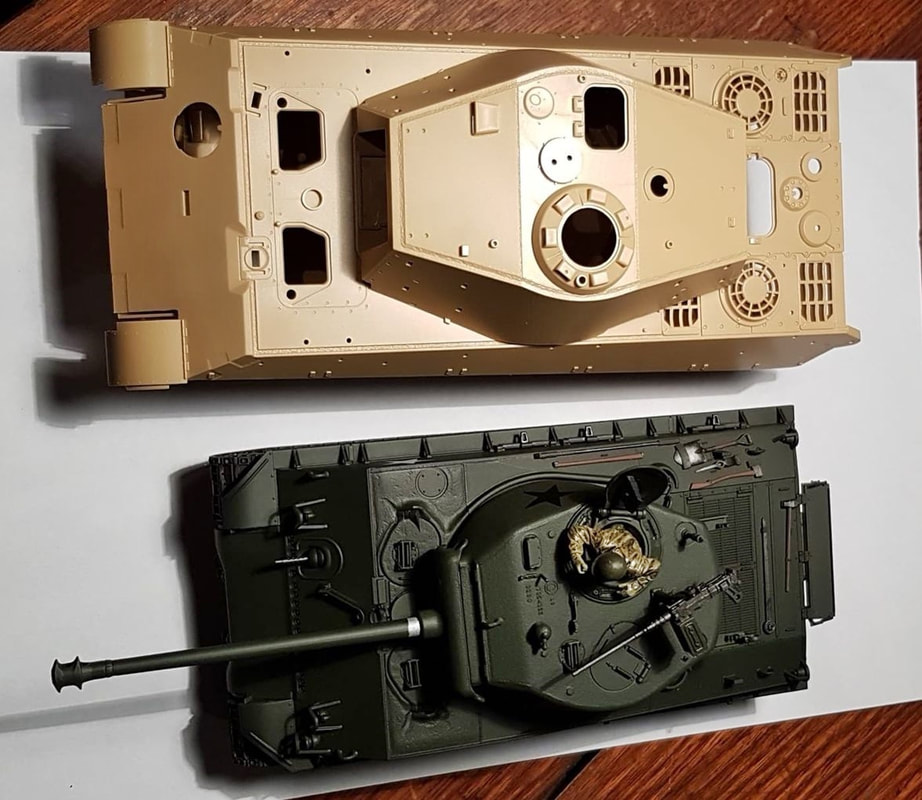
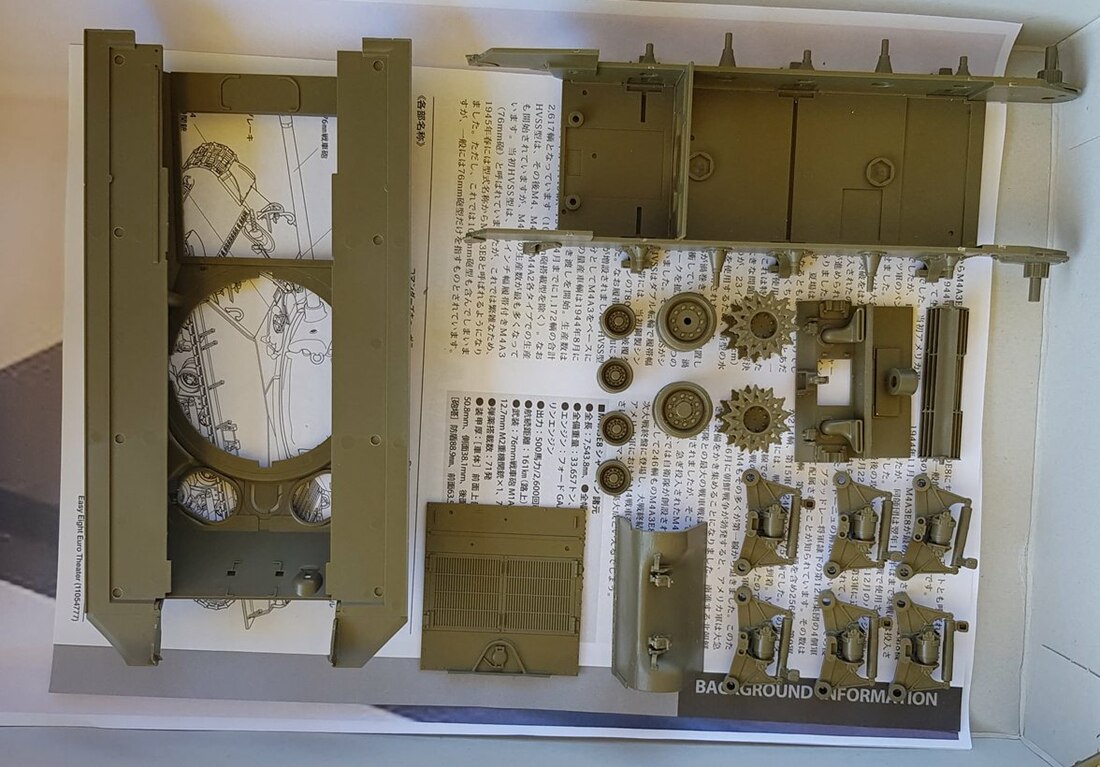
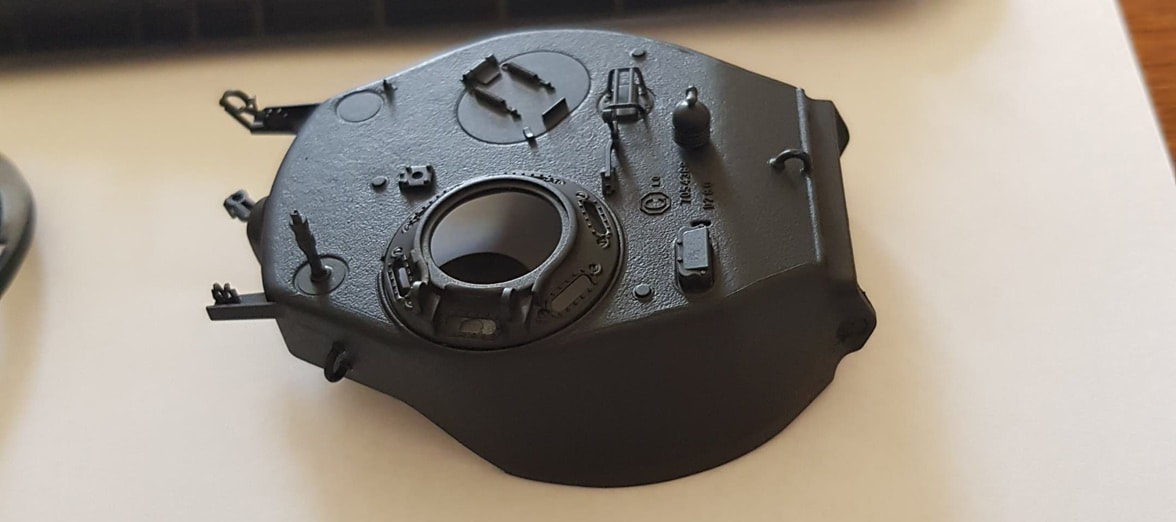
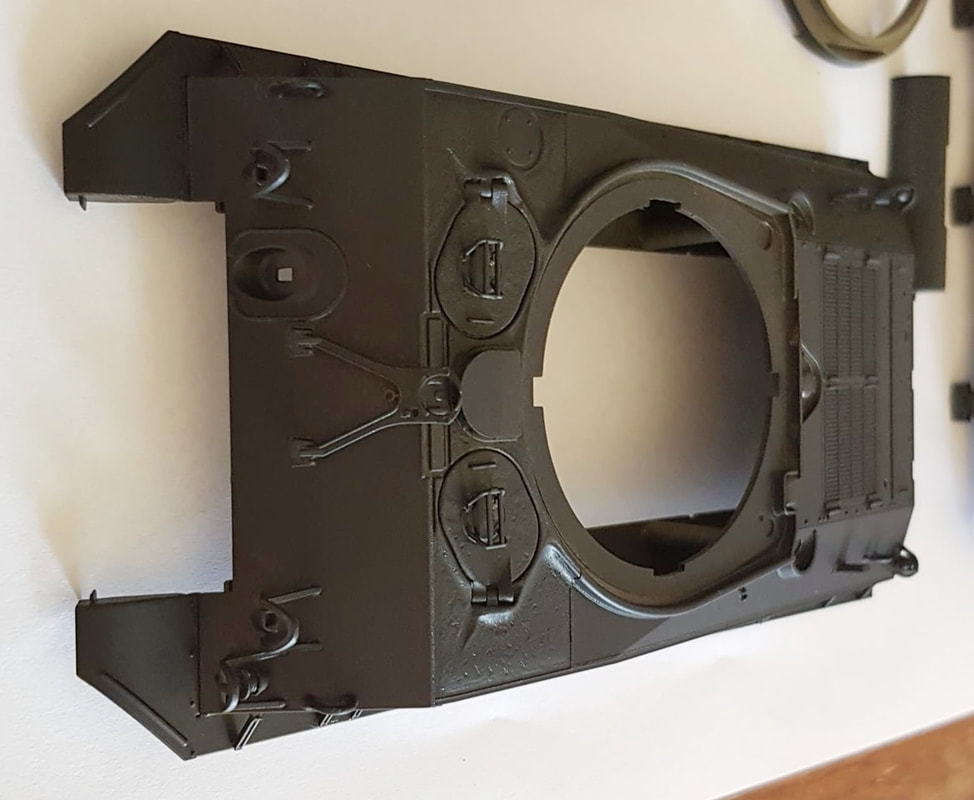
It was nice to doing a Tamiya kit again. The difference with the plastic is noticable, The first session was cutting pieces off the sprues and building all of the main components, hull, turret and suspension. This kit really fell together rather quickly and was a joy. There was just no complications any of the way through the build.
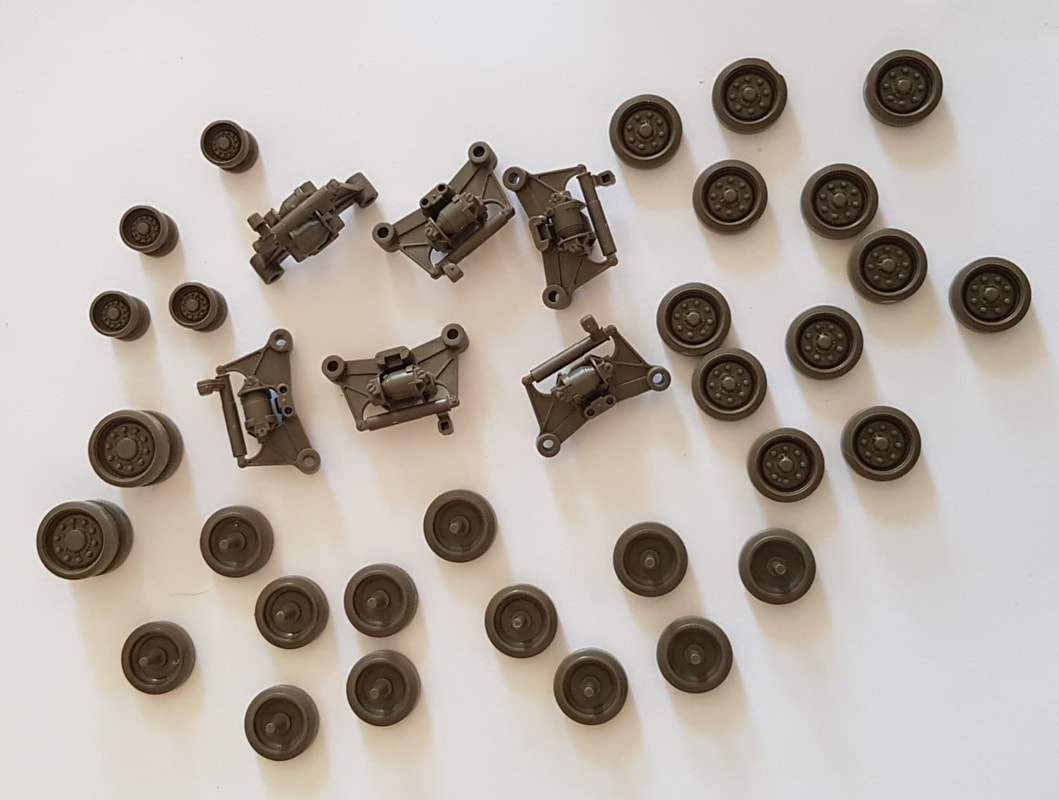
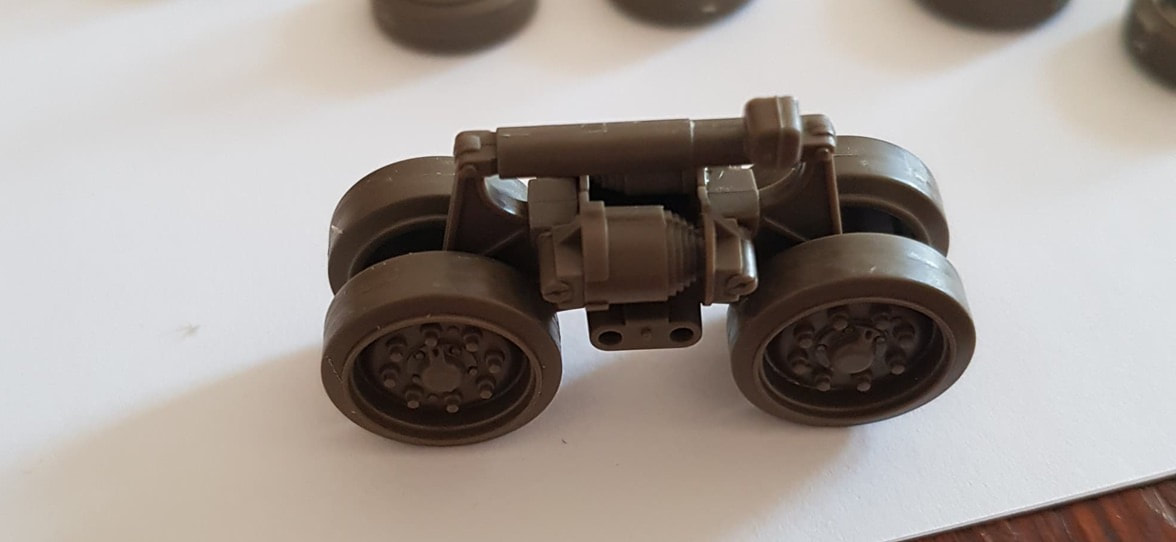
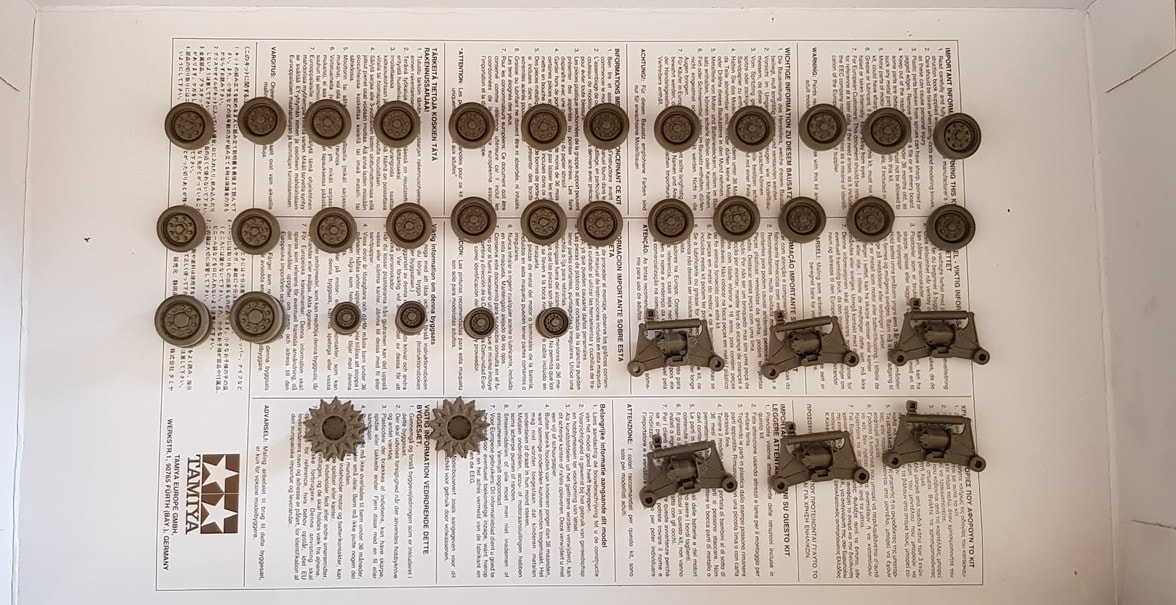
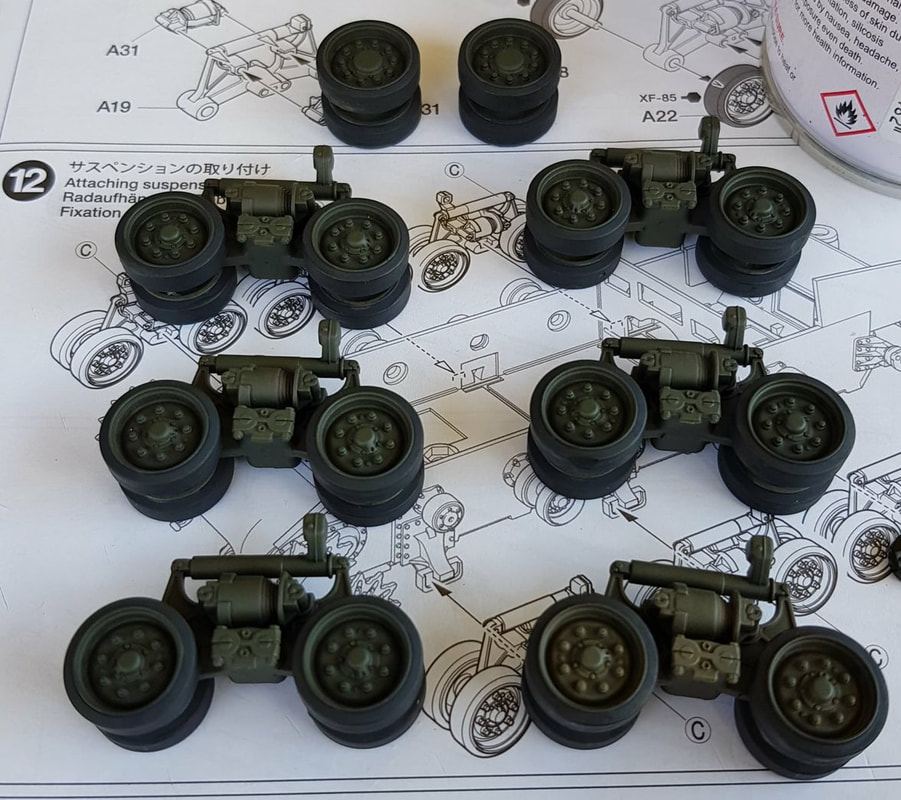
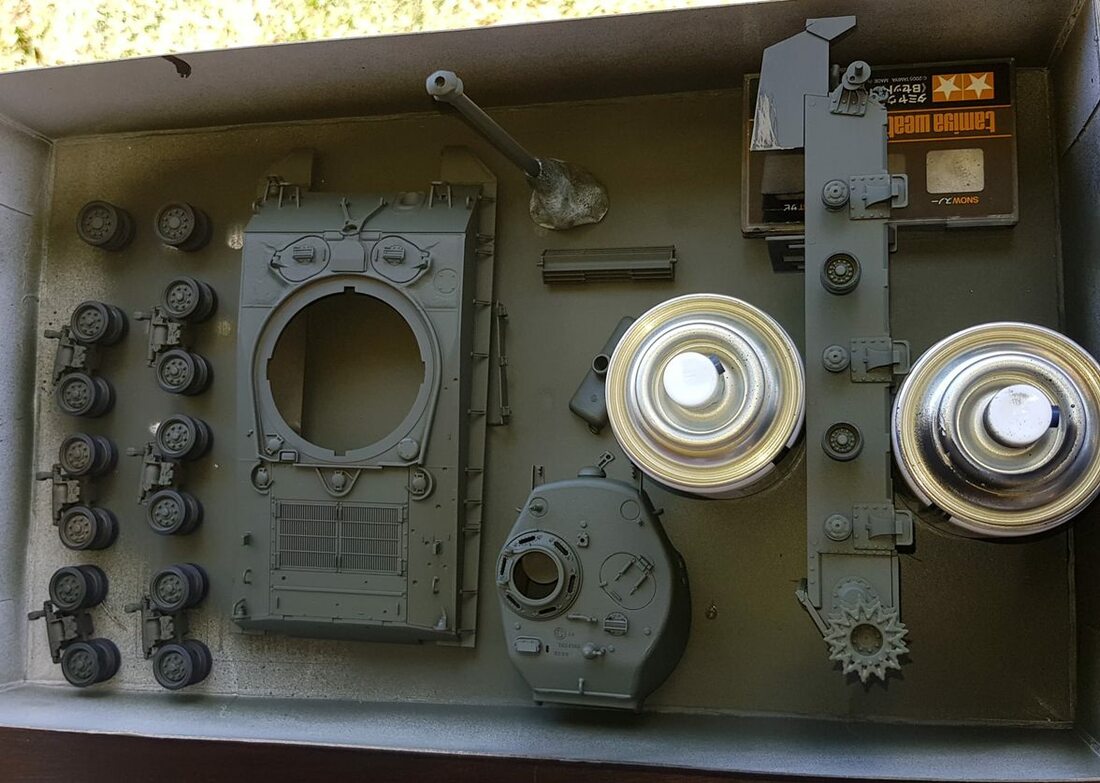
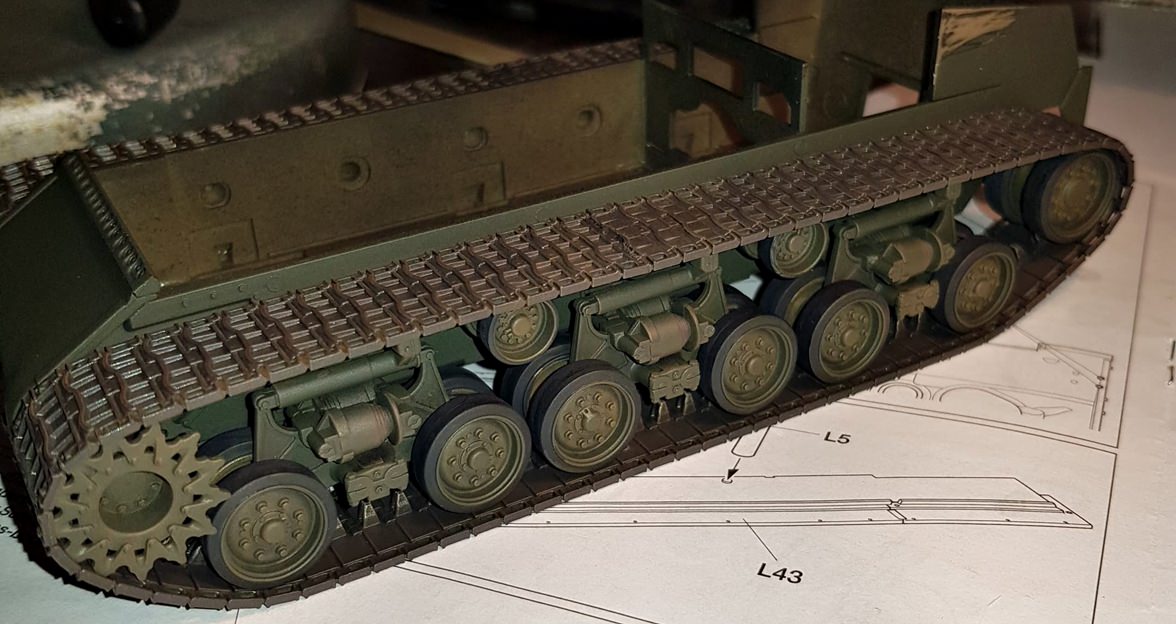
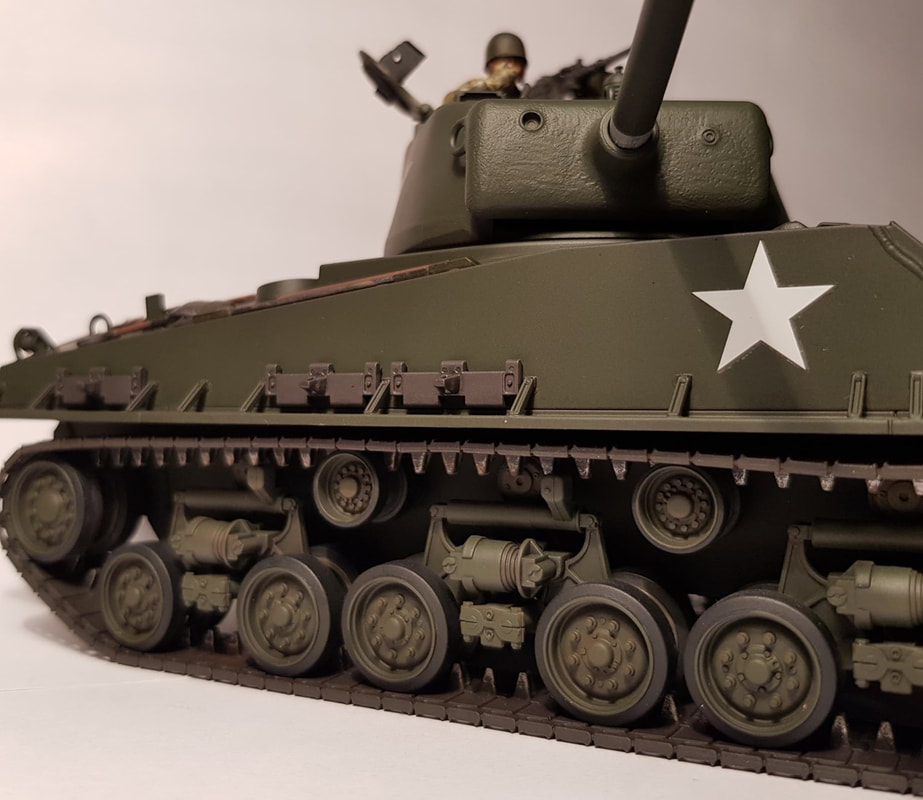
Wheels, wheels, wheels! Trimmed and trial fitted then arranged on little blutac blobs to be painted. These were just another exercise in repetition.
Olive drab for the main colour, rubber black for the tyres and then some panel accent was dribbled down around the inside of the rims. I used a light brush of the rust compound around the suspension system. I made sure i didn't overdo any weathering work this time.
For the undercoat i went with a matt black. Supposedly this was going to help darken my Olive drab a touch, depending on how many layers i put on. Off course it would also help the top coat stick as well.
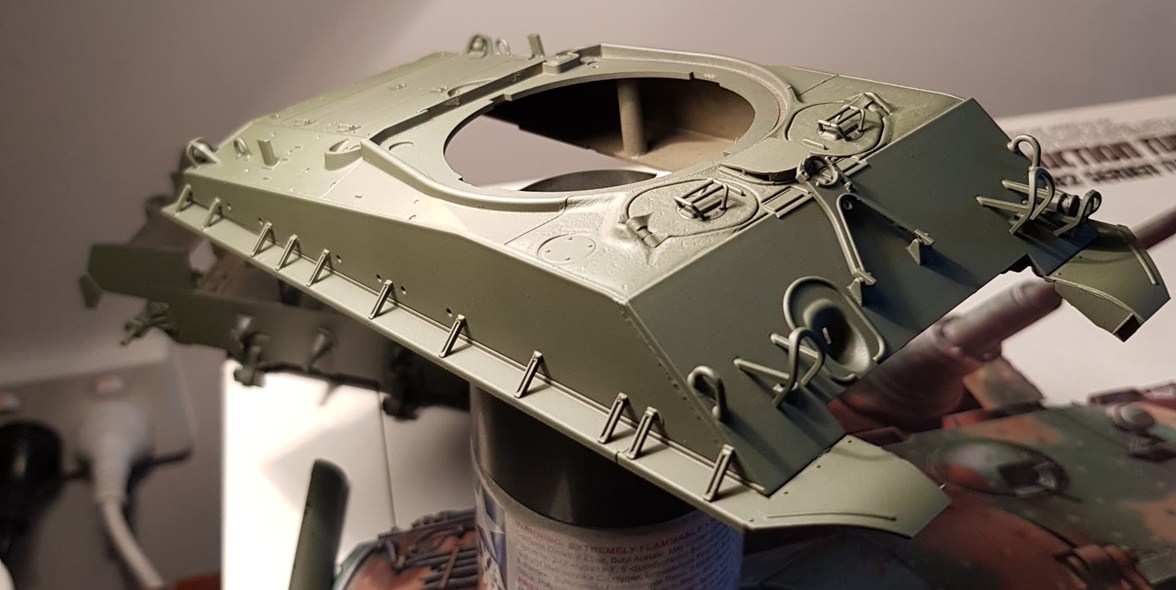
The Tamiya spray dries extremely quickly so by the time i was done priming a part i could roll straight into top coating a previously primed part with the olive drab. By the end of day two i had nearly all of the components painted and ready to go together. This was one was looking like being done in record time. The Tiger had taken two and a bit weeks and the T34 a week and a couple of days. If i didn't slow down i was going to need a bigger shelf, real soon. I ended up doing two coats of the olive drab and she went on very nice and smooth. The 22 skirt brackets were the most consuming part of the build besides the wheels. They were just a matter of using tweezers to hold them while i dabbed them in a small puddle of glue and then placed on the tank carefully. On some items, like the small hatch handles, i found it easier to dab a toothpick in some glue and then dab that glue into the locating hole. I really wanted to make sure i didn't end up with any gluey looking areas anywhere that would detract from the final product. Patience and some cool music in the background.

Back to the Tamiya rubber tracks again, so nice and easy to slide on whilst still being a tight fit. Trial fitted them all up and then painted them a dark iron with some light weathering. The inside centre line track teeth got a relatively dry brush of gunmetal. These were the most lightly weathered tracks out of all three i had build so far and the easiest to fit up.
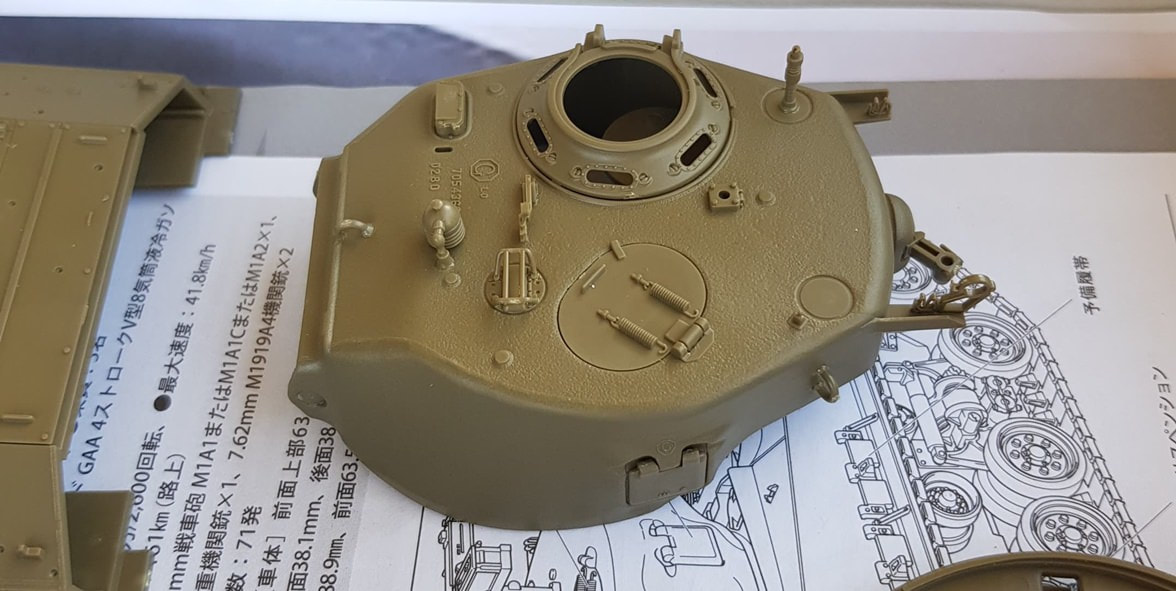
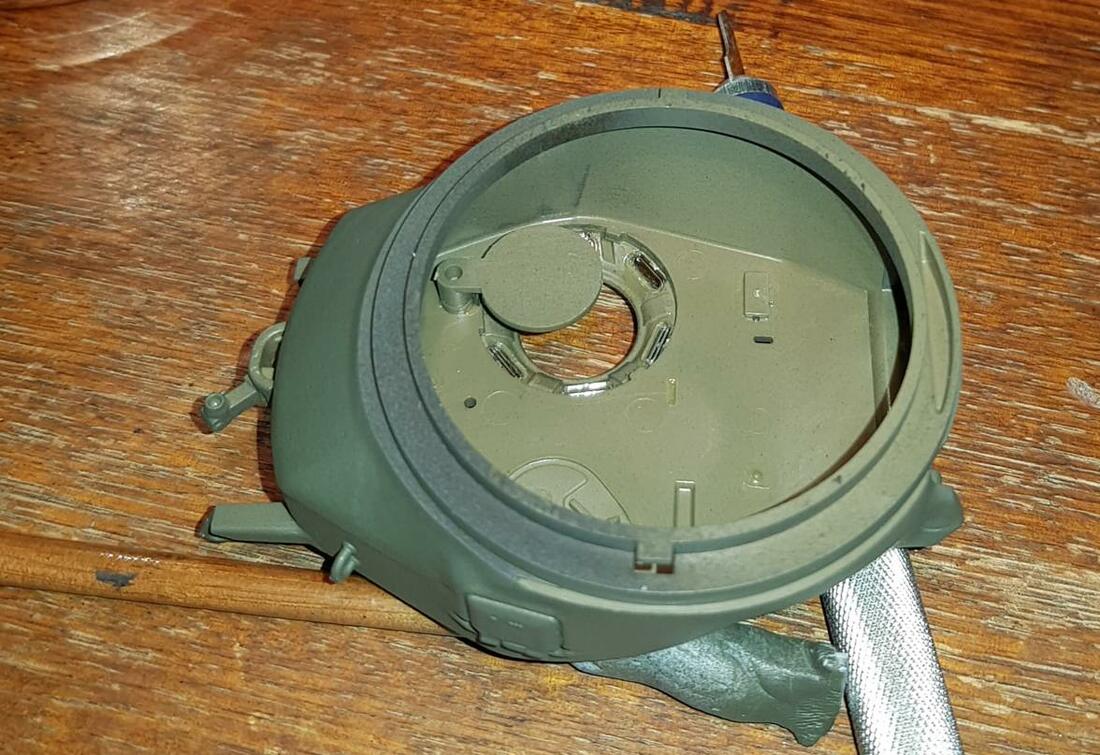
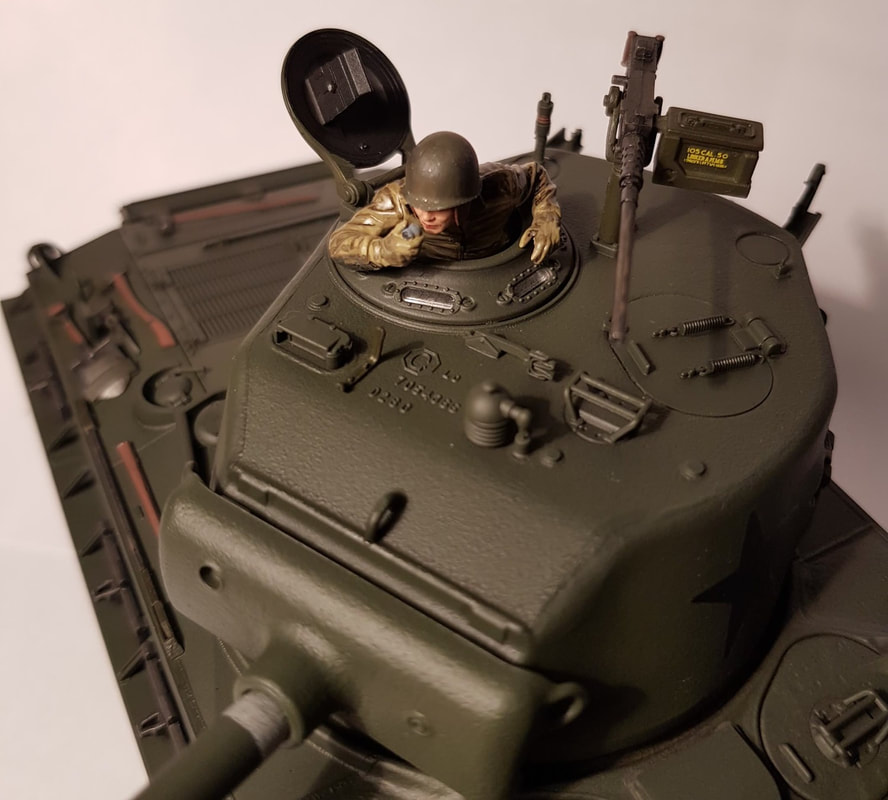
Adding the turret cupola viewing port windows.I trial fitted these to see how easy it would be for them to fit correctly so i wouldn't mess them up with glue. Minimal amounts of glue were placed on the window lip edges in the cupola and then once again using tweezers i lowered them in with one hand while using the modelling knife in my other to push them down into place. The operation was successful and they all remained glue free! This pic also shows areas that i missed when i was painting. This was all remedied before the finish but shows no matter how good a job you think you are doing, things can still get missed. The camera shows all!!! Bastard.
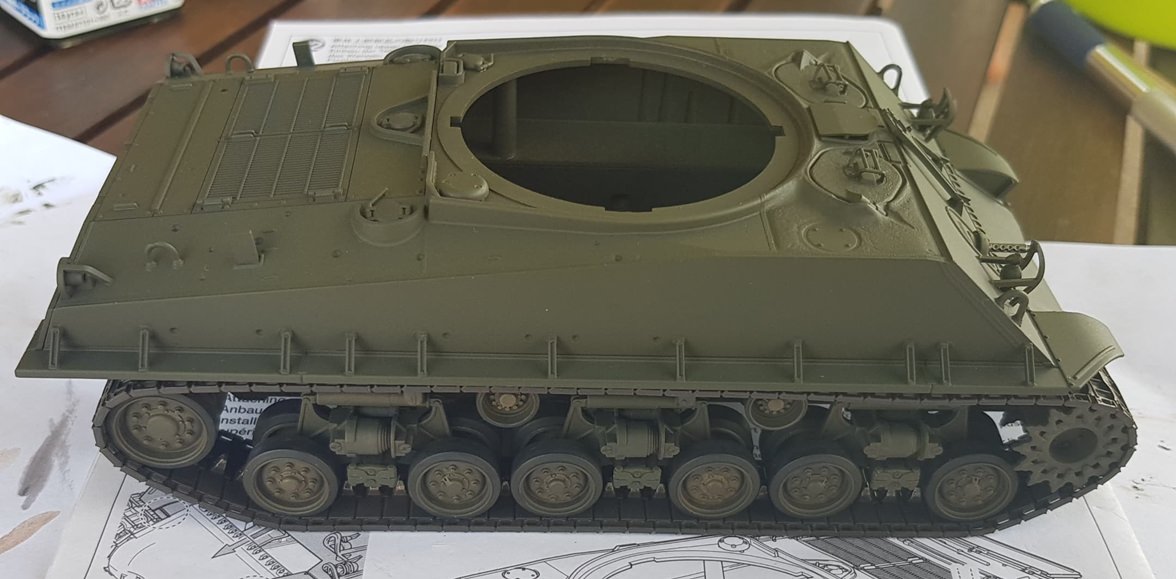
Next was completing the hull. I had to do a bit of scraping and sanding in the rear side sections for the top half of the hull to fit into place as it was an extremely tight fit when trial fitting. Once on it all fell into place very nicely though but i did apply some pressure when gluing and then let it sit overnight with some weight on it.
The finished figurine was a source of pride for me. I used Tamiya XF60 flat yellow for the coat and then applied the accent panel liner to highlight the creases. Olive drab on the helmet and some dry brushing with silver to knock it about a bit. The face was flesh tone and then highlighted the features with some soot and a tiny brush of red on the lips using a toothpick that i shaved down with a blade to get a finer point. The turret was clear coated and then the decals applied and then clear coated again. There is a little bit of silvering with the decals but i wasn't unhappy with the result. The silver part where the barrel meets the turret is meant to show worn paint form the recoil of the gun, i should not have made it so perfectly straight or maybe so silver but it was a nice little highlight that i liked so i left it. I did minimal weathering on the hull of the tank, some panel accent in nooks and crannies and a light brush in some areas with the soot compound then a full matte clear coat. At this stage i hadn't really worked out that you should paint then semi gloss a model, weather it so the weathering is seperated from the top coat by the semi gloss, lay the decals to prevent silvering and then clear coat. Still, i thought it was my looking tank so far.
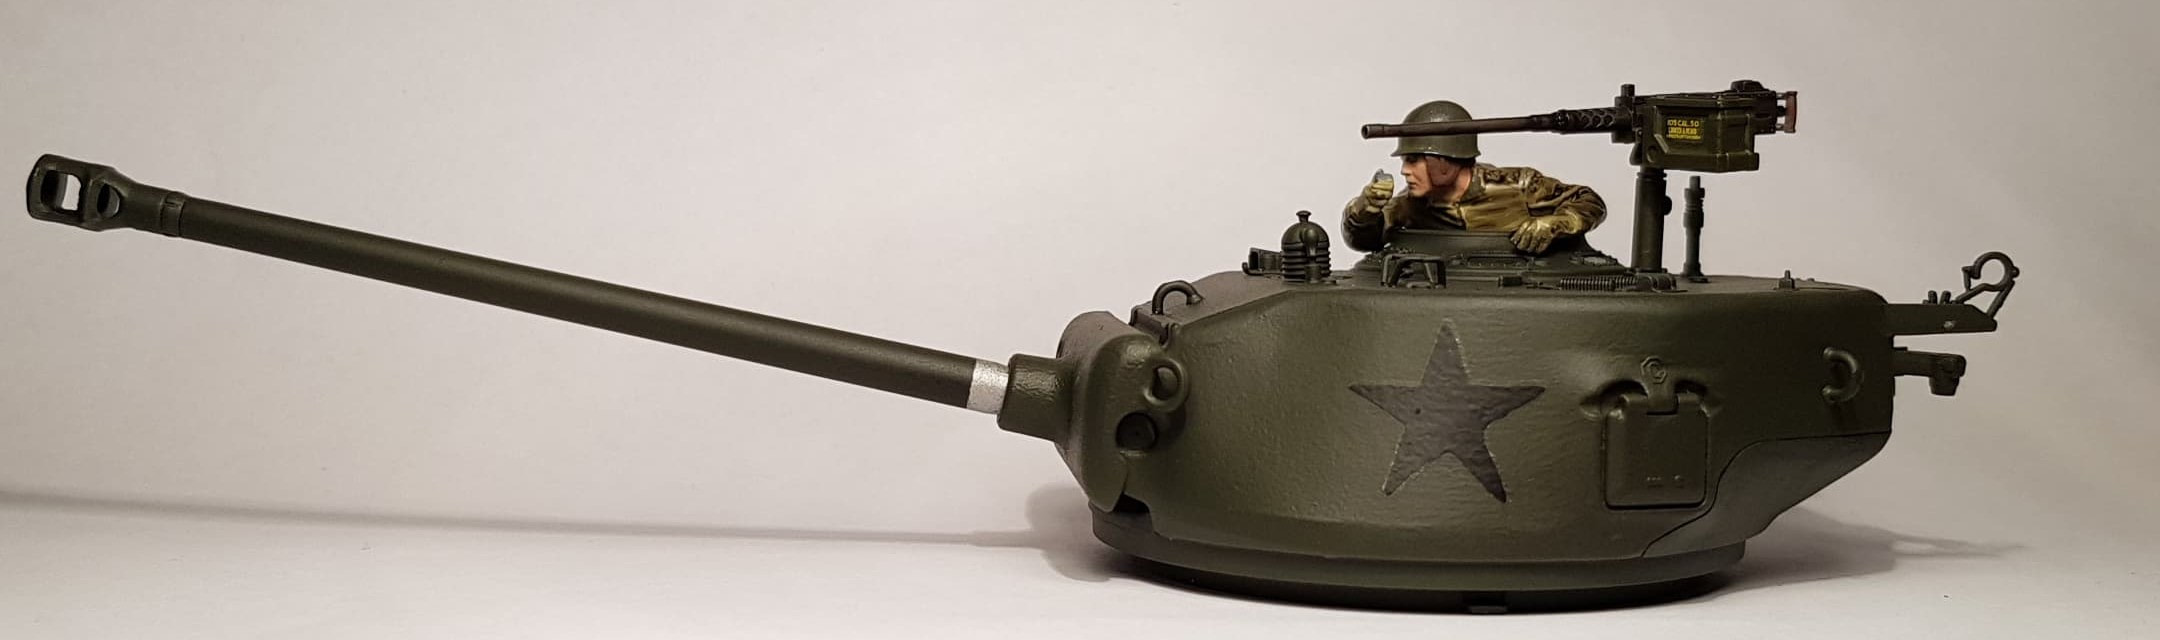
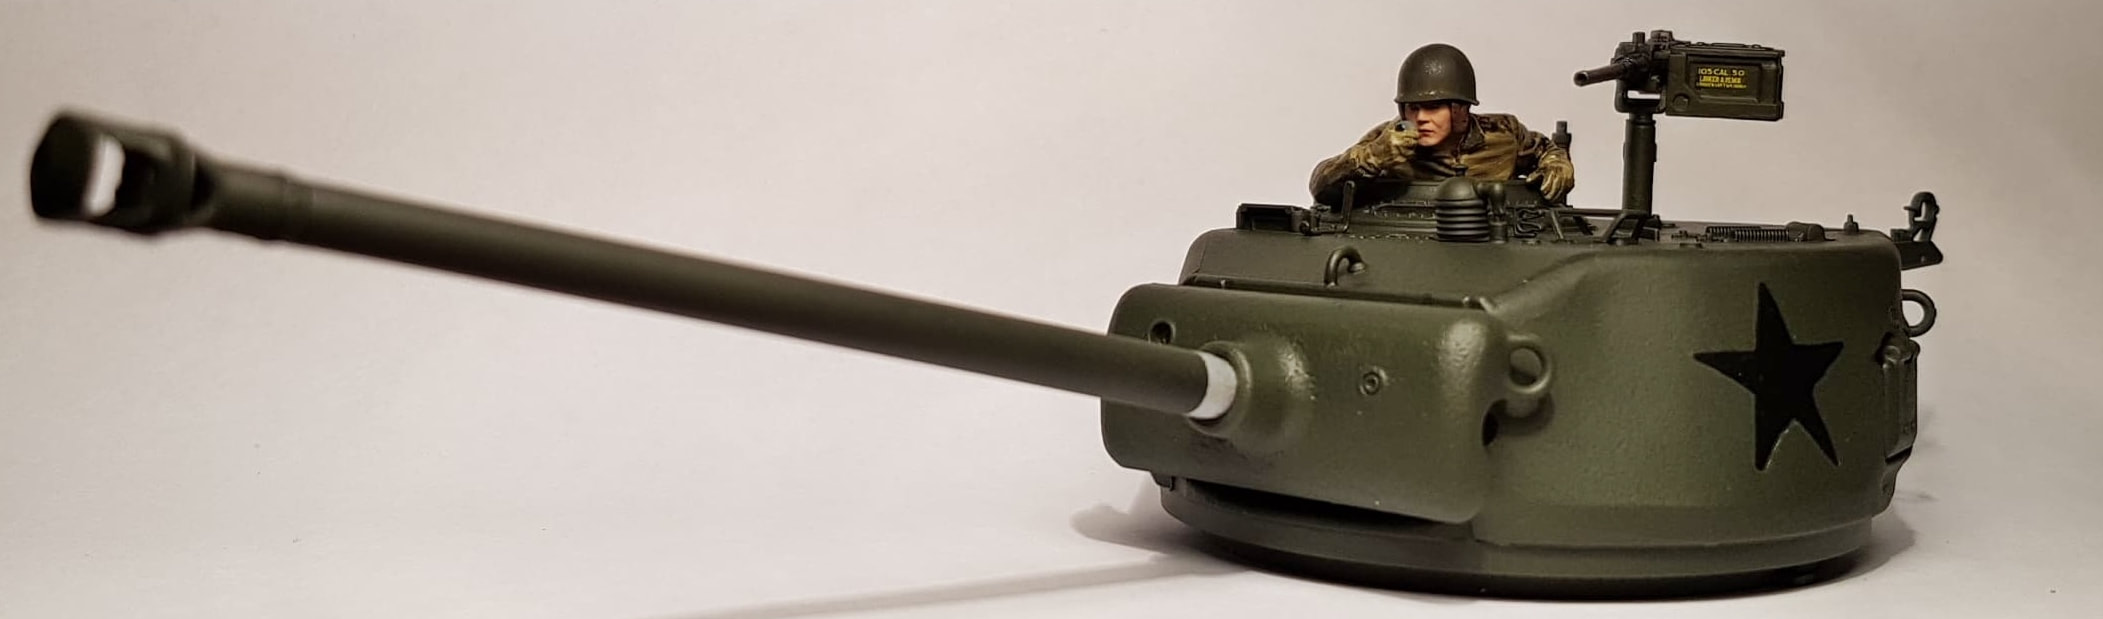

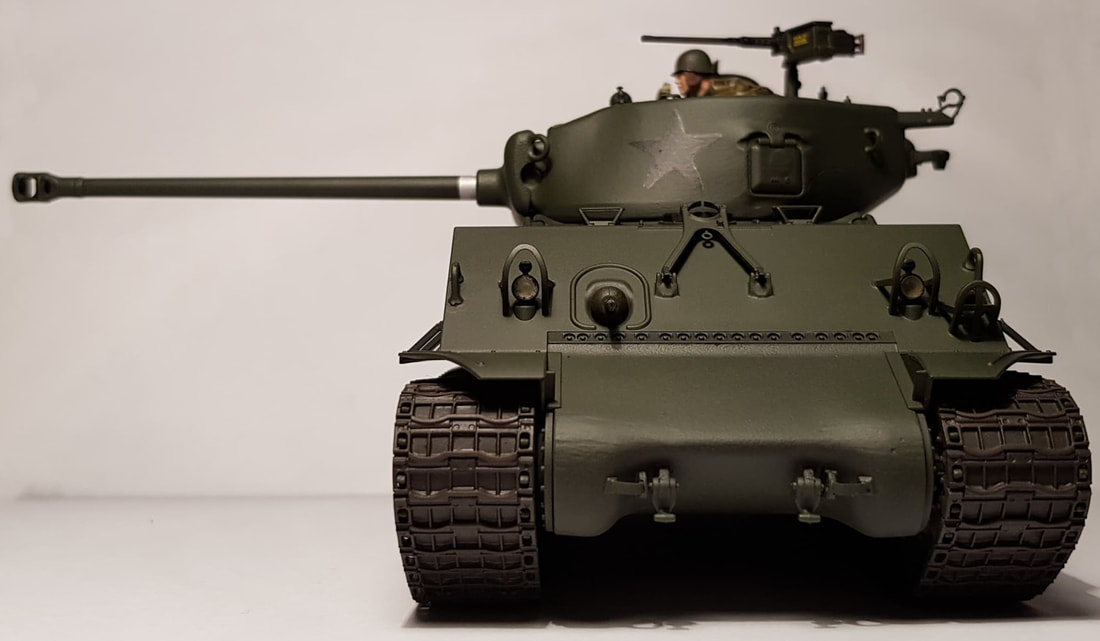
That was it, she was done! I just had match the turret to hull and do the tools and rear stowage tray. The tools were red brown mixed with thinner and flat earth and a mix of silver and gunmetal grey and silver for the metal parts of the tools. Extra track links were in dark iron with a touch of soot and she was ready to roll out for her photo shoot.
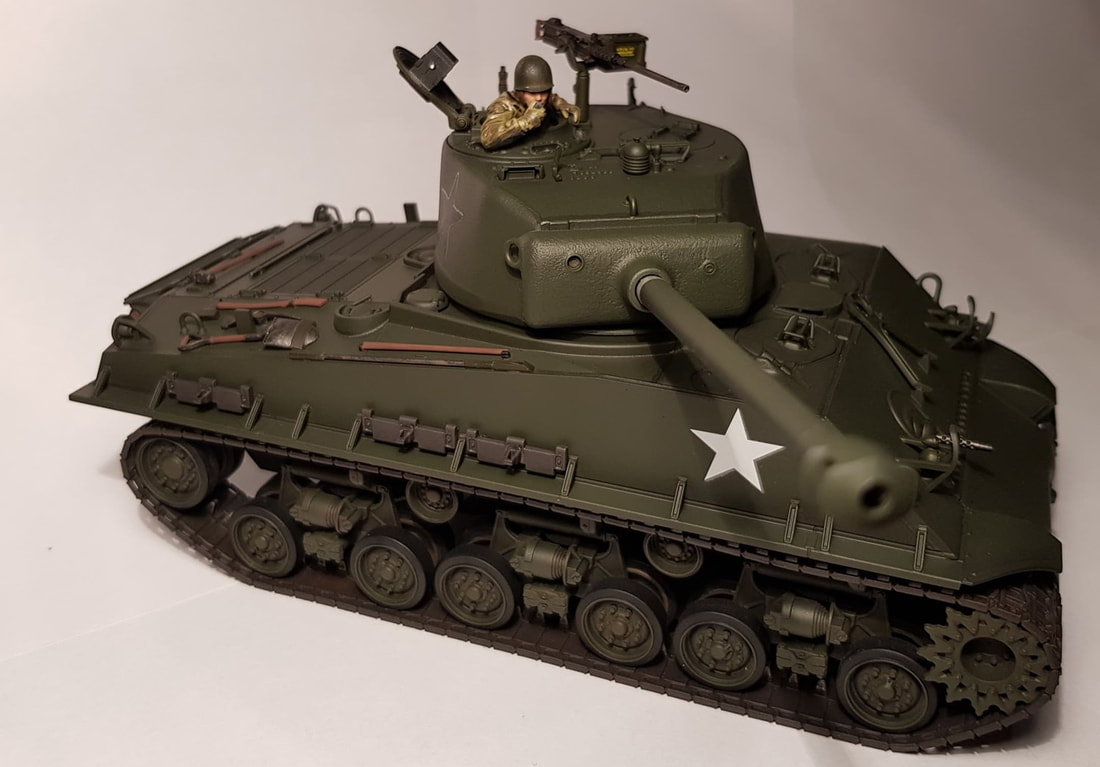
Out of all three tanks so far this one i would easily recommend as good starter armour kit. There is nothing really challenging about it for a first timer and it fits and paints up nicely with minimal effort. I had held back on weathering because of my T34 experience and it was maybe too clean but i liked how it differed from the semi dirty Tiger and the grungy, gunky T34. The matte clear coat really does finish the build and evens everything out. After the Sherman i felt ready to tackle the next beast fairly confidently. The King Tiger with it's complicated ambush camo. She was a massive bit of kit compared to these last three builds and something i hoped to be able to do justice after learning some basics over the last two months.