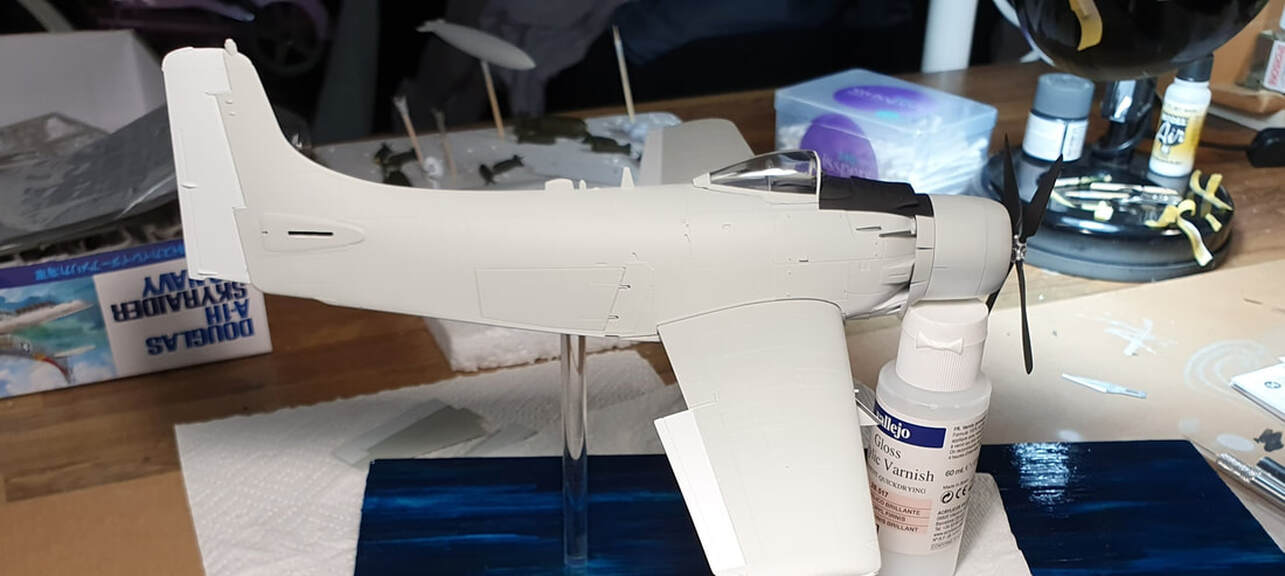
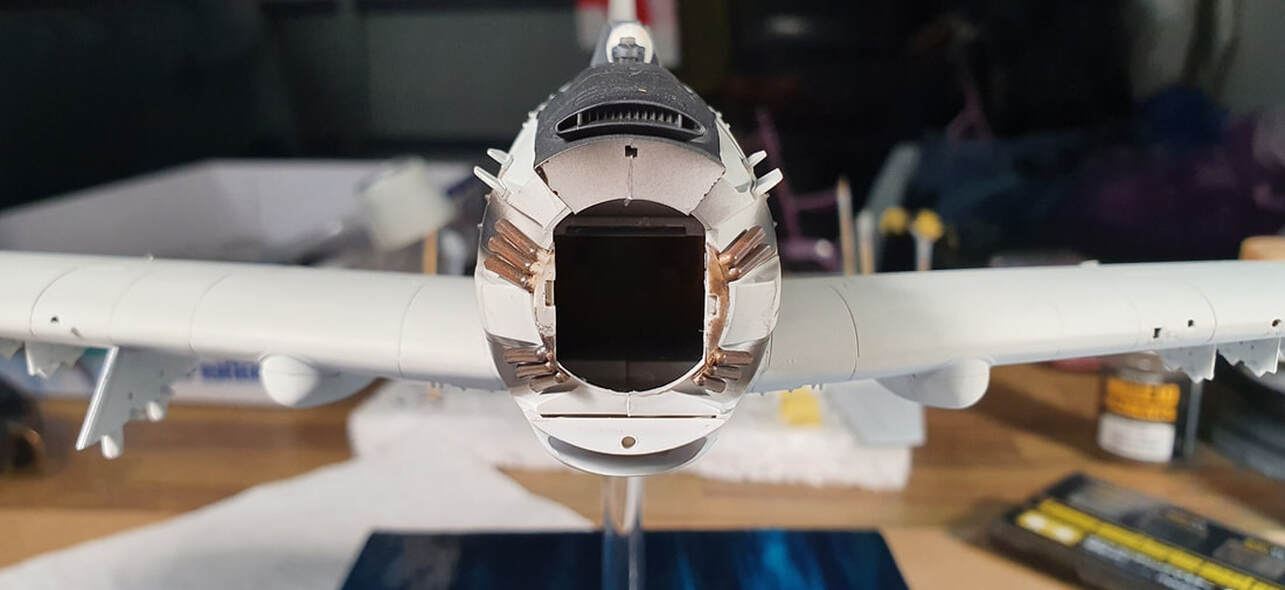
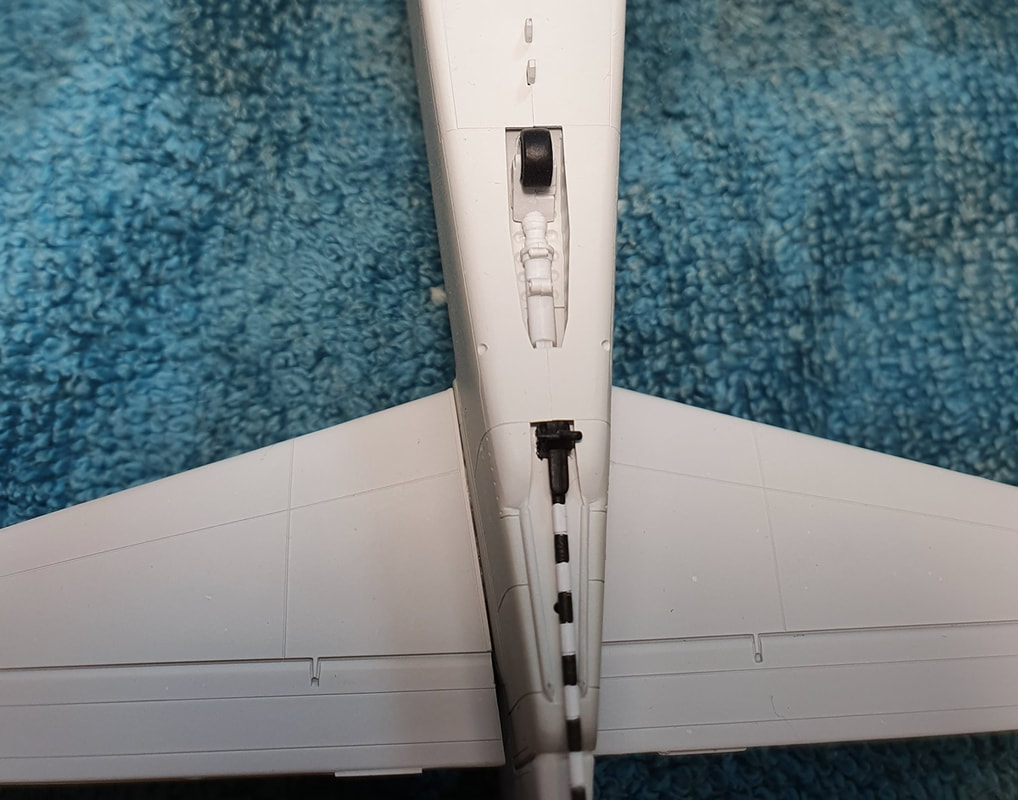
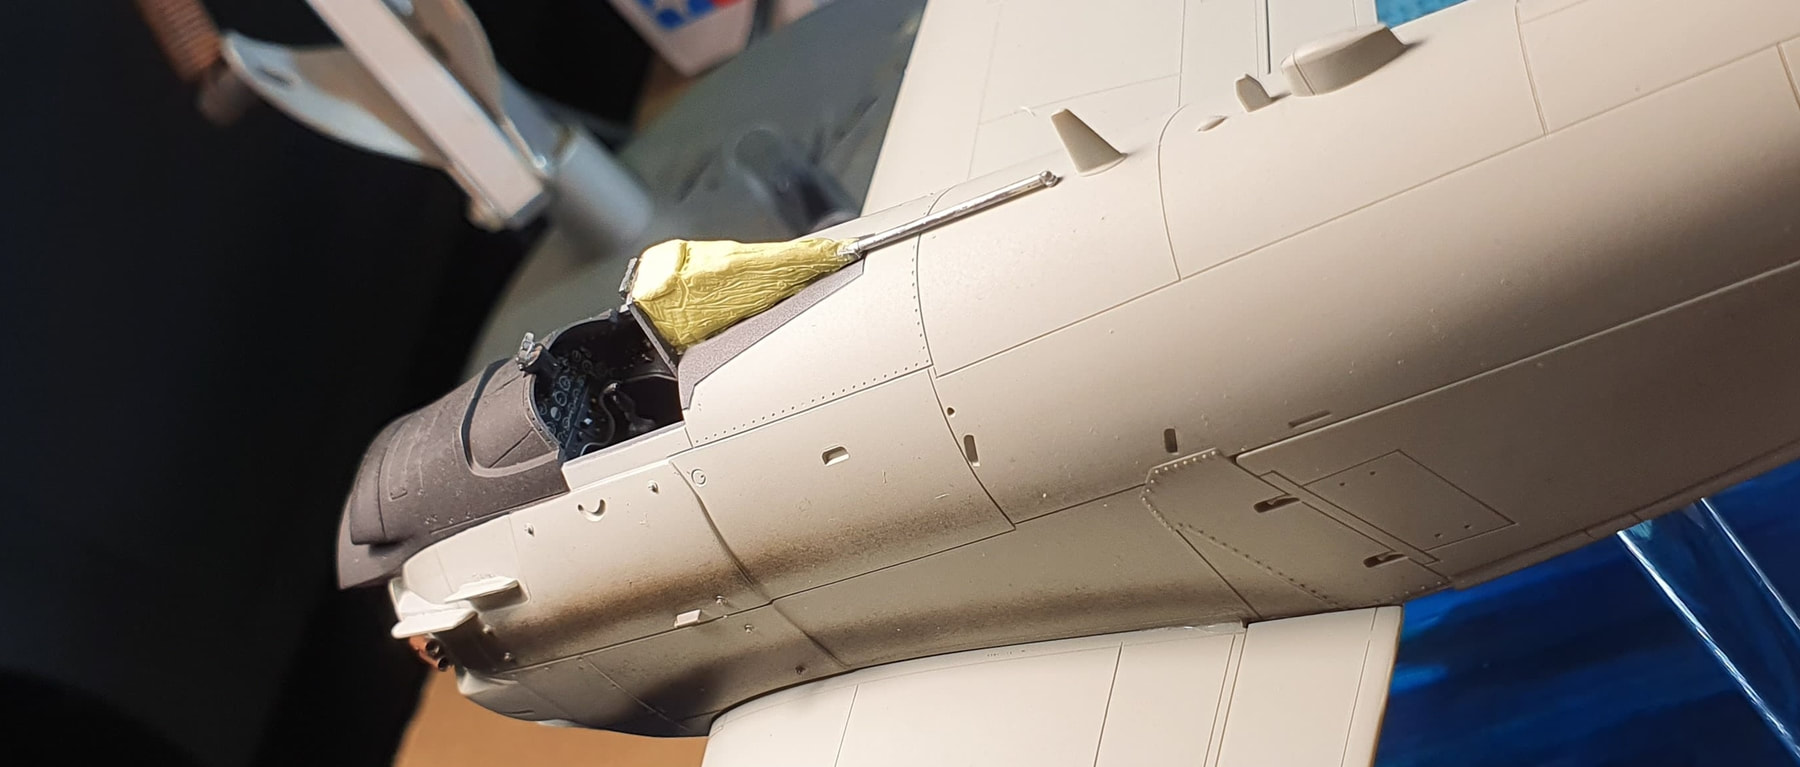
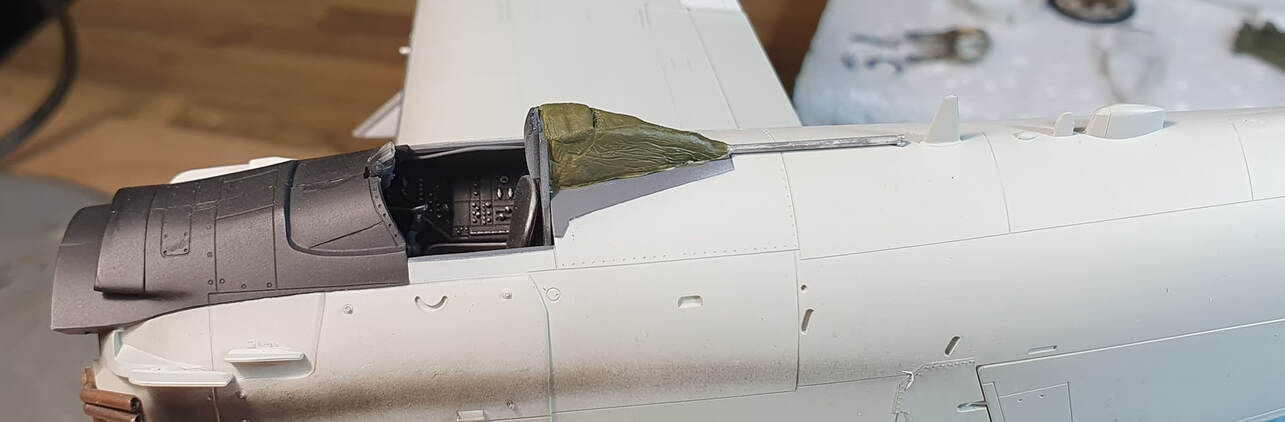
Finally at the stage where i could mount the clear rod. I built up a base of putty in layers over the last few weeks around the hole inside so the rod isn't just relying on a couple of mm of plastic. It's now nestled in about a centimetre of putty, glued with cyano glue, let set and then topped off with another layer of putty. The top of the rod sits flush against the fuselage spine as well so it should be all good.

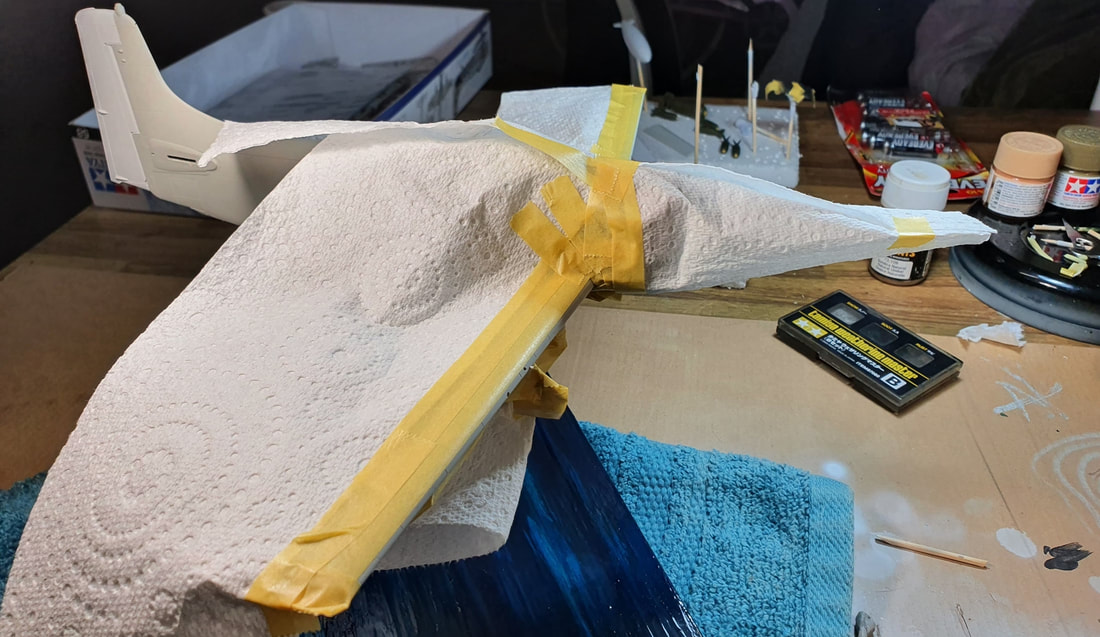
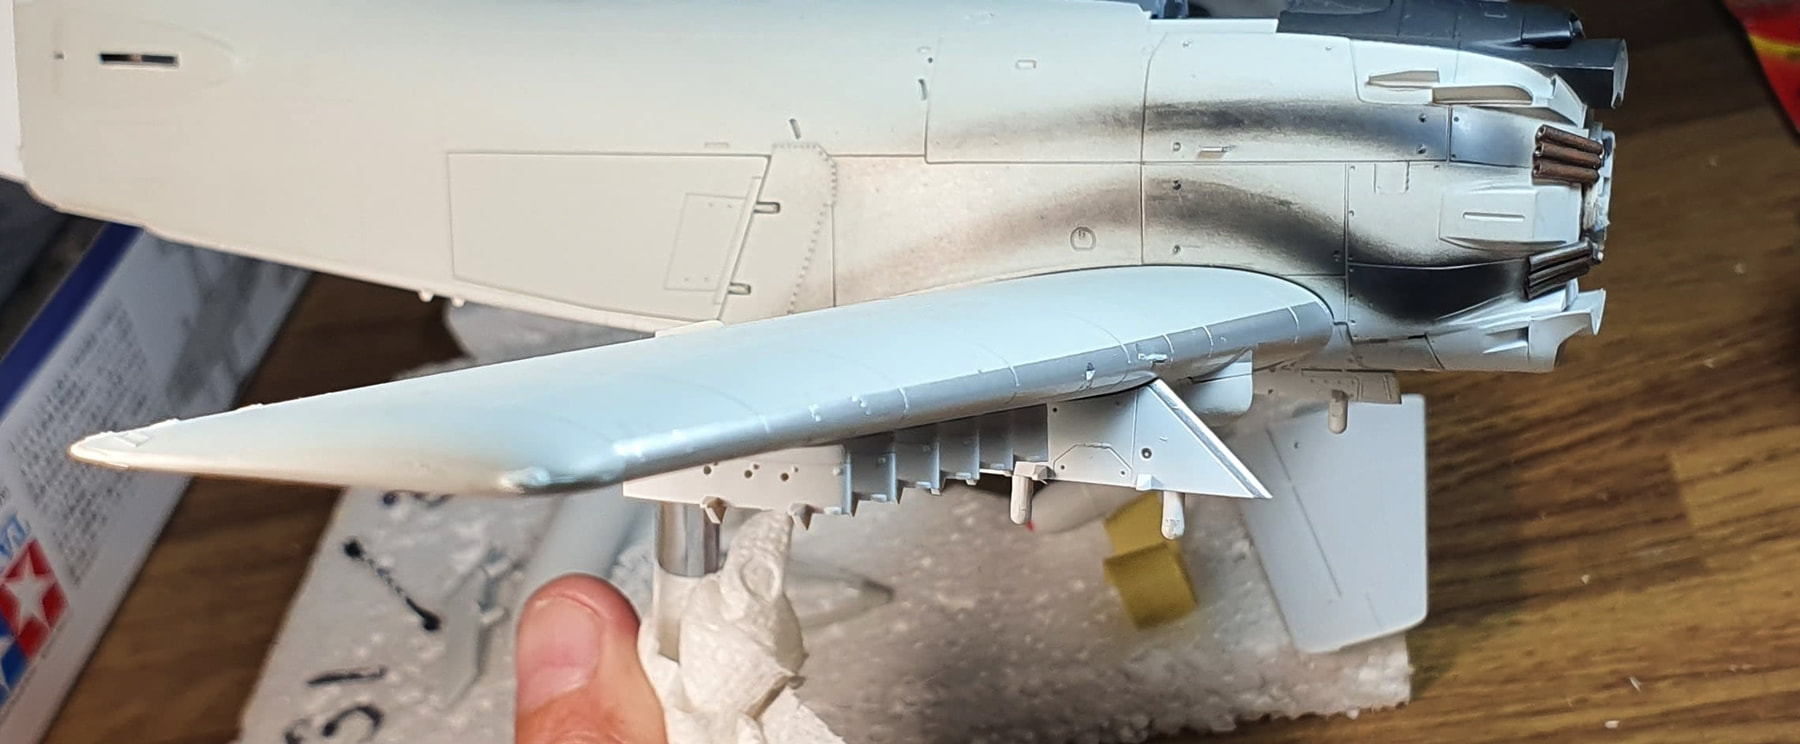
Final test fit of the wings before they get mated to the fuselage before glueing, taping and sitting overnight. I put some pressure on the wings to close the gap at the fuselage but the angle of wings was too high so it is what it is.
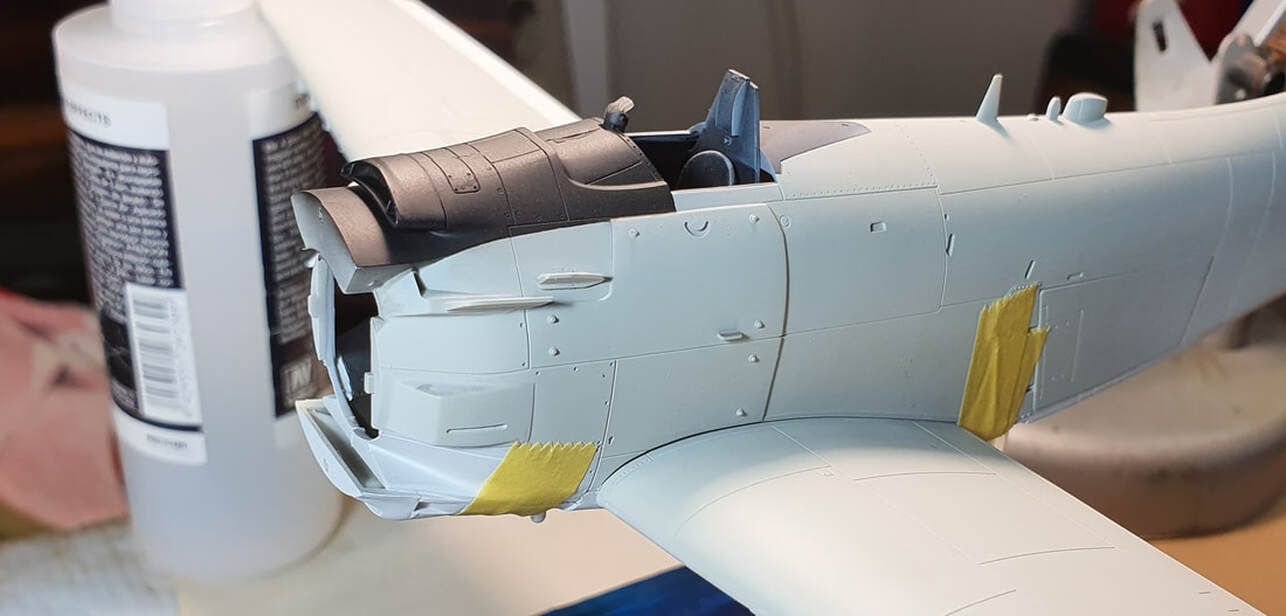
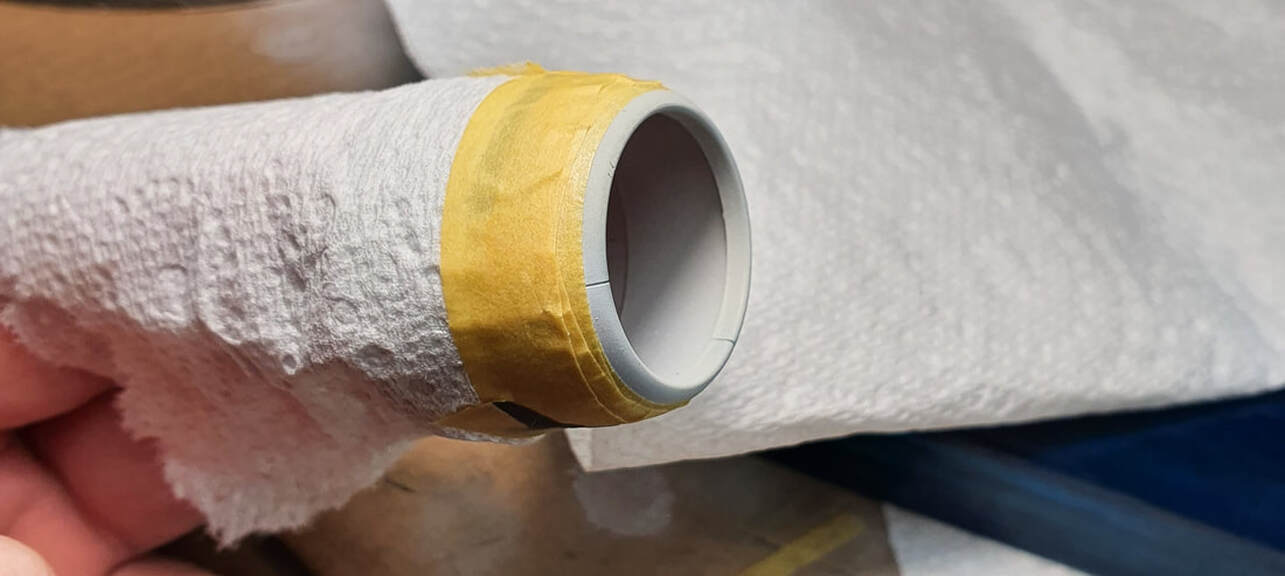
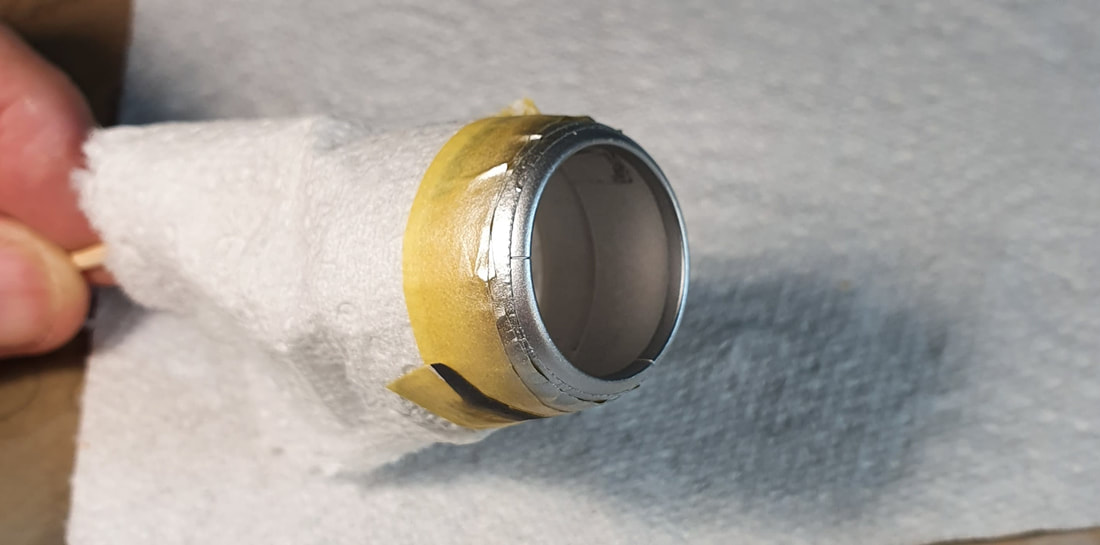
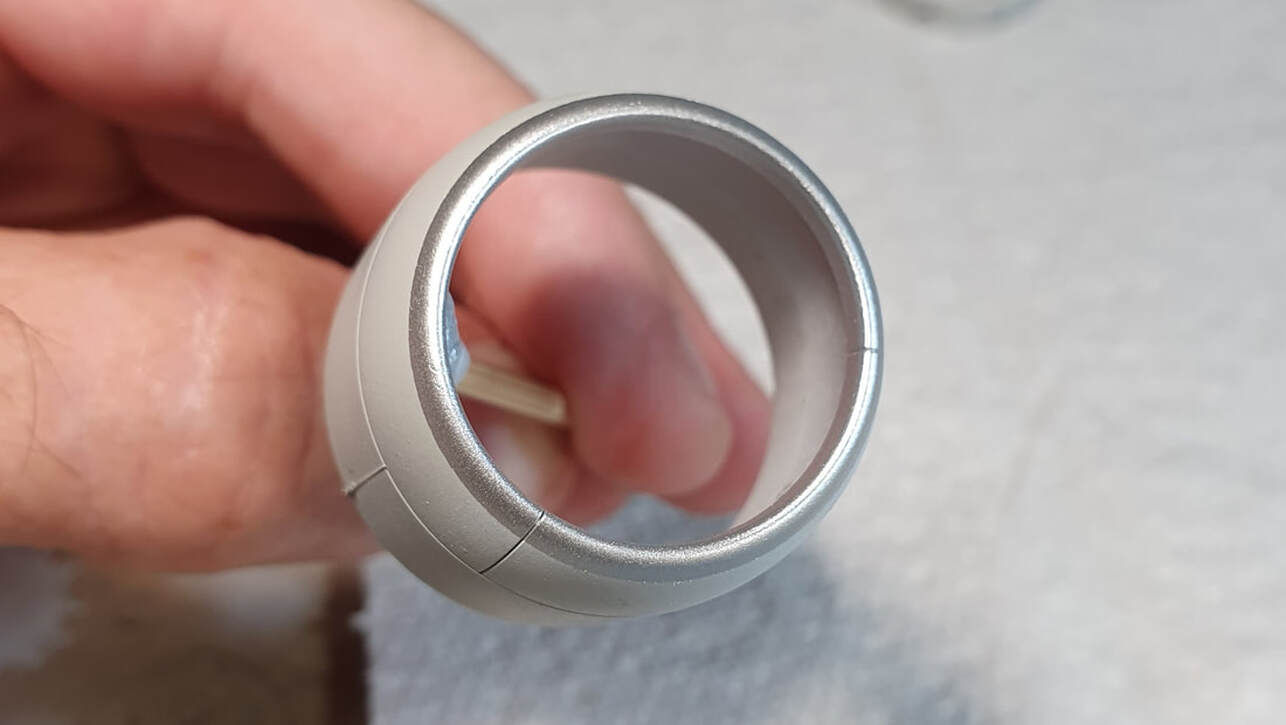
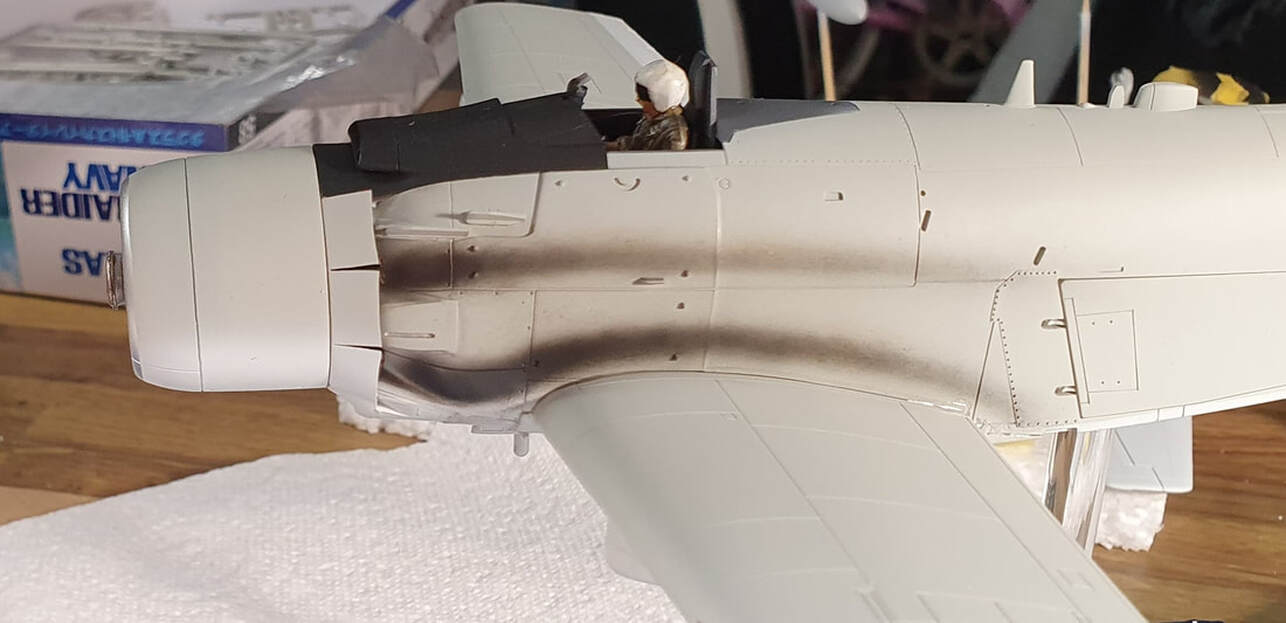
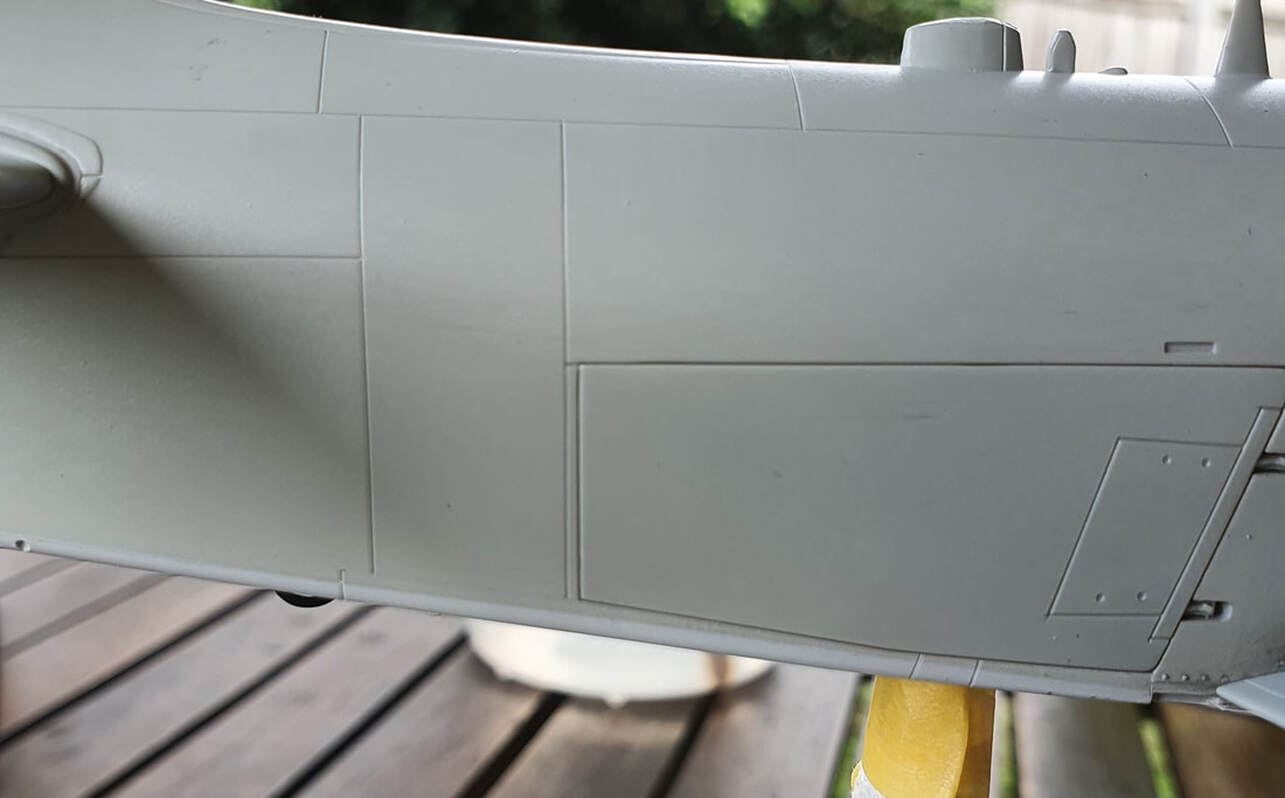
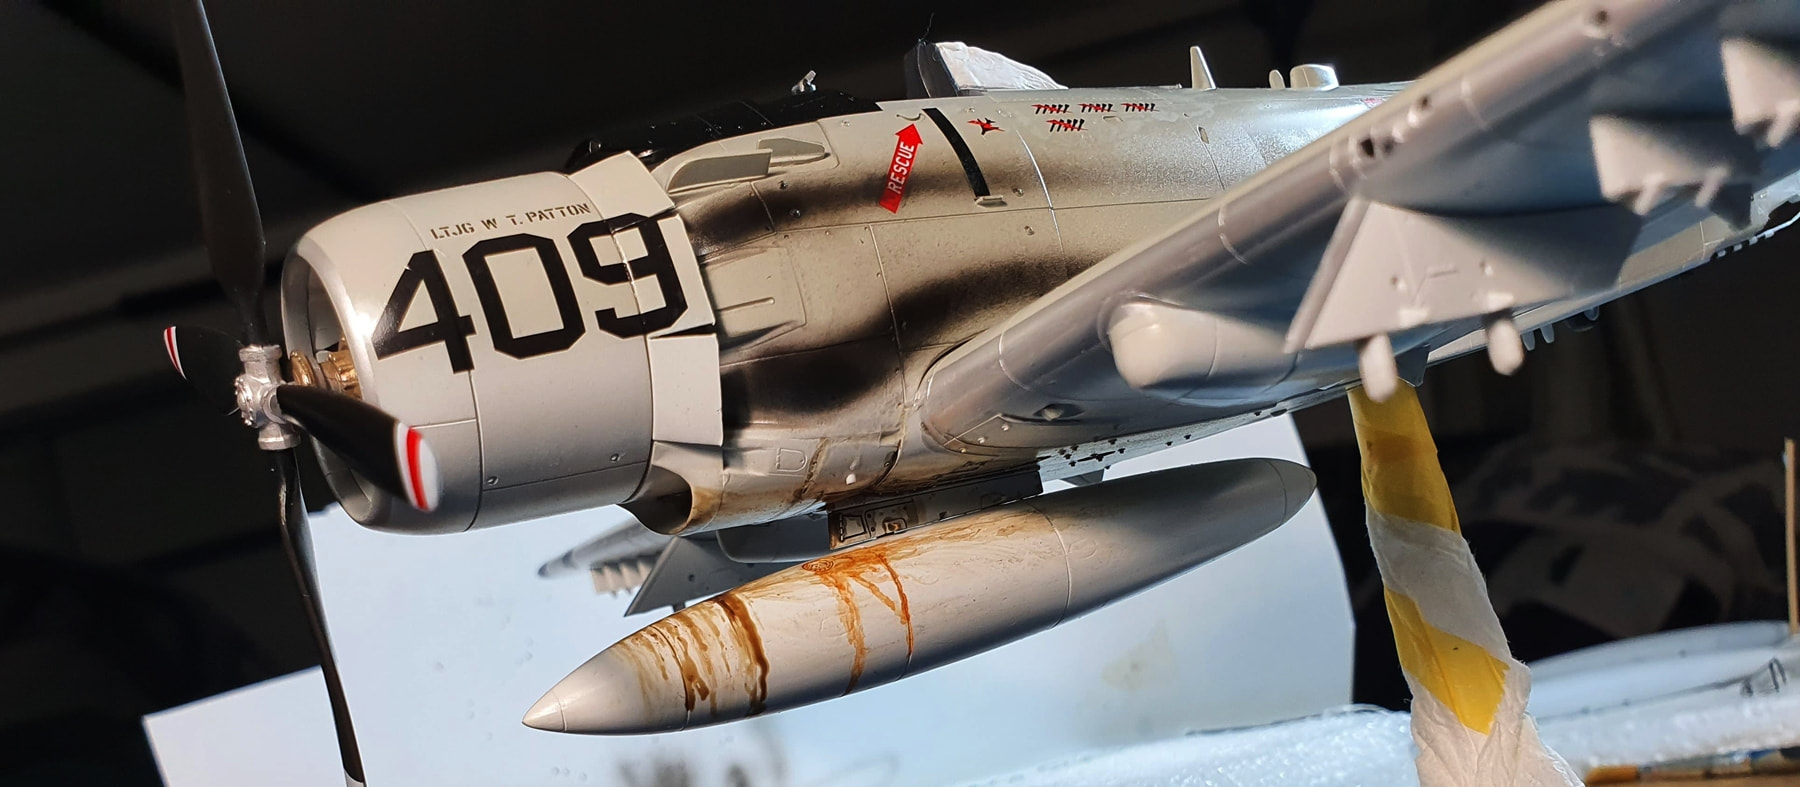
While waiting i masked up and sprayed the front cowl section, i was worried this may be a bit iffy but my taping job ended up being ok. I'll let it settle for a few days and then give the silver a cloth rub to smooth it down a bit.
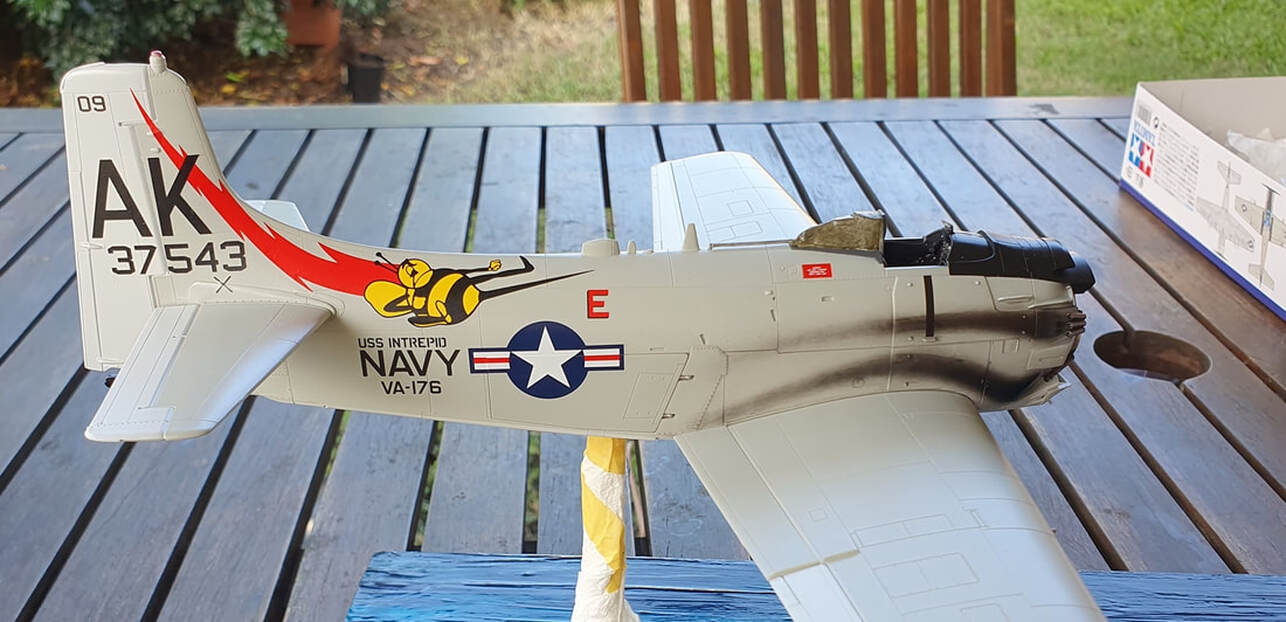
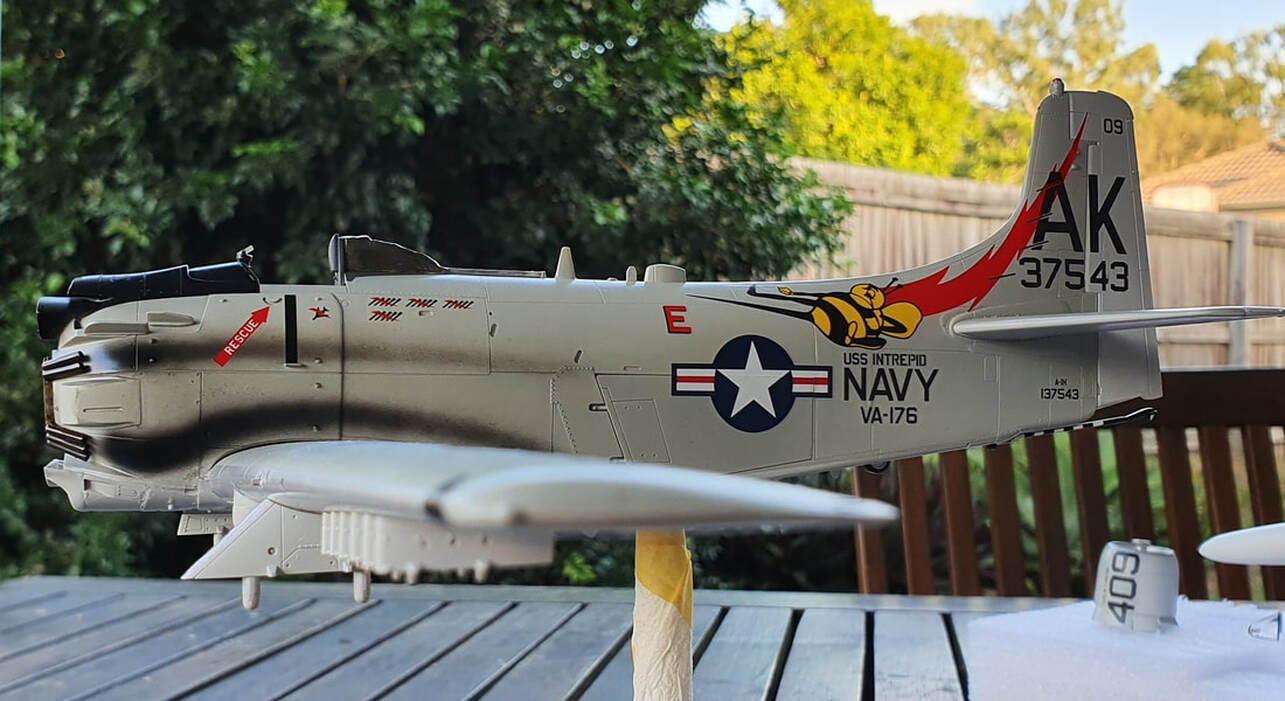
Exhausts mounted and exhaust stains nearly done. I really should have done the stains before putting the wings on as they were exactly where i needed my hand to be when airbrushing. Based them black with some engine soot/oil colour mixed in and then played around with some compounds. They seem a bit stark to me atm but i will leave them alone until after i clear her her for weathering and then play with them a bit more. I think i'm just too used to seeing her all nice and clean and the stains on all that grey and white are freaking me out
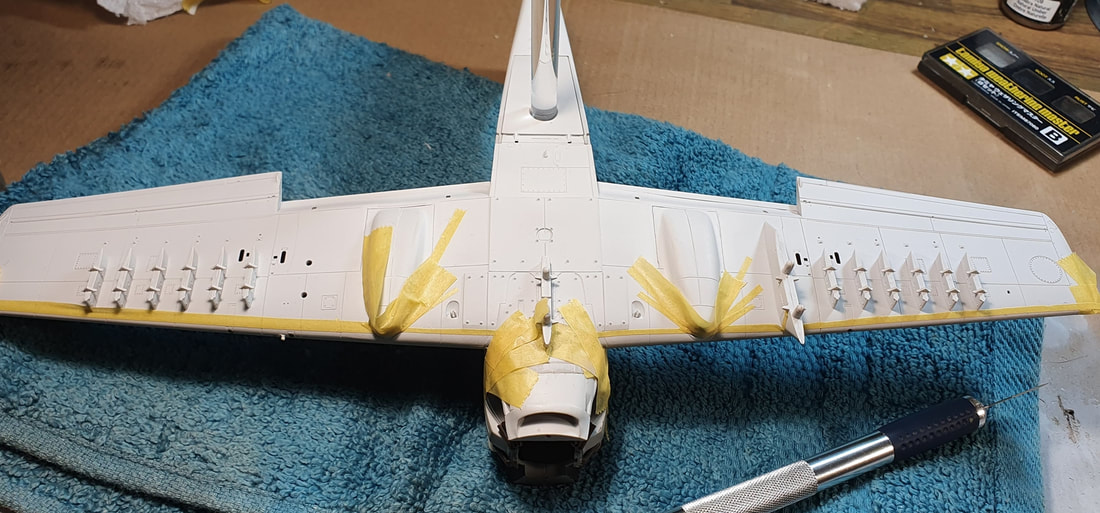
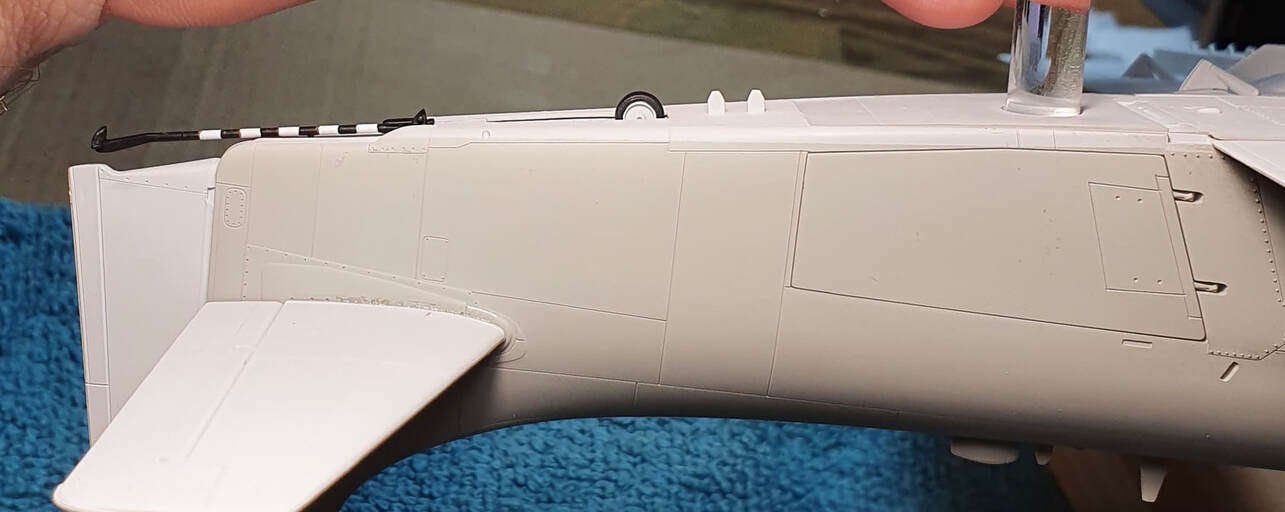
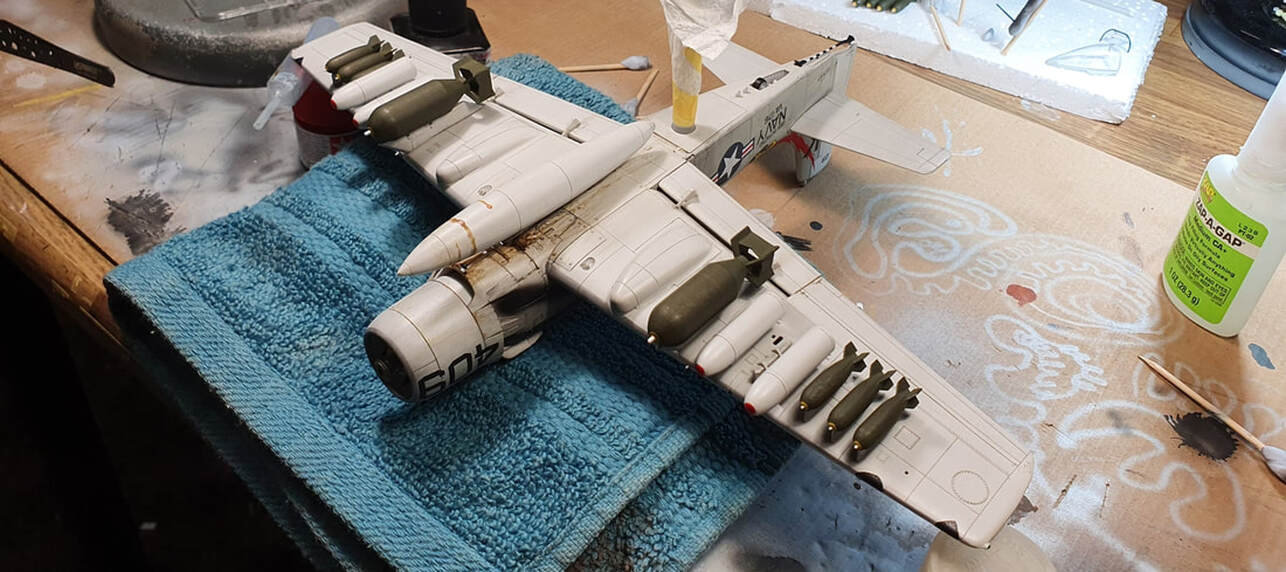
.Masked and painted the leading edges, i really ended up doing this all ass about face. I should have done these and the still to be done black outs on the wings before glueing them to the fuselage. I also should not have stuck on any of the pylons as all i have done is make it hard on myself for no other reason than my head has been in fairy land for half of this build.
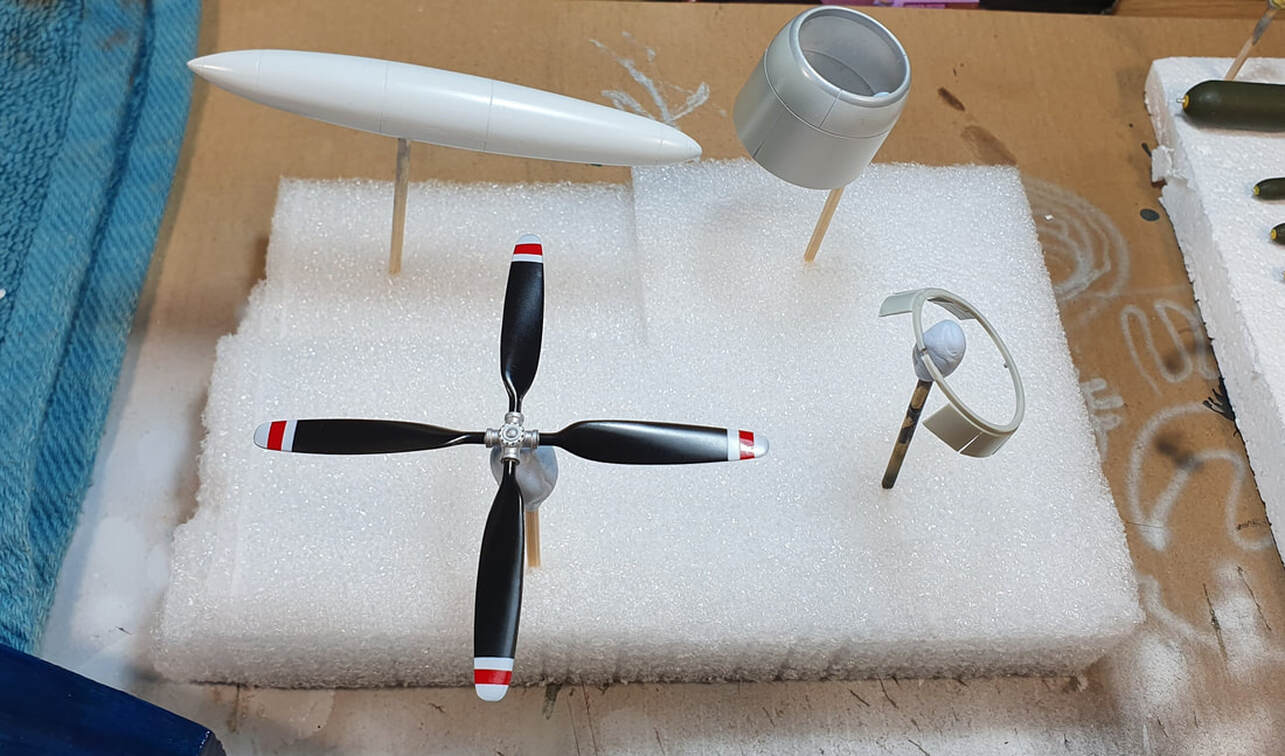
My cut price rendition of the Bell X1
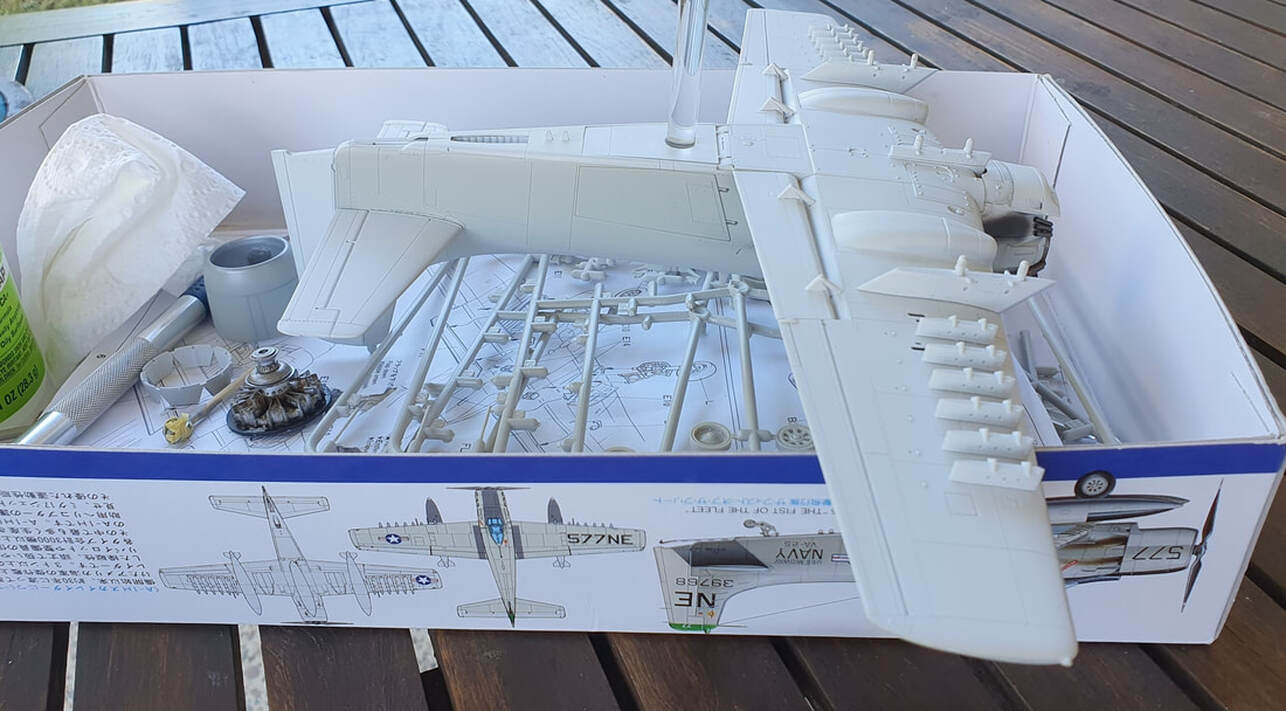
Pylons, flaps and tail wings on. The flaps needed some sanding to fit, tight, and the flap hangers need some touch up as does underneath the rear wing. I also cut the tail wheel assembly in half and she snugged in nicely.
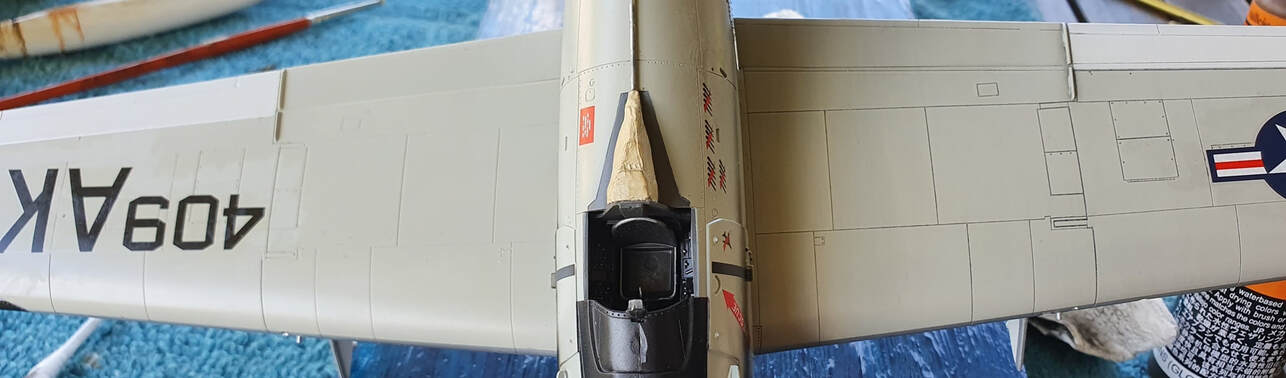
I thought i needed to add a skirt to the canopy mechanism... so i modelled this (if you can call it that) out of milliput from a cutaway drawing i have of the plane. I could have just left the mech open but it's done and dusted now. The colour i have started to paint it, a canvasy/khaki type of colour is way off as it should be white ...so it is still a wip.
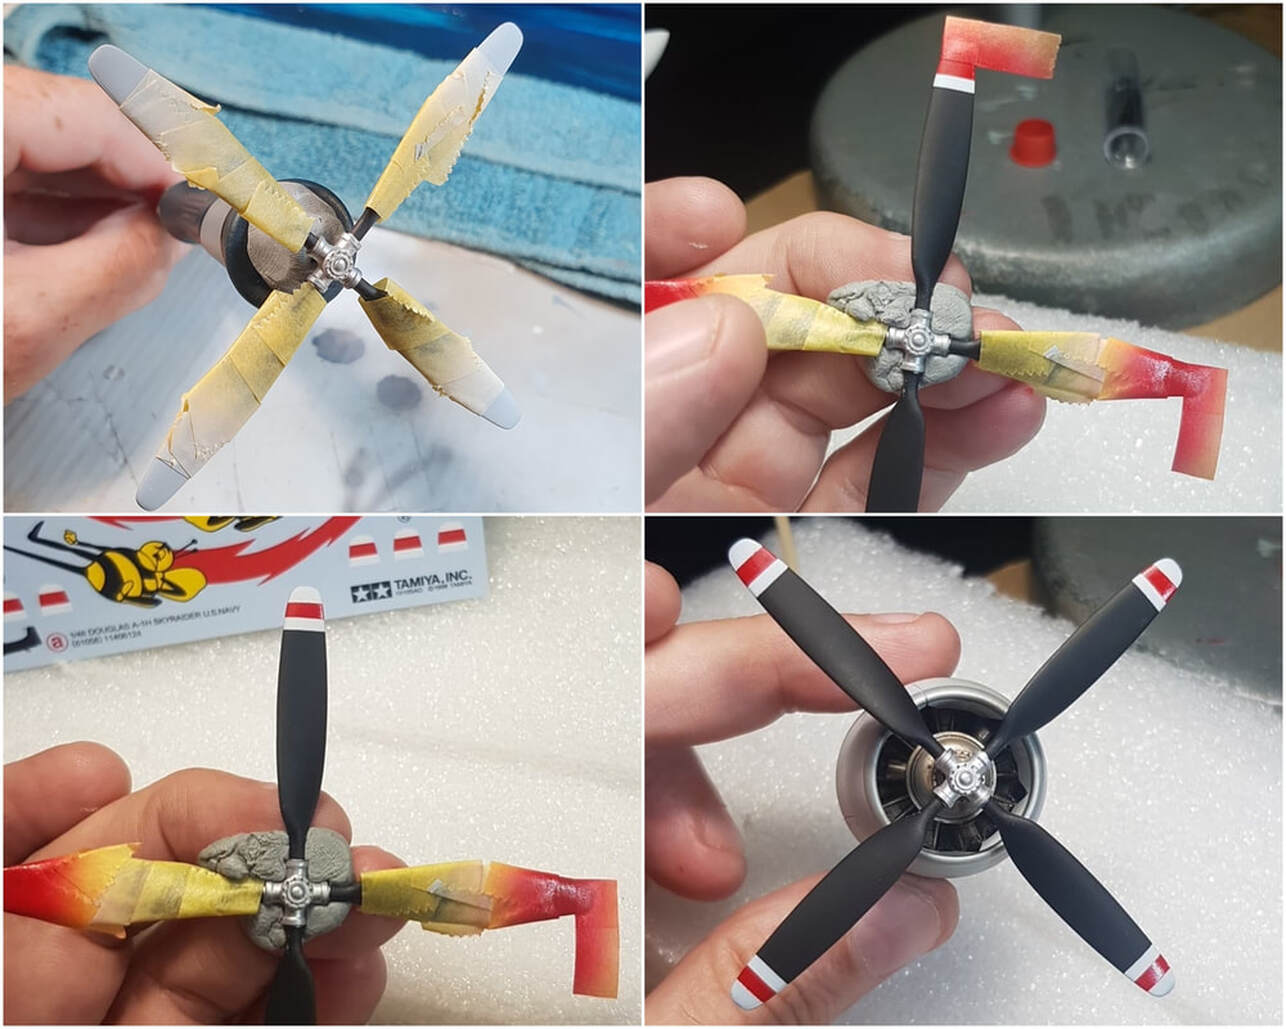
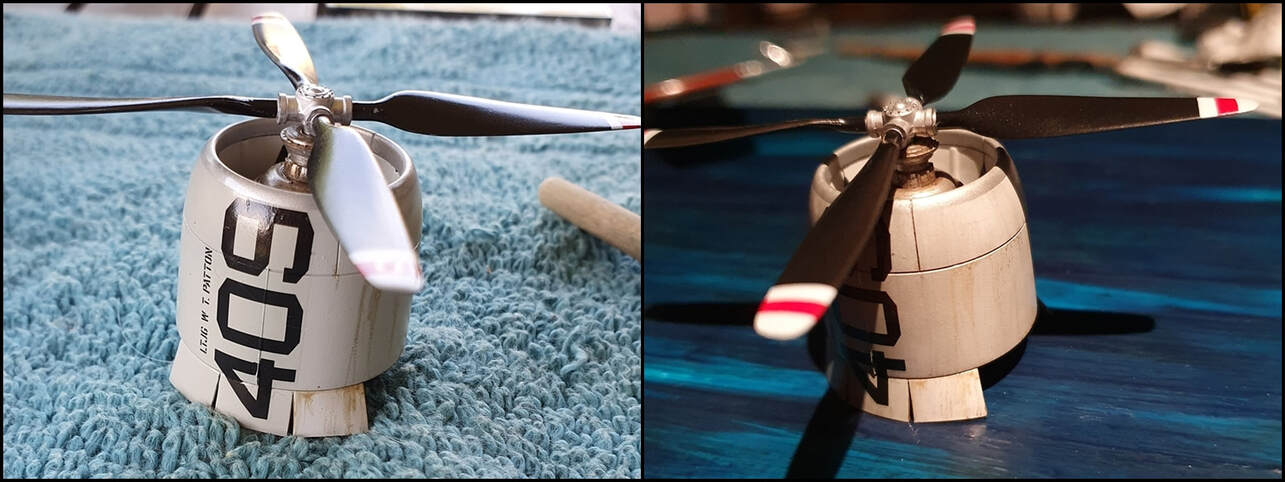
Decided against using the supplied decals for the prop. Those things are no fun at all, require fine trimming and just never really fit great, painted looks better and is less work.
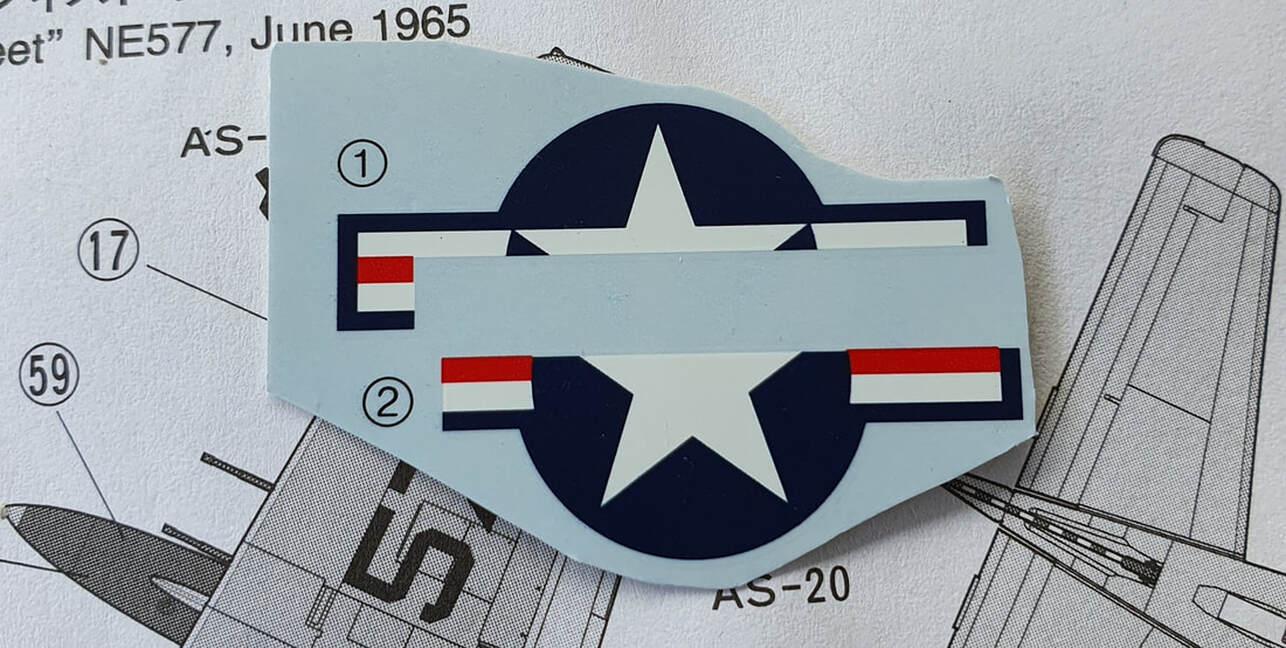
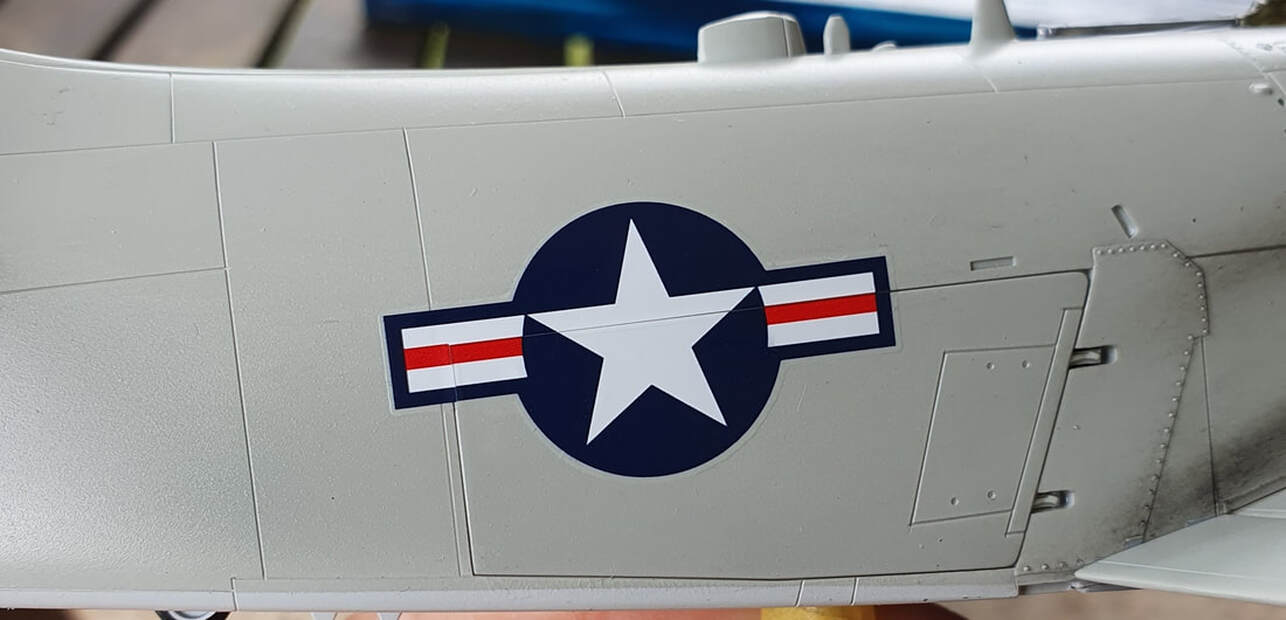
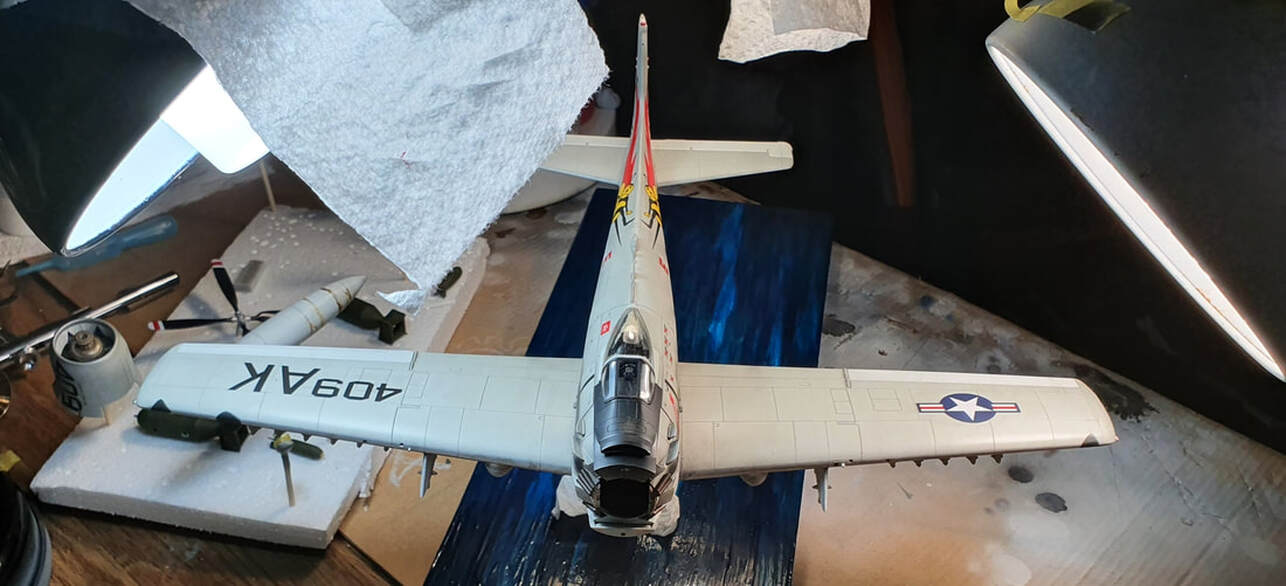
Decal time! The fuselage has split decals that match up with the rear top of the fuselage dive flap if you decide to have the flaps open. After initially placing them both, i found you have to overlap the two pieces to get a neat fit, this was about as good as i could get regards matching the star and stripes and edges. After getting one side done it was very nice to have some colour added to all that white and gull grey.
Ack! Time to pull a save out of the bag. I'll get it sitting right, coat it in decal solution and hope for the best.
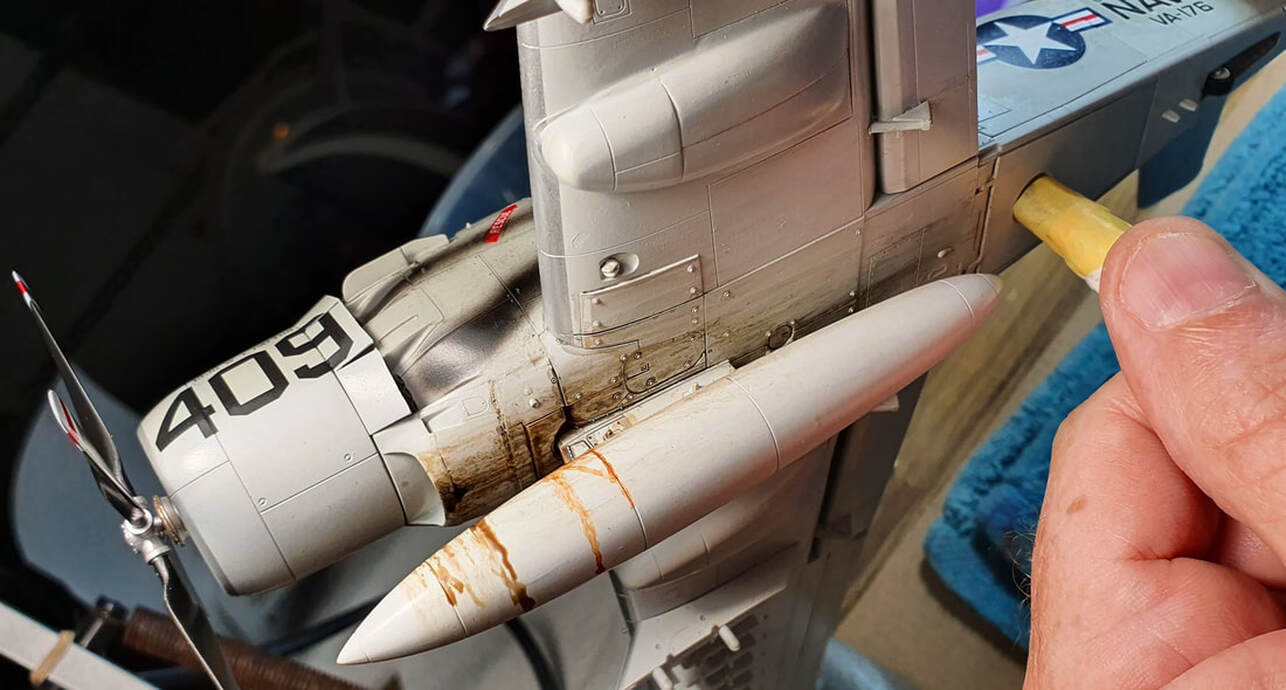
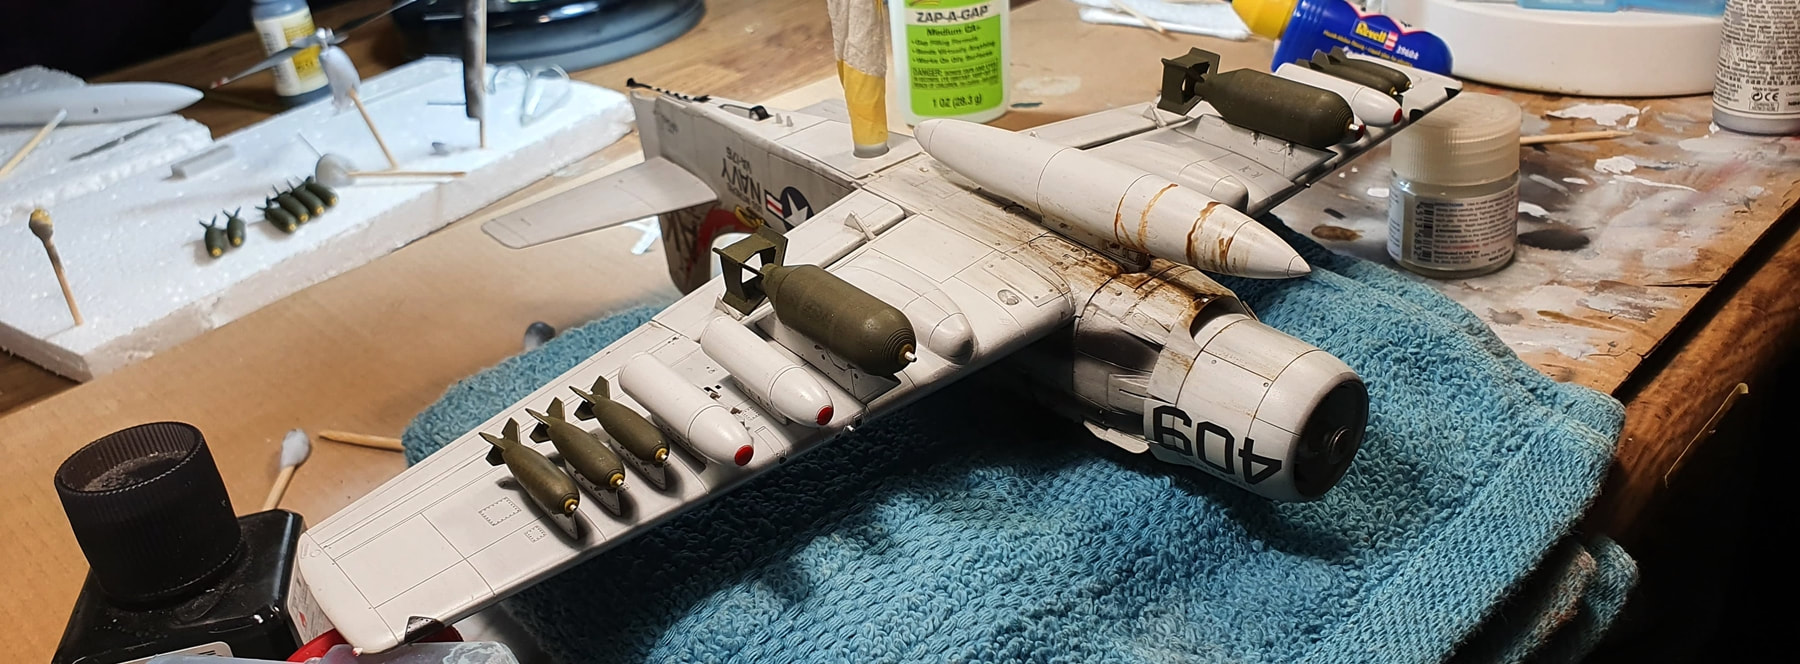
After clearcoating and letting it sit for a couple of days it was time to get dirty. Started off with some panel liner then two different acrylic engine oil colours that i hope will blend together a bit better once i get to the oil weathering stage.
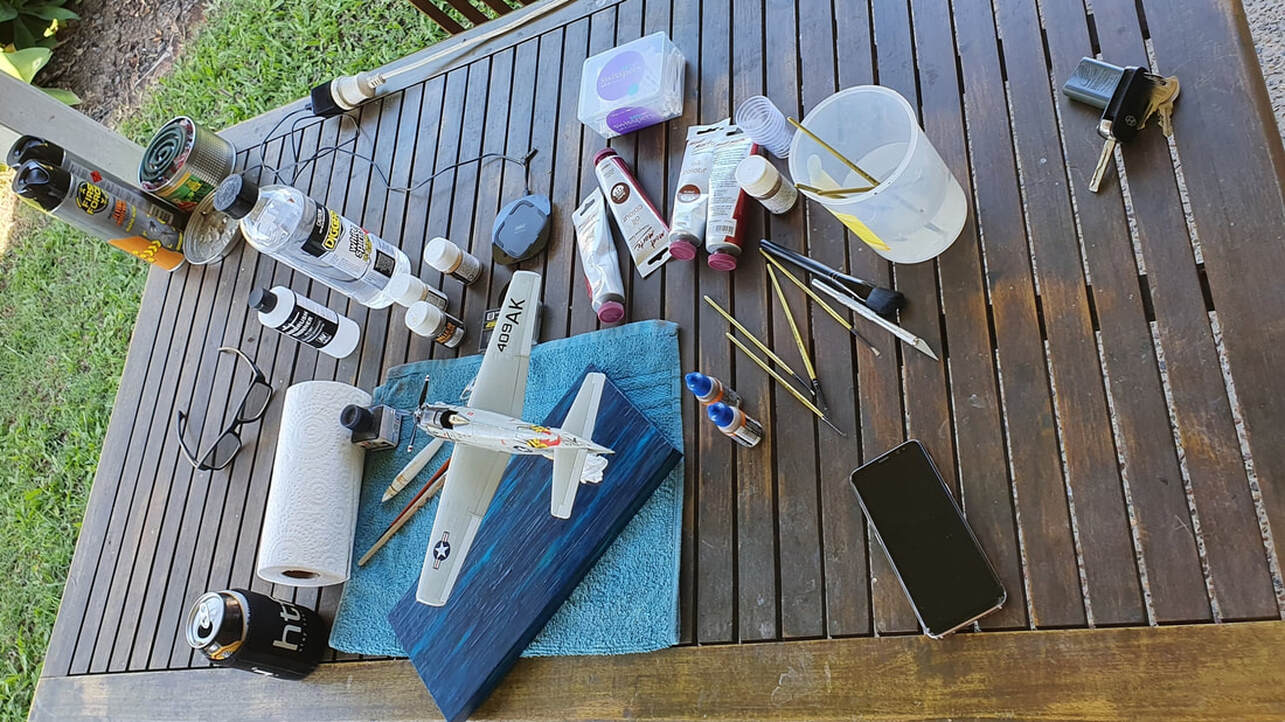
Gorgeous day outside so i moved the whole shebang out of the shed and invested in some rums. This whole covid staying trapped at home is getting a bit barmy.
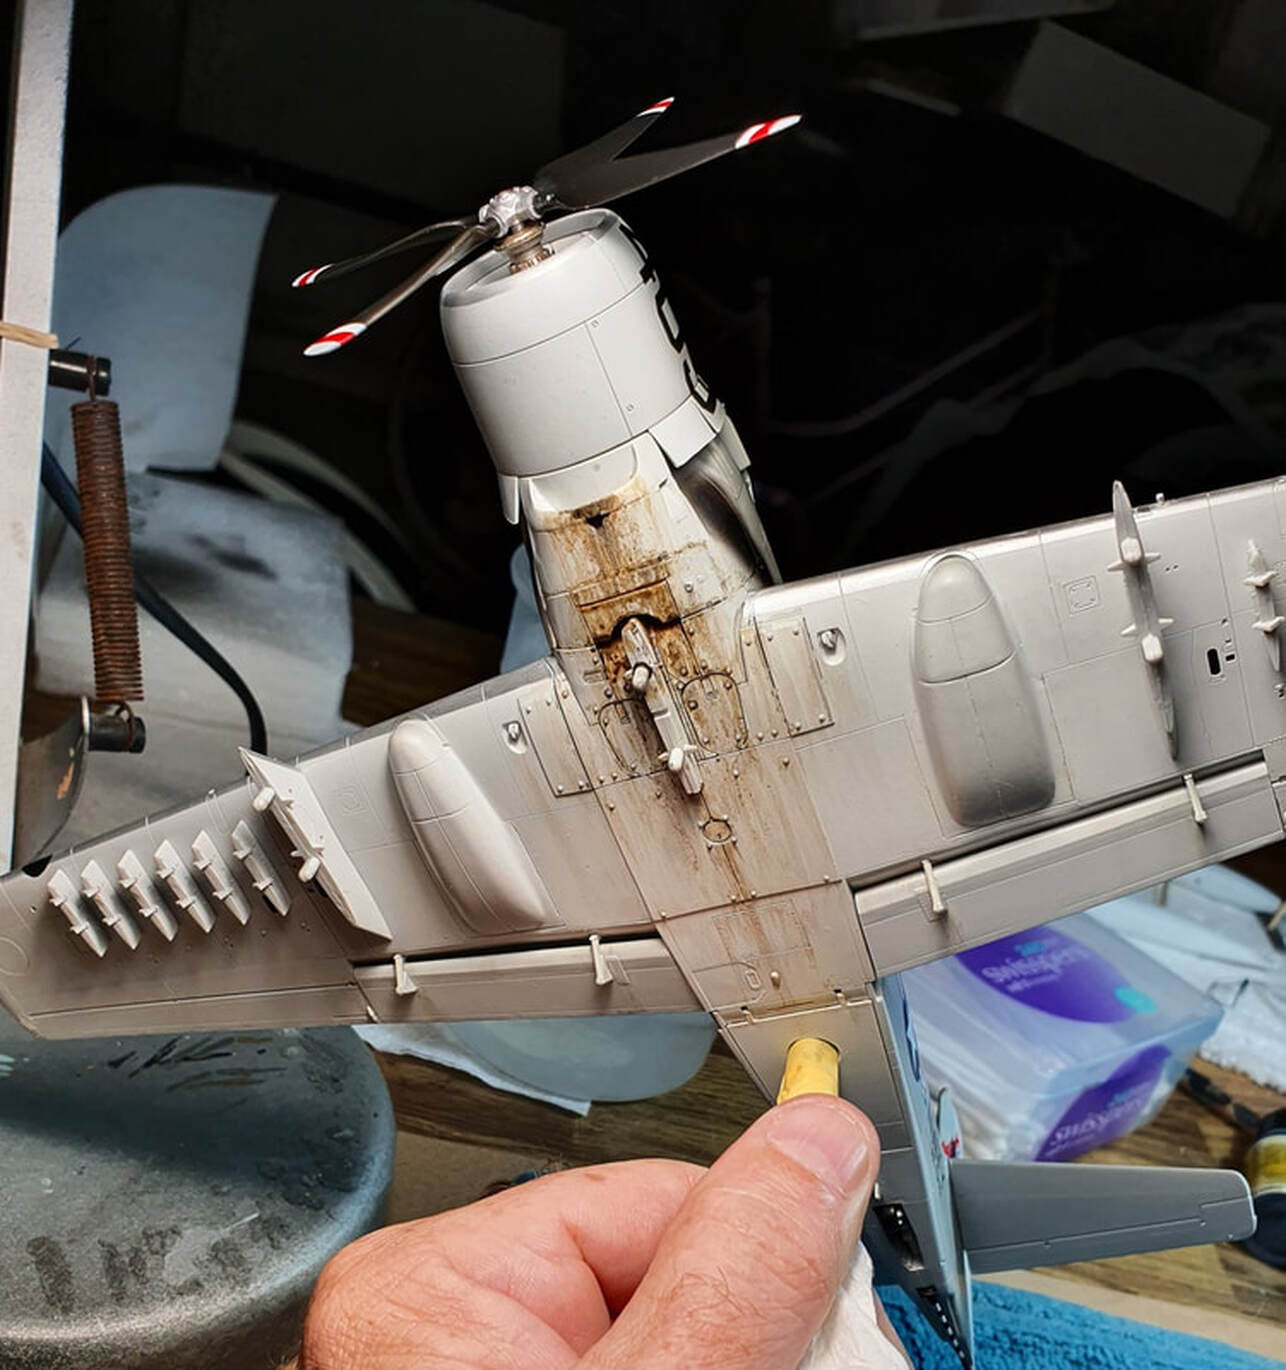
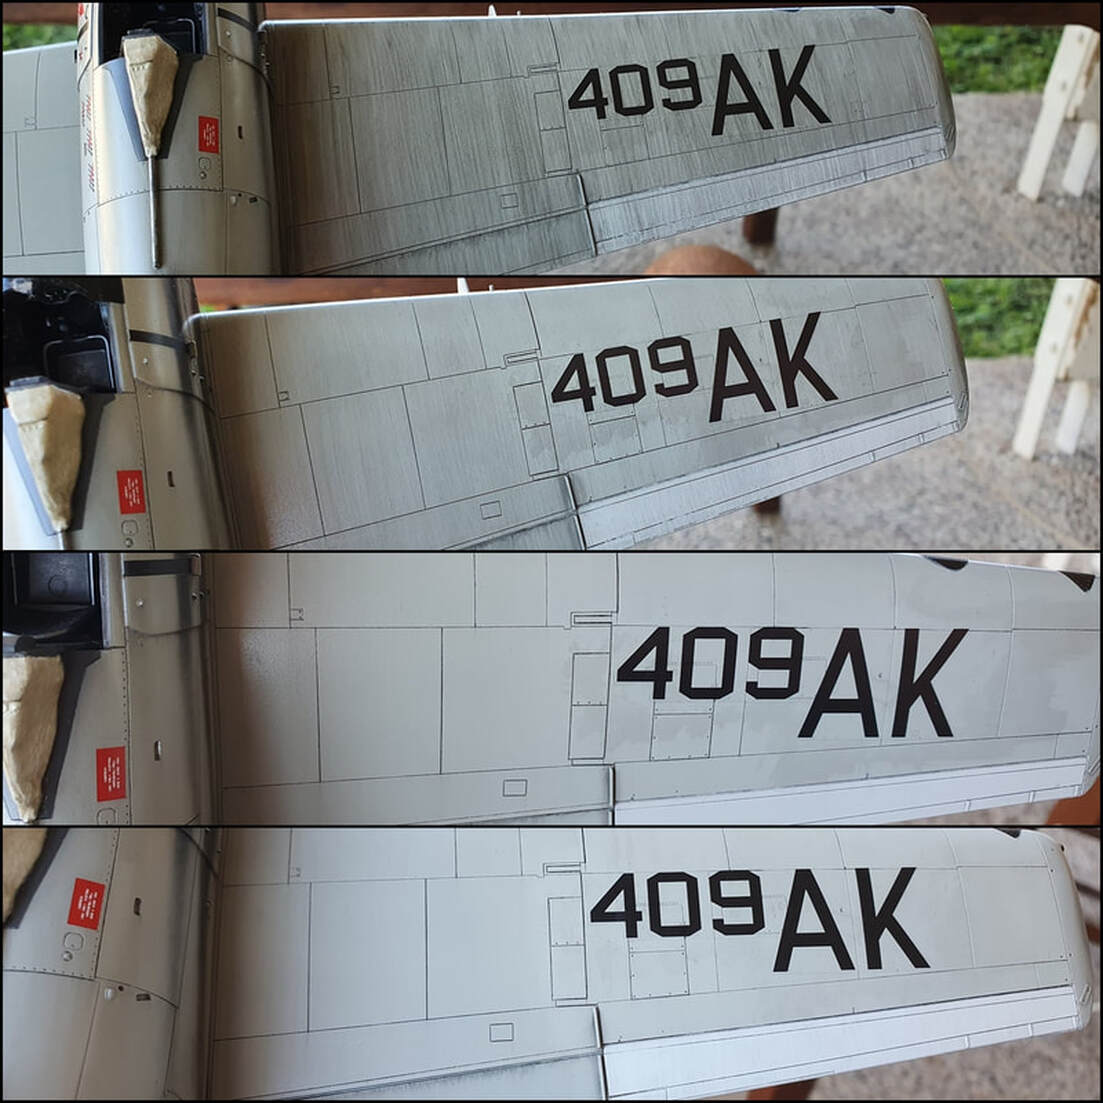
Oiled wing compared to non oiled.
The markfit left some staining that affected the oil wash but i managed to mostly remove the issue. As usual it always looks a lot worse under camera inspection.
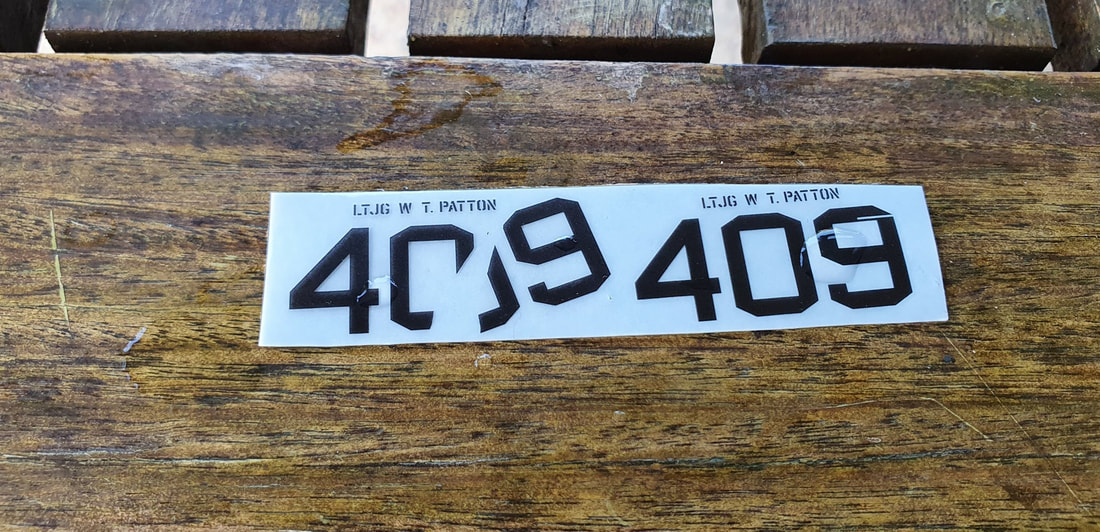
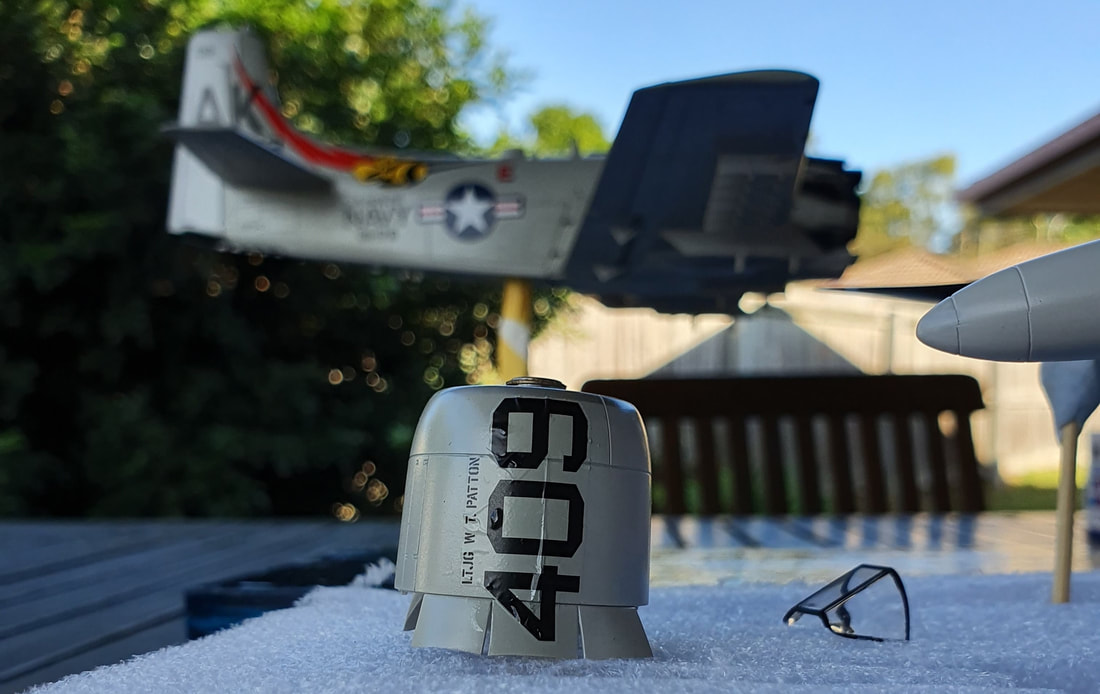
The 409 decal never fully settled but she'll do. It ended up being quite a nice day outside that rolled into a cool evening before i packed up with a lot of final weathering touches still needed.
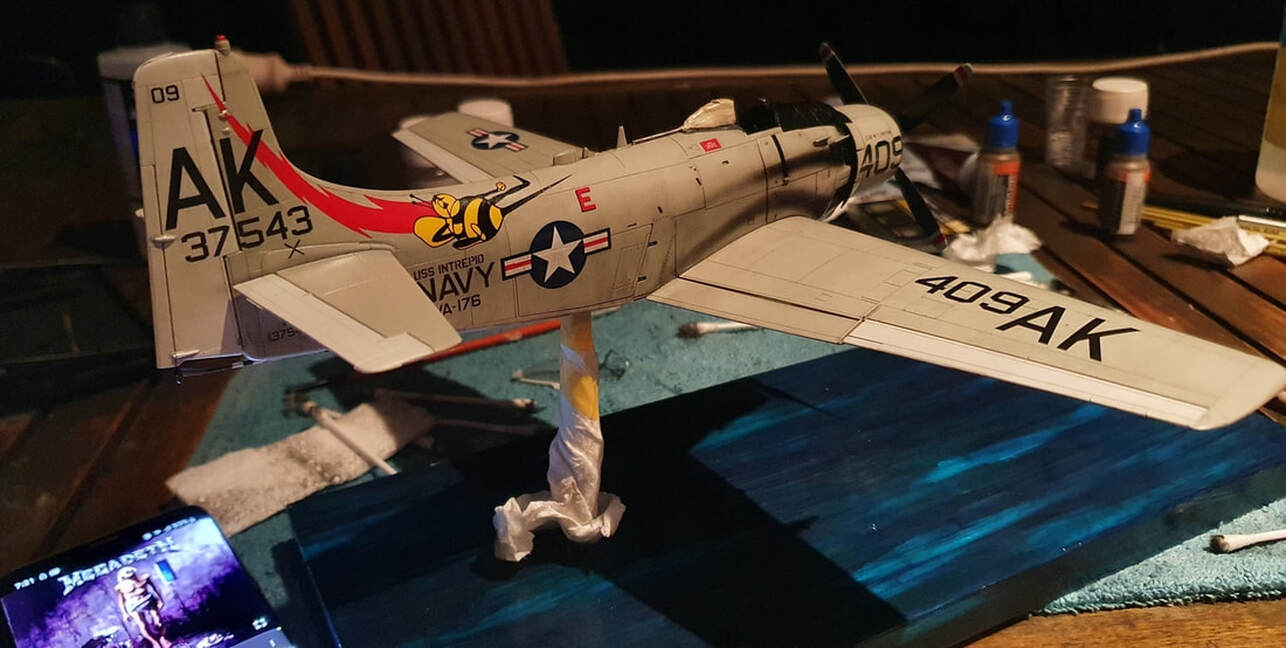
Flatted out and drying after a hundred and one little touch ups. Cannon, canopy, antenna to go and i think that's it. I need to clean and reclear the base as well.
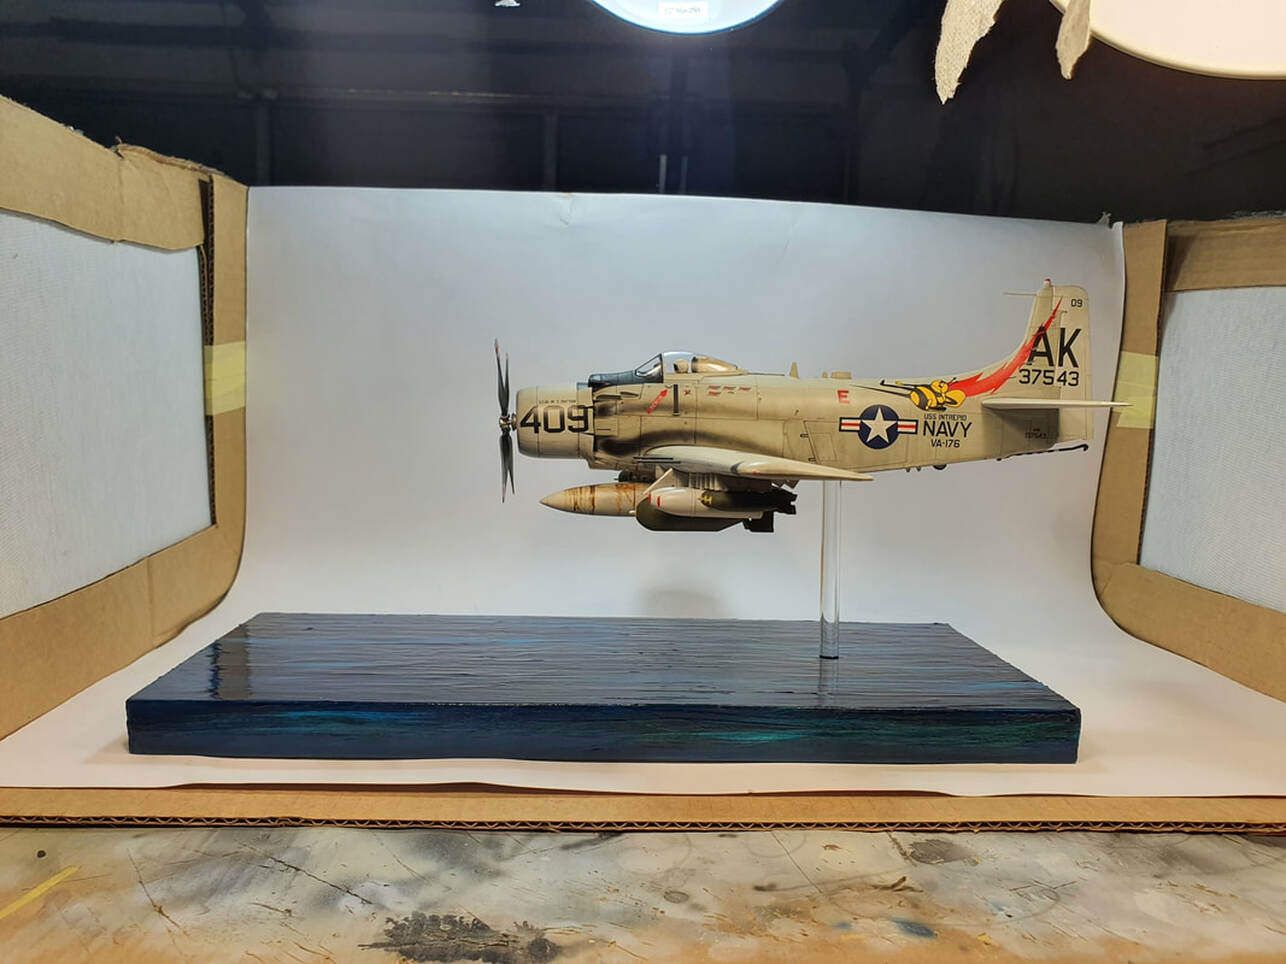
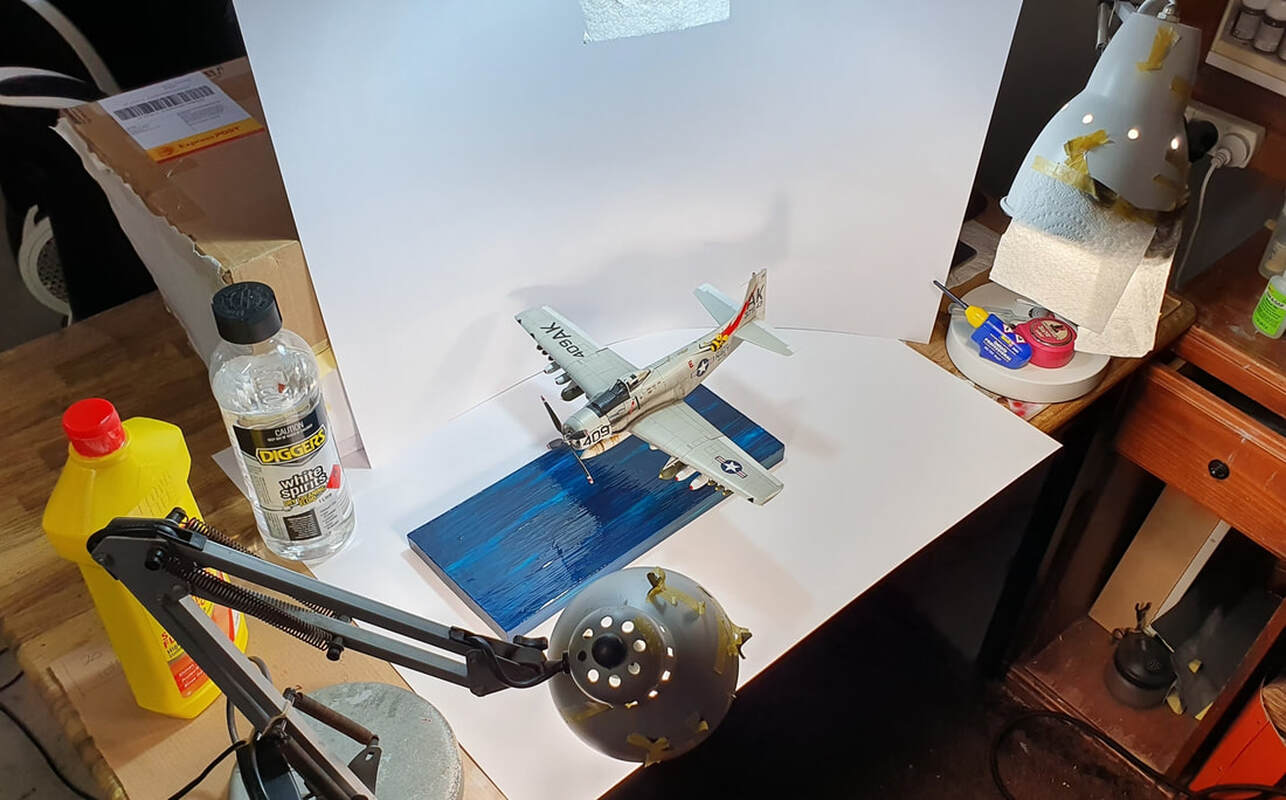
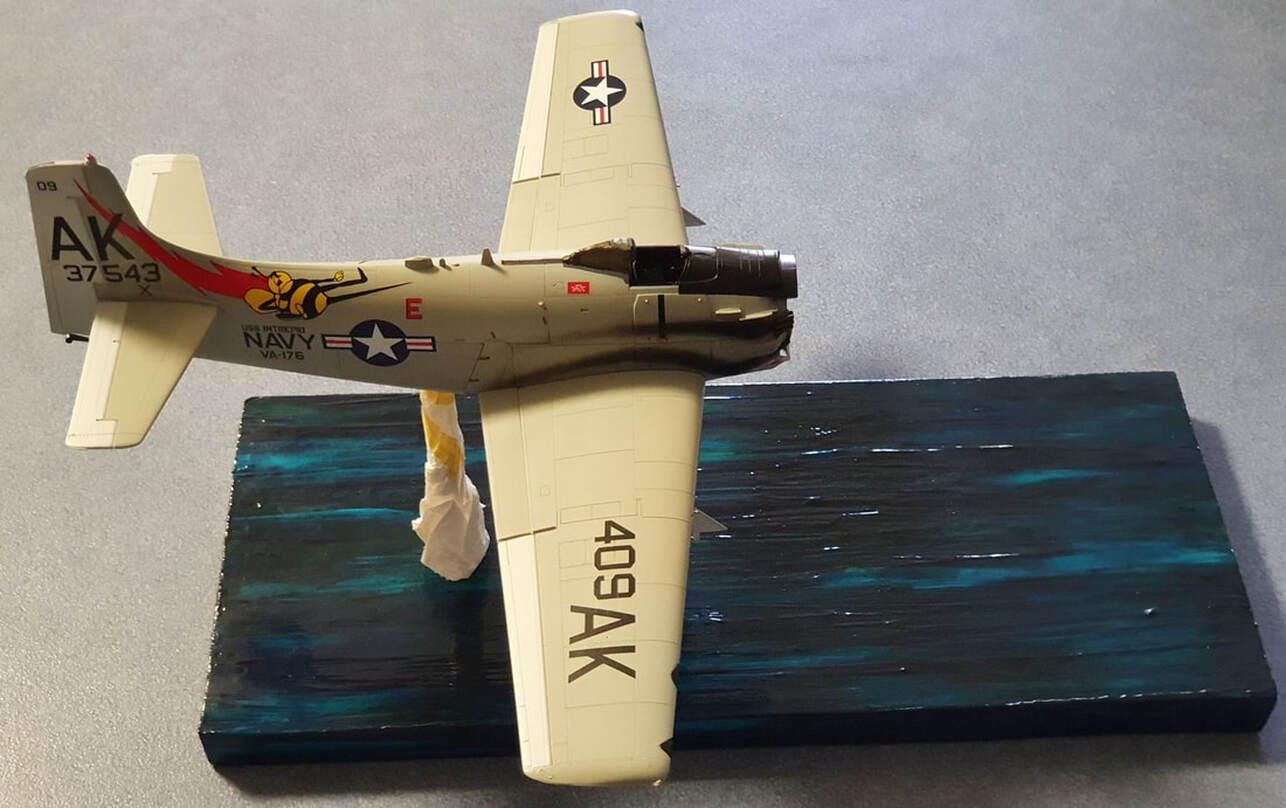
Spruced up the base with a couple of coats of clear and mated the model to it for eternity, barring cats, with some zapagap. My old photo box was too small for this kit so i have had to revert back to a couple of sheets of large card. Ready for her photo shoot!