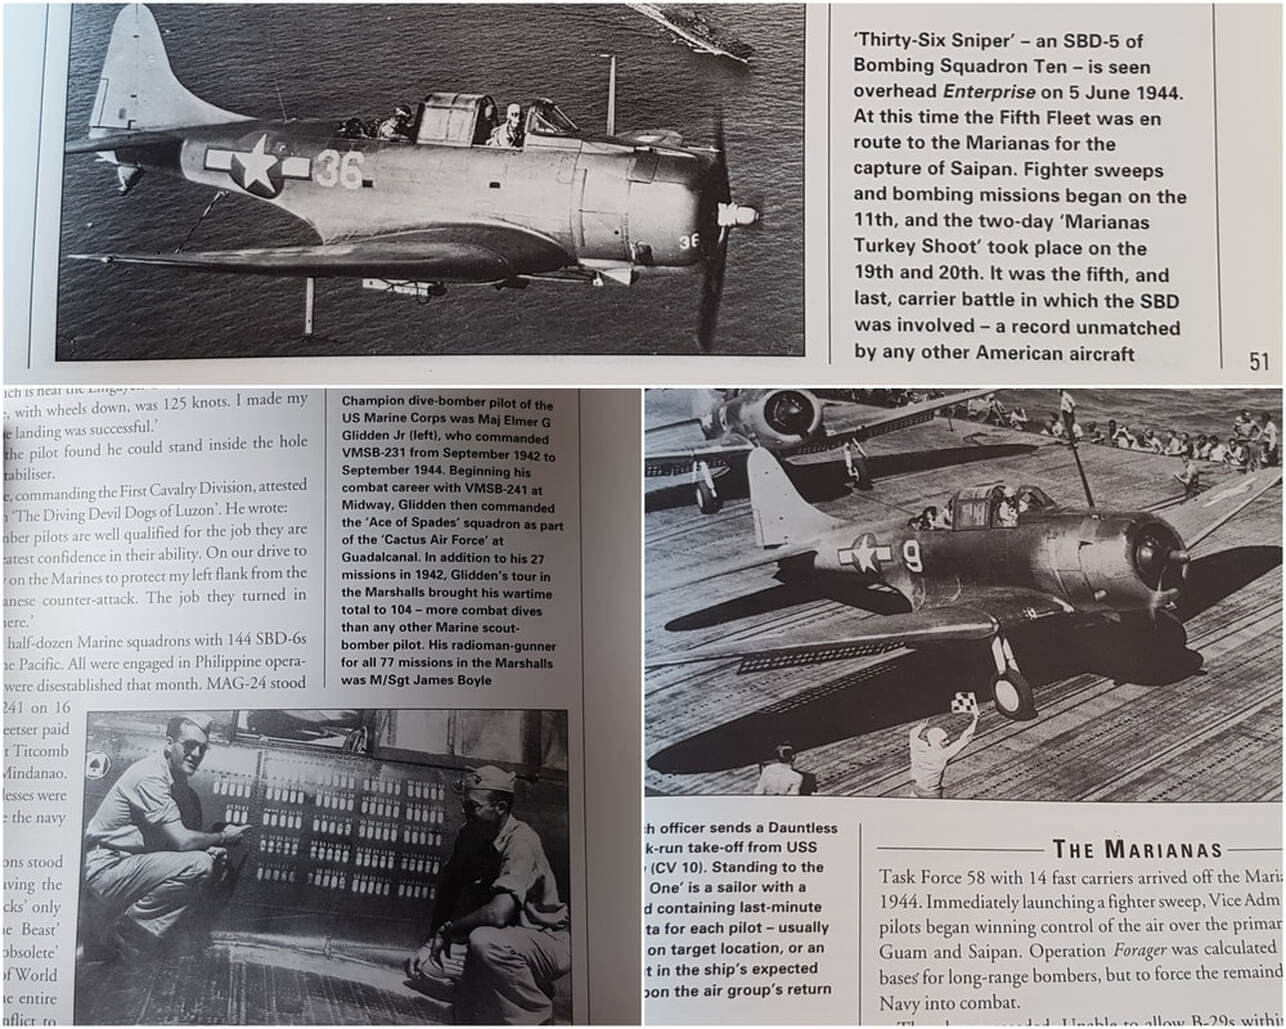
Academys 1/48 SBD-5, time to go to the Pacific! I was hoping to pick up Trumpeters ugly as sin Wyvern but lack of stock led me to finding this tucked away on the shelf. I've wanted to do some US pacific aircraft for a while, the Dauntless and Wildcat/Bearcat being on top of the list, but the European theatre always manages to get in the way. Going by reviews and finished builds this looks like she turns out to be a fairly nice looking kit so let's see how it goes. First up, you get three decal options, which i have covered with some pics and history via Ospreys Dauntless book i have had hanging around since the early 2000's.
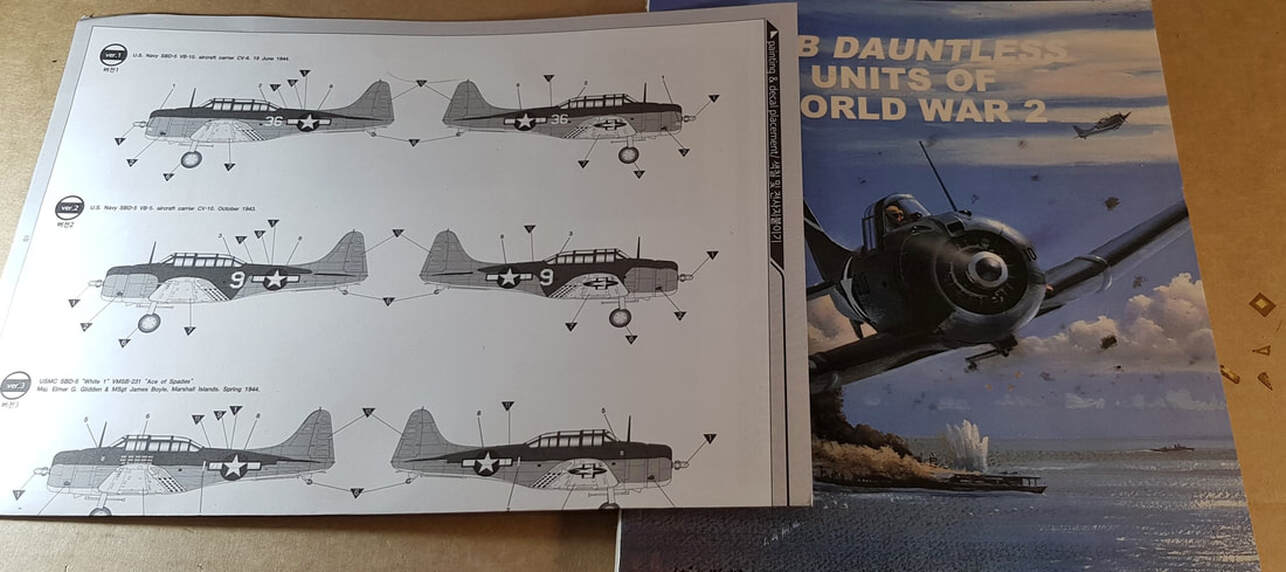
I'm leaning towards the number 9 of VB5 from off the Yorktown in Oct' '43. owing to its paint scheme although i do like the box art craft as well. Speaking of the box art, it seems to be inspired by this pic below i came across in the dauntless units books which also contains both other aircraft. I'm still undecided and may have to flip a coin when i get to the painting stage.
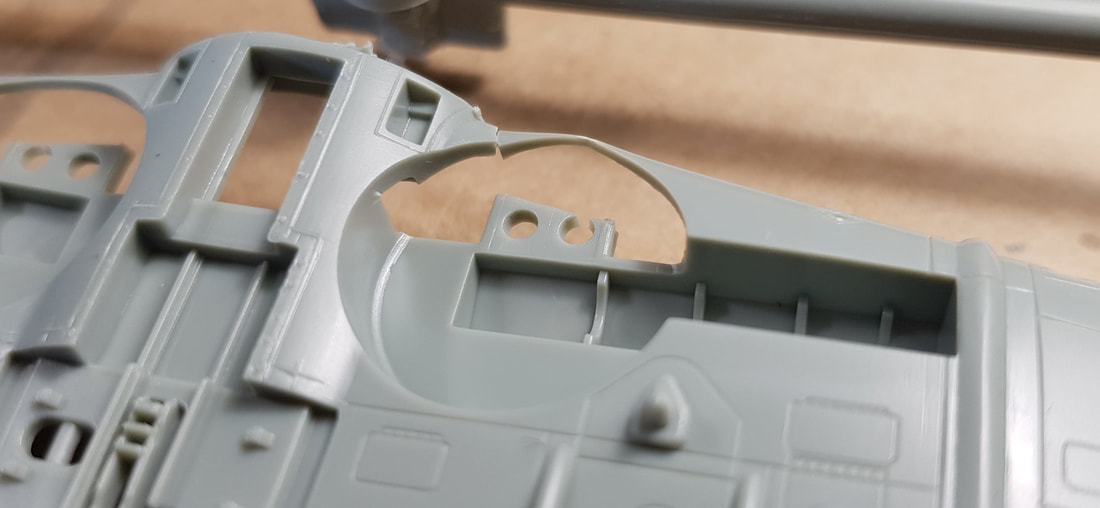
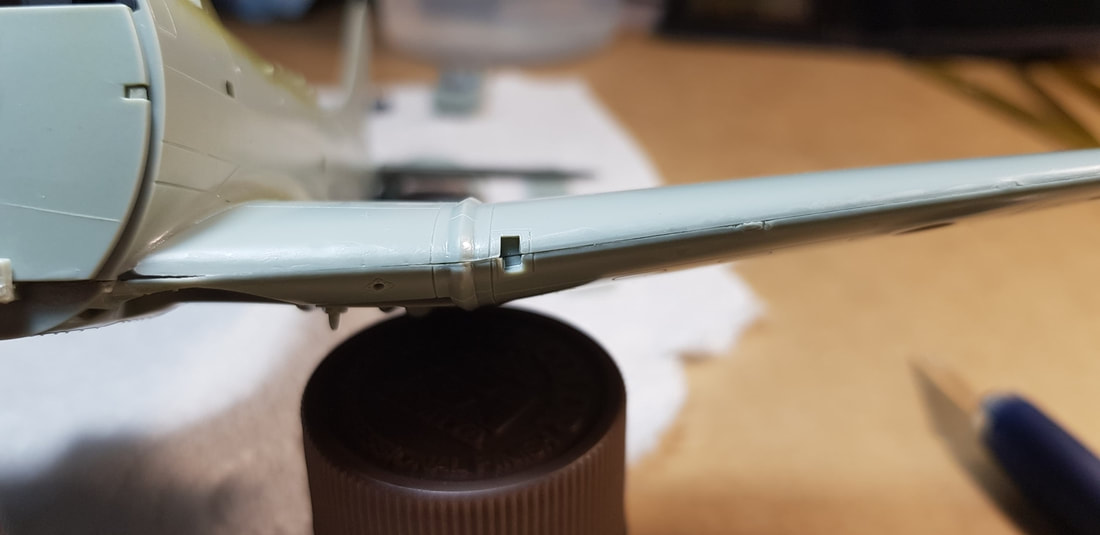
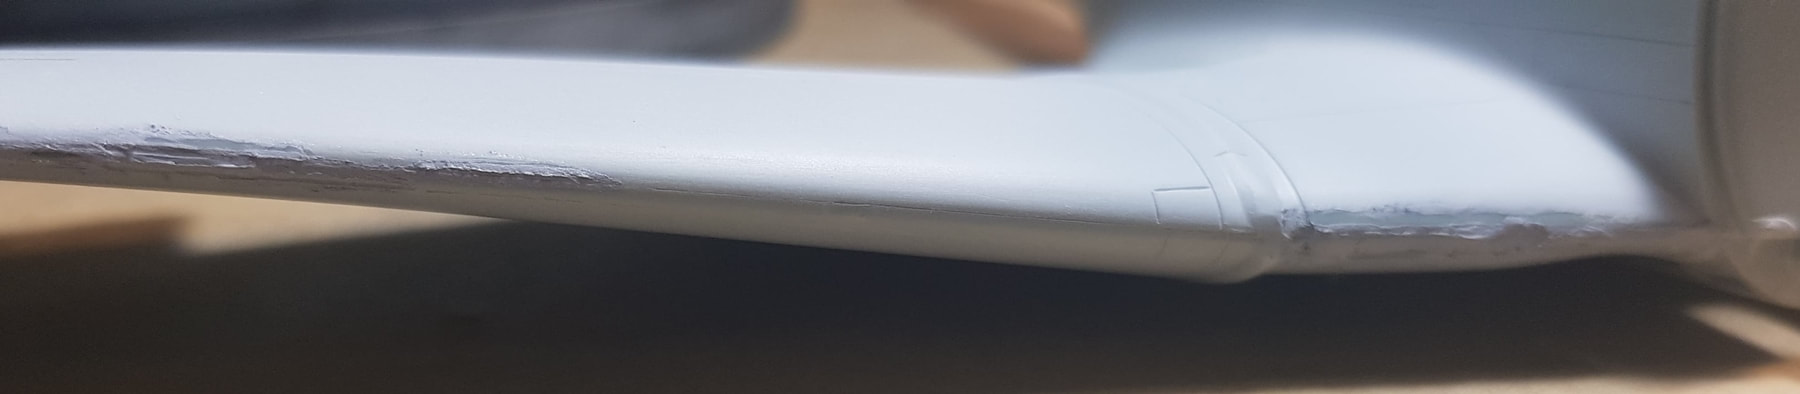
Annoyingly the wing was snapped oob which although an easy enough fix was in a niggly spot where the plastic is very thin so i glued it to the main lower section immediately to avoid it snapping completely off. The lower fits very rough with the fuselage so trimming and sanding required and what looks like a decent putty job along both wing to fuselage joins and wing seams further ahead. Some work also with panel lines and other sections needed as it all seems a bit off. Going by the dry test fit, getting the wings sitting neatly with minimal putty whilst retaining the correct position in frontal view will be a bit challenging.

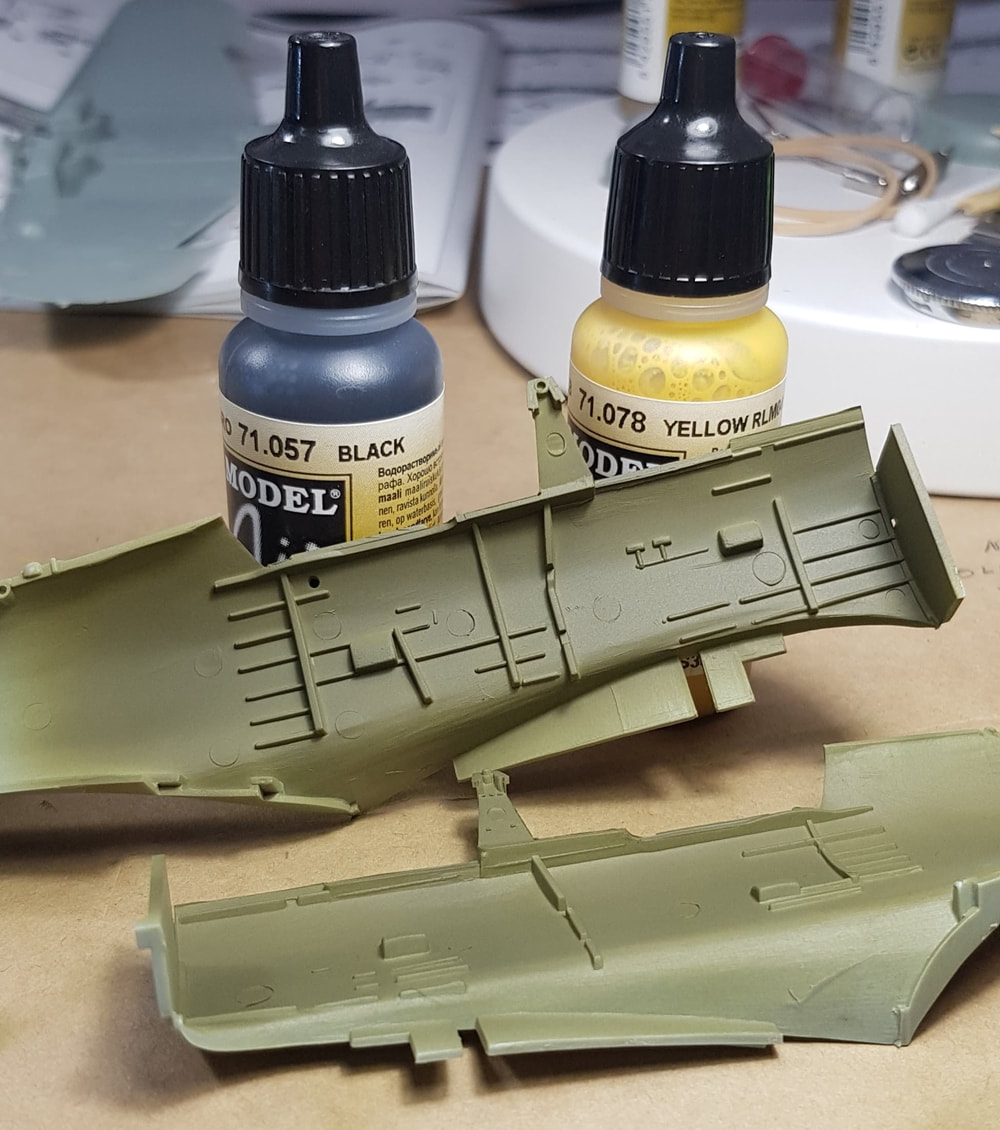
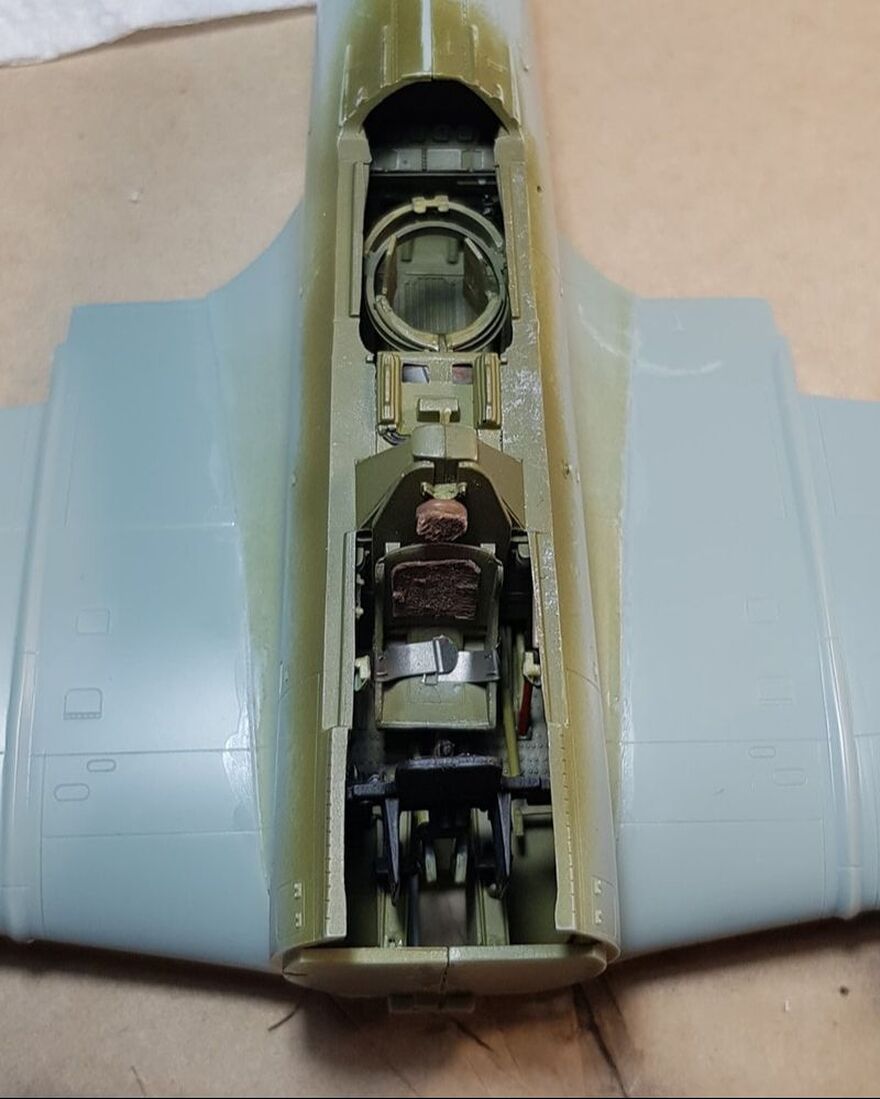
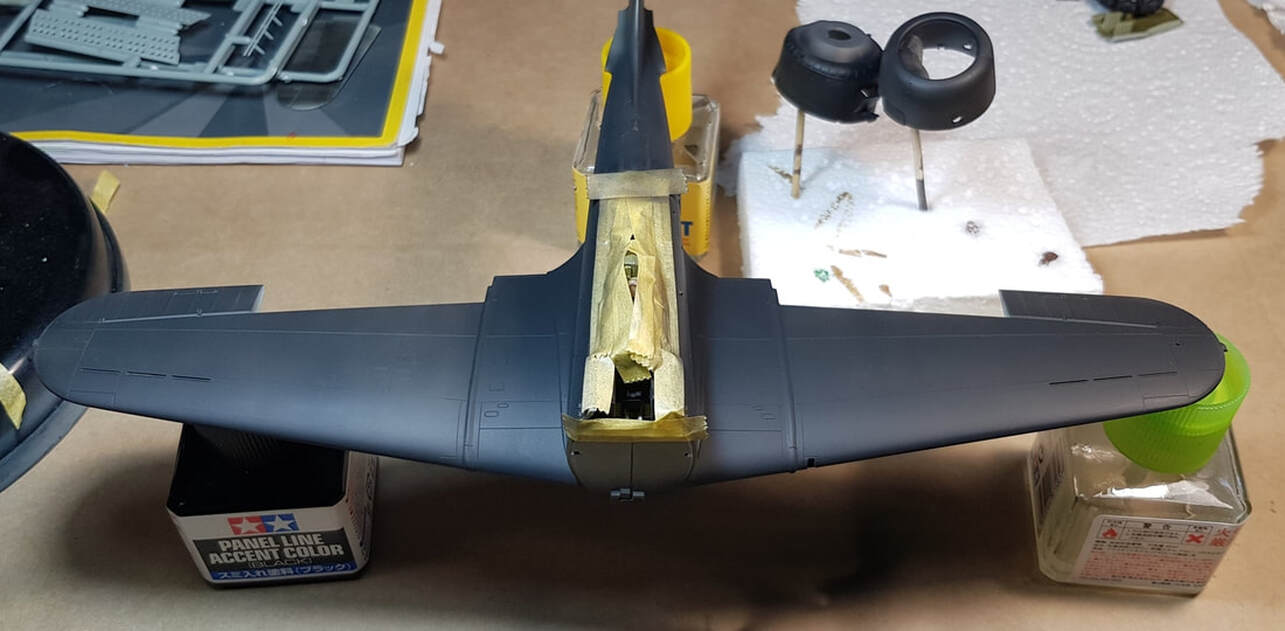
Interior is a mix of yellow and black, which is apparently how they mixed the original zinc chromate colour. I erred a bit too much on the dark side (10:1 yellow/black) as the pics show, probably only needed half a drop of black.
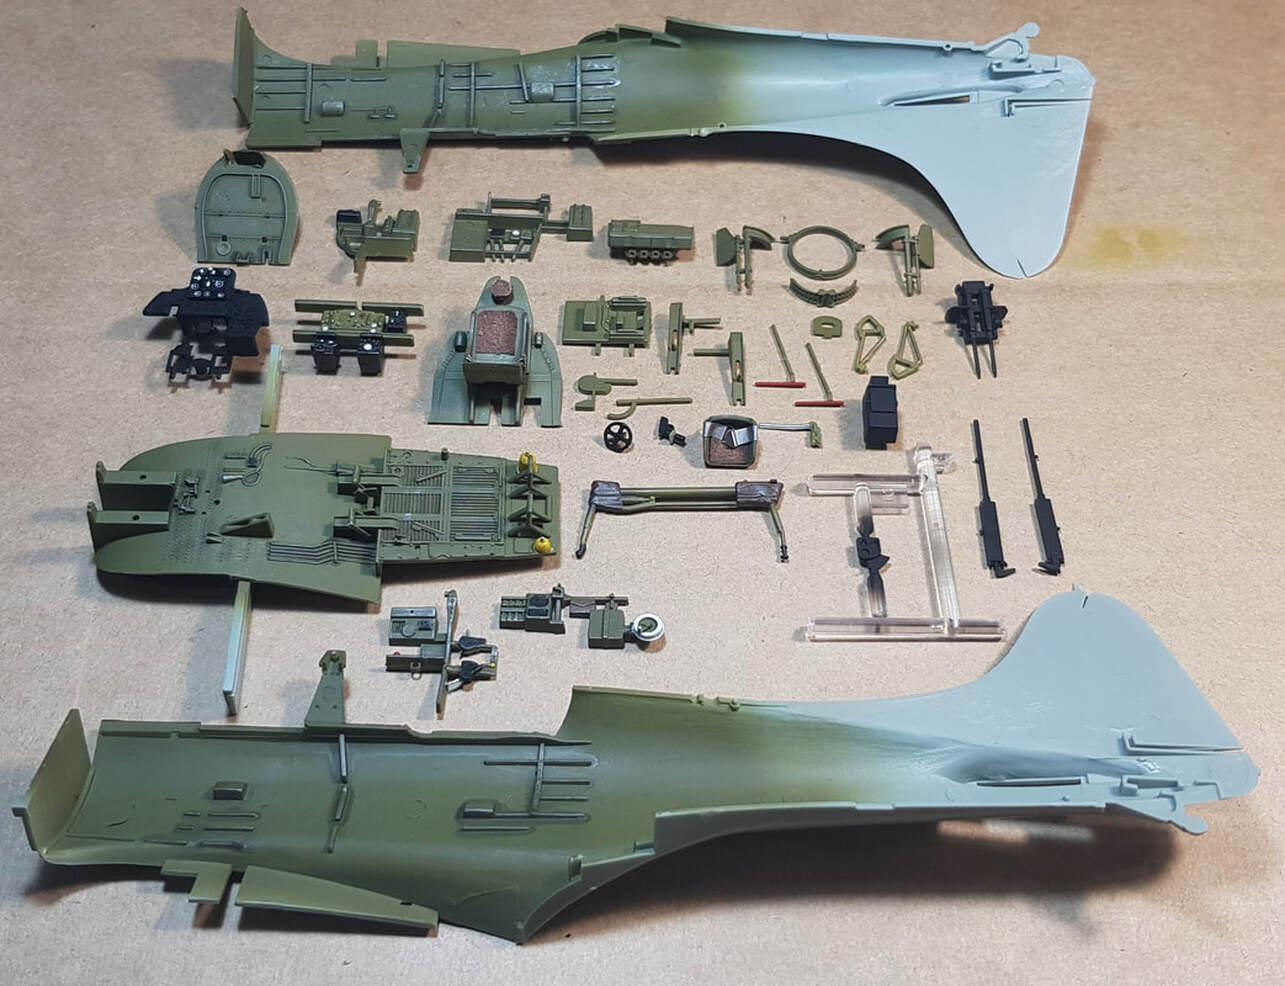
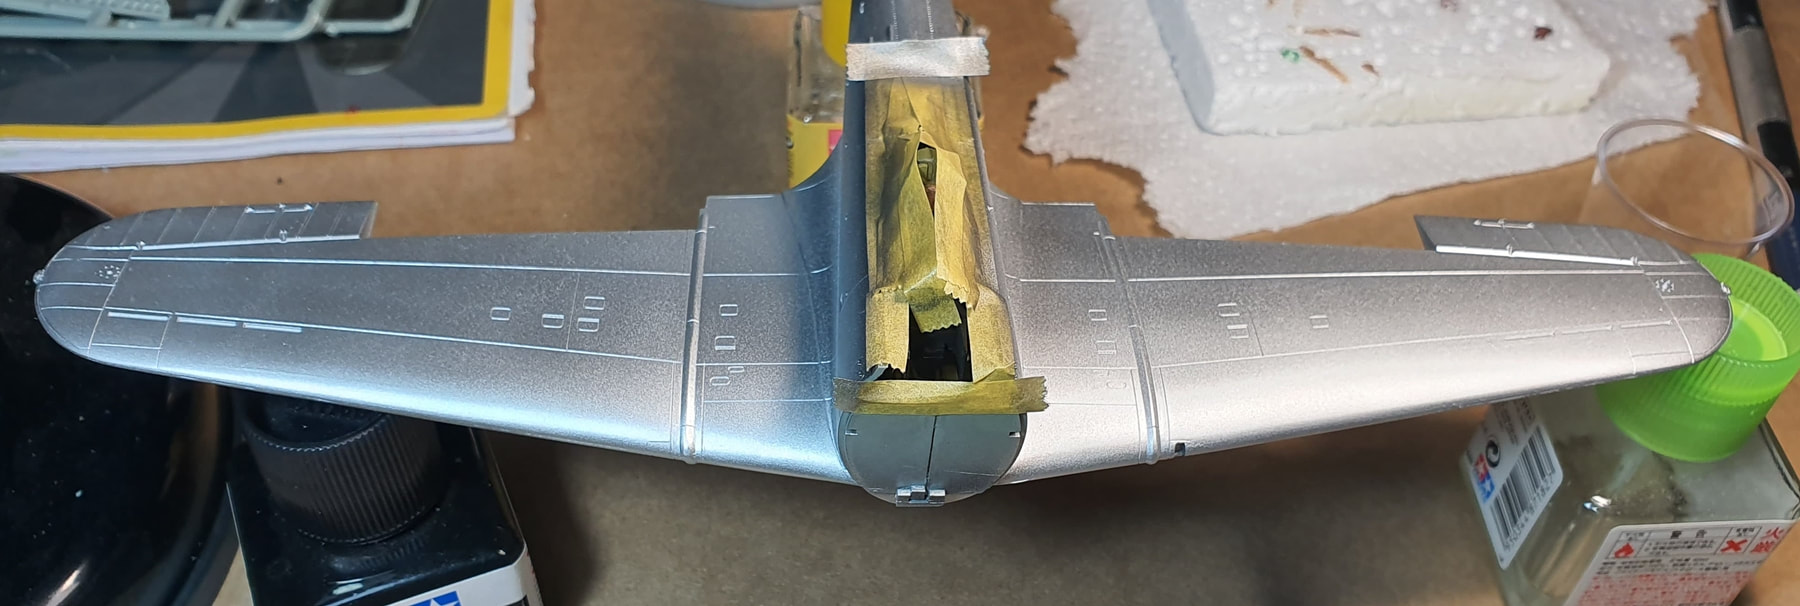
The interior pieces provided are pretty impressive, pity that once you close the fuselage hardly any of it will be seen, but at least what you will see will be busy. For the seating arrangements i simply painted a piece of cloth red brown, dirtied it a bit with some tan and then cut to shape for the two seats and headrest to add some detail. The kit supllies PE seatbelts.
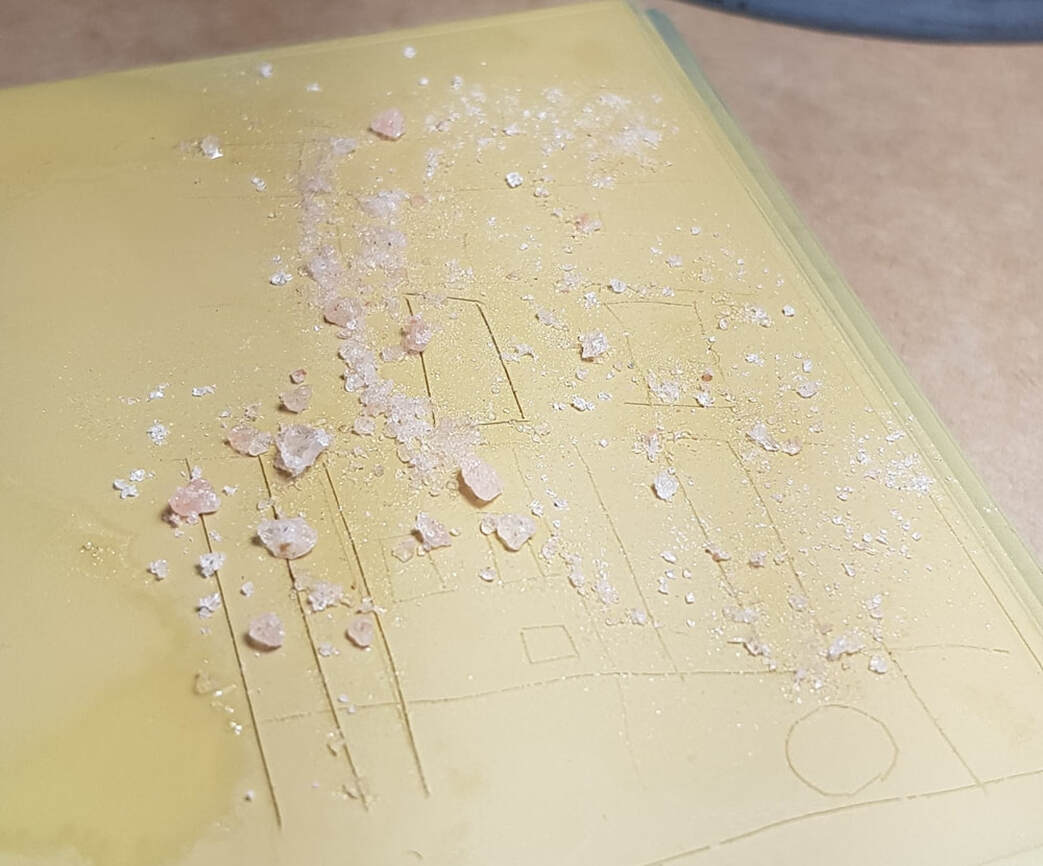
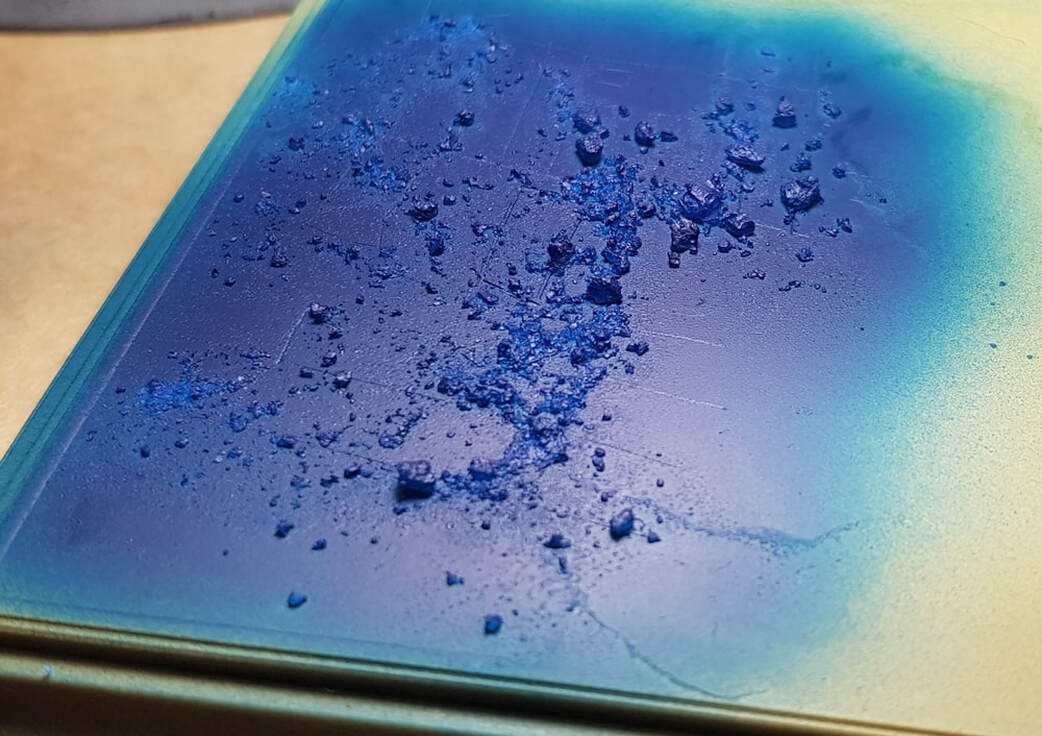
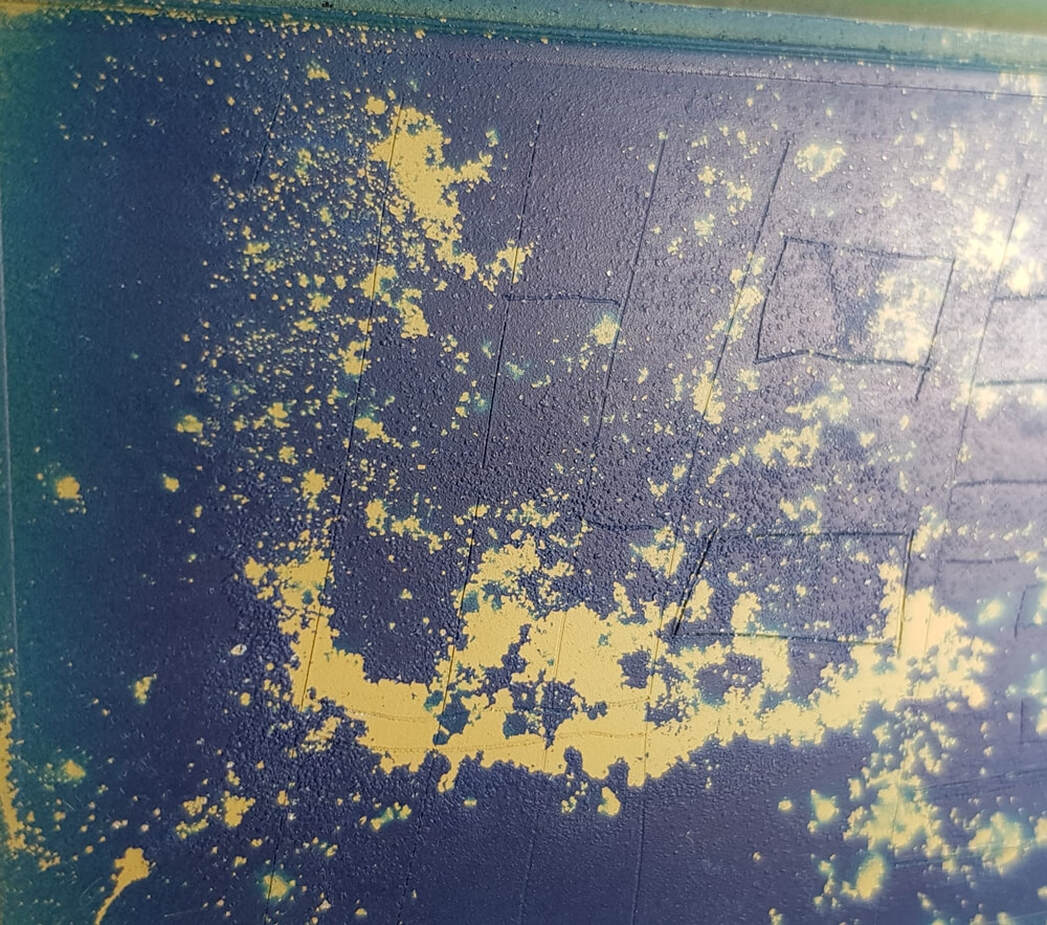
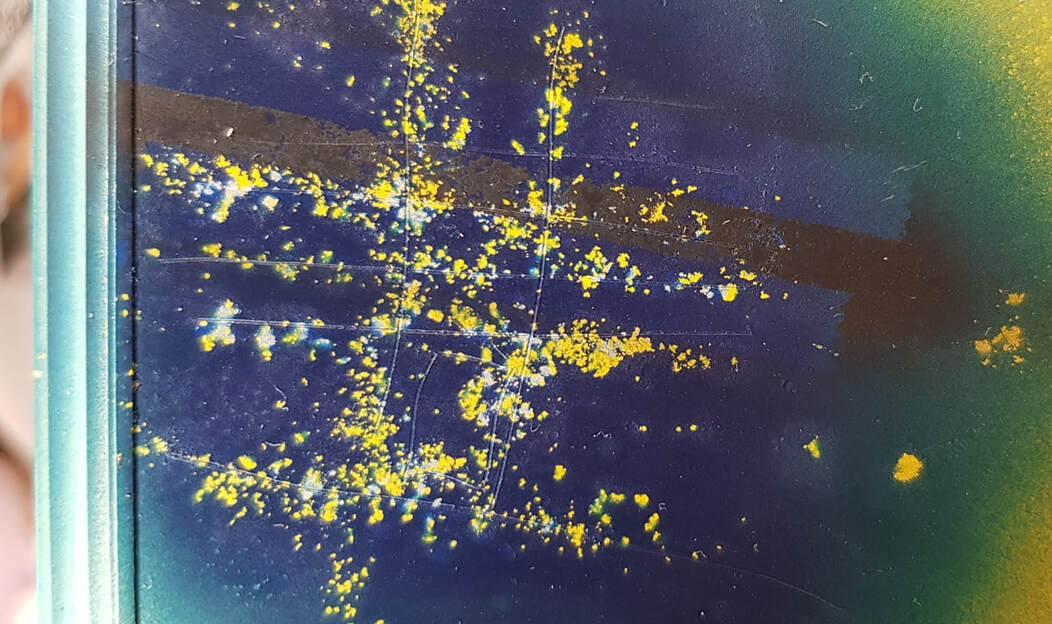
For this kit i am going to delve into salt weathering/chipping. I'm going to focus mainly on the inboard of each wing and see if i can achieve it in layers. The plan is to have the base fuselage metal come through as well as the undercoat yellow. I dragged out the trusty Warspite base, raided the cupboard for salt and started practising. The technique, like many, seems simple enough but off course is one of those 'easy to do, hard to master' types of things. Paint the silver, let dry, wet the surface and place salt, let dry, paint the yellow primer colour, let dry, remove salt. That's one layer. Repeat again for the next which will be the blue topcoat. I've dome two tests so far with varying results but have at least worked out how i need to lay the salt to achieve the results i will want and how small i will need the salt. So far the hardest part is getting the salt exactly where i want it, in the right quantity and the right sized salt. The top three pics are one layer, the bottom pic is two layers.
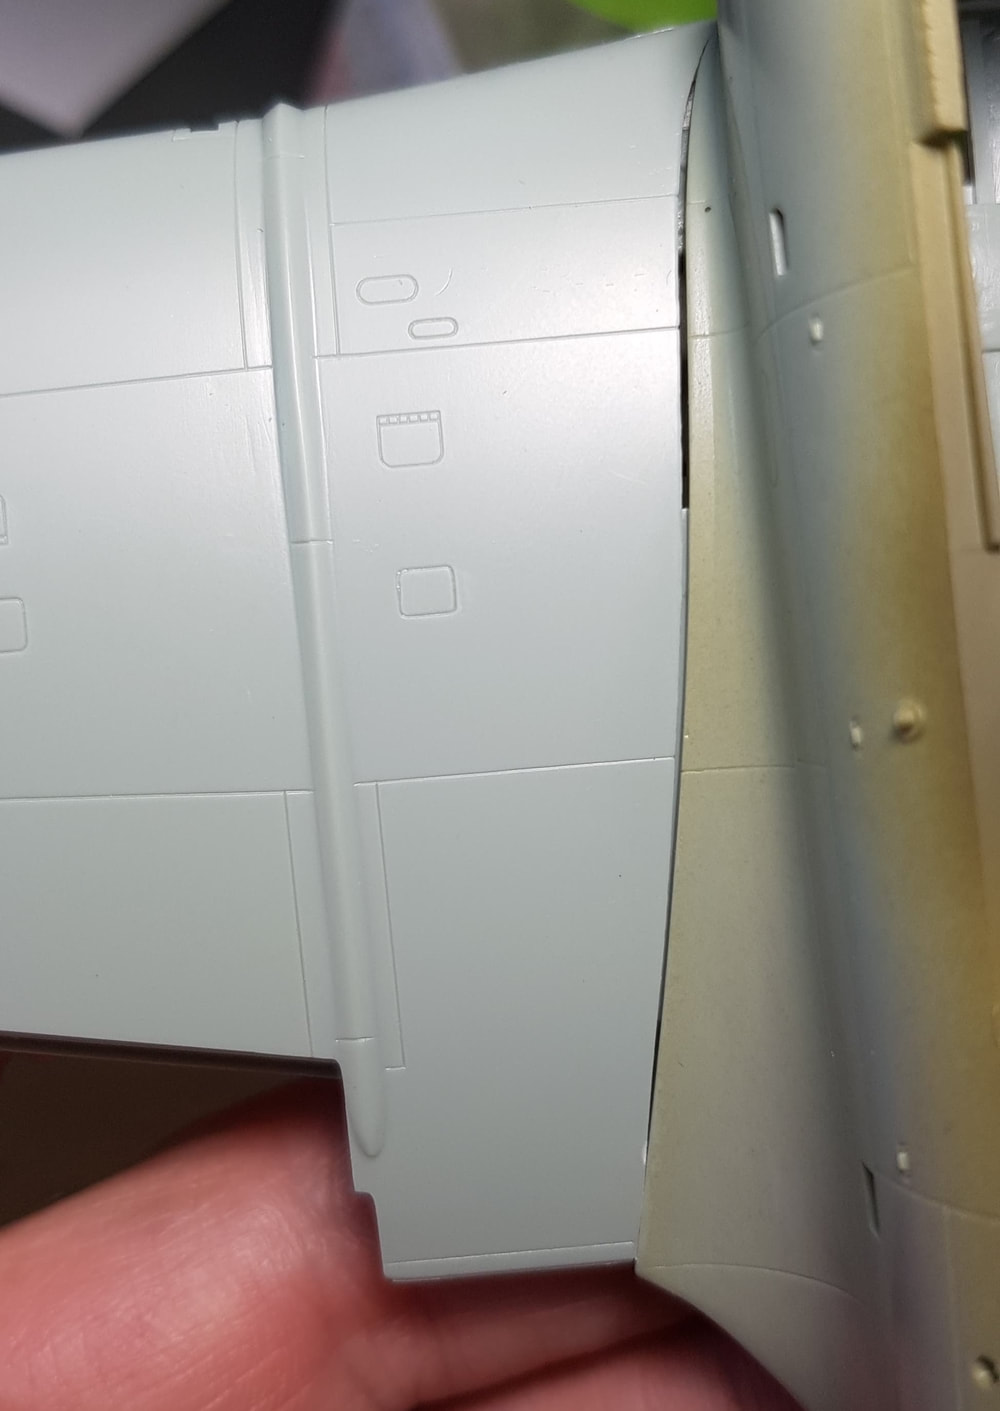
So back to the build, time to sort those horrible wing sections. Look at this mess below. That's after getting the top wing to fuselage joins as close to square as possible, one side at a time. I had to apply a fair bit of pressure to the top wing while it was setting as it refused to align anywhere near close if left alone. The lower rear fuselage join was the same.Then putty, primer, sanding and some more putty.
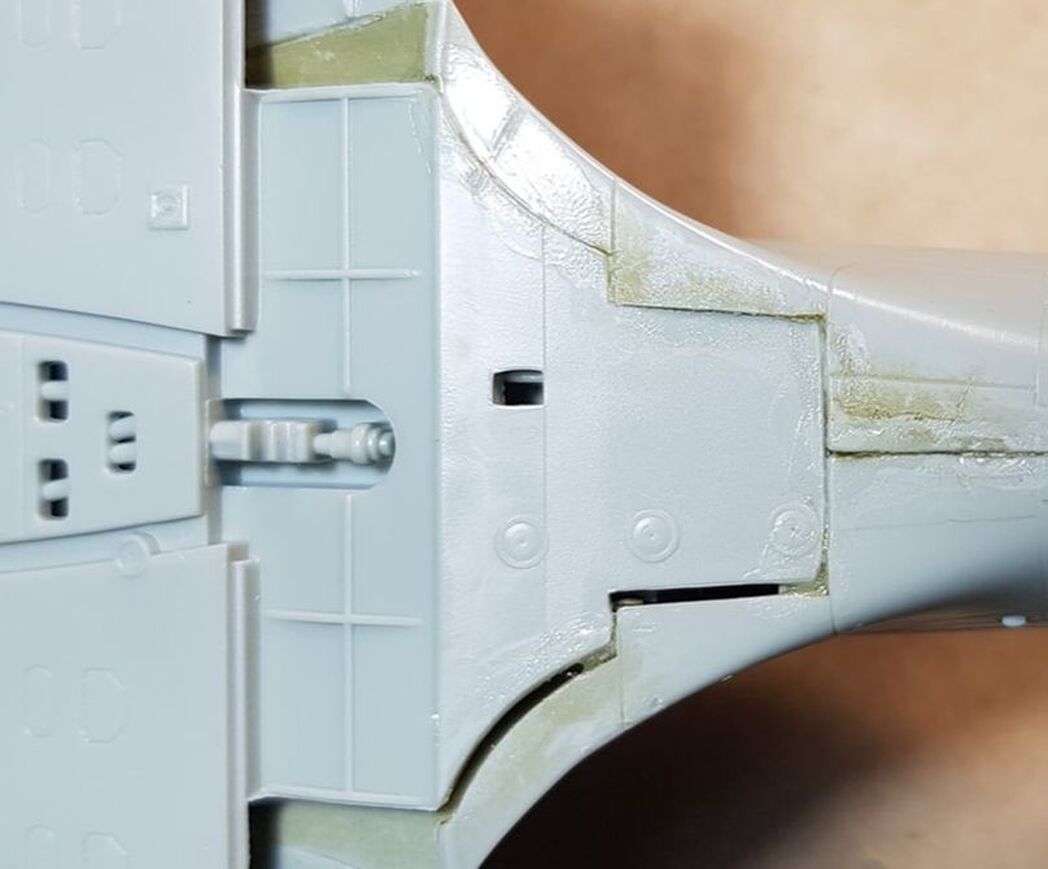
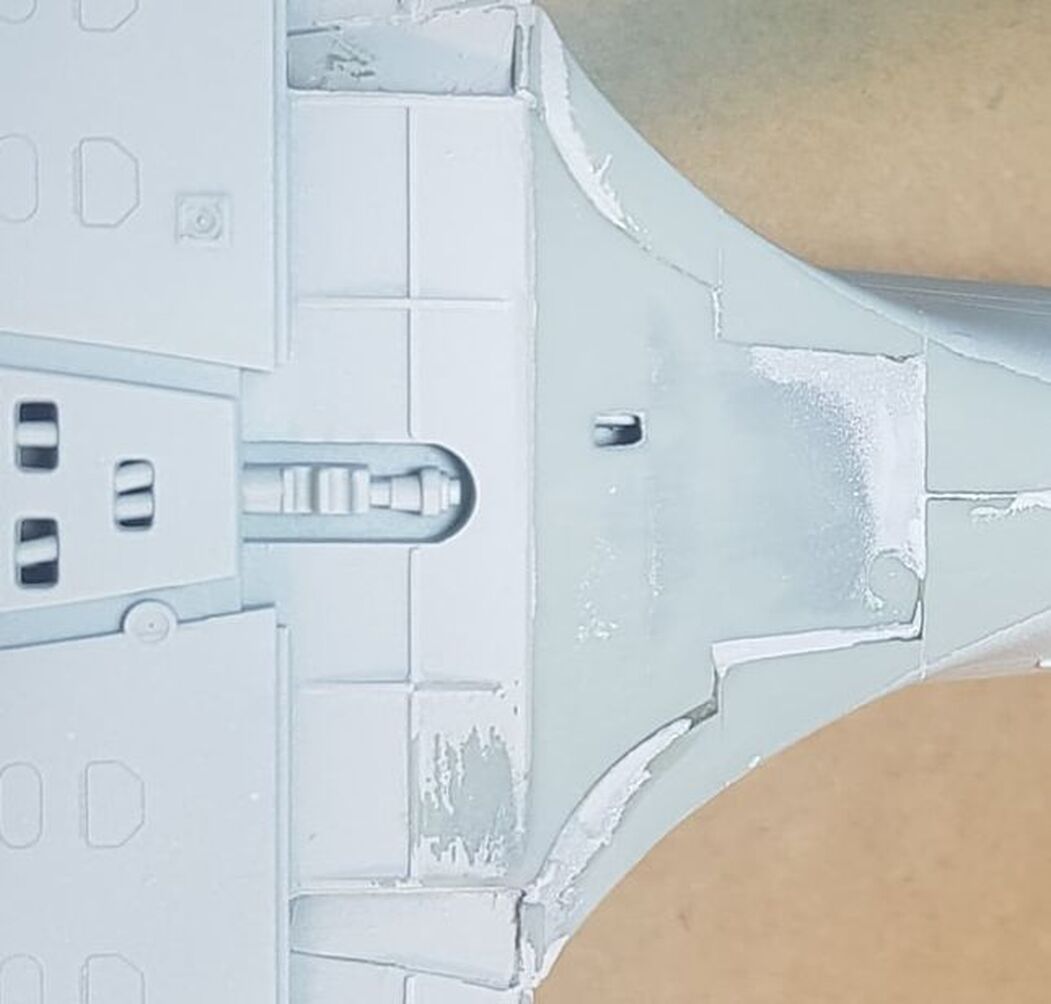
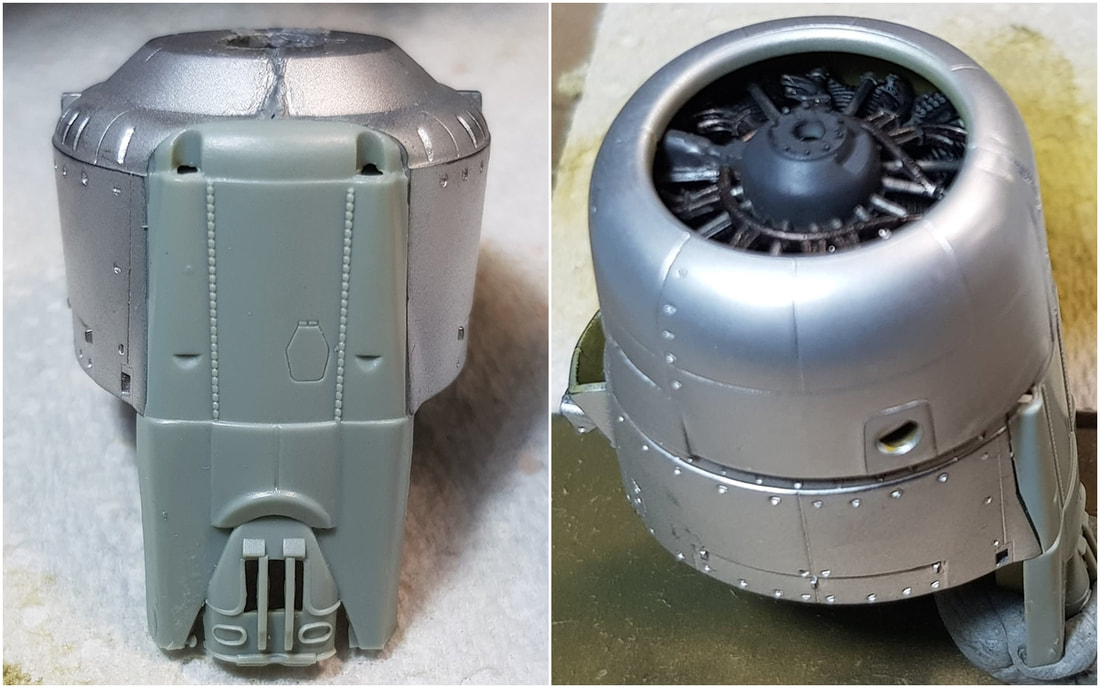
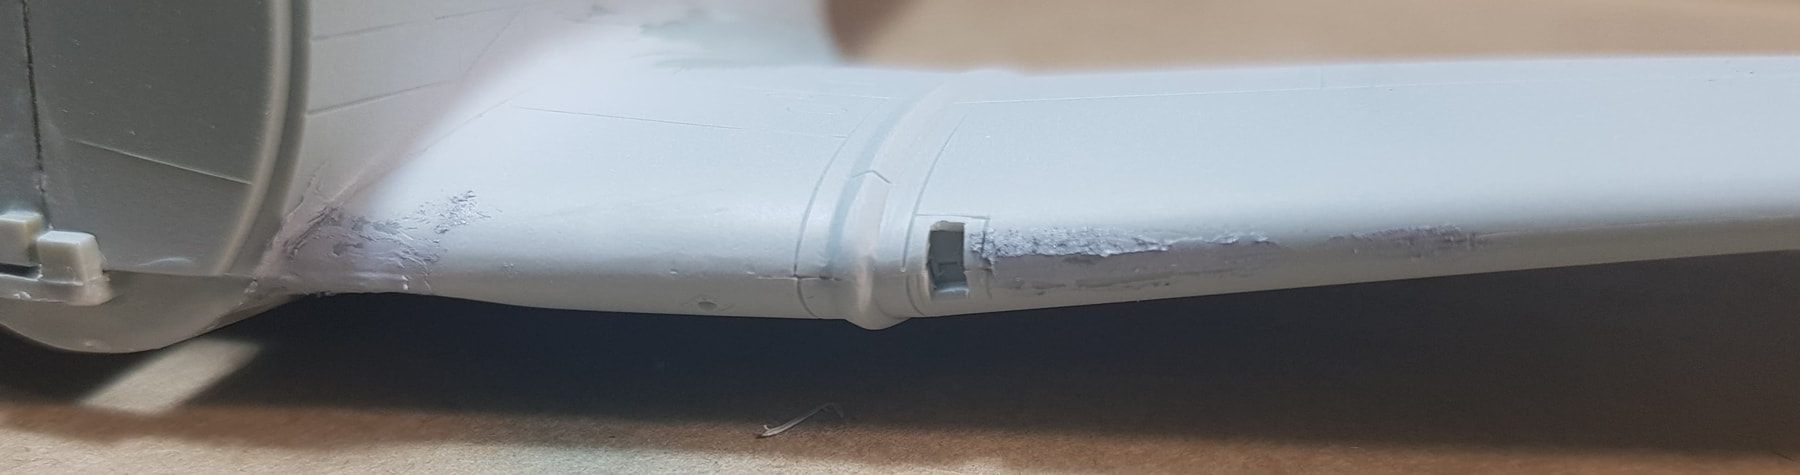
And then onto the wing leading edges that would require some work. You can see from the front engine wall section how tight and under stress everything is.
Putty, prime, sand and then a coat of coat black before i lay the silver. Still some work to do on those leading edges after laying the silver unfortunately, but, she is getting there.
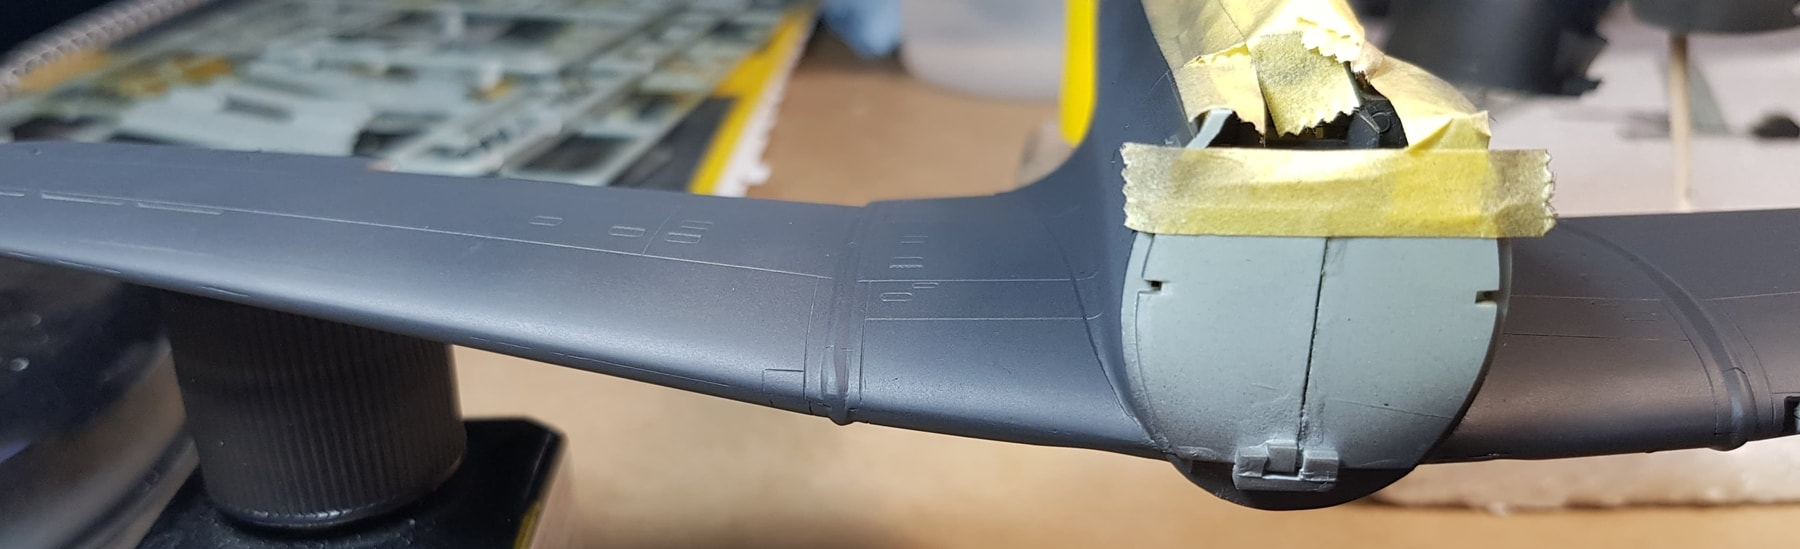
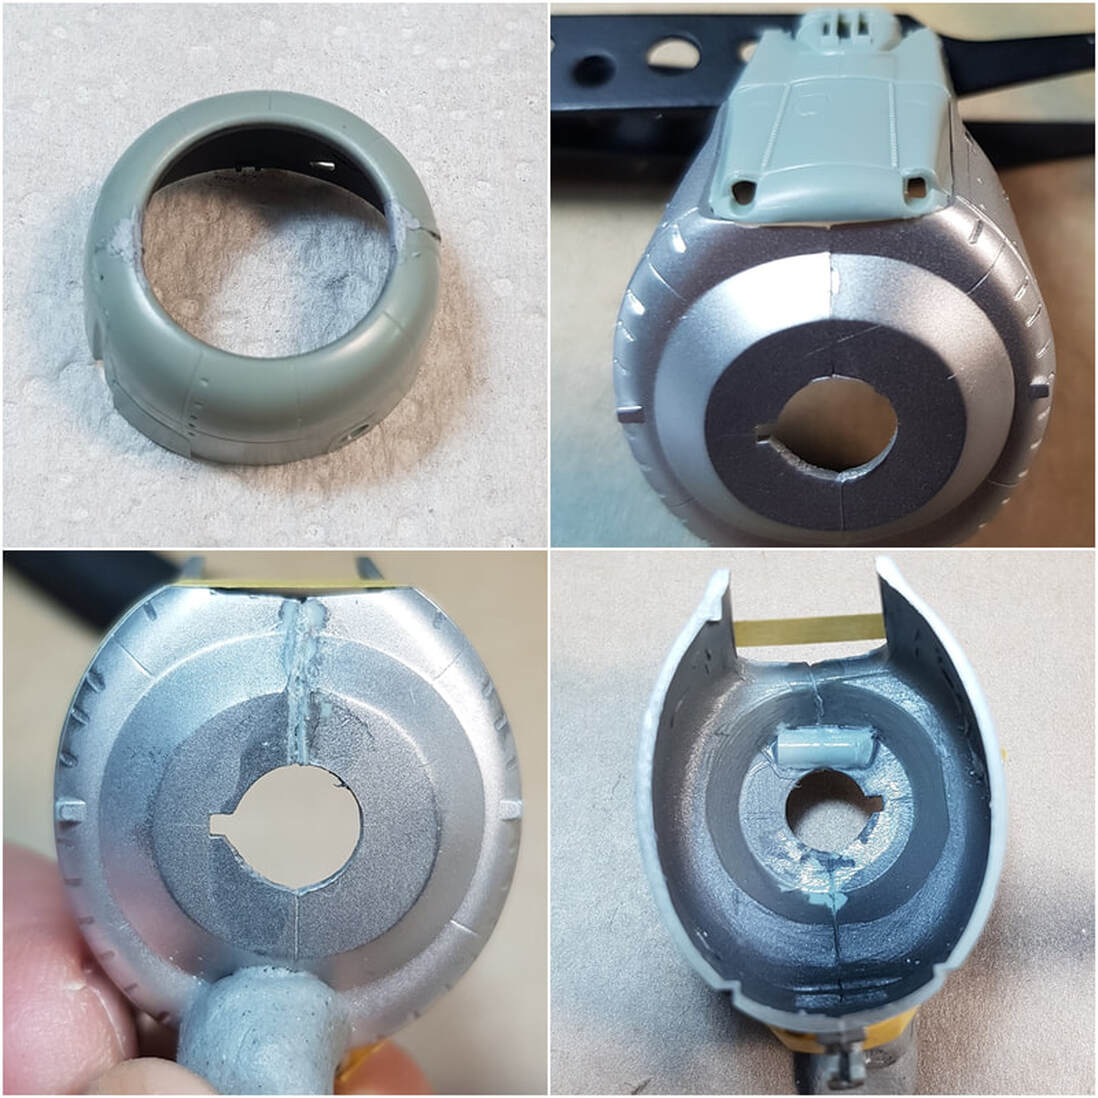
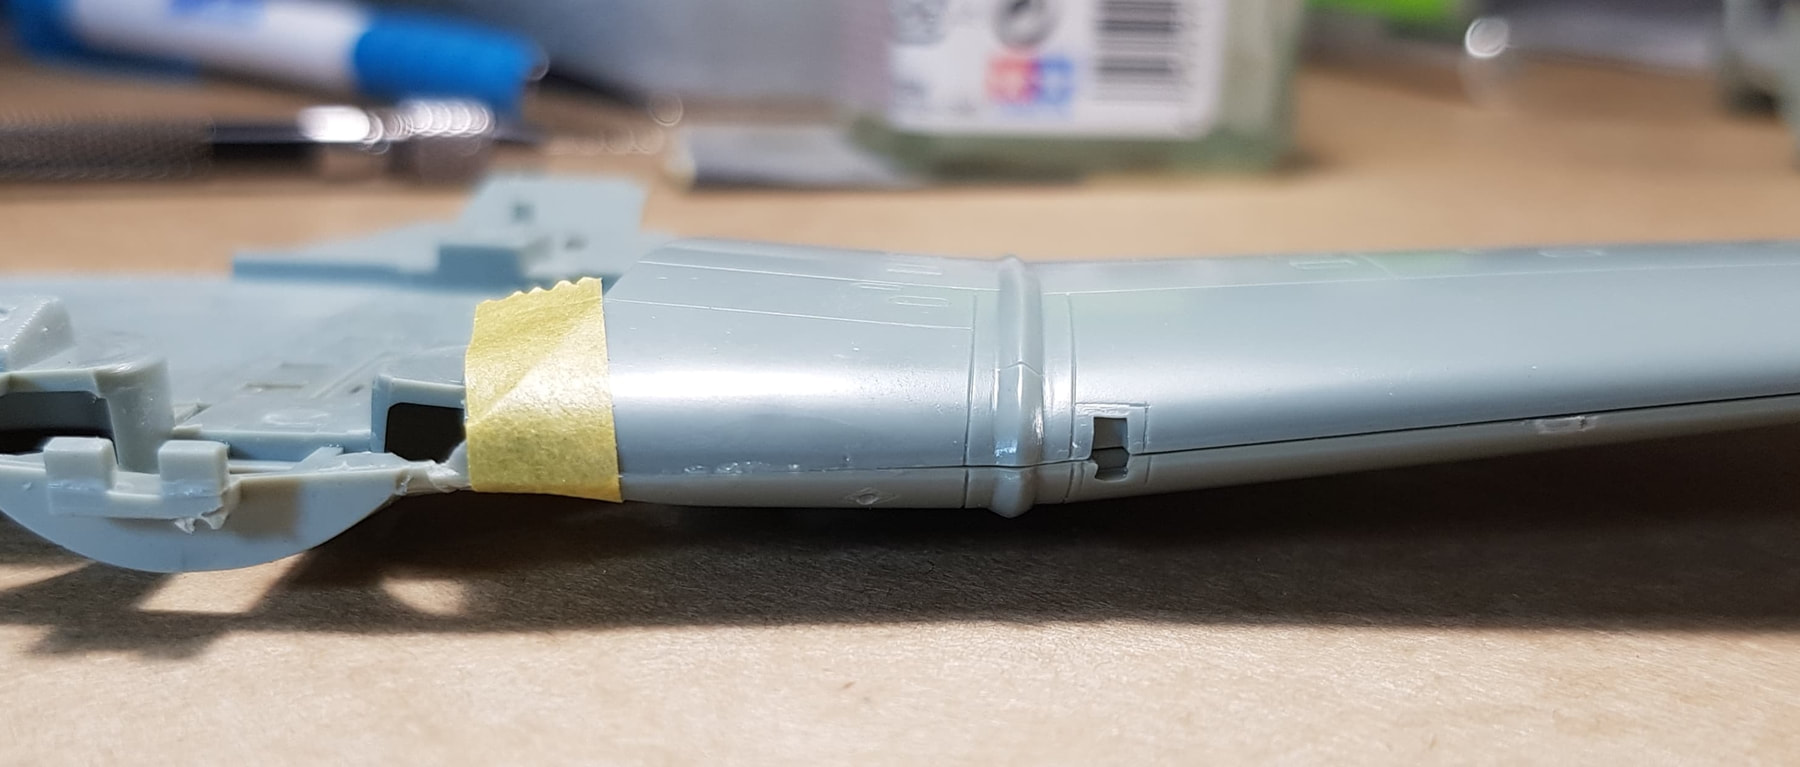
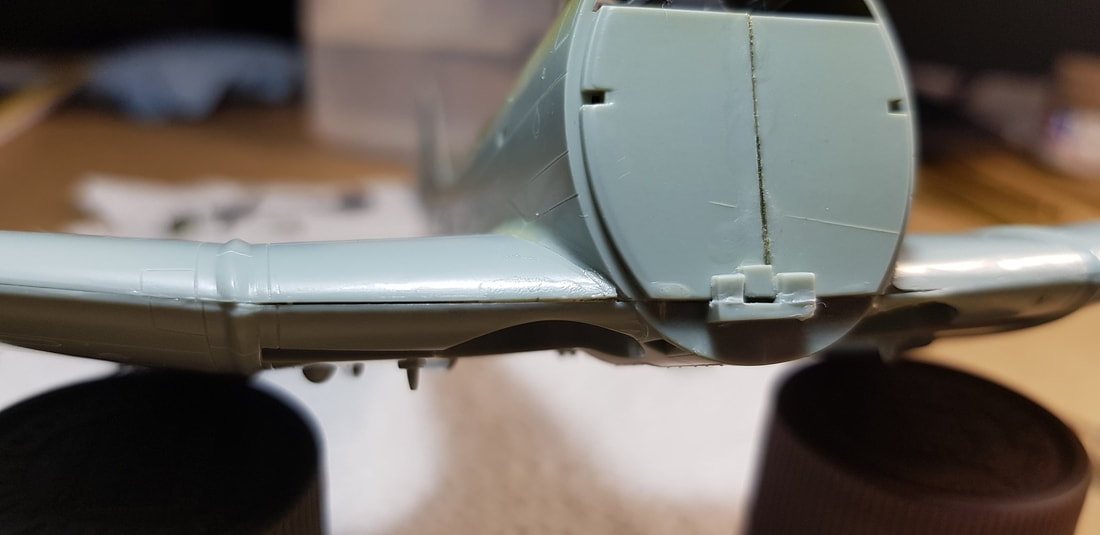
Both parts of the cowl needed putty especially the rear piece as the gun mount fitted terribly. A section had to be cut out of the front and then braced at the rear with some sprue to hold it in shape and then filled, trimmed and cleaned up.